
Introduction
This manual provides detailed instructions for the safe installation, operation, and maintenance of your ELK Lighting Naples 11-Light Pendant, Model 16365/11. Please read all instructions carefully before beginning installation and retain this manual for future reference.
Important Safety Information:
- Always disconnect power at the main fuse or circuit breaker before installation or maintenance.
- Consult a qualified electrician if you are not familiar with electrical installations.
- This fixture is intended for indoor use only.
- Handle crystal components with care to prevent breakage.
- Ensure all connections are secure and correct to avoid electrical hazards.
Product Overview
The Naples 11-Light Pendant is a sophisticated lighting fixture designed to enhance various indoor spaces. It features a dark graphite finish with clear crystal embellishments, providing both illumination and decorative appeal.
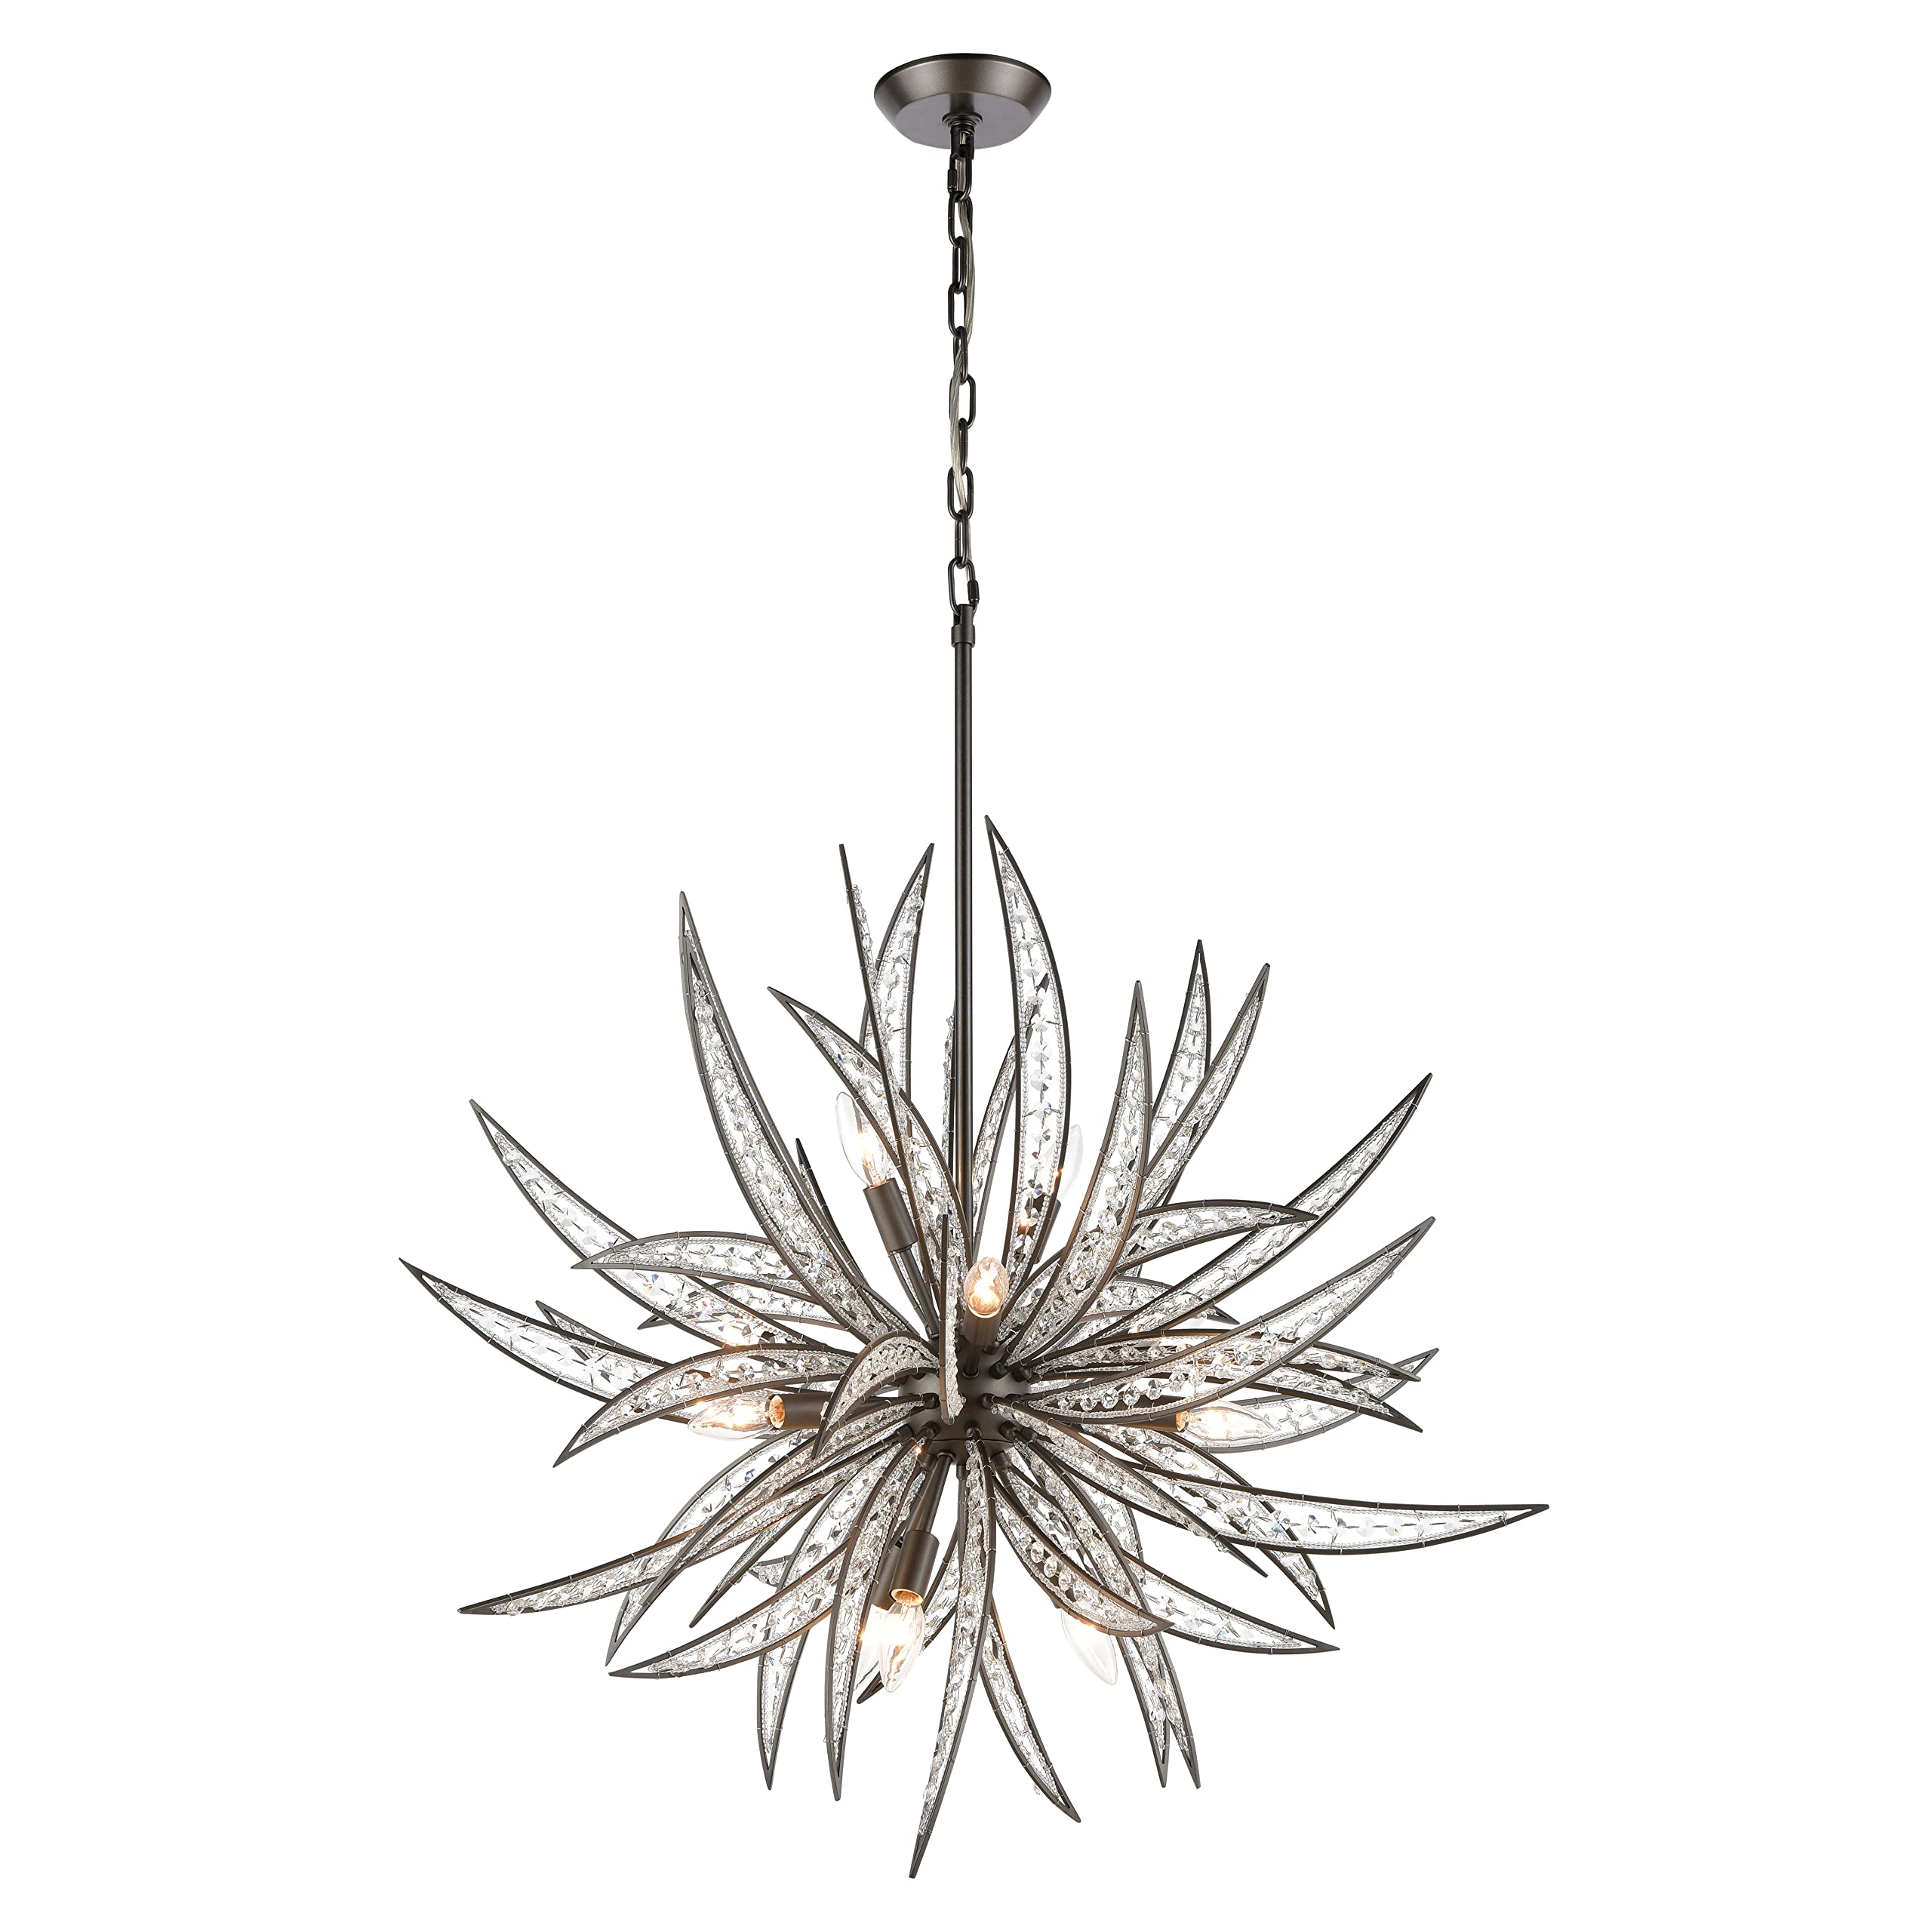
Image: The ELK Lighting Naples 11-Light Pendant, showcasing its dark graphite frame and clear crystal elements.
Package Contents
Verify that all components listed below are present and undamaged before proceeding with installation. If any parts are missing or damaged, do not attempt to assemble or install the fixture. Contact customer support immediately.
- Canopy
- Chain (4 feet)
- Crystal components
- Fixture frame
- Mounting hardware pack
- Electrical cord (6 feet)
- Instruction Manual
Note: Light bulbs are not included.
Specifications
| Model Number | 16365/11 |
| Dimensions (L x W x H) | 34" x 34" x 34" |
| Weight | 45 Pounds |
| Material | Glass, Steel, Crystal |
| Finish | Dark Graphite |
| Number of Lights | 11 |
| Bulb Base | E12 (Candelabra) |
| Max Wattage per Bulb | 60 Watts |
| Voltage | 120 Volts |
| Power Source | Hardwire Electric |
| Indoor/Outdoor Usage | Indoor |
| Dimmable | Yes (with compatible dimmer switch and bulbs) |
| Assembly Required | Yes |
Setup and Installation
Professional installation by a licensed electrician is highly recommended for safety and proper functionality. Ensure you have all necessary tools (screwdriver, wire strippers, electrical tape, ladder) before beginning.
- Turn Off Power: Locate the circuit breaker or fuse box and turn off the power to the junction box where the fixture will be installed. Verify power is off using a voltage tester.
- Prepare Mounting: Attach the mounting bracket (part of the hardware pack) to the junction box in the ceiling. Ensure it is securely fastened.
- Adjust Chain Length: Determine the desired hanging height for your pendant. The fixture includes 4 feet of chain. Adjust the chain length by opening and removing links as needed. Feed the electrical cord through the chain and canopy.
- Wire Connections: Carefully connect the fixture's electrical wires to the corresponding wires from the junction box.
- Connect the bare copper or green ground wire from the fixture to the ground wire from the junction box (usually bare copper or green).
- Connect the white (neutral) wire from the fixture to the white (neutral) wire from the junction box.
- Connect the black (hot) wire from the fixture to the black (hot) wire from the junction box.
- Secure Canopy: Carefully push the canopy up against the ceiling, covering the junction box and wiring. Secure it to the mounting bracket using the provided screws or nuts.
- Attach Crystal Components: Following the specific design of your Naples pendant, carefully attach all crystal components to the fixture frame. Refer to any diagrams included in the hardware pack for precise placement.
- Install Bulbs: Screw 11 E12 candelabra base bulbs (max 60 watts each, not included) into the sockets. LED compatible bulbs can also be used.
- Restore Power: Once installation is complete and all components are secure, restore power at the circuit breaker.
Warning: Do not overtighten screws or nuts, as this may damage the fixture or wiring. Ensure the fixture is properly supported by the ceiling structure.
Operating Instructions
The ELK Lighting Naples 11-Light Pendant operates via a standard wall switch connected to the fixture's electrical circuit.
- Turning On/Off: Flip the wall switch to the "ON" position to illuminate the pendant. Flip it to the "OFF" position to turn off the lights.
- Dimming Functionality: If a compatible dimmer switch and dimmable E12 bulbs are installed, you can adjust the light intensity by manipulating the dimmer control.
- Bulb Replacement: To replace a bulb, first turn off the power at the wall switch and, if possible, at the circuit breaker. Allow bulbs to cool completely. Unscrew the old bulb and screw in a new E12 candelabra base bulb (max 60 watts). Do not exceed the maximum wattage.
Maintenance
Regular cleaning and proper care will help maintain the appearance and longevity of your pendant light.
- Cleaning the Fixture: Ensure the power is off and the fixture is cool before cleaning. Use a soft, dry, or slightly damp cloth to wipe down the metal frame. Avoid abrasive cleaners or solvents, as these can damage the finish.
- Cleaning Crystals: The clear crystal components can be gently wiped with a soft, lint-free cloth dampened with a mild glass cleaner or distilled water. Avoid spraying cleaner directly onto the fixture to prevent liquid from entering electrical components.
- Inspection: Periodically inspect the chain, wiring, and connections for any signs of wear, damage, or looseness. If any issues are found, disconnect power and consult a qualified electrician.
Troubleshooting
If you experience issues with your pendant light, refer to the following common problems and solutions:
| Problem | Possible Cause | Solution |
|---|---|---|
| Light does not turn on. |
|
|
| Light flickers or dims unexpectedly. |
|
|
| Crystal components are loose or fall off. |
|
|
If the problem persists after attempting these solutions, contact a qualified electrician or ELK Lighting customer support.
Warranty and Support
Manufacturer's Warranty: This ELK Lighting product is covered by a 1-year manufacturer's warranty against defects in materials and workmanship from the date of purchase. This warranty does not cover damage caused by improper installation, misuse, abuse, accidents, or normal wear and tear.
To Obtain Warranty Service: If you believe your product is defective, please contact the retailer where you purchased the item or ELK Lighting customer support. You may be required to provide proof of purchase and details of the issue.
Customer Support: For technical assistance, missing parts, or warranty inquiries, please refer to the contact information provided by your retailer or visit the official ELK Lighting website for support options.