1. Introducció
Thank you for choosing the Ingco CDLI12325 12V Cordless Drill. This manual provides essential information for the safe and efficient operation, maintenance, and troubleshooting of your new tool. Please read these instructions carefully before use and retain them for future reference.
2. Instruccions de seguretat
Seguiu sempre les precaucions bàsiques de seguretat per reduir el risc d'incendi, descàrrega elèctrica i lesions personals.
- Seguretat de l'àrea de treball: Mantingueu la vostra zona de treball neta i ben il·luminada. Les zones desordenades o fosques conviden als accidents. No feu servir eines elèctriques en atmosferes explosives, com ara en presència de líquids, gasos o pols inflamables.
- Seguretat elèctrica: Eviteu el contacte corporal amb superfícies connectades a terra o amb connexió a terra, com ara canonades, radiadors, fogons i neveres. No exposeu les eines elèctriques a la pluja ni a condicions humides.
- Seguretat personal: Always wear eye protection. Use safety equipment such as dust masks, non-skid safety shoes, hard hats, or hearing protection when appropriate. Dress properly; avoid loose clothing or jewelry.
- Ús i cura de l'eina: No forceu l'eina elèctrica. Feu servir l'eina elèctrica adequada per a la vostra aplicació. Desconnecteu la bateria de l'eina elèctrica abans de fer qualsevol ajust, canviar accessoris o guardar eines elèctriques.
- Seguretat de la bateria: Recarregar només amb el carregador especificat pel fabricant. No utilitzar bateries amb altres eines elèctriques. No incinereu la bateria encara que estigui molt danyada.
3. Producte acabatview
The Ingco CDLI12325 is a versatile 12V cordless drill designed for various drilling and driving tasks. It features variable speed control, multiple torque settings, and an integrated work light for improved visibility.
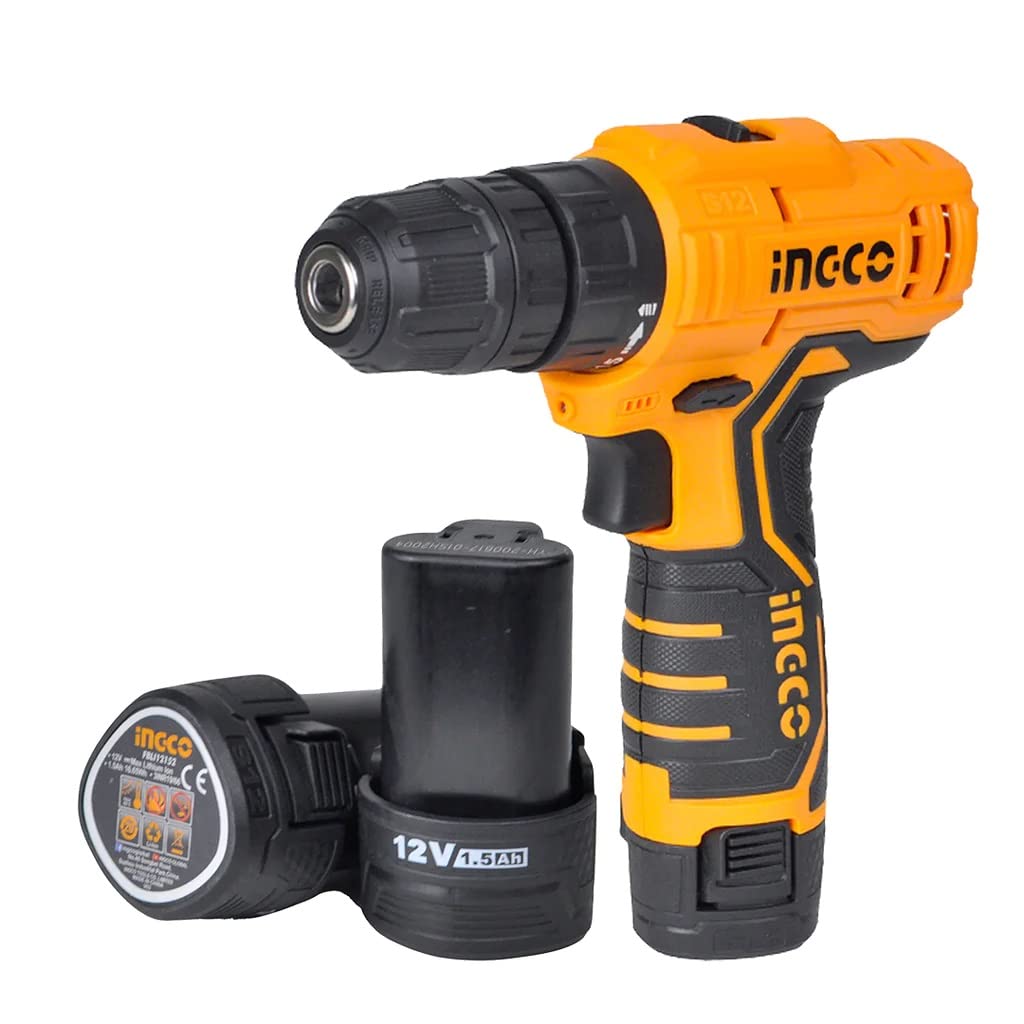
Image 1: Ingco CDLI12325 12V Cordless Drill, showing the drill unit, two 1.5Ah Lithium-Ion batteries, and a durable carrying case.
Components:
- Cordless Drill Unit
- 12V Lithium-Ion Batteries (x2)
- Carregador de bateria
- Maleta de transport
- Drill Bits (included in some packages)
4. Especificacions
| Característica | Especificació |
|---|---|
| Número de model | CDLI12325 |
| Voltage | 12 V |
| Tipus de bateria | Lithium-Ion (1.5Ah) |
| Velocitat sense càrrega | 0-350 / 0-1350 rpm |
| Parell màxim | 20 Nm |
| Capacitat del mandril | 0.8-10 mm |
| Configuració del parell | 15 + 1 |
| Velocitats | Caixa de canvis de 2 velocitats |
| Característiques especials | Variable Speed, Integrated Work Light |
| Material | Metall |
| Dimensions del producte | 10 x 20 x 37 cm |
| Pes | Approximately 209 grams (tool only) |
5. Configuració
5.1. Què hi ha a la caixa

Image 2: Unboxed Ingco CDLI12325 contents, showing the drill, carrying case, user manual, battery charger, and a set of drill bits.
5.2. Carregant la bateria
- Connecteu el carregador a una presa de corrent estàndard.
- Feu lliscar la bateria al carregador fins que encaixi al seu lloc.
- The charging indicator light on the charger will illuminate. Refer to the charger's specific instructions for light indications (e.g., red for charging, green for fully charged).
- Un cop estigui completament carregat, desconnecteu la bateria del carregador.
Nota: For optimal battery life, fully charge the battery before first use. Do not overcharge the battery.
5.3. Instal·lació/extracció de la bateria
- Per instal·lar: Alineeu el paquet de bateries amb la base del mànec del trepant i feu-lo lliscar fins que quedi ben bloquejat.
- Per eliminar: Premeu el botó d'alliberament de la bateria (normalment situat als costats del paquet de bateries) i feu lliscar la bateria cap a fora del mànec del trepant.
5.4. Instal·lació/extracció de broques
- Per seguretat, assegureu-vos que el trepant estigui apagat i que la bateria estigui treta.
- Gireu el collar del mandril en sentit antihorari per obrir les mordasses del mandril.
- Insert the drill bit or screwdriver bit into the chuck, ensuring it is centered.
- Gireu el collar del mandril en sentit horari per estrènyer fermament les mordasses al voltant de la broca. Estrenyeu només a mà; no utilitzeu una clau anglesa.
- Per eliminar: Rotate the chuck collar counter-clockwise to loosen the jaws and pull the bit out.
6. Funcionament
6.1. Encès / apagat
- Encendre: Press the trigger switch. The integrated work light will illuminate.
- Apagar: Deixeu anar l'interruptor del disparador.
6.2. Control de velocitat variable
The drill features a variable speed trigger. The further you press the trigger, the faster the drill bit will rotate. This allows for precise control over drilling and driving applications.
6.3. Speed Selector Switch
The drill has a 2-speed gearbox. Use the speed selector switch (located on top of the drill) to choose between:
- Velocitat 1 (baixa velocitat): For high torque applications, such as driving screws or drilling large diameter holes. (0-350 rpm)
- Velocitat 2 (Alta velocitat): For faster drilling with smaller bits. (0-1350 rpm)
Precaució: Do not change the speed setting while the drill is running.
6.4. Anell d'ajust de parell
The torque adjustment ring (located behind the chuck) allows you to set the desired torque for driving screws. It has 15 torque settings plus a drill mode setting.
- Configuració 1-15: Lower numbers are for smaller screws or softer materials to prevent overtightening or stripping. Higher numbers are for larger screws or harder materials.
- Drill Mode (Drill Bit Symbol): Use this setting for all drilling applications, as it provides maximum torque without clutch engagement.
6.5. Rotació endavant/enrere
The forward/reverse selector switch (located above the trigger) controls the direction of rotation.
- Pushing the switch to the left (when viewed from the rear) sets the drill to endavant rotation for drilling and driving screws.
- Pushing the switch to the right sets the drill to revés rotation for removing screws or freeing jammed bits.
- When the switch is in the center position, the trigger is locked, preventing accidental startup.
7. Manteniment
7.1. Neteja
- Regularly clean the ventilation openings on the drill to prevent overheating.
- Utilitzeu un suau, damp drap per netejar l'exterior de l'eina. No utilitzeu productes químics agressius ni netejadors abrasius.
- Keep the chuck jaws free of dust and debris.
7.2. Emmagatzematge
- Store the drill and accessories in a dry, secure location, out of reach of children.
- Remove the battery pack from the drill before storing for extended periods.
- Guardeu les piles en un lloc fresc i sec, allunyat de la llum solar directa i de temperatures extremes.
8. Solució De Problemes
| Problema | Causa possible | Solució |
|---|---|---|
| El trepant no arrenca | Battery not charged or improperly installed; Forward/Reverse switch in center (locked) position | Charge battery and ensure it is securely installed; Move F/R switch to forward or reverse position |
| Pèrdua de potència durant el funcionament | La càrrega de la bateria és baixa | Recarregueu la bateria |
| La broca rellisca al mandril | Chuck not tightened sufficiently; Bit shank is dirty or damaged | Retighten chuck firmly; Clean or replace bit |
| El trepant s'escalfa massa | Overloading the tool; Blocked ventilation slots | Reduce load; Clear ventilation slots |
9. Garantia i Suport
Ingco products are manufactured to high-quality standards. For warranty information, please refer to the warranty card included with your product packaging or visit the official Ingco weblloc web. Conserveu el rebut de compra com a comprovant de compra.
For technical support, spare parts, or service inquiries, please contact your local Ingco dealer or authorized service center. You can find contact information on the official Ingco weblloc web o a través del vostre distribuïdor.
Weblloc: www.ingco.com