
Homtime C1 Pro
Homtime C1 Pro Digital Alarm Clock Instruction Manual
Model: C1 Pro
Brand: Homtime
Introduction
This manual provides comprehensive instructions for the setup, operation, and maintenance of your Homtime C1 Pro Digital Alarm Clock. Please read this manual thoroughly before using the product to ensure proper functionality and longevity.
Package Contents
- 1 x Homtime C1 Pro Main Unit
- 1 x Power Adapter
- 1 x User Manual
Key Features
- Adjustable LED Brightness & 25° Tilt Design for Easy Time Checking
- Dual USB Charging Ports with Over-Current, Over-Voltage, and Short-Circuit Protection
- Integrated Bluetooth Speaker for Audio Playback
- TF Card Support for Custom Alarm Sounds
- Built-in Thermometer Function (Celsius/Fahrenheit Switchable)
- Battery Backup for Time and Alarm Settings
- Snooze Mode Functionality
Setup
1. Power Connection
Connect the provided power adapter to the DC 5V port on the back of the alarm clock and plug it into a wall outlet. The display will illuminate.
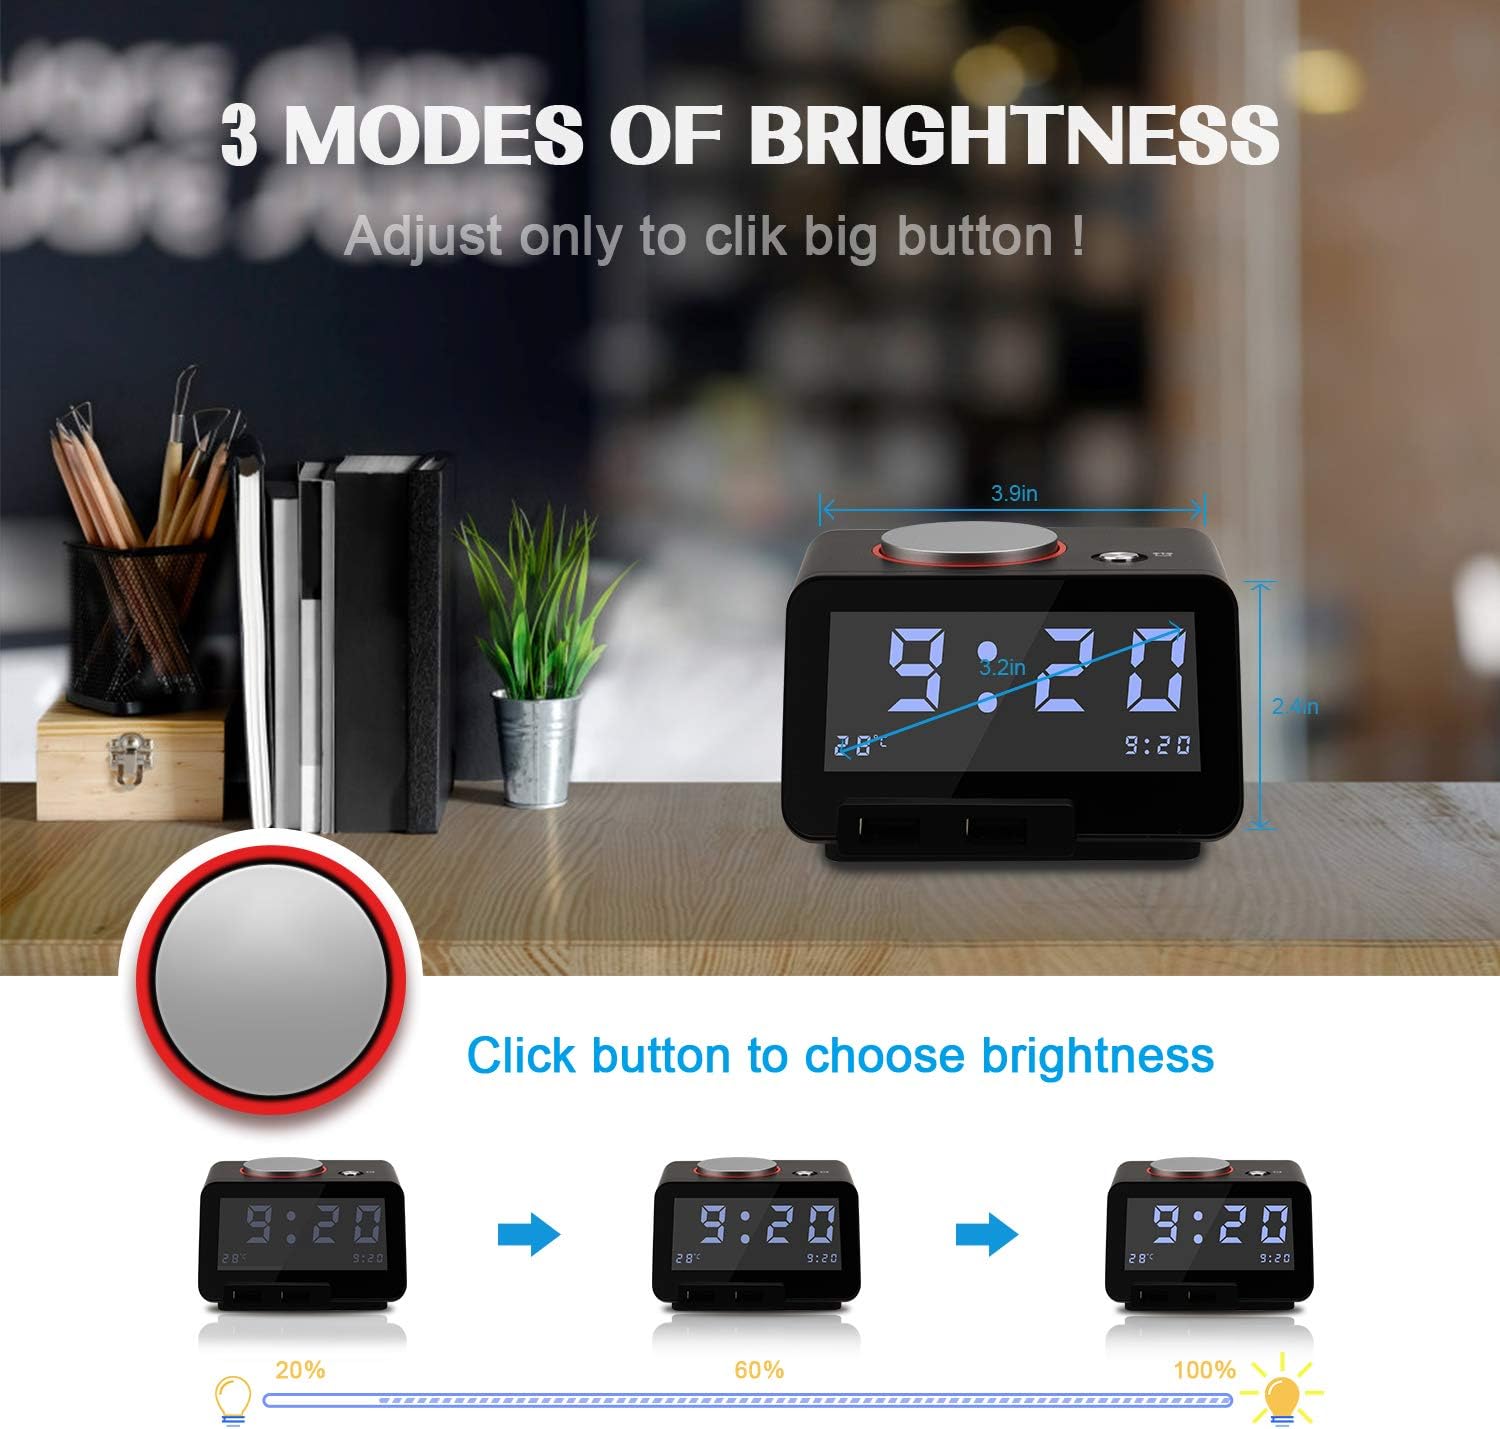
Image: Rear view of the Homtime C1 Pro, highlighting the DC 5V power input and the battery compartment for backup.
2. Battery Backup Installation (Optional)
For battery backup of time and thermometer settings during power outages, install three AAA batteries (not included) into the battery compartment on the bottom of the unit. This ensures settings are retained even if the main power is disconnected.
3. Setting Time and Alarm
Locate the 'LOCK/UNLOCK' switch on the back of the unit. Set it to 'UNLOCK'.
Gently rotate the large button on the top of the alarm clock to adjust the time. Press the alarm button (small button next to the large one) to set the alarm time. Rotate the large button again to set the desired alarm time.
Once set, switch the 'LOCK/UNLOCK' switch back to 'LOCK' to prevent accidental changes.
Video: Demonstrates how to set the time and alarm on the Homtime C1 Pro using the top rotary button and alarm set button.
4. Temperature Unit Selection
On the bottom of the unit, locate a small hole labeled 'C/F'. Use a paper clip or a similar pointed object to press the button inside this hole to switch between Celsius (°C) and Fahrenheit (°F) temperature display.
Operating Instructions
1. Adjusting Display Brightness
The Homtime C1 Pro features a large, easy-to-read LCD display with adjustable brightness. Simply tap the large rotary button on the top of the unit to cycle through three brightness levels (20%, 60%, 100%) and an 'off' setting. This allows you to customize the display visibility for day or night use without disturbing your sleep.
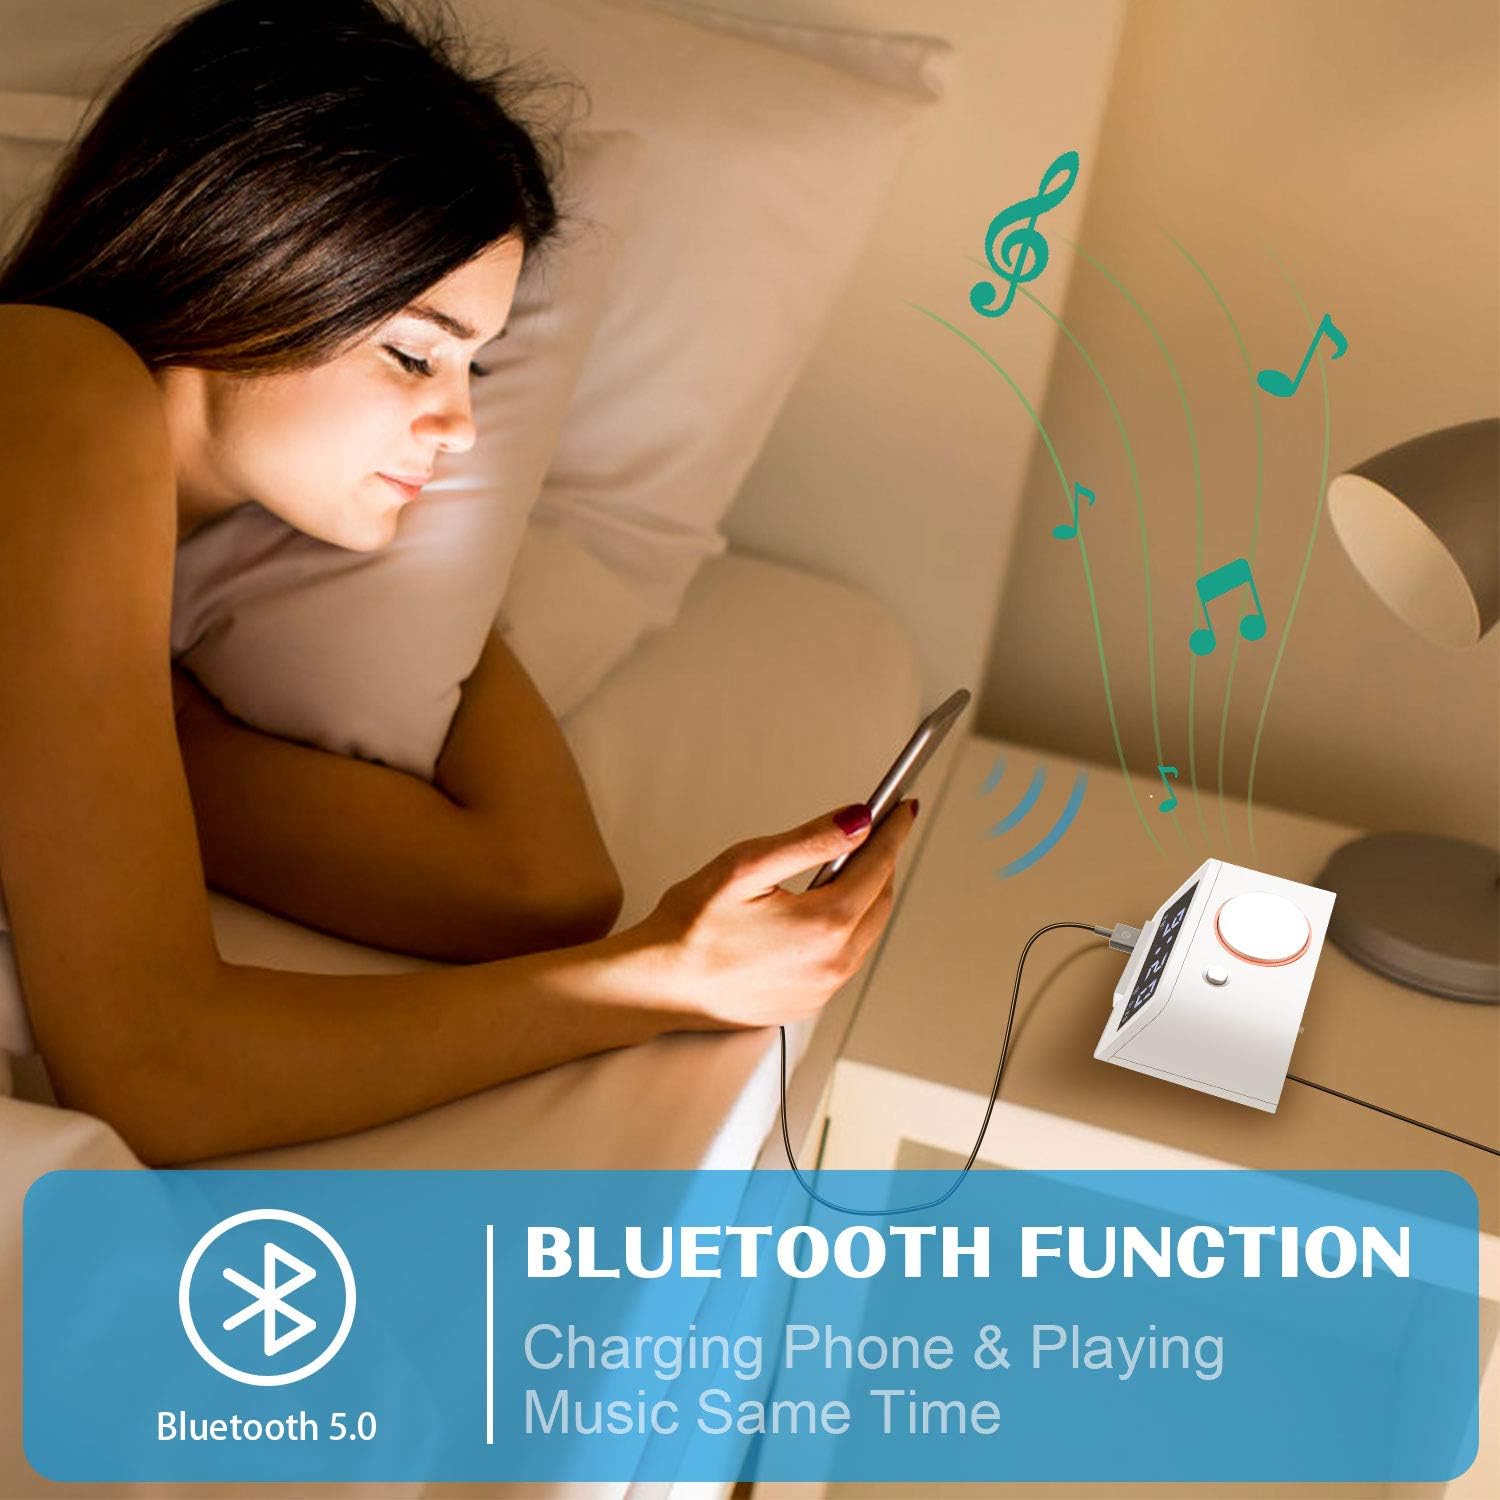
Image: Illustrates the three distinct brightness levels of the LCD display, adjustable by pressing the top button.
2. Alarm Function and Snooze
When the alarm sounds, tap the large rotary button on the top to activate the snooze function. The alarm will pause for 9 minutes and then reactivate. To completely silence the alarm, press and hold the large rotary button for 3 seconds.
The alarm features a gentle wake-up sound that starts softly and gradually increases in volume. You can adjust the maximum alarm volume by pressing and rotating the large button while the alarm is sounding.
3. Bluetooth Speaker Function
The C1 Pro can function as a Bluetooth speaker. Enable Bluetooth on your mobile device and search for "C1pro" in the list of available devices. Select "C1pro" to pair. Once connected, you can play audio from your device through the alarm clock's speaker.

Image: A user connecting their smartphone to the Homtime C1 Pro via Bluetooth to play music.
4. TF Card Playback
Insert a Micro SD (TF) card loaded with your favorite MP3 audio files into the TF card slot on the back of the unit. The alarm clock can play these songs, allowing you to customize your wake-up sound or enjoy music directly from the card.
5. Dual USB Charging Ports
The alarm clock is equipped with two USB charging ports on the front, providing a total current output of 5V-3A. These ports feature over-current, over-voltage, and short-circuit protection. You can charge two USB-powered devices simultaneously, such as smartphones, tablets, or other gadgets.

Image: Front view of the Homtime C1 Pro, clearly showing the two convenient USB charging ports.
Maintenance
Cleaning
To clean the unit, wipe it with a soft, dry cloth. Do not use abrasive cleaners, waxes, or solvents as they may damage the finish. Ensure the unit is unplugged before cleaning.
Storage
If storing the alarm clock for an extended period, remove the backup batteries to prevent leakage and damage. Store in a cool, dry place.
Troubleshooting
Display is blank or not lighting up:
- Ensure the power adapter is securely plugged into both the unit and a working wall outlet.
- Check if the brightness setting is set to 'off'. Tap the large rotary button to increase brightness.
- Verify that the power outlet is functional by plugging in another device.
Alarm is not sounding:
- Ensure the alarm is set correctly and the alarm icon is visible on the display.
- Check the alarm volume level.
Bluetooth pairing issues:
- Ensure Bluetooth is enabled on your mobile device and the C1 Pro is within range.
- Forget "C1pro" from your device's Bluetooth settings and attempt to re-pair.
- Restart both the alarm clock (by unplugging and replugging) and your mobile device.
USB charging not working:
- Ensure the alarm clock is powered on.
- Check the USB cable for damage and ensure it is properly connected to both the alarm clock and your device.
- Try a different USB port or cable.
Specifications
| Feature | Detail |
|---|---|
| Brand | Homtime |
| Model | C1 Pro |
| Display Type | Digital LCD |
| Power Source | Corded Electric |
| USB Output | 5V-3A (Total) |
| Dimensions | 4.3 x 4.3 x 2.5 inches |
| Item Weight | 1.2 pounds |
| Material | Plastic |
Warranty and Support
For warranty information and customer support, please refer to the contact details provided on the product packaging or visit the official Homtime website. Keep your purchase receipt as proof of purchase for any warranty claims.
Related Documents - C1 Pro
 |
HC1pro Bluetooth Alarm Clock Speaker with Dual USB Charger - User Manual Detailed user manual for the HC1pro Bluetooth Alarm Clock Speaker by Homtime, featuring dual USB charging, thermometer, and customizable alarm functions. Includes setup, operation, and FCC compliance information. |
 |
Homtime C1 Digital Alarm Clock with Dual USB Charger - User Manual User manual and specifications for the Homtime C1 Digital Alarm Clock, featuring a dimmable LCD display, dual USB charger, thermometer, and melody alarm. Learn how to set time, alarms, and use its functions. |
 |
Homtime D8-PD Bluetooth Speaker with Alarm Clock and Wireless Charging Function User Manual Comprehensive user guide for the Homtime D8-PD, a Bluetooth speaker featuring an alarm clock and wireless charging. This manual provides detailed instructions on setup, operation, safety precautions, specifications, and troubleshooting. |
 |
Homtime S1-AC Clock Radio with Bluetooth Speaker and Power Outlets User Manual Comprehensive user manual for the Homtime S1-AC Clock Radio, featuring Bluetooth speaker, power outlets, FM radio, alarm clock, and USB charging. Learn how to set up and use all features. |
 |
Homtime MX Wooden Bluetooth Wireless Charging Speaker with Clock Function User Manual Comprehensive user manual for the Homtime MX, a wooden Bluetooth wireless charging speaker with clock functionality. Learn about safety, features, specifications, operation, and troubleshooting. |
 |
Homtime C1 Pro Bluetooth Alarm Clock Speaker with Dual USB Charger User Manual User manual for the Homtime C1 Pro, a Bluetooth alarm clock speaker with dual USB charger, detailing features, functions, setup, and operation. Includes instructions for time setting, alarm configuration, Bluetooth connectivity, and charging. |
Ask a question about this manual
Ask about setup, troubleshooting, compatibility, parts, safety, or missing instructions. Manuals+ will review the question and use this page’s manual context to help answer it.