Introduction
This manual provides detailed instructions for the setup, operation, and maintenance of your Kodak Carousel 4200 Slide Projector. Please read this manual thoroughly before using the projector to ensure proper function and longevity of the device. The Kodak Carousel 4200 is designed for projecting 2x2-inch (35mm) slides using 80- or 140-capacity slide trays.

Figure 1: Kodak Carousel 4200 Slide Projector packaging.
Safety Information
No specific safety information was provided for this product. Always follow general electrical safety guidelines:
- Ensure the projector is placed on a stable, level surface to prevent tipping.
- Do not block ventilation openings.
- Avoid exposing the projector to moisture or extreme temperatures.
- Unplug the projector from the power outlet before cleaning or performing maintenance.
- Do not attempt to open the projector casing beyond what is described in this manual. Refer servicing to qualified personnel.
Package Contents
Verify that all items are present in your package:
- Kodak Carousel 4200 Slide Projector Unit
- Projection Lens
- Wired Remote Control
- 80-Capacity Slide Tray
- Power Cord
- Instruction Manual
- New Projection Lamp (installed or spare)

Figure 2: Projector unit with included accessories.
Figure 3: The instruction manual.
Figure 4: Main power cord.
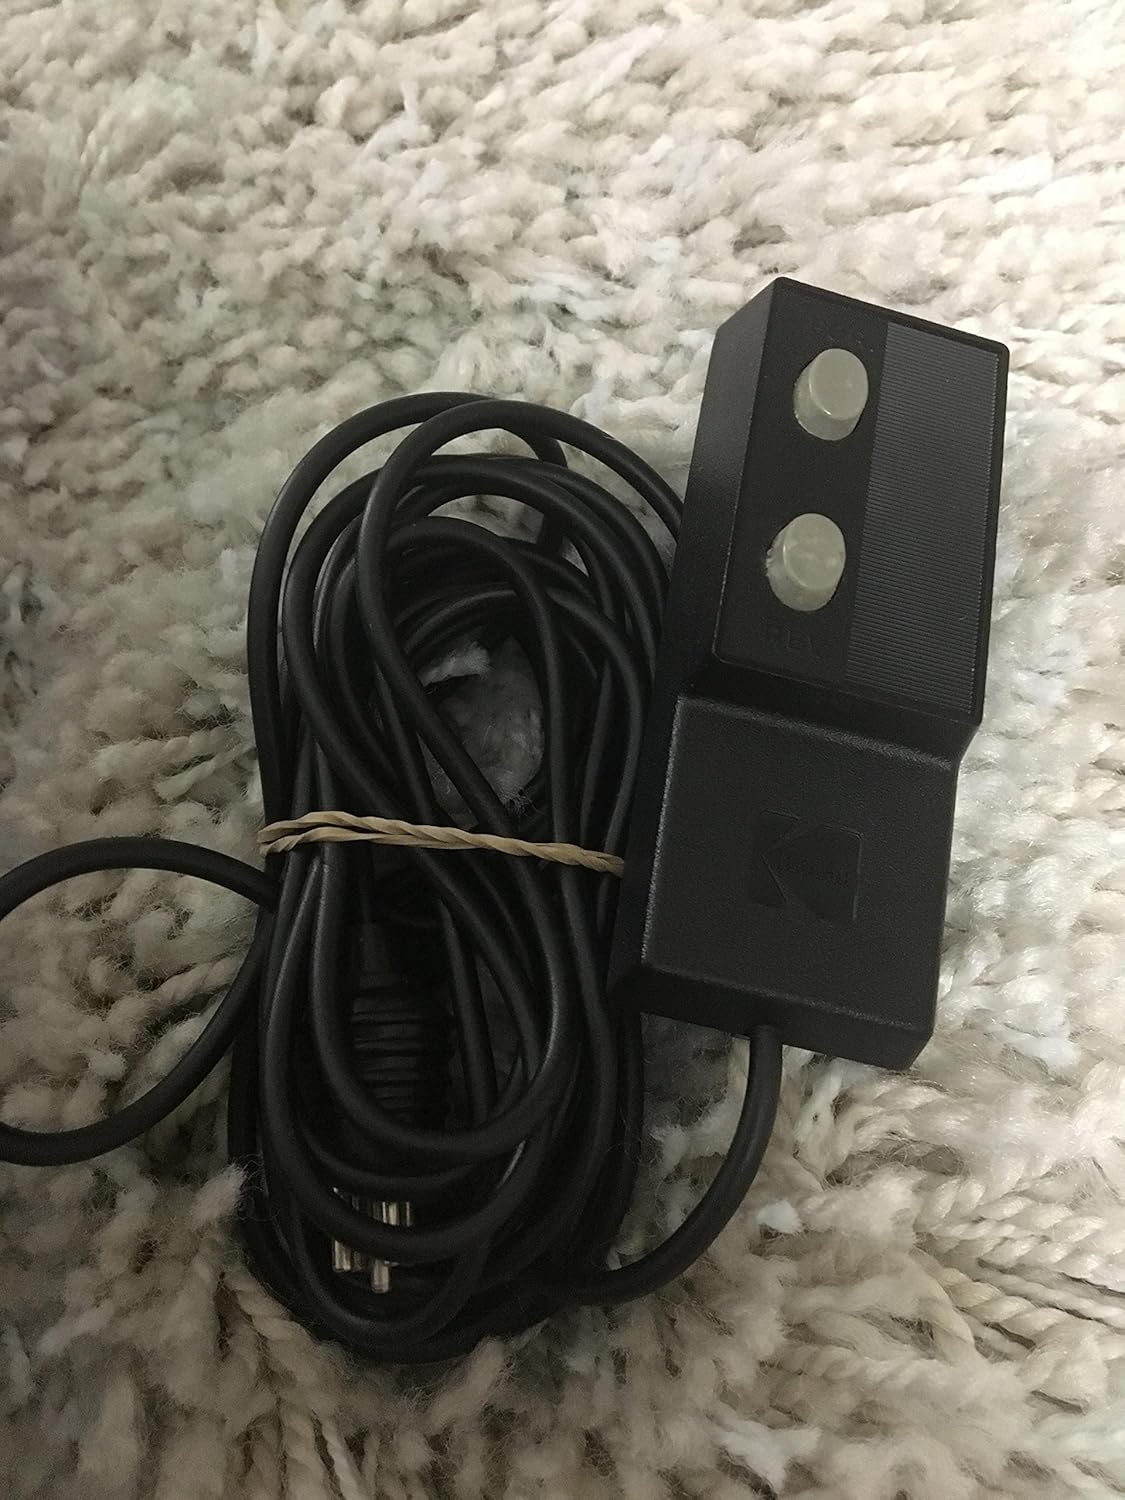
Figure 5: Wired remote control.
Setup
1. Projector Placement
Place the projector on a firm, level surface. Ensure there is adequate space around the projector for ventilation. Position the projector at a suitable distance from the screen to achieve the desired image size. The projection level can be adjusted up to 16 degrees using the front leveling foot.
2. Lens Installation
If the projection lens is not already installed, gently insert it into the lens opening on the front of the projector. Rotate it slightly until it clicks into place, ensuring it is securely seated.

Figure 6: Lens area and model branding.
3. Power Connection
Connect the power cord to the projector's power inlet and then plug it into a standard 110/120V AC electrical outlet.
4. Remote Control Connection
Plug the wired remote control into the designated port on the projector.
Operating Instructions
1. Loading Slides into the Tray
The Kodak Carousel 4200 uses 80- or 140-capacity circular slide trays. Ensure slides are oriented correctly for projection. Place each 2x2-inch slide into a slot in the tray. The carousel tray allows for quick loading and access to all slides at all times.
2. Inserting the Slide Tray
Carefully place the loaded slide tray onto the projector's spindle, aligning the center hole of the tray with the spindle. Ensure the tray is seated properly and can rotate freely.
3. Powering On and Projection
Locate the POWER switch on the projector. It typically has positions for OFF, FAN, and LAMP. Turn the switch to the 'FAN' position first to allow the lamp to pre-warm and the fan to start, which helps prevent slides from 'popping' due to heat. After a few moments, switch to 'LAMP' to illuminate the projection lamp and begin projecting.
4. Focus Adjustment
Use the FOCUS knob on the projector to sharpen the image on the screen. Adjust until the image is clear and crisp. The remote control also allows for focus adjustment without leaving your seat.
5. Advancing Slides
Use the FORWARD and REVERSE buttons on the projector or the wired remote control to advance or go back through your slides. The remote control provides convenience for managing your slide show.
6. Dark Screen Shutter
When no slide is being projected, the dark screen shutter latch automatically masks the light, preventing a blank white screen from being displayed.
7. Powering Off
When finished, switch the POWER control from 'LAMP' to 'FAN' for a few minutes to allow the lamp to cool down. This extends the lamp's life. After cooling, switch to 'OFF' and unplug the projector.
Maintenance
1. Cleaning the Projector
Regularly clean the exterior of the projector with a soft, dry cloth. For the lens, use a specialized lens cleaning cloth and solution to avoid scratches. Keep the slide tray clean and free of dust.
2. Lamp Replacement
The Kodak Carousel 4200 uses 300W/82V lamps (Lamp codes EXR, EXW, FHS). To replace the lamp:
- Ensure the projector is unplugged and completely cool.
- Refer to the specific instructions in your included manual for accessing the lamp compartment, as this can vary slightly by model revision.
- Carefully remove the old lamp. Avoid touching the new lamp with bare hands; use a cloth or gloves.
- Insert the new lamp securely.
- Close the lamp compartment cover.
Troubleshooting
| Problem | Possible Cause | Solution |
|---|---|---|
| No image projected | Projector not plugged in; lamp burned out; power switch not in 'LAMP' position. | Check power connection; replace lamp; ensure switch is in 'LAMP'. |
| Dim or uneven image | Lamp nearing end of life; dirty lens; projector too far from screen. | Replace lamp; clean lens; adjust projector distance. |
| Slides not advancing | Tray not seated correctly; mechanism jam; remote not connected. | Reseat tray; check for obstructions; ensure remote is plugged in. |
| Image out of focus | Focus knob not adjusted. | Adjust the FOCUS knob on the projector or remote. |
| Projector overheats | Blocked ventilation; prolonged use without cooling. | Ensure vents are clear; allow projector to cool in 'FAN' mode after use. |
Specifications
| Feature | Detail |
|---|---|
| Model Number | 4200 |
| Brand | KODAK |
| Product Dimensions | 16 x 8 x 16 inches |
| Item Weight | 14.9 pounds |
| Recommended Uses | Business, Education, Home Cinema |
| Special Feature | Projects 2x2-inch (35mm) slides, uses 80 and 140 capacity trays, 300W/82V lamp (EXR, EXW, FHS types) |
| Connectivity Technology | 110/120V A/C Power |
| Display Resolution | 5.6K (digital image size 5,600 × 3,620 pixels) |
| Manufacturer | Kodak |
Warranty and Support
This Kodak Carousel 4200 Slide Projector, when purchased from certain sellers, may include a 90-day exchange warranty. Please refer to your purchase documentation for specific warranty terms and conditions. For technical support or service inquiries, contact the seller or an authorized Kodak service center.