
1. Introduction
This manual provides detailed instructions for the operation and maintenance of your Acer Gadget Golf Rangefinder SW-RF700. This device is designed to provide accurate distance measurements for various outdoor activities, including golf, hunting, and archery. Please read this manual thoroughly before using the product to ensure proper function and safety.
2. Safety Information
Warning: This device uses a Class 1 laser. Do not stare directly into the laser beam or aim it at others. Direct exposure to the laser beam may cause eye damage.
- Do not disassemble, modify, or repair the device yourself. Contact authorized service personnel for any repairs.
- Keep the device away from water and moisture to prevent damage.
- Store the device in a cool, dry place when not in use.
- Keep out of reach of children.
- Use only the specified charging cable and adapter.
3. Package Contents
Verify that all items are present in the package:
- Acer Gadget Golf Rangefinder SW-RF700
- USB-C Charging Cable
- Carrying Case
- Cleaning Cloth
- User Manual (this document)

Image: Acer Gadget Golf Rangefinder with its included accessories, including the device, charging cable, and carrying case.
Video: An unboxing video demonstrating the contents of the Acer Gadget Golf Rangefinder package.
4. Product Overview
Familiarize yourself with the components and controls of your rangefinder.

Image: Diagram showing the Acer Gadget Golf Rangefinder with key parts labeled: Charging Port, Slope Switch, Focus Lens, Power & Measure Button, Mode Switch Button, and Slope Indicator.
- Charging Port: USB-C port for recharging the internal battery.
- Slope Switch: Toggles the slope compensation feature on or off.
- Focus Lens: Rotate to adjust the focus for a clear view.
- Power Button & Measure Button: Press once to power on, press again to measure distance.
- Mode Switch Button: Press to cycle through different measurement modes.
- Slope Indicator: Visual indicator for slope function status.
5. Setup
5.1. Charging the Battery
The rangefinder is equipped with a rechargeable Lithium-Ion battery. Before first use, fully charge the device.
- Locate the USB-C charging port on the device.
- Connect the provided USB-C cable to the rangefinder and a compatible USB power source (e.g., computer, wall adapter).
- The charging indicator light will show red during charging and turn green when fully charged.
- A full charge can last for approximately 200 rounds of golf or 100 days of wilderness hunting.
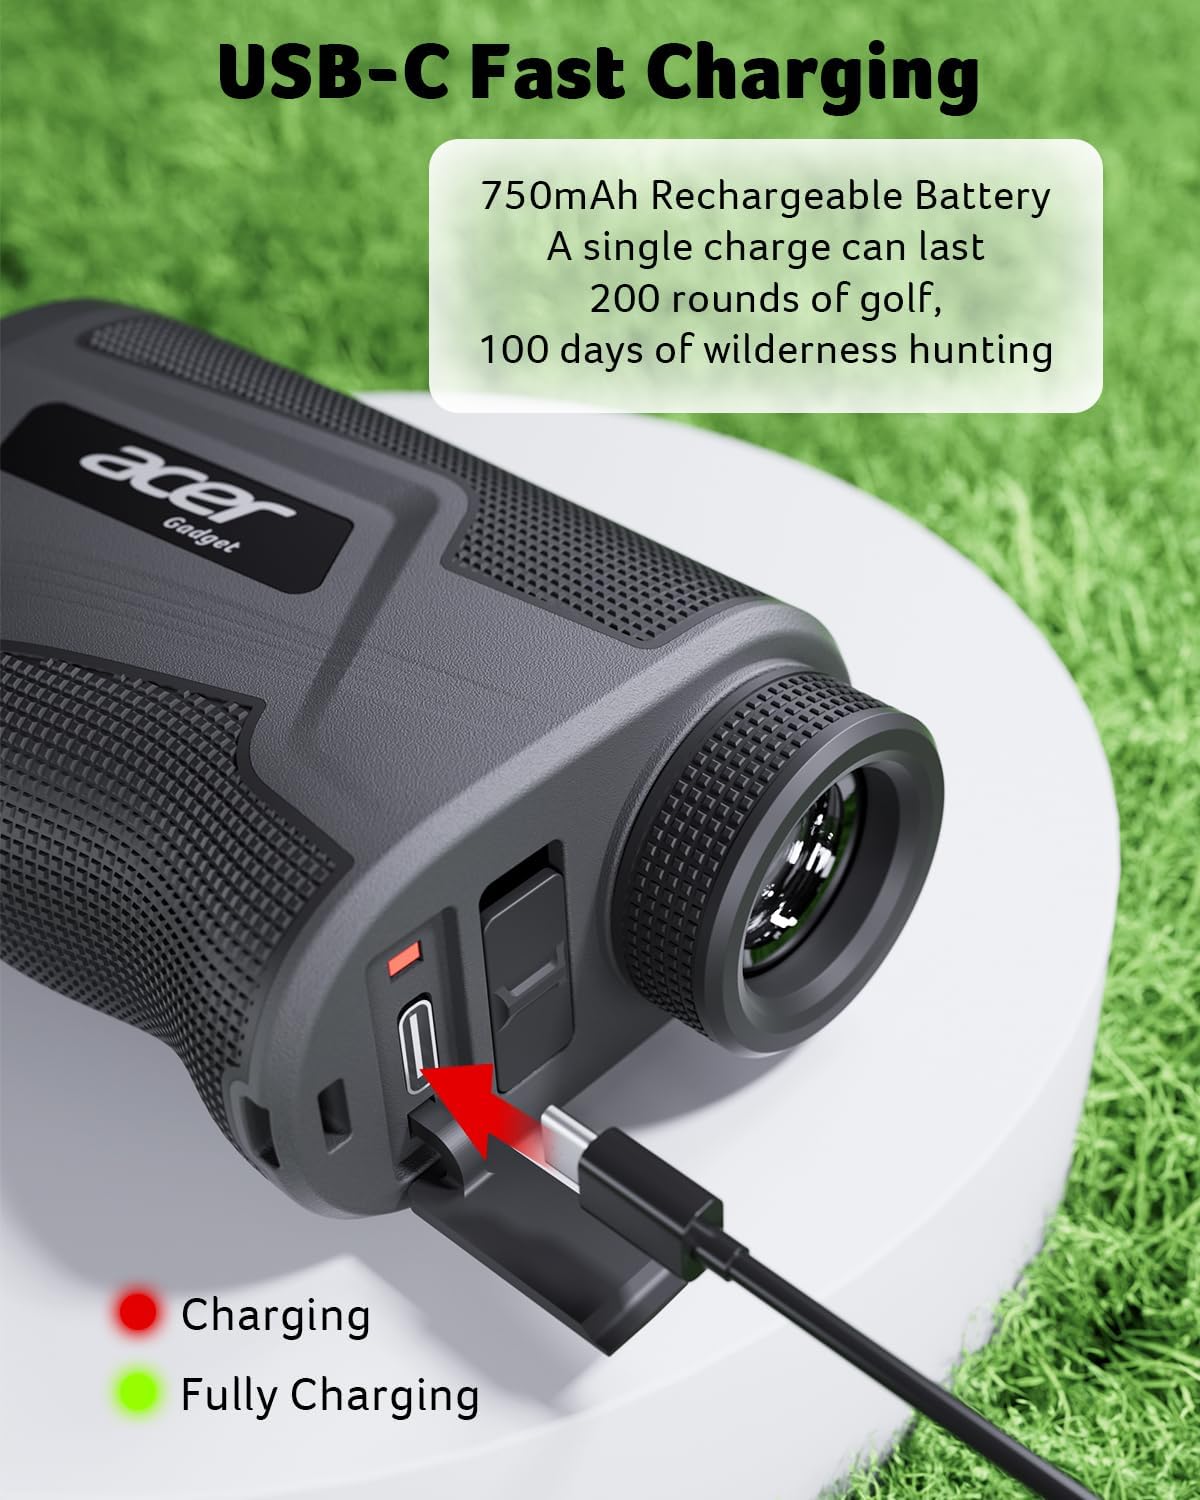
Image: Close-up of the Acer Gadget Golf Rangefinder showing the USB-C charging port with a cable inserted. The indicator light is red, signifying charging.
5.2. Adjusting Focus
To ensure a clear view of your target, adjust the eyepiece focus.
- Look through the eyepiece.
- Rotate the eyepiece until the display and target appear sharp and clear.
6. Operating Modes
The Acer Gadget Golf Rangefinder offers multiple modes for various applications. Press the Mode Switch Button to cycle through them.
6.1. Golf Mode (Slope Compensation)
This mode provides slope-adjusted distances, crucial for accurate club selection on uneven terrain. The slope function can be toggled on or off using the physical switch on the side of the device.
- When the slope function is ON, the display will show the actual distance and the slope-adjusted distance.
- The Flaglock Vibration feature provides a short vibration when the device locks onto the flagstick, confirming the target.

Image: Illustration demonstrating how slope compensation works. It shows the difference between straight-line distance and slope-adjusted distance for uphill and downhill shots, with the rangefinder's slope switch highlighted.
6.2. Speed Mode
Measure the speed of a moving object.
- Aim at the moving object and press the Power/Measure button.
- The speed will be displayed in Kilometers per Hour (KM/H) or Miles per Hour (MPH).

Image: View through the rangefinder's eyepiece in Speed Mode, displaying a car and its measured speed.
6.3. Scan Mode (Continuous Measurement)
For continuous measurement of multiple targets or moving objects.
- Press and hold the Power/Measure button while sweeping across targets.
- The display will continuously update with distances to various objects.

Image: View through the rangefinder's eyepiece in Scan Mode, showing multiple targets (cows in a field) with their respective distances being continuously measured.
6.4. Vertical & Horizontal Distance Mode
Measures both the straight-line distance to a target, its vertical height, and horizontal distance.
- Aim at the target and press the Power/Measure button.
- The display will show the straight-line distance, vertical distance, and horizontal distance.

Image: View through the rangefinder's eyepiece in Vertical & Horizontal Distance Mode, displaying a building with straight-line, vertical, and horizontal distance measurements.
7. Usage Instructions
7.1. Basic Measurement
- Power on the device by pressing the Power/Measure button once.
- Look through the eyepiece and aim the reticle at your desired target.
- Press the Power/Measure button again to take a measurement. The distance will be displayed instantly.
- The Anti-Shake technology helps stabilize readings, especially when targeting small objects like flagsticks.

Image: A man using the Acer Gadget Golf Rangefinder, demonstrating the anti-shake feature with a comparison of shaky vs. stabilized readings on the display.
Video: A demonstration of how to use the Acer Gadget Golf Rangefinder to enhance your golf game with precision measurements.
7.2. Switching Units (Yards/Meters)
To switch between yards (Y) and meters (M):
- While the device is powered on, long-press the Mode Switch Button.
- The unit displayed will change.
7.3. Magnetic Mounting
The rangefinder features a magnetic strip for convenient attachment to metal surfaces, such as a golf cart frame.

Image: The Acer Gadget Golf Rangefinder shown magnetically attached to the frame of a golf cart, demonstrating its portable and hands-free design.
8. Maintenance
8.1. Cleaning
- Use the provided cleaning cloth to gently wipe the lenses and body of the rangefinder.
- Do not use abrasive materials or chemical cleaners, as they may damage the optics or finish.
- Ensure the device is dry before storing.
8.2. Storage
- Store the rangefinder in its carrying case when not in use to protect it from dust and impacts.
- Avoid storing in direct sunlight or extreme temperatures.
- For long-term storage, ensure the battery is partially charged (around 50%) to prolong its lifespan.
9. Troubleshooting
| Problem | Possible Cause | Solution |
|---|---|---|
| Device does not power on. | Low or depleted battery. | Charge the battery using the provided USB-C cable. |
| Inaccurate or inconsistent readings. | Unstable aiming, dirty lens, or target too far/small. | Ensure steady aim, clean lenses, and try targeting a larger object or moving closer. Verify slope setting. |
| Display is blurry. | Eyepiece focus not adjusted. | Rotate the eyepiece to adjust focus until the display is clear. |
| Flaglock not working. | Flagstick is too far, obscured, or not isolated. | Ensure a clear line of sight to the flagstick. Try scanning around the flag to help the device identify it. |
10. Specifications
- Model Number: SW-RF700
- Measuring Range: 800 yards
- Magnification: 6x
- Accuracy: ±0.5 yards
- Battery: Lithium-Ion, Rechargeable (USB-C)
- Material: Polycarbonate (PC)
- Item Weight: 11.2 ounces
- Item Dimensions (L x W x H): 4.2" x 2.5" x 1.5"
- Features: Slope Compensation (On/Off), Flaglock Vibration, Anti-Shake Technology, Speed Mode, Scan Mode, Magnetic Strip

Image: Diagram showing the physical dimensions of the Acer Gadget Golf Rangefinder: 4.2 inches long, 2.5 inches wide, and 1.5 inches high.
11. Warranty & Support
The Acer Gadget Golf Rangefinder SW-RF700 comes with a 1-year warranty from the date of purchase, covering manufacturing defects. For warranty claims or technical support, please contact Acer customer service through their official website or the retailer where the product was purchased.
Please retain your proof of purchase for warranty validation.
