
OLIXIS OLUSWSV
OLIXIS Mini Greenhouse Instruction Manual
Model: OLUSWSV
Introduction
This manual provides detailed instructions for the assembly, operation, and maintenance of your OLIXIS 27"x19"x63" 4-Tier Mini Greenhouse. Please read these instructions carefully before use to ensure proper setup and optimal performance.
The OLIXIS Mini Greenhouse is designed to protect plants from various weather conditions, offering a controlled environment for growth. Its sturdy frame and durable PE cover provide UV protection, wind resistance, and waterproofing.
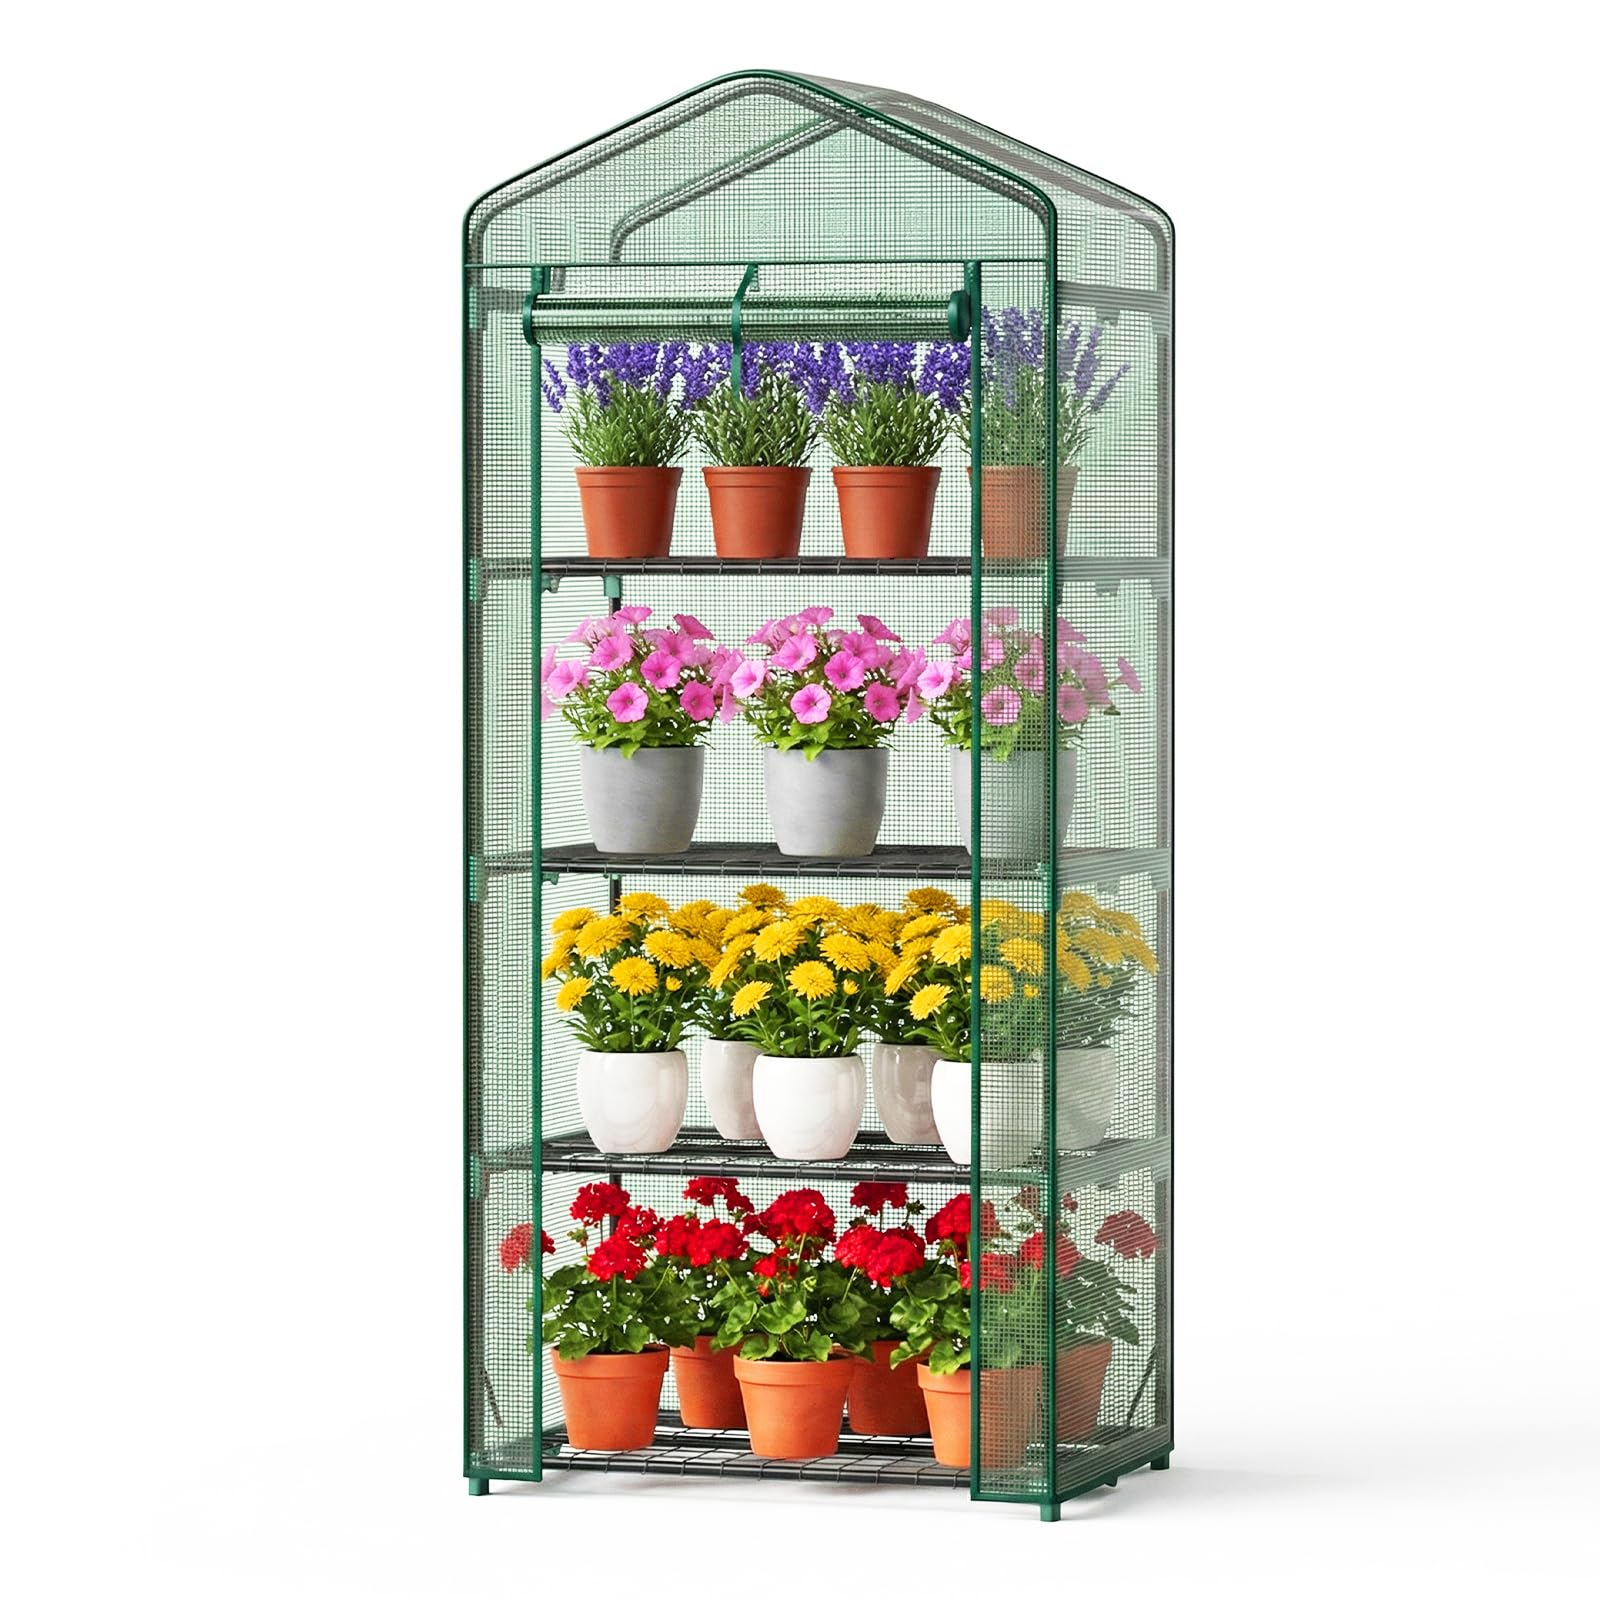
Image: Fully assembled OLIXIS 4-Tier Mini Greenhouse in light green, showcasing its capacity for various plants.
Safety Information
- Ensure all connections are secure during assembly to prevent collapse.
- Do not overload shelves; each shelf has a maximum weight capacity of 22 lbs (10 kg).
- Place the greenhouse on a flat, stable surface.
- Anchor the greenhouse if placing it in windy conditions to prevent tipping.
- Keep away from open flames or excessive heat sources.
Package Contents
Before assembly, verify that all components are present and undamaged. Refer to the parts list below:
| Component | Quantity |
|---|---|
| Steel Frame Pipes | (Varies by section, refer to diagram) |
| Plastic Connectors | (Varies by section, refer to diagram) |
| Wire Shelves | 4 |
| Shelf Clips | 16 |
| PE Cover with Zipper Door | 1 |
Note: A detailed parts diagram is typically included in the physical manual.
Assembly Instructions
The OLIXIS Mini Greenhouse features a tool-free design for quick and easy setup. Follow these steps for assembly:
- Step 1: Assemble the Base Frame. Connect the shortest steel pipes using the plastic connectors to form the rectangular base of the greenhouse. Ensure all connections are firm.
- Step 2: Build the Vertical Structure. Insert the longer vertical pipes into the base connectors. Continue adding horizontal pipes and connectors to build the frame upwards, tier by tier.
- Step 3: Install Shelves. Place the wire shelves onto the designated horizontal supports. Secure each shelf using four shelf clips, ensuring they are firmly attached to prevent movement. Each shelf can hold up to 22 lbs.
- Step 4: Attach the Roof Frame. Complete the top section of the frame, forming the arched roof structure.
- Step 5: Drape the PE Cover. Carefully place the PE cover over the assembled steel frame. Ensure the zippered door is aligned correctly at the front.
- Step 6: Secure the Cover. Pull the cover down completely, ensuring it fits snugly over the entire frame. Zip up the door to check alignment and fit.

Image: Visual guide for the three main steps of greenhouse assembly: frame construction, shelf placement, and cover installation.
Assembly Video Guide
Video: A detailed assembly guide demonstrating the setup process for the OLIXIS Mini Greenhouse.
Operating Instructions
The OLIXIS Mini Greenhouse provides an optimal environment for plant growth. Follow these guidelines for effective operation:
- Plant Placement: Utilize the four sturdy shelves to organize your plants, flowers, and vegetables. Distribute weight evenly and do not exceed 22 lbs per shelf.
- Ventilation: Use the easy-roll zippered door to control airflow and access plants for watering and care. Open the door partially or fully to adjust internal temperature and humidity as needed.
- Sunlight Exposure: Position the greenhouse in an area that receives appropriate sunlight for your plants. The PE cover provides UV protection while allowing light to penetrate.
- Pest Control: Keep the zippered door closed when not accessing plants to help protect them from unwanted pests.
- Weather Protection: The durable PE cover is designed to withstand wind, dust, and frost, maintaining a consistent internal environment. For extreme weather, consider additional anchoring or temporary relocation.
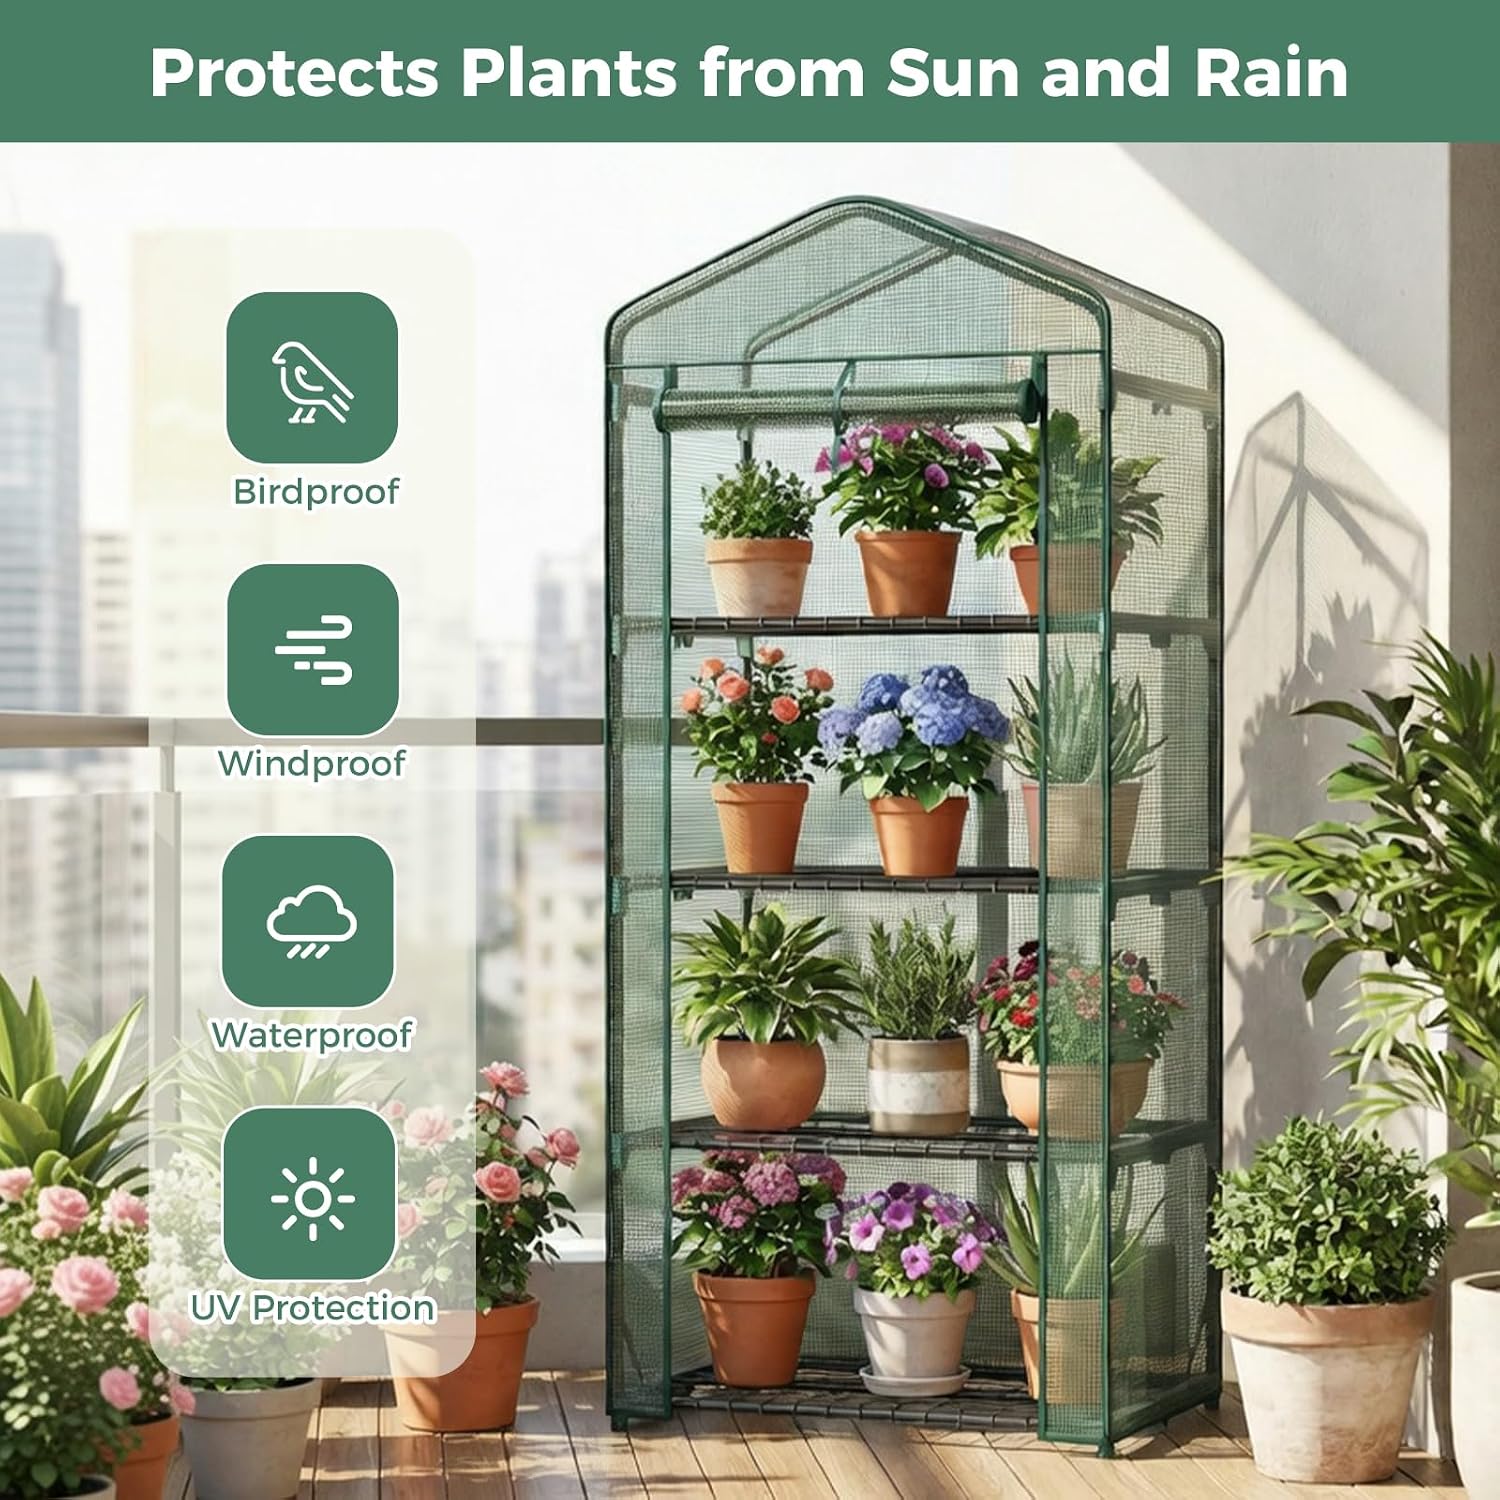
Image: The greenhouse protecting plants from various elements, highlighting its birdproof, windproof, waterproof, and UV protection features.

Image: Demonstrates the versatility of the greenhouse for both indoor and outdoor use, from living rooms to gardens.
Maintenance
Regular maintenance will extend the lifespan of your OLIXIS Mini Greenhouse:
- Cleaning the Cover: Wipe the PE cover periodically with a damp cloth to remove dust and debris. Avoid harsh chemicals that could damage the material.
- Frame Inspection: Regularly check all steel pipe connections and plastic connectors for tightness and stability. Re-secure any loose parts.
- Shelf Integrity: Inspect shelves for any signs of damage or bending. Ensure shelf clips remain securely in place.
- Zipper Care: Keep the zipper clean and free of obstructions. Lubricate with a silicone-based spray if it becomes stiff.
- Seasonal Storage: If storing the greenhouse for an extended period, clean all components thoroughly, disassemble if desired, and store in a dry, protected area.
Troubleshooting
If you encounter issues with your mini greenhouse, refer to the following common problems and solutions:
| Problem | Possible Cause | Solution |
|---|---|---|
| Greenhouse feels unstable after assembly. | Loose connections or uneven ground. | Ensure all pipes are fully inserted into connectors. Place on a level surface. Consider anchoring the base. |
| Shelves are not holding weight or pop out. | Shelf clips not properly secured or shelves overloaded. | Verify all 16 clips are correctly attached to the frame and shelf. Do not exceed 22 lbs per shelf. |
| Zipper on cover is difficult to operate or damaged. | Debris in zipper teeth or material caught. | Clean zipper teeth. Apply a silicone lubricant. If damaged, contact customer support for replacement parts. |
| Water accumulation inside the greenhouse. | Insufficient ventilation or condensation. | Increase ventilation by opening the zippered door for periods. Ensure proper air circulation around plants. |
Specifications
| Feature | Detail |
|---|---|
| Model Number | OLUSWSV |
| Dimensions (L x W x H) | 27" x 19" x 63" (68.6 cm x 48.3 cm x 160 cm) |
| Color | Light Green |
| Frame Material | Alloy Steel (Powder-Coated) |
| Cover Material | Polyethylene (PE) |
| Number of Tiers | 4 |
| Shelf Weight Capacity | 22 lbs (10 kg) per shelf |
| Item Weight | 9.3 lbs (4.2 kg) |
| Special Features | Durable Zipper Door, UV Protection, Waterproof, Windproof |

Image: Dimensional diagram of the OLIXIS Mini Greenhouse, illustrating its length, width, and height.
Warranty and Support
Warranty information for the OLIXIS Mini Greenhouse is not explicitly provided in the product details. For specific warranty terms or customer support, please contact OLIXIS directly through their official website or the retailer where the product was purchased.
For returns, a 30-day return policy may apply, depending on the retailer's terms.
Ask a question about this manual
Ask about setup, troubleshooting, compatibility, parts, safety, or missing instructions. Manuals+ will review the question and use this page’s manual context to help answer it.