
Product Overview
The Generic Portable Precision Knife Sharpener (Model JBH-BXMDS) is designed to provide a consistent sharpening angle for various kitchen and outdoor knives. Its compact design and guided system make it suitable for home cooks and outdoor enthusiasts seeking a reliable manual sharpening solution. The sharpener features an ABS body, emery abrasive stones, and interchangeable angle guides for 15, 17, and 25 degrees.
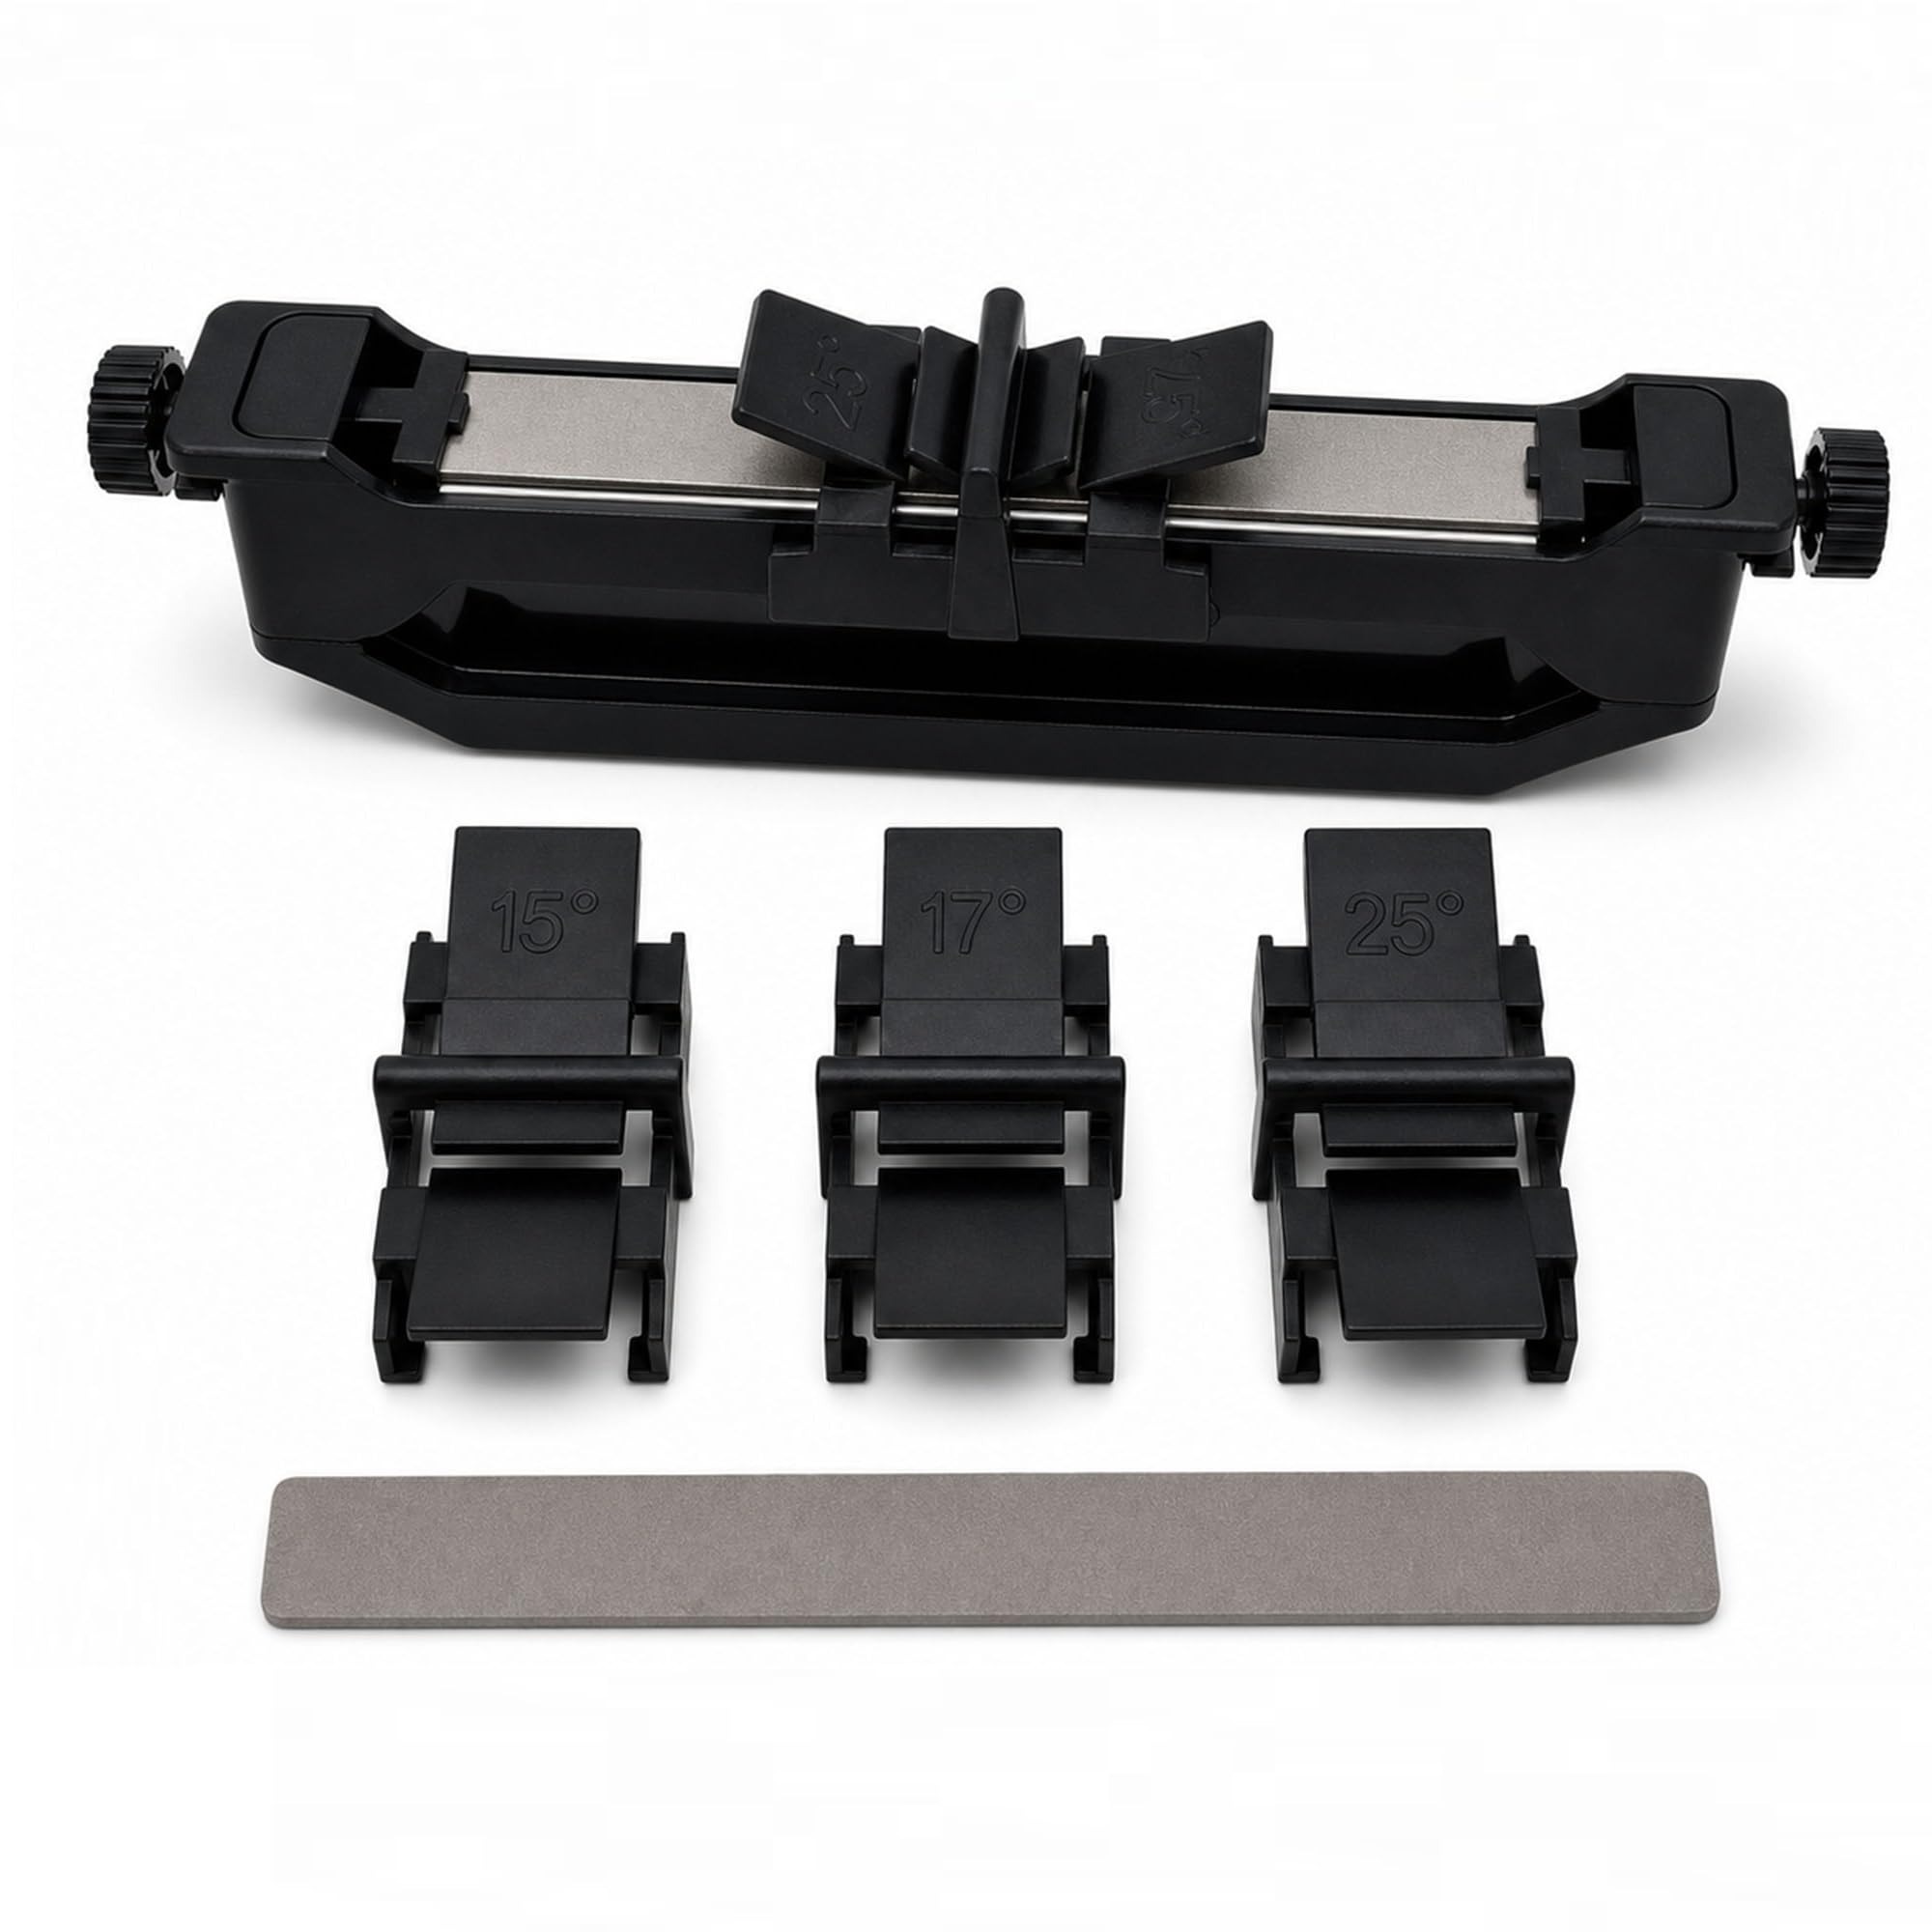
Image: The main unit of the Portable Precision Knife Sharpener, showcasing its compact design.
Parts At A Glance
Familiarize yourself with the components of your knife sharpener:
- ABS Body: The main housing of the sharpener.
- Adjustable Tension Knobs: Located at each end, used to secure the emery stone.
- Angle Guides (15°, 17°, 25°): Detachable clips that set the sharpening angle.
- Emery Stone: The abrasive surface for sharpening (pre-installed).
- Replacement Emery Stones: Additional abrasive stones for future use.

Image: An exploded view diagram labeling the various parts of the knife sharpener, including the ABS body, adjustable tension knobs, angle guides, and emery stones.
Specifications
| Feature | Detail |
|---|---|
| Model Number | JBH-BXMDS |
| Material | Acrylonitrile Butadiene Styrene (ABS), Carborundum (Emery Stones) |
| Product Dimensions (L x W x H) | 23.2L x 4W x 5.2H centimetres (9.13 x 1.57 x 2.05 inches) |
| Item Weight | 0.07 kg (5.35 oz) |
| Included Components | 1 knife sharpener, 3 angle guides, 1 or 2 emery stones (depending on variation) |
| Angle Guides | 15°, 17°, 25° |
| Emery Stone Grit Options | 800/1000 grit (single stone) or 800/1000 and 1500/2000 grit (two stones) |
Setup
The Portable Precision Knife Sharpener is designed for quick and easy setup. Most components are ready for immediate use.
- Unpack Components: Carefully remove the sharpener, angle guides, and any additional emery stones from the packaging.
- Inspect for Damage: Check all parts for any signs of damage during transit. If any parts are damaged, do not use the sharpener and contact customer support.
- Identify Emery Stone: The main sharpening unit comes with an emery stone pre-installed. If your package includes additional stones, identify their grit levels (e.g., 800/1000, 1500/2000).
- Prepare Angle Guides: The three angle guides (15°, 17°, 25°) are separate clips. Select the appropriate guide for your knife type before sharpening.

Image: An overview of the sharpener's components, including the main body, angle guides, and replacement stones, highlighting its compact storage size.
Operating Instructions
Follow these steps for safe and effective knife sharpening:
- Choose Your Angle Guide:
Select the angle guide (15°, 17°, or 25°) that best suits your knife. Generally, smaller angles (15°, 17°) are for finer kitchen knives, while larger angles (25°) are for more robust outdoor or utility knives. Snap the chosen angle guide onto the central slot of the sharpener.
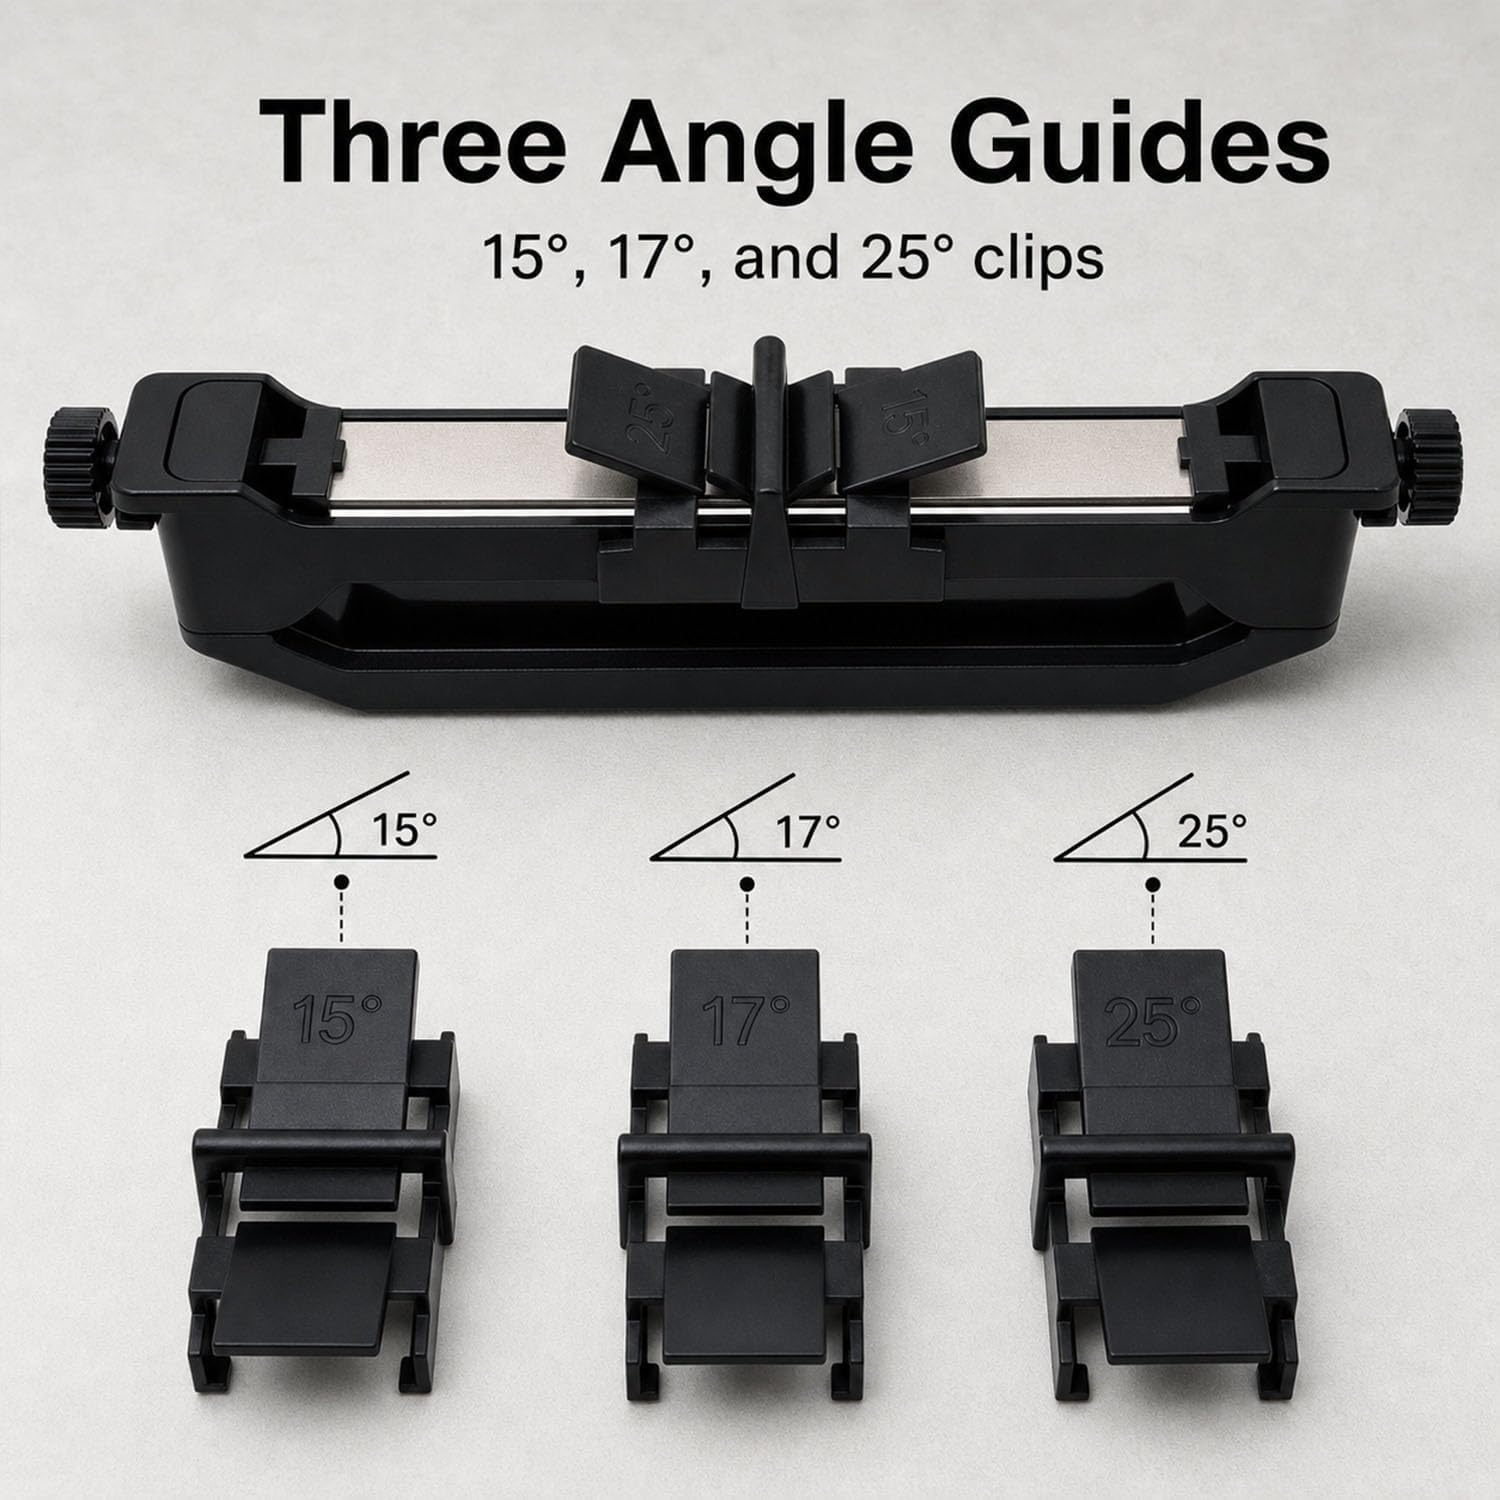
Image: The three distinct angle guides (15°, 17°, and 25°) are shown, illustrating how they clip onto the sharpener to set the blade angle.
- Position the Knife:
Hold the sharpener firmly on a stable surface. Place the knife blade into the V-shaped slot of the selected angle guide, ensuring the blade rests flat against the guide's surface.
- Sharpening Technique:
Apply light, even pressure and pull the knife blade smoothly through the sharpener, from the heel to the tip. Repeat this motion several times, maintaining consistent pressure and angle. Alternate sides of the blade with each pass or after a few passes to ensure even sharpening.

Image: A step-by-step visual guide showing the process of selecting an angle guide, positioning the knife blade, and pulling it through the sharpener for even sharpening.
- Check Sharpness:
After several passes, carefully check the knife's sharpness. If needed, continue sharpening until the desired edge is achieved. For very dull knives, you may start with a coarser grit stone (if available) and finish with a finer grit.

Image: A visual comparison showing a dull knife edge before sharpening and a visibly sharper, refined edge after using the tool.
Important: This sharpener is not intended for scissors, serrated knives, ceramic blades, or axes.
Maintenance
Proper maintenance ensures the longevity and effectiveness of your knife sharpener.
- Cleaning After Use:
After each sharpening session, detach the angle guides and emery stones from the main ABS body. Rinse these detachable parts by hand under running water to remove metal filings and sharpening residue. Use a soft brush if necessary.

Image: A two-part image demonstrating the cleaning process: rinsing detachable parts under water and then drying them thoroughly with a cloth.
- Drying:
Ensure all parts are thoroughly dry before reassembling or storing. Air dry or wipe with a clean, dry cloth. Avoid soaking the ABS base, as this is not designed for prolonged water exposure.
- Storage:
Store the sharpener and its components in a dry place, away from excessive moisture or extreme temperatures. Its compact size allows for easy storage in a drawer, tool roll, or camper kit.
- Replacing Emery Stones:
Over time, the emery stones will wear down. To replace them, loosen the adjustable tension knobs, remove the old stone, insert a new one, and tighten the knobs to secure it firmly.
Troubleshooting
If you encounter issues with your knife sharpener, refer to these common solutions:
- Knife not sharpening effectively:
- Ensure you are using the correct angle guide for your knife type.
- Verify that the knife blade is resting flat against the angle guide during passes.
- Apply light, consistent pressure. Too much pressure can damage the blade or stone.
- Check the emery stone for wear. If it appears smooth or heavily grooved, it may need replacement.
- Ensure you are pulling the knife from heel to tip, not pushing.
- Blade feels rough after sharpening:
- This may indicate that you only used a coarse grit stone. If your sharpener came with multiple grit stones, finish with a finer grit stone (e.g., 1500/2000) to refine the edge.
- Ensure the blade is clean before sharpening.
- Angle guide feels loose:
- Ensure the angle guide is properly snapped into the central slot of the sharpener.
Important Safety Information
Please read and follow these safety precautions to prevent injury and ensure proper use of the sharpener:
- Always handle knives with extreme care. Blades are sharp and can cause severe injury.
- Keep fingers away from the blade edge and the sharpening stone during operation.
- Ensure the sharpener is placed on a stable, non-slip surface before use.
- Keep the sharpener out of reach of children.
- Do not attempt to sharpen scissors, serrated knives, ceramic blades, or axes with this device, as it is not designed for these types of blades and may cause damage or injury.
- Wear cut-resistant gloves for added protection if desired.
- Dispose of worn-out emery stones responsibly.
Warranty and Support
As this product is listed under the "Generic" brand, specific warranty information may vary. Please refer to the retailer or seller from whom you purchased the product for details regarding warranty coverage and customer support. For general inquiries or assistance with product usage, consult the information provided by your point of purchase.