Introduction
This manual provides detailed instructions for the TOWILD CL600 Rechargeable Bicycle Light. Please read this manual thoroughly before use to ensure proper operation and maintenance. The CL600 is designed for cyclists seeking a reliable and versatile front light, featuring 600 lumens brightness, a 2600mAh battery, USB-C charging, IPX6 waterproofing, and multiple lighting modes.
Setup
1. Unboxing and Components
Verify all components are present: CL600 light unit, handlebar mount, GoPro compatible mount, USB-C charging cable, and instruction manual.
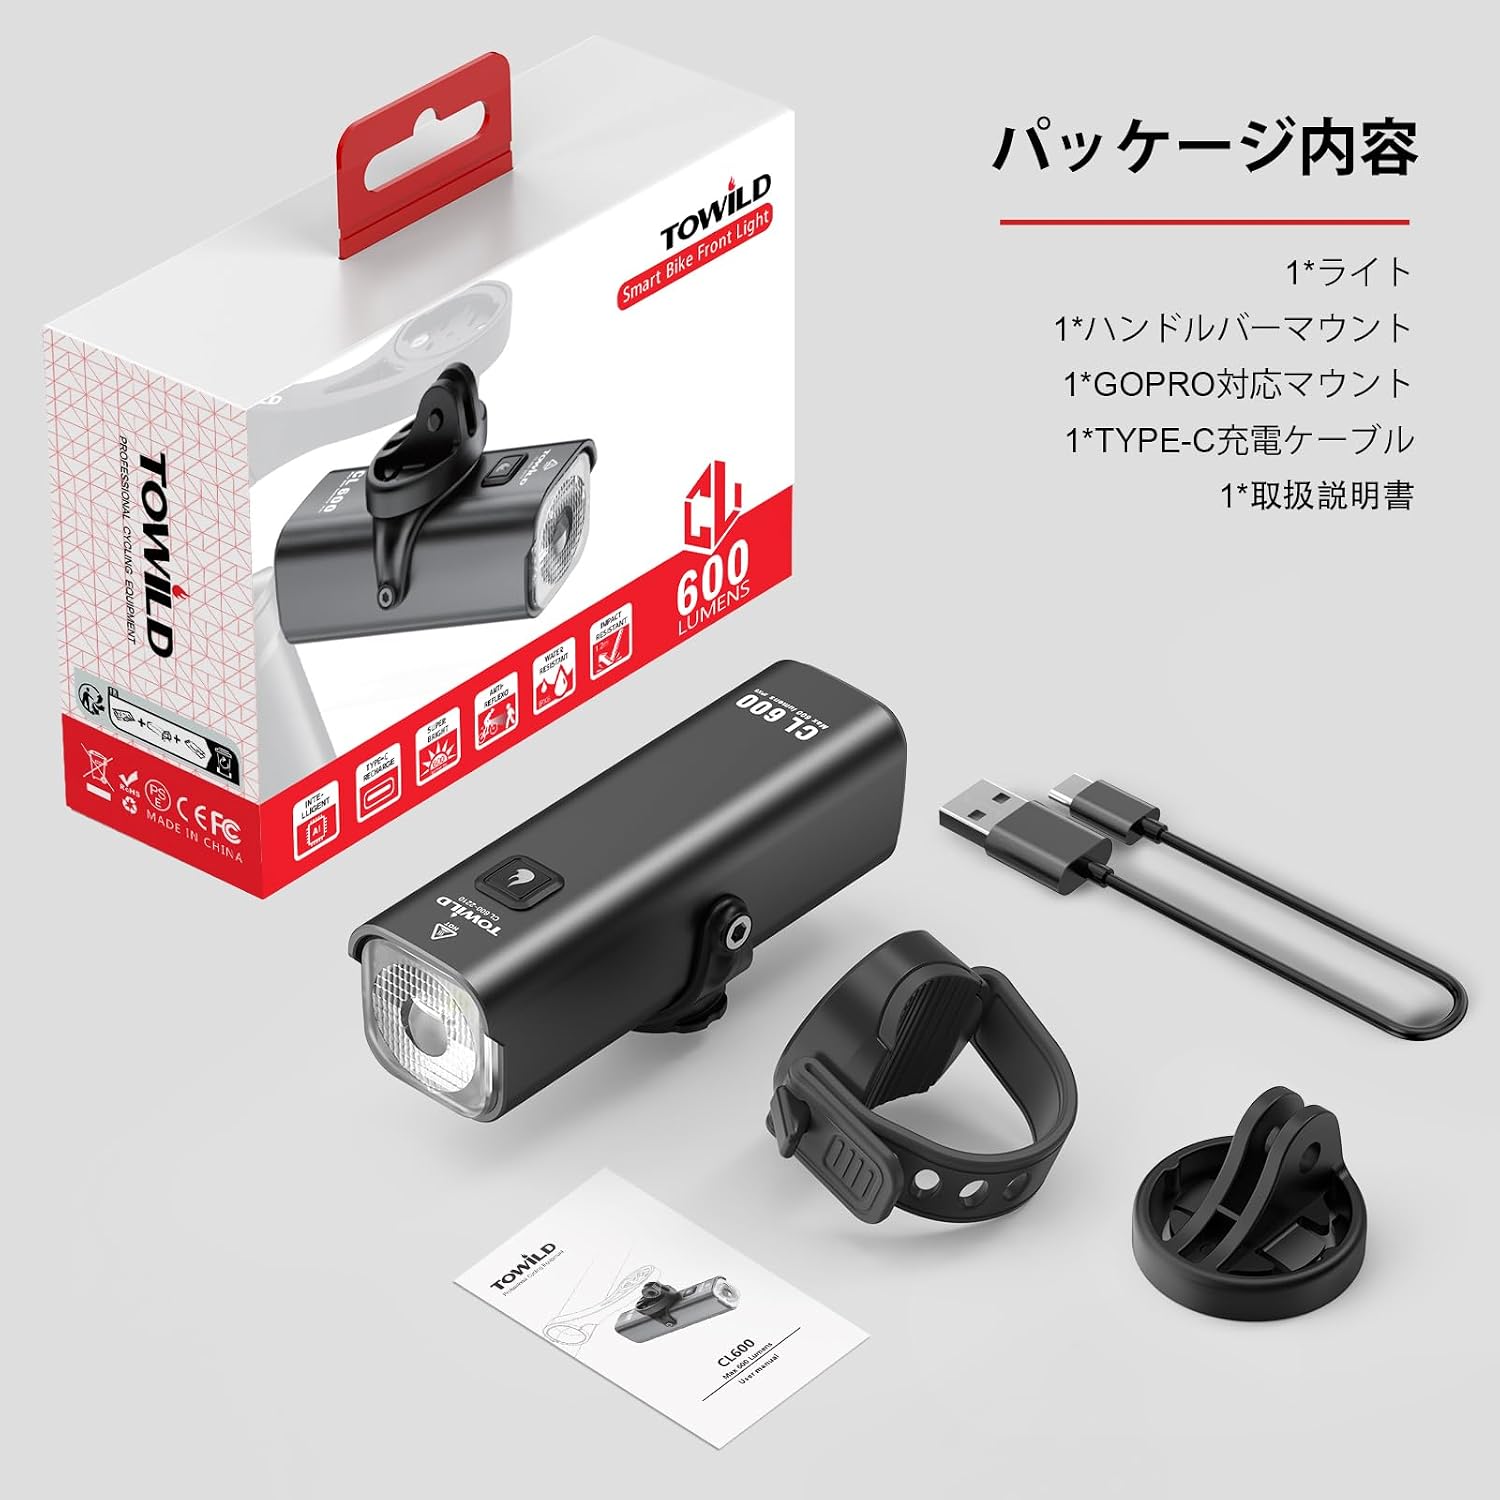
Image: Package contents of the TOWILD CL600 bicycle light, showing the light unit, handlebar mount, GoPro mount, USB-C cable, and user manual.
2. Mounting the Light
- Handlebar Mount: Attach the handlebar mount securely to your bicycle's handlebar. Ensure the mount is tightened sufficiently to prevent movement during riding.
- Garmin/GoPro Compatible Mount: The CL600 features a Garmin-compatible bracket, allowing it to be mounted above or below your handlebars, or even on a helmet, using compatible Garmin/GoPro mounts (sold separately). This provides flexibility for various cycling setups.

Image: The TOWILD CL600 bicycle light securely mounted on a handlebar, demonstrating its front placement.

Image: Various mounting options for the TOWILD CL600, including helmet and under-handlebar positions, highlighting its Garmin mount compatibility.
3. Initial Charge
Before first use, fully charge the CL600 light using the provided USB-C cable. Connect the cable to the light's USB-C port and a suitable USB power source. The battery indicator will show charging status.
Operation
1. Power On/Off
Press and hold the power button for approximately 1 second to turn the light ON or OFF.
2. Changing Lighting Modes
- With the light ON, a single press of the power button cycles through the three steady brightness modes: High (600 lumens), Medium (300 lumens), and Low (150 lumens).
- Double-click the power button to switch to the flashing modes: Night Flash (200 lumens) and Day Flash (600 lumens).

Image: A close-up view of the TOWILD CL600 bicycle light, highlighting the power button for mode selection and the main light lens.

Image: A table detailing the TOWILD CL600's lighting modes (Low, Medium, High, Night Flash, Day Flash), their respective brightness levels (150LM to 600LM), and approximate runtimes (2.25 to 13 hours).
3. Smart Mode (Vibration Sensor)
- The CL600 features a smart mode with a vibration sensor. When activated (indicated by a blue light), the light will automatically turn off after approximately 120 seconds of inactivity (e.g., when stopped at a traffic light).
- Upon detecting vibration (movement), the light will automatically turn back on.
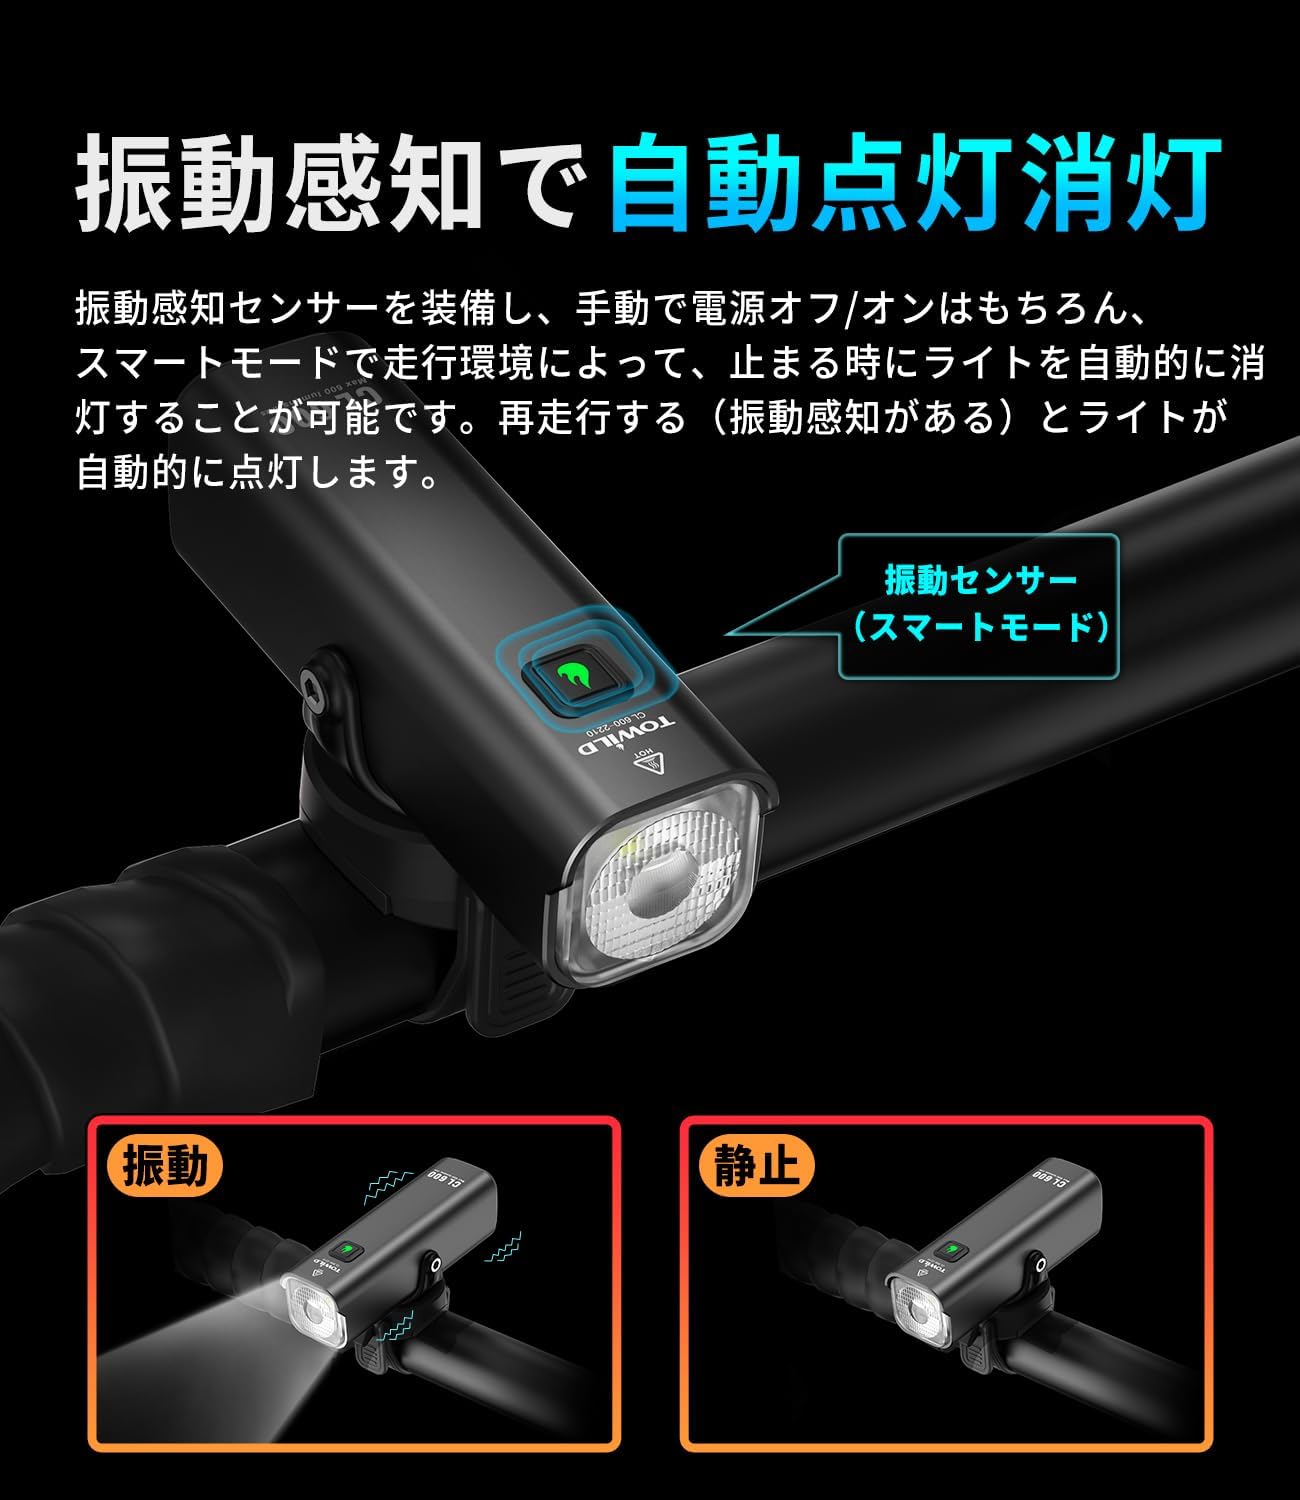
Image: The TOWILD CL600 bicycle light mounted on a handlebar, with an arrow indicating the vibration sensor for its smart mode functionality.

Image: A visual representation of the TOWILD CL600's automatic on/off feature, showing the light turning off when stationary and turning back on when vibration is detected.
4. Battery Indicator
The indicator light on the device displays the battery level:
- Green (steady): 100-30% charge.
- Green (flashing): Below 30% charge.
- Red & Green (alternating flash): Below 10% charge.

Image: A diagram illustrating the battery indicator light states for the TOWILD CL600, showing different colors and flashing patterns for various charge levels.
Maintenance
1. Charging
- Charge the light using the provided USB-C cable. The 2600mAh battery allows for extended use.
- Avoid overcharging or completely draining the battery to prolong its lifespan.

Image: The TOWILD CL600 bicycle light being charged via a USB-C cable, demonstrating the charging port location.

Image: The TOWILD CL600 bicycle light being charged via USB-C from multiple power sources, including a laptop, power bank, and car charger.
2. Cleaning
Wipe the light's body and lens with a soft, damp cloth. Do not use abrasive cleaners or solvents.
3. Water Resistance
The CL600 is IPX6 waterproof, meaning it is protected against powerful water jets. It can withstand heavy rain but should not be submerged in water.

Image: The TOWILD CL600 bicycle light shown in a rainy environment, illustrating its IPX6 waterproof capability.
4. Storage
Store the light in a cool, dry place when not in use for extended periods. Charge it periodically (every 3-6 months) to maintain battery health.
Troubleshooting
- Light not turning on:
- Ensure the battery is charged. Connect to a USB-C power source and check the indicator light.
- Press and hold the power button for 1 second to ensure it's not just in standby.
- Light not charging:
- Check the USB-C cable and power adapter for damage.
- Ensure the cable is fully inserted into the light's port.
- Smart mode not working:
- Ensure the smart mode is activated (blue indicator light).
- Verify the light is securely mounted and can detect vibrations.
- Light output is dim:
- The battery might be low. Recharge the light.
- Ensure the lens is clean and free from dirt or obstructions.
Specifications
| Feature | Detail |
|---|---|
| Model | CL600 |
| Brand | TOWILD |
| Maximum Light Output | 600 Lumens |
| Battery Capacity | 2600mAh |
| Charging Type | USB-C |
| Water Resistance | IPX6 |
| Lighting Modes | 5 (High, Medium, Low, Night Flash, Day Flash) |
| Material | Aluminum |
| Item Weight | 140 grams |
| Mounting Type | Handlebar mount, Garmin/GoPro compatible |
| Included Components | Japanese instruction manual |
| Manufacturer Model Number | CL600-01 |
| Country of Origin | China |
Warranty Information
The TOWILD CL600 Bicycle Light comes with a 1-year manufacturer's warranty from the date of purchase. This warranty covers defects in materials and workmanship under normal use. Please retain your proof of purchase for warranty claims. For warranty service, please contact customer support.
Customer Support
For any questions, concerns, or technical assistance regarding your TOWILD CL600 Bicycle Light, please contact our customer support team:
- Email: support@towild.com
- Website: www.towild.com
- Phone: +1-XXX-XXX-XXXX (Please refer to your regional support contact if available)