
1. Introduction
Thank you for choosing the vidaXL Grey Solid Fir Wood Garden Shed. This manual provides essential information for the safe and efficient assembly, operation, and maintenance of your new outdoor storage solution. Please read these instructions carefully before beginning assembly and retain them for future reference.
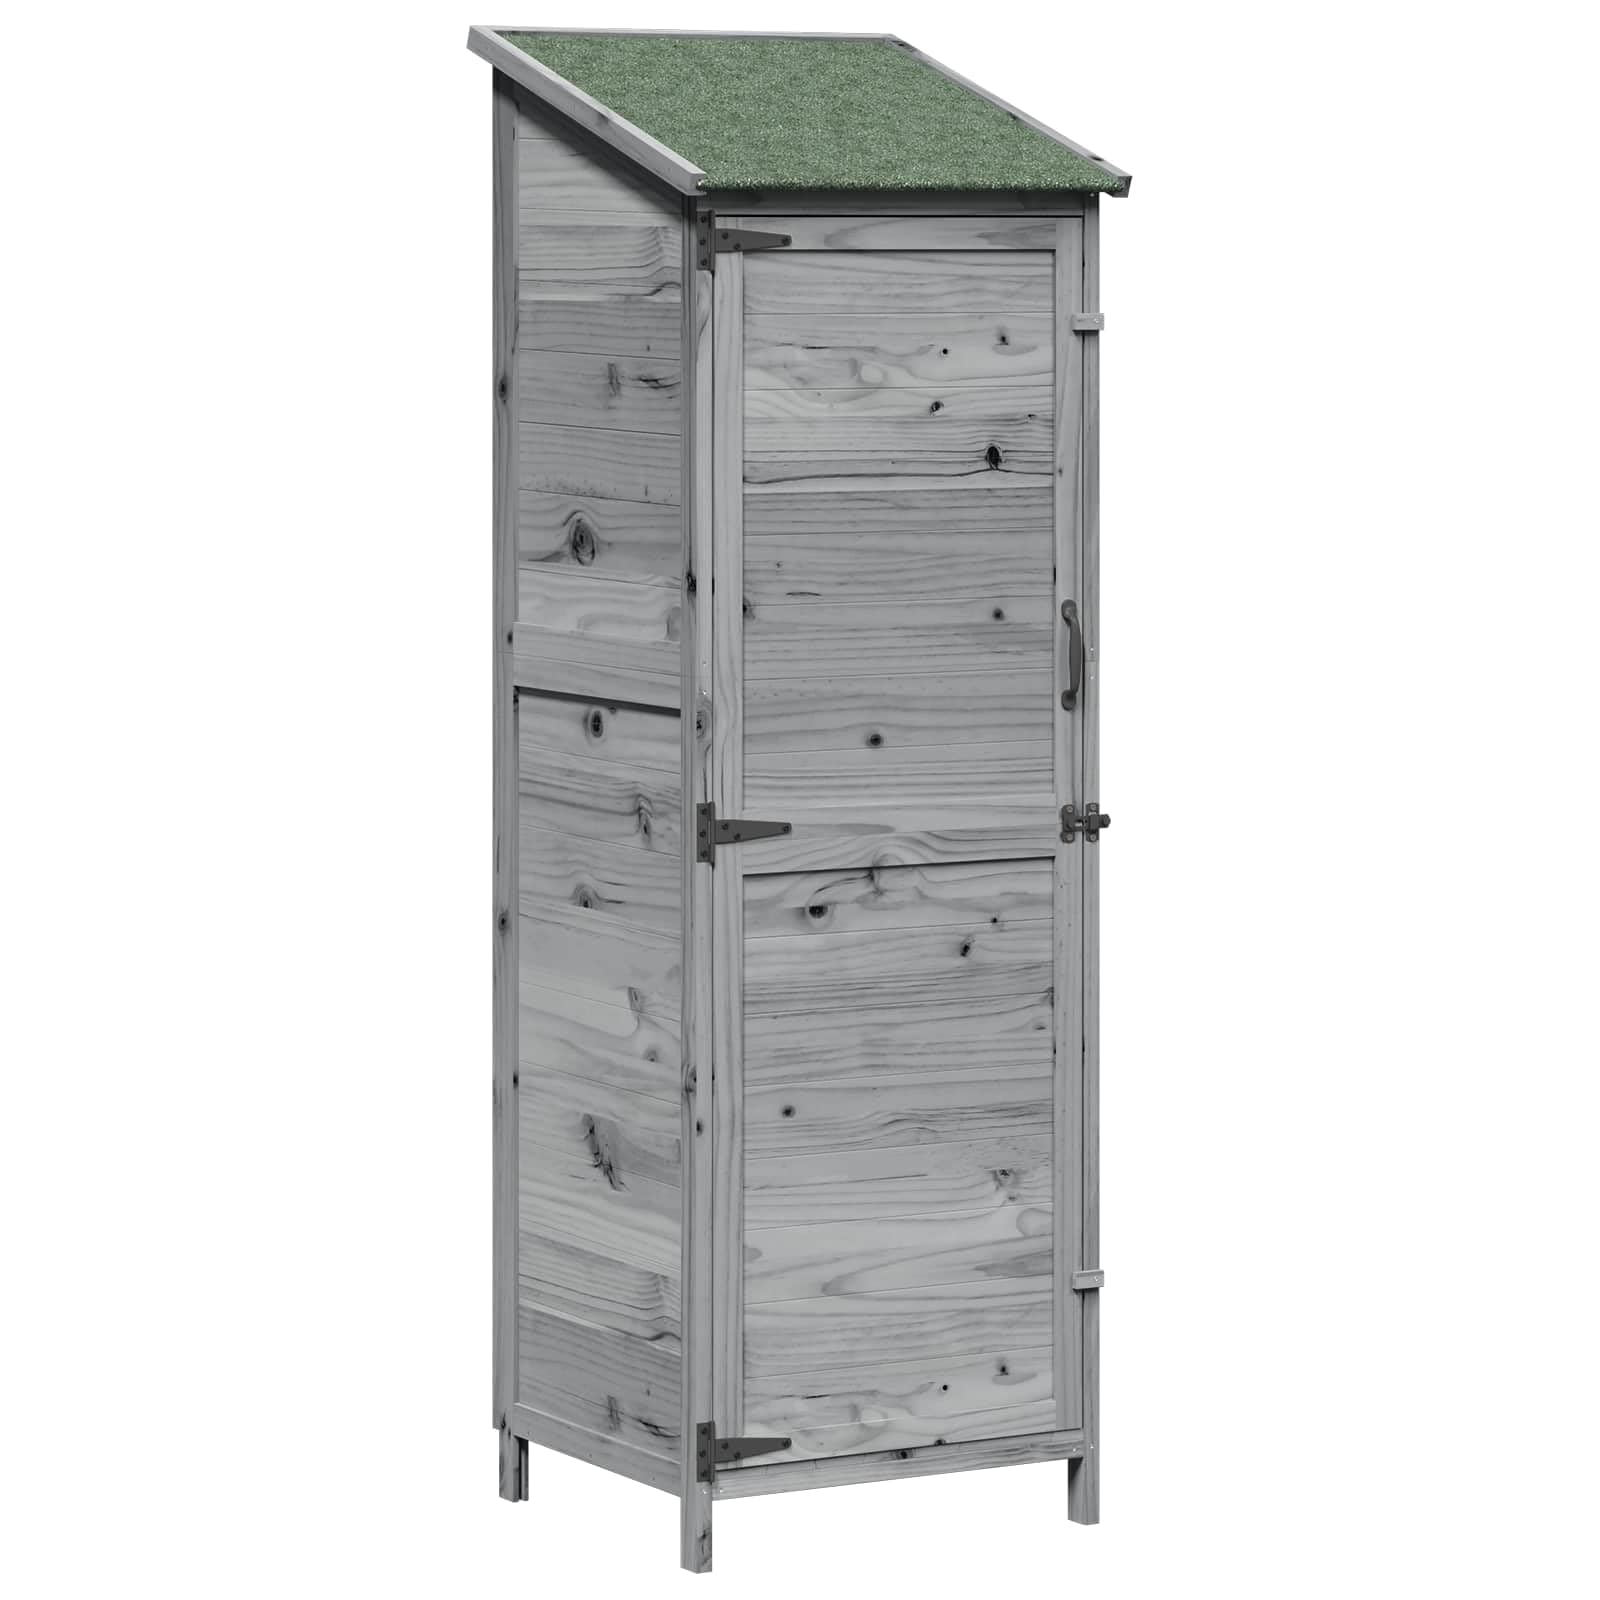
Image 1.1: The vidaXL Grey Solid Fir Wood Garden Shed in an outdoor setting, showcasing its design and utility.
2. Safety Information
Always prioritize safety during assembly and use. Failure to follow these safety guidelines may result in injury or damage to the product.
- Outdoor Use Only: This garden shed is designed exclusively for outdoor use. Do not attempt to use it indoors.
- Stable Surface: Ensure the shed is assembled and placed on a flat, level, and stable surface to prevent tipping.
- Assembly: Assembly requires at least two adults. Wear appropriate safety gear, such as gloves, during assembly.
- Anchoring: For added stability and safety, especially in windy conditions, consider anchoring the shed to the ground (anchoring hardware not included).
- Weight Capacity: Do not overload the shed. Distribute weight evenly to prevent structural stress.
- Children and Pets: Keep children and pets away from the assembly area. Do not allow them to play inside or around the shed unsupervised.
- Ventilation: The louvered door provides ventilation. Do not block these vents, especially if storing items that require air circulation.
3. Package Contents
Before starting assembly, verify that all components are present and undamaged. If any parts are missing or damaged, do not proceed with assembly and contact customer support.
- 1 x Garden Shed (unassembled engineered wood panels)
- 1 x Asphalt Roof Section
- Hardware Pack (screws, hinges, latch, handle)
- Assembly Instructions (refer to separate document if provided)
4. Setup and Assembly
Assembly of this garden shed is required. Follow the step-by-step instructions provided in the separate assembly guide included with your package. The general process involves:
- Preparation: Clear a suitable, level outdoor area for assembly. Gather necessary tools (e.g., screwdriver, hammer, measuring tape).
- Base Assembly: Construct the base frame of the shed.
- Wall Panel Installation: Attach the engineered wood wall panels to the base.
- Roof Installation: Secure the asphalt roof section. Ensure it is properly aligned to provide waterproof protection.
- Door Assembly: Attach the louvered door using the provided hinges and install the handle and latch mechanism.
- Final Checks: Ensure all screws are tightened and the shed is stable.

Image 4.1: Dimensional diagram of the garden shed, useful for understanding component placement during assembly.

Image 4.2: Detail of the green asphalt roof, highlighting its construction for weather protection.
5. Operating Instructions
The vidaXL garden shed is designed for straightforward use to store your outdoor items securely.
- Opening/Closing the Door: Use the integrated handle to open and close the louvered door. Ensure the latch is securely fastened when closed to protect contents.
- Ventilation: The louvered design of the door promotes air circulation, helping to reduce humidity inside the shed and keep stored items dry. Avoid blocking the louvered sections.
- Storage: Utilize the spacious interior for garden tools, equipment, and other outdoor supplies. Distribute items evenly to maintain balance and prevent damage to the shed structure.
- Security: The shed is equipped with a latch suitable for a padlock (padlock not included) to secure your belongings.

Image 5.1: Detail of the door handle and latch, showing the mechanism for securing the shed.

Image 5.2: The shed with its doors open, illustrating the available interior storage capacity.
6. Maintenance
Regular maintenance will extend the lifespan of your garden shed and ensure its continued functionality.
- Cleaning: Clean the exterior of the shed periodically with a soft cloth and mild soap solution. Avoid abrasive cleaners or harsh chemicals that could damage the engineered wood finish.
- Roof Inspection: Regularly inspect the asphalt roof for any signs of damage, cracks, or loose sections. Promptly repair any issues to maintain its waterproof integrity.
- Wood Care: Although made from engineered wood, periodic inspection for signs of wear, moisture damage, or pest activity is recommended. Apply a wood sealant or protective coating if desired, following product manufacturer instructions.
- Hardware: Check hinges, latches, and other hardware periodically to ensure they are secure and functioning correctly. Tighten any loose screws.
- Ventilation: Ensure the louvered door remains clear of obstructions to allow proper airflow.

Image 6.1: Detail of the shed's roof edge, showing the construction and material for maintenance checks.
7. Troubleshooting
This section addresses common issues you might encounter with your garden shed.
- Water Leakage: If you notice water inside the shed, inspect the asphalt roof for damage or improper sealing. Check all panel joints for gaps. Ensure the shed is on a level surface to prevent water pooling.
- Door Not Closing Properly: Check if the shed is on a level surface. Uneven ground can cause the frame to twist, affecting door alignment. Inspect hinges for damage or looseness.
- Poor Ventilation: Ensure the louvered sections of the door are not blocked by debris or stored items. Clear any obstructions to allow air to flow freely.
- Wobbly Structure: Verify that all assembly screws are securely tightened. Ensure the shed is placed on a firm, level foundation. Consider anchoring the shed to the ground for increased stability.
8. Specifications
| Feature | Detail |
|---|---|
| Model Number | 42033446 |
| Overall Dimensions (L x W x H) | 59.5 x 56 x 176.5 cm |
| Material | Engineered Wood |
| Color | Grey |
| Item Weight | 17.43 kg |
| Lock Type | Padlock (not included) |
| Roof Type | Sloped Asphalt Roof |
| Ventilation | Louvered Door |
| Assembly Required | Yes |
| Usage | Outdoor Only |
9. Warranty and Support
For information regarding warranty coverage, please refer to the warranty card included with your purchase or contact the retailer where the product was acquired. For technical support, missing parts, or any other inquiries, please contact vidaXL customer service through their official website or the contact information provided with your product documentation.