1. Introduction
Thank you for purchasing the Bellemave Twin Size Loft Bed with L-Shaped Desk and Charging Station. This manual provides essential information for the safe assembly, operation, and maintenance of your new loft bed. Please read all instructions carefully before beginning assembly and retain this manual for future reference.
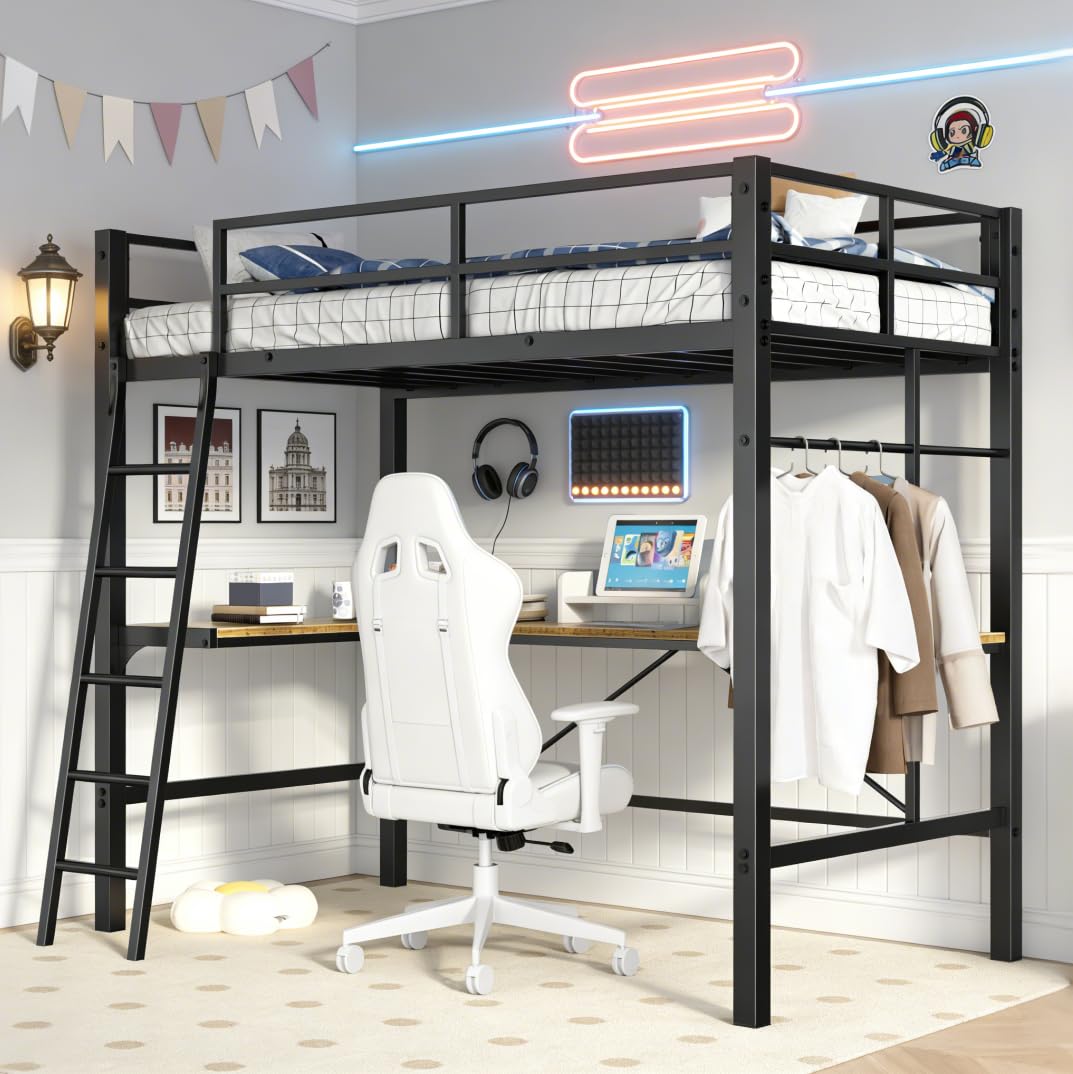
Figure 1: Bellemave Twin Size Loft Bed with L-Shaped Desk and Ladder (overall view).
2. Safety Information
Your safety is paramount. Adhere to all warnings and instructions to prevent injury or damage to the product.
- Anti-Tipping Device: Always secure the bed to the wall using the provided Anti-Tipping Nails. Failure to do so can result in serious injury from tipping.
- Mattress Placement: Ensure the top of the mattress on the upper bunk is at least 5 inches (12.7 cm) below the top edge of the guardrail. Recommended mattress thickness is 4-6 inches.
- Weight Capacity: Do not exceed the maximum weight capacity of 400 pounds (181 kg) for the loft bed.
- Assembly: Follow all assembly instructions precisely. Incorrect assembly can lead to instability and potential hazards.
- Guardrails: The top bunk is equipped with full-length and heightened guardrails for user safety. Do not remove or modify them.
- Foot Pads: The bed legs feature wear-resistant foot pads to prevent sliding and reduce noise. Ensure they are intact.
- Children: This loft bed is suitable for children, teens, and adults. Supervise young children using the ladder and upper bunk.
- Ventilation: Ensure adequate ventilation around the charging station to prevent overheating.

Figure 2: Illustration of the Anti-Toppling Device. Fix the bed to the wall for stability and security.
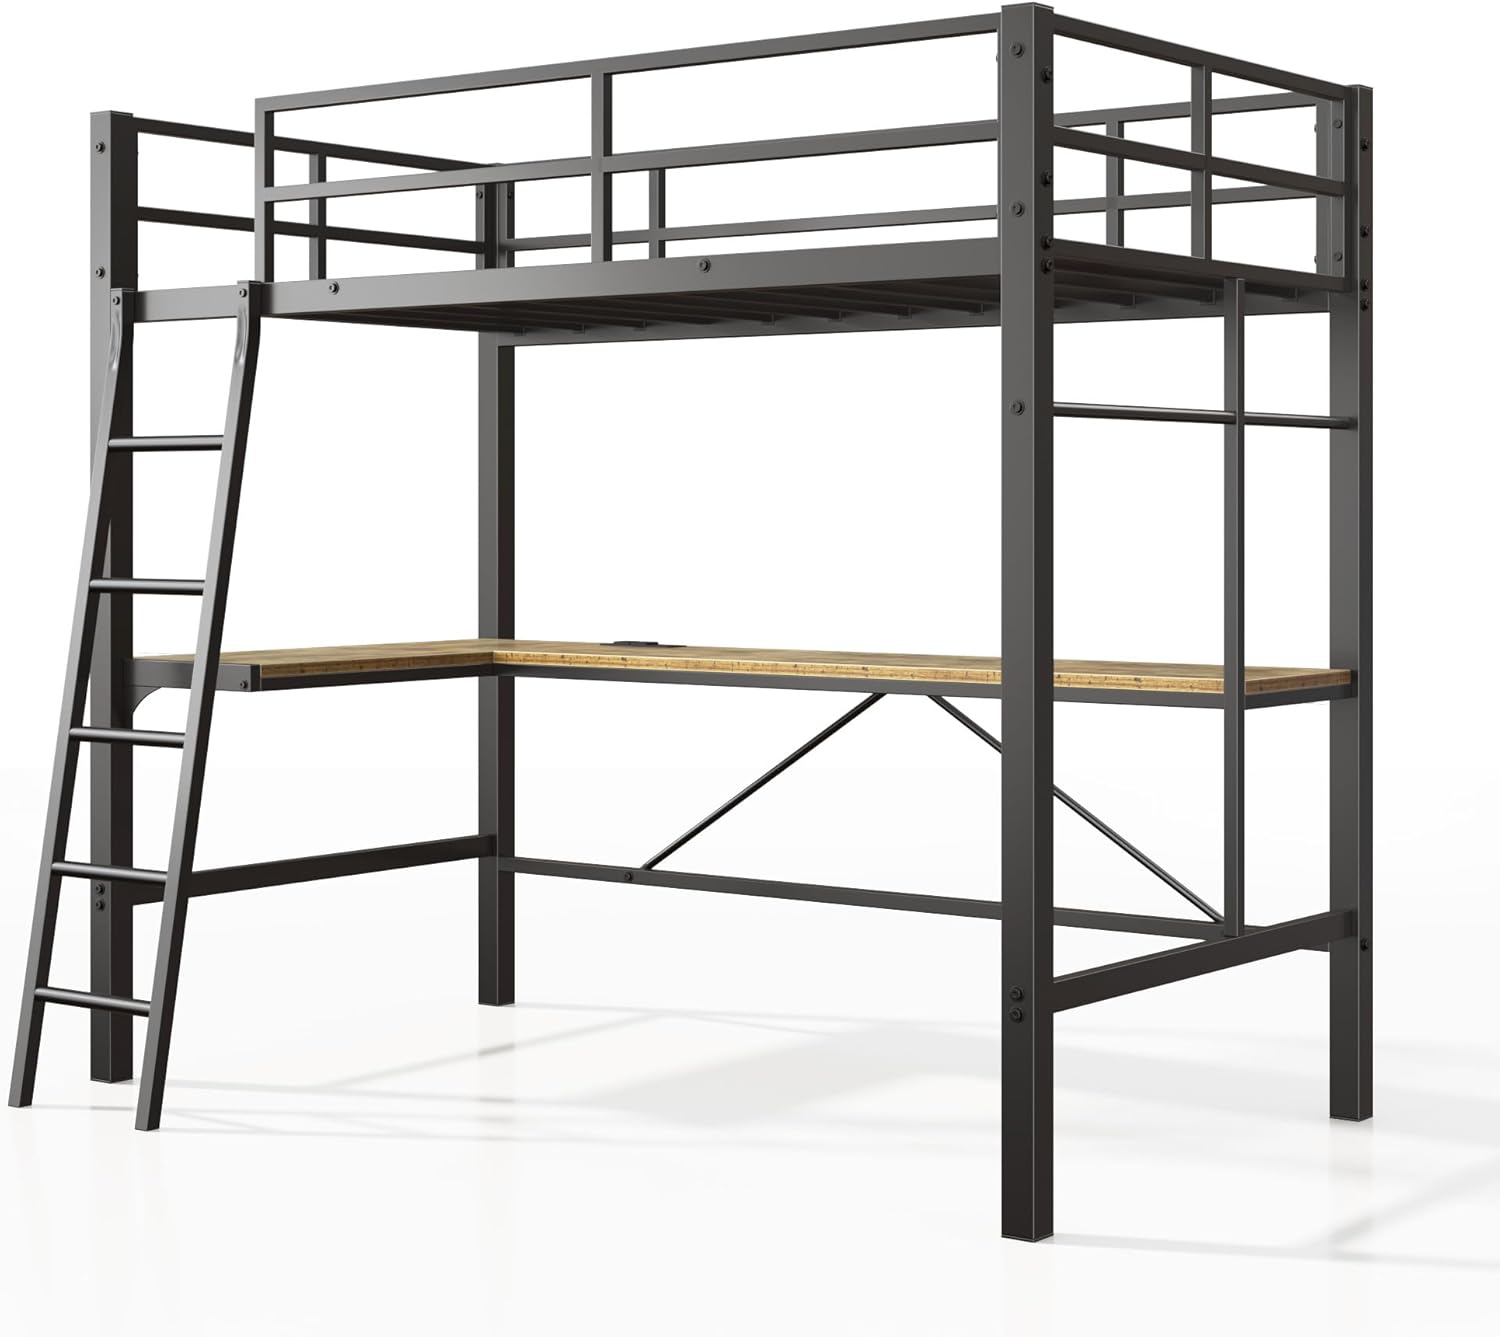
Figure 3: Top bunk featuring 12-inch full-length and enclosed guardrails for safety.
3. Package Contents
Before assembly, verify that all components are present and undamaged. If any parts are missing or damaged, contact customer support immediately.
The package includes:
- Metal frame components (posts, rails, slats)
- L-shaped desk panels
- Ladder components
- Charging station unit
- Hardware pack (screws, bolts, nuts, Allen wrench)
- Anti-tipping nails/kit
- Assembly instructions manual
4. Assembly Instructions
Assembly requires two adults. Clear a spacious area for assembly. Do not fully tighten screws until all components are loosely assembled.
4.1. Tools Required
- Allen wrench (provided)
- Phillips head screwdriver (not provided)
- Hammer (for anti-tipping nails, not provided)
4.2. Step-by-Step Assembly
- Unpack and Identify Parts: Carefully unpack all components and lay them out. Refer to the parts list in your provided manual to identify each piece.
- Assemble the Main Frame: Begin by connecting the main vertical posts and horizontal support beams using the provided hardware. Ensure all connections are secure but do not fully tighten yet.
- Install Bed Slats: Place the metal bed slats onto the designated supports on the upper bunk frame. The buckle design simplifies installation.
- Attach Guardrails: Secure the full-length guardrails to the upper bunk frame.
- Assemble the L-Shaped Desk: Attach the L-shaped desk panels to the lower frame supports. The desk is designed to fit snugly under the loft bed.
- Install Charging Station: Integrate the charging station into the designated slot on the L-shaped desk. Ensure the power cord is routed safely.
- Attach the Ladder: Secure the square tube ladder to the bed frame. Ensure it is stable and all connections are tight.
- Final Tightening: Once all components are in place and aligned, fully tighten all screws and bolts.
- Install Anti-Tipping Device: Securely fasten the anti-tipping device to the bed frame and then to a wall stud using the provided hardware. This step is crucial for safety.

Figure 4: Details of the square tube ladder, metal slats support, and buckle design for easy assembly.

Figure 5: Close-up views of the L-shaped desk, stable ladder, silent clips, and angle code for structural integrity.

Figure 6: Detail of the built-in multifunctional socket with 2 AC outlets, 1 Type-C port, and 1 USB port.

Figure 7: Detailed dimensions of the Bellemave Twin Size Loft Bed.
5. Operating Instructions
5.1. Using the Loft Bed
- Upper Bunk: Access the upper bunk using the integrated ladder. Always climb facing the ladder and use both hands.
- Mattress: Place a twin-size mattress (recommended 4-6 inches thick) on the metal slat support.
5.2. Using the L-Shaped Desk
- The L-shaped desk provides a dedicated space for studying, working, or gaming. Ensure items placed on the desk do not obstruct movement or pose a falling hazard.
5.3. Using the Charging Station
- The built-in charging station includes 2 AC outlets, 1 Type-C port, and 1 USB port. Plug in electronic devices as needed.
- Ensure the charging station is not overloaded. Disconnect devices when not in use.
6. Maintenance
Regular maintenance ensures the longevity and safety of your loft bed.
- Cleaning: Wipe down the metal frame and desk surfaces with a soft, damp cloth. Avoid harsh chemicals or abrasive cleaners.
- Hardware Check: Periodically check all screws, bolts, and connections to ensure they remain tight. Retighten as necessary.
- Guardrail Inspection: Regularly inspect guardrails for any signs of damage or looseness.
- Anti-Tipping Device: Verify that the anti-tipping device remains securely attached to both the bed and the wall.
- Charging Station: Keep the charging station free from dust and debris. Do not expose it to liquids.
7. Troubleshooting
Refer to the table below for common issues and their solutions.
| Problem | Possible Cause | Solution |
|---|---|---|
| Bed feels wobbly or unstable | Loose hardware; improper assembly; anti-tipping device not installed | Check and tighten all screws and bolts. Ensure the anti-tipping device is correctly installed and secured to the wall. Review assembly steps. |
| Ladder feels loose | Loose connections on the ladder | Tighten all screws connecting the ladder to the bed frame. |
| Charging station not working | Not plugged in; power outage; faulty device | Ensure the charging station's power cord is securely plugged into a working wall outlet. Check if other devices work in the same outlet. Test with a different device. |
| Squeaking noises | Loose connections; friction between metal parts | Tighten all hardware. Apply a small amount of silicone lubricant to contact points if necessary. |
8. Specifications
| Feature | Detail |
|---|---|
| Model Number | FST00259-TB-AB1 |
| Size | Twin |
| Material | Metal |
| Product Dimensions (L x W x H) | 77.48" x 42.36" x 72.83" (196.8 cm x 107.6 cm x 185 cm) |
| Item Weight | 43 Pounds (19.5 kg) |
| Maximum Weight Recommendation | 400 Pounds (181 kg) |
| Compatible Mattress Size | Twin |
| Charging Station Output | 2 AC Outlets (125V/2A), 1 Type-C Port (5V/2.1A), 1 USB Port (5V/2.1A) |
| Power Cord Length | 5.2 feet |
| Assembly Required | Yes |
9. Warranty and Support
Bellemave products are designed for quality and durability. For specific warranty details, please refer to the documentation included with your purchase or contact Bellemave customer service.
If you encounter any issues or have questions regarding your Bellemave Twin Size Loft Bed, please contact our support team:
- Customer Service: Refer to your purchase receipt or the Bellemave official website for contact information.
- Online Support: Visit the Bellemave store on Amazon for FAQs and additional product information.


