
1. Introduction
This manual provides detailed instructions for the assembly, operation, and maintenance of your IDEALHOUSE 10'x12' Hardtop Wood Gazebo. Designed for all seasons, this gazebo features a double-layer 27-gauge metal roof and a solid cedar wood frame with reinforced 4.7"x4.7" posts, built to withstand heavy snow and high winds. It includes khaki curtains and mesh netting for privacy and protection from insects and light rain. The premium cedar wood offers a natural aesthetic that complements any garden or outdoor space.
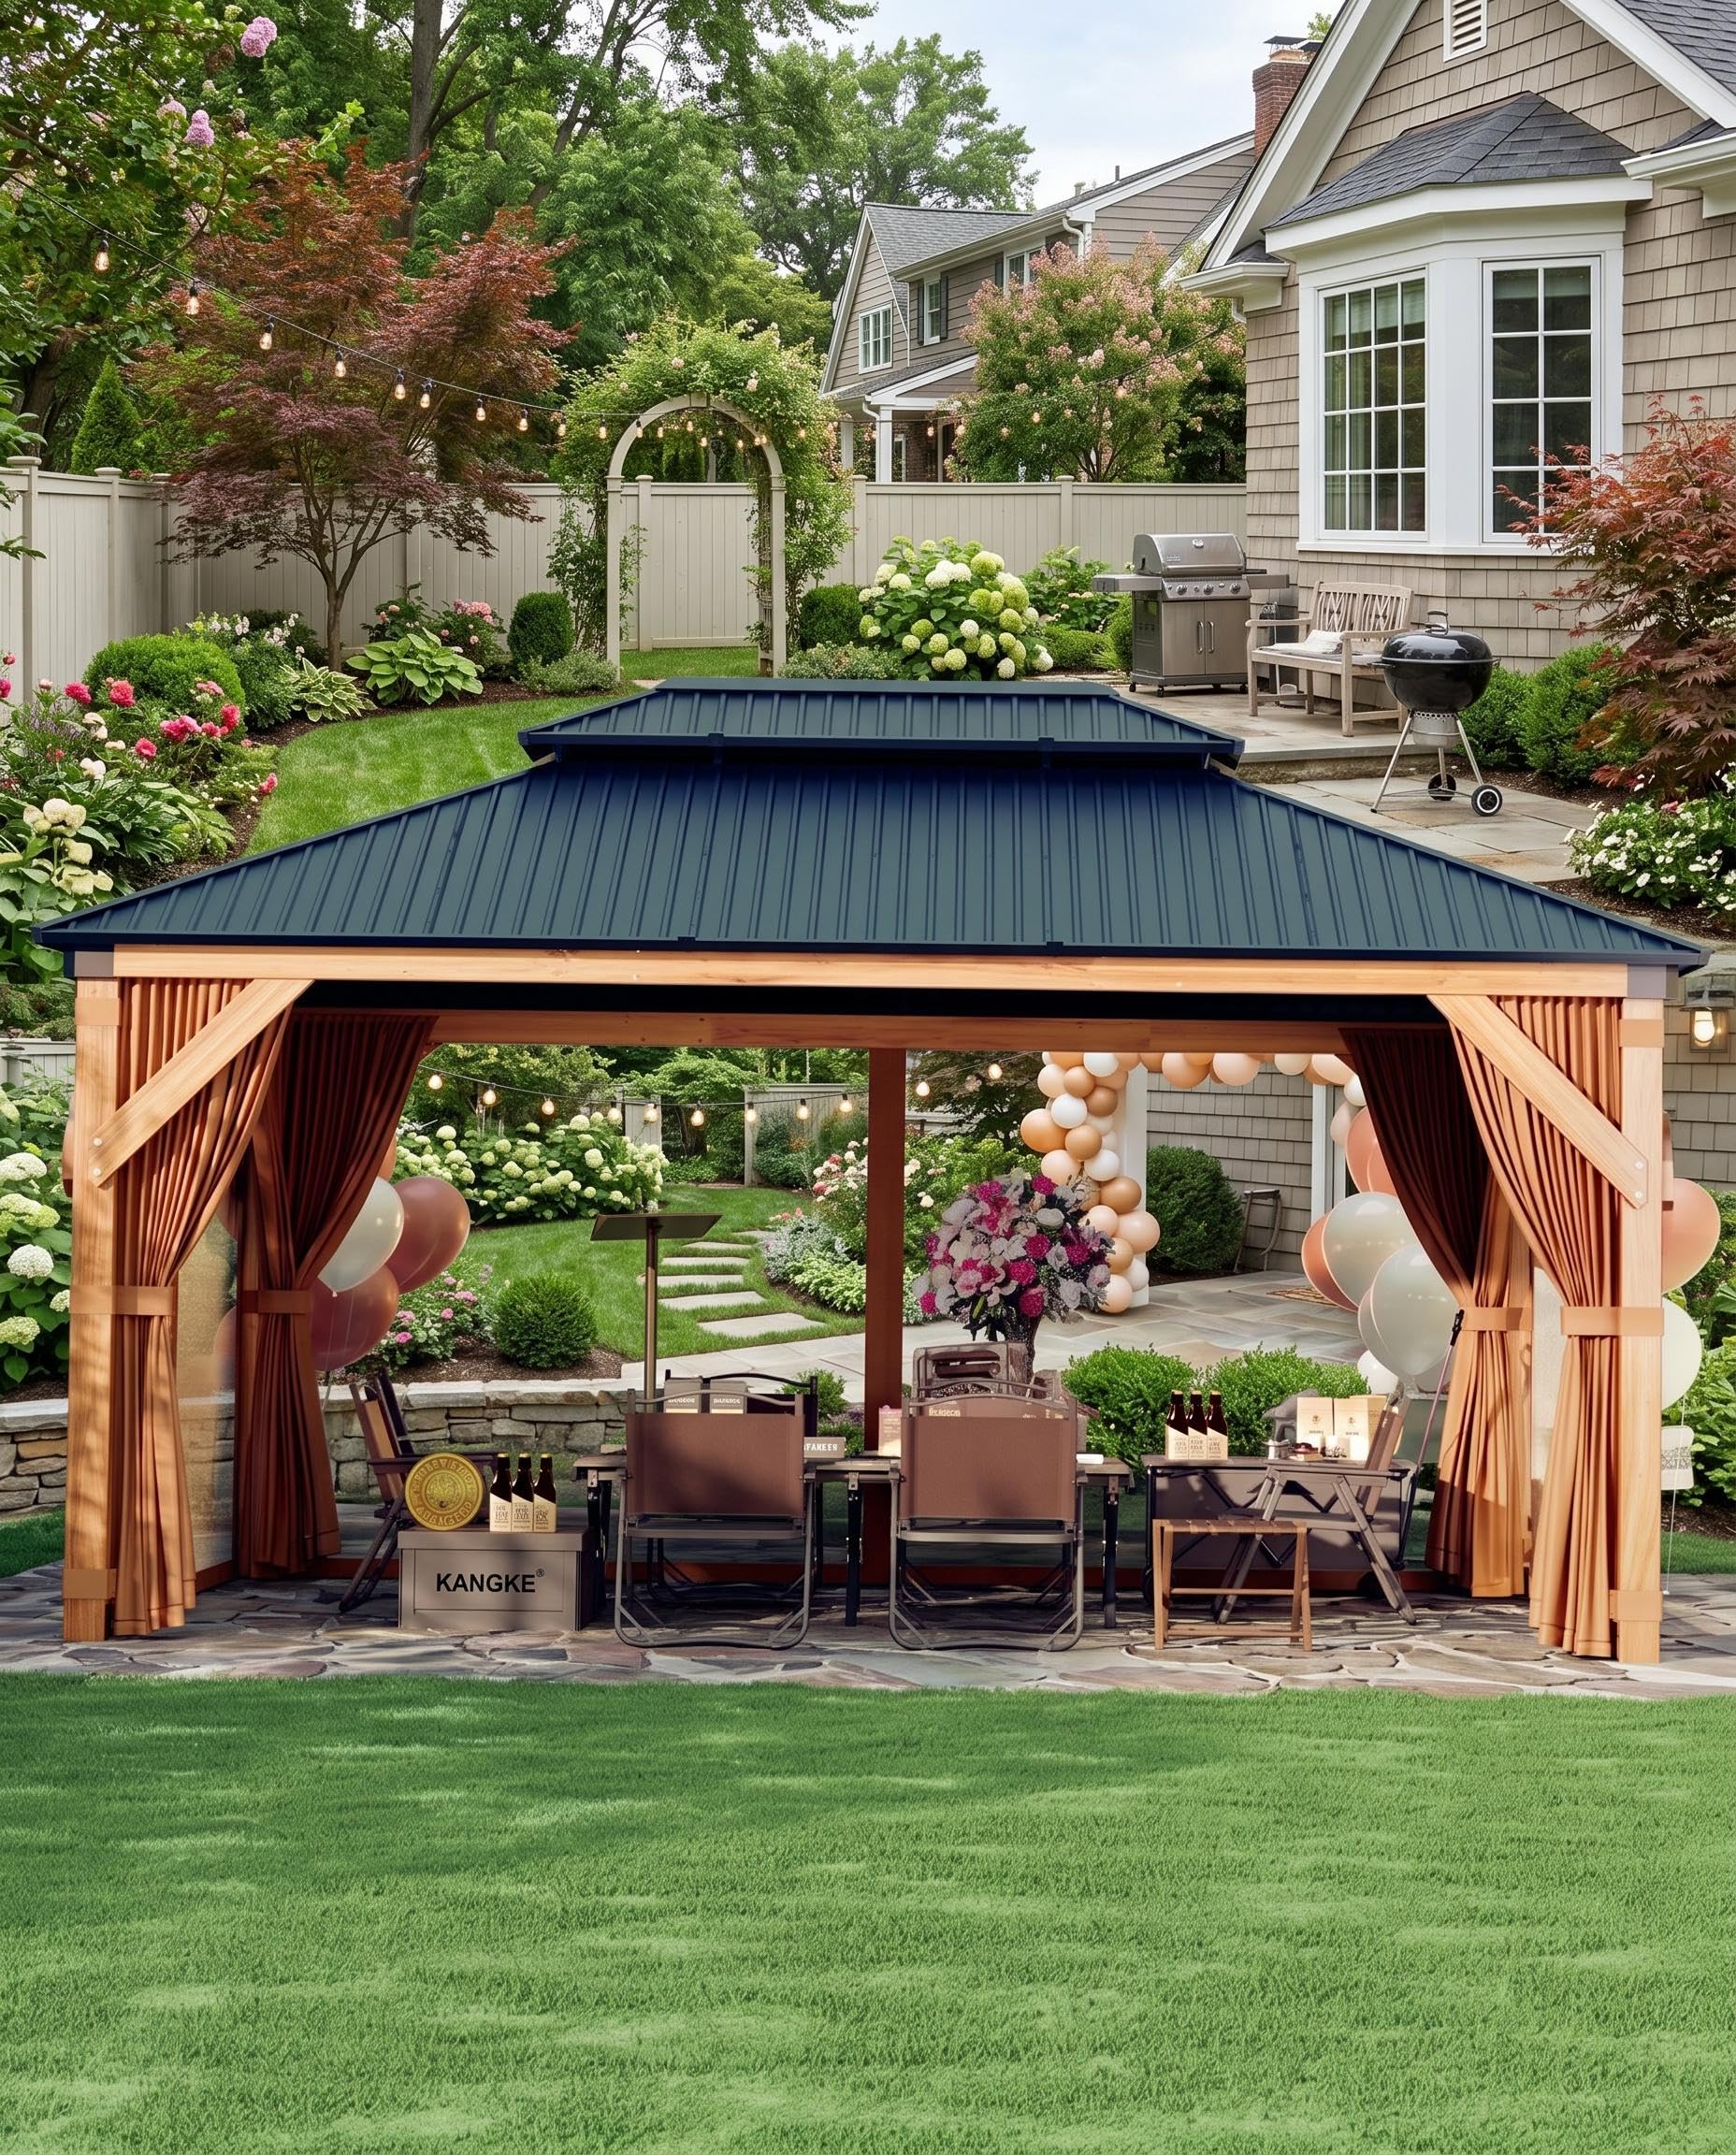
Figure 1: The IDEALHOUSE 10'x12' Hardtop Wood Gazebo installed in a garden.
2. Safety Information
Always follow the assembly instructions provided in this manual. Use appropriate tools and secure the gazebo to a stable foundation to prevent tipping or damage during heavy weather conditions. Be cautious when handling sharp or heavy components during assembly and disassembly. While the gazebo offers some rain protection, it is not fully waterproof. Regularly inspect and maintain the anti-rust coating to preserve the product's condition.
3. Package Contents
Your IDEALHOUSE Gazebo package includes the following main components. Please verify all parts against the packing list provided in your physical manual before beginning assembly.
- Cedar Wood Frame Components (reinforced 4.7"x4.7" posts)
- Double-Layer 27-Gauge Galvanized Steel Roof Panels
- Khaki Curtains (Durable, fade-resistant polyester fabric)
- Mesh Netting (for insect protection)
- Hardware Kit (screws, bolts, washers, etc.)
- Ceiling Hook

Figure 2: Detail of the gazebo's robust cedar poles and metal roof construction.
4. Specifications
| Brand | IDEALHOUSE |
| Model Number | 5JY-PG9NGMTN2MHT-UXV4W-WRCS2G |
| Material | Metal, Wood (Cedar) |
| Style | Modern |
| Product Dimensions (L x W x H) | 144"L x 118"W x 116"H |
| Item Weight | 339.1 Pounds |
| Frame Material | Wood (Cedar) |
| Water Resistance Level | Water Repellent |
| Shape | Rectangular |
| Assembly Required | Yes |
| Color | Khaki |
| Floor Area | 120 Square Feet |

Figure 3: Detailed size specifications of the 10'x12' Wood Gazebo.
5. Assembly Instructions
The IDEALHOUSE Gazebo is designed for straightforward assembly, with approximately 95% of screw holes pre-drilled. Only 5% self-tapping screws are needed for watertight performance. Assembly typically requires 2 to 3 adults and can be completed in approximately six hours.
Required Tools:
- Electric Drill
- Ladders (2 recommended)
- Gloves (for hand protection)
Assembly Steps Overview:
Refer to the detailed step-by-step guide in your physical instruction manual for precise assembly. The following images provide a general overview of the process:

Figure 4: Assembly Steps 1 and 2, showing the initial construction of the base frame and roof support structure.

Figure 5: Assembly Steps 3 and 4, illustrating the installation of the roof panels and curtains.
Ensure all connections are secure and tightened according to the manual. Proper anchoring of the gazebo to a solid foundation is crucial for stability and safety.

Figure 6: Detail of the secure post base, essential for anchoring the gazebo.
6. Operation
Curtains and Netting
The gazebo includes khaki curtains and mesh netting for versatile use. The curtains provide privacy and shade from the sun, while the mesh netting keeps mosquitoes and other insects out. Both can be easily adjusted or tied back as needed.

Figure 7: Various configurations of the gazebo's curtains and netting for different levels of privacy and protection.
Ceiling Hook
An integrated ceiling hook is provided for hanging outdoor lighting, fans, or decorative items. Ensure that any suspended items do not exceed the weight limit specified in your detailed manual to prevent damage or injury.

Figure 8: The integrated ceiling hook for lighting or decorations.
7. Maintenance
Regular maintenance will extend the lifespan and preserve the appearance of your gazebo.
- Roof Maintenance: Periodically inspect the metal roof for any debris, leaves, or signs of wear. Clean the roof as needed to ensure proper rainwater drainage. The built-in efficient rainwater drainage system helps prevent water accumulation.
- Wood Frame Care: The cedar wood frame features a three-layer anti-rust coating. Regularly inspect the wood for any signs of damage or wear to the coating. Reapply protective finishes as necessary to maintain its natural aesthetics and all-weather durability.
- Fabric Cleaning: The khaki curtains and mesh netting are made from durable, fade-resistant polyester fabric. Clean them with mild soap and water, and allow them to air dry completely before storing or reattaching.
- Hardware Check: Annually, check all screws, bolts, and connections to ensure they remain tight and secure. Tighten any loose hardware to maintain structural integrity.

Figure 9: The leak-proof roof with an efficient rainwater drainage system.
8. Troubleshooting
Misaligned Pre-drilled Holes
In rare instances, some pre-drilled holes on metal roof panels or other components may appear misaligned. If you encounter this issue:
- Double-Check Orientation: Ensure the component is oriented correctly according to the assembly diagrams. Sometimes a slight rotation can resolve the issue.
- Apply Gentle Pressure: With the help of another person, apply gentle, even pressure to align the parts. The material may have slight flexibility.
- Verify Part Numbers: Confirm that you are using the correct parts for the specific step as indicated in the manual.
- Contact Support: If holes remain significantly misaligned after careful attempts, do not force components. Contact IDEALHOUSE customer support for assistance.
Gazebo Instability
If the gazebo feels unstable after assembly:
- Check Anchoring: Ensure the gazebo is securely anchored to a stable, level surface using appropriate ground stakes or bolts.
- Tighten All Fasteners: Re-check all screws, bolts, and connections throughout the structure to ensure they are fully tightened.
- Inspect for Damage: Look for any bent or damaged components that might compromise stability.
9. Warranty and Support
For warranty information, product support, or to order replacement parts, please refer to the contact details provided in your original purchase documentation or visit the official IDEALHOUSE website. Keep your proof of purchase for any warranty claims.