
1. Introduction
Thank you for choosing the LELEKUAI T1 14-inch Foldable Electric Bike. This manual provides essential information for the safe operation, maintenance, and care of your electric bicycle. Please read it thoroughly before your first ride and keep it for future reference. Proper understanding and adherence to these instructions will ensure a safe and enjoyable riding experience.
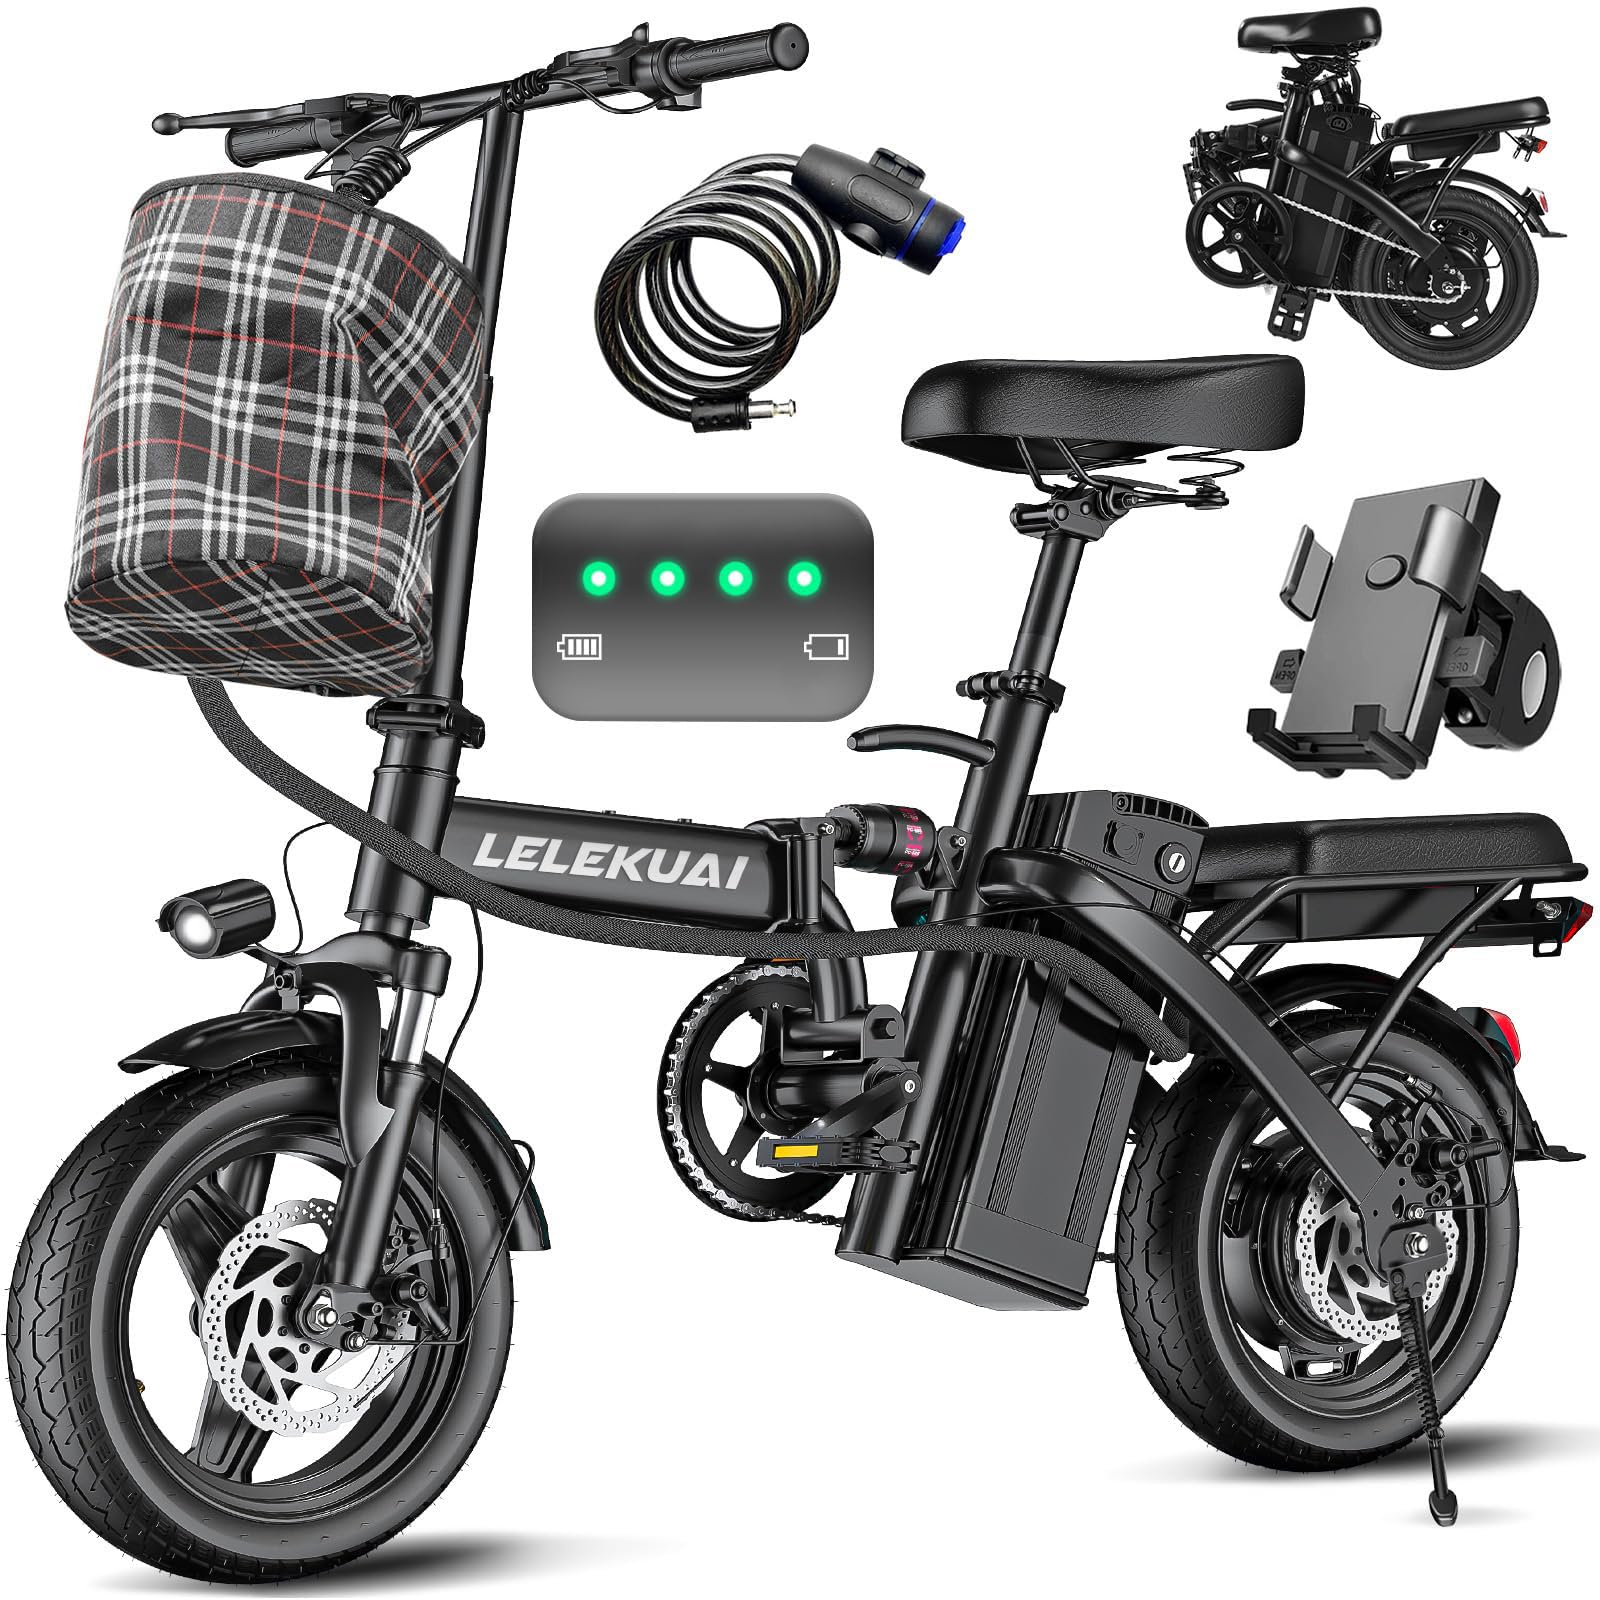
Image: The LELEKUAI T1 14-inch Foldable Electric Bike in black, showcasing its compact design.
2. Safety Guidelines
Your safety is paramount. Always wear a helmet and appropriate safety gear when riding. Be aware of local traffic laws and regulations. This electric bike is designed for paved roads and urban terrain. Avoid riding in adverse weather conditions or on unsuitable surfaces.
2.1 Pre-Ride Checklist
- Brakes: Ensure both front and rear brakes are functioning correctly.
- Tires: Check tire pressure before each ride. Maintain pressure between 40-50 PSI.
- Battery: Verify the battery is securely locked and sufficiently charged.
- Lights: Confirm headlights and taillights are operational, especially for night riding.
- Folding Mechanism: Ensure all quick-release levers and folding joints are securely fastened.
3. Setup and Initial Assembly
The LELEKUAI T1 electric bike comes mostly pre-assembled. Final assembly typically involves attaching the handlebars, pedals, and any included accessories like the basket.
3.1 Unfolding the Bike
- Place the folded bike on a flat, stable surface.
- Release the frame folding latch and carefully unfold the main frame until it locks into place. Ensure the latch is fully secured.
- Raise the handlebar stem and secure its quick-release lever. Adjust the handlebar height to your preference.
- Adjust the seat post height and secure the quick-release lever.
- Unfold the pedals if they are in a folded position.
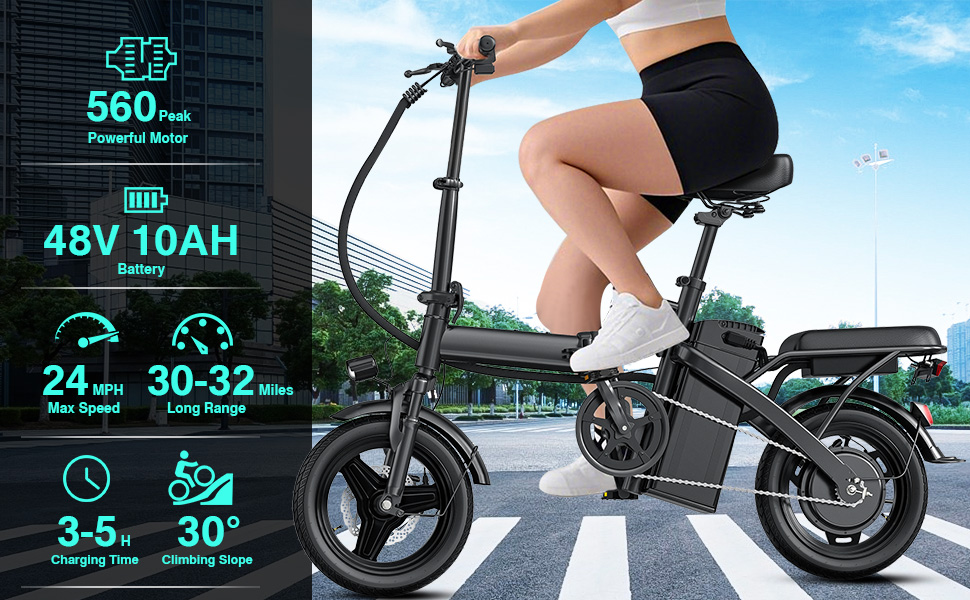
Image: Illustration of the bike's folding mechanism, showing how the frame folds for compact storage.
3.2 Battery Installation and Initial Charge
The 48V 10Ah lithium battery is removable for convenient charging. Ensure the battery is fully charged before your first ride. Charging time is typically 3-5 hours.
- To install, slide the battery into its compartment until it clicks securely. Use the key to lock it in place.
- To charge, connect the charger to the battery charging port and then to a standard power outlet. The indicator light on the charger will show charging status.
- For removal, unlock the battery with the key and carefully slide it out.
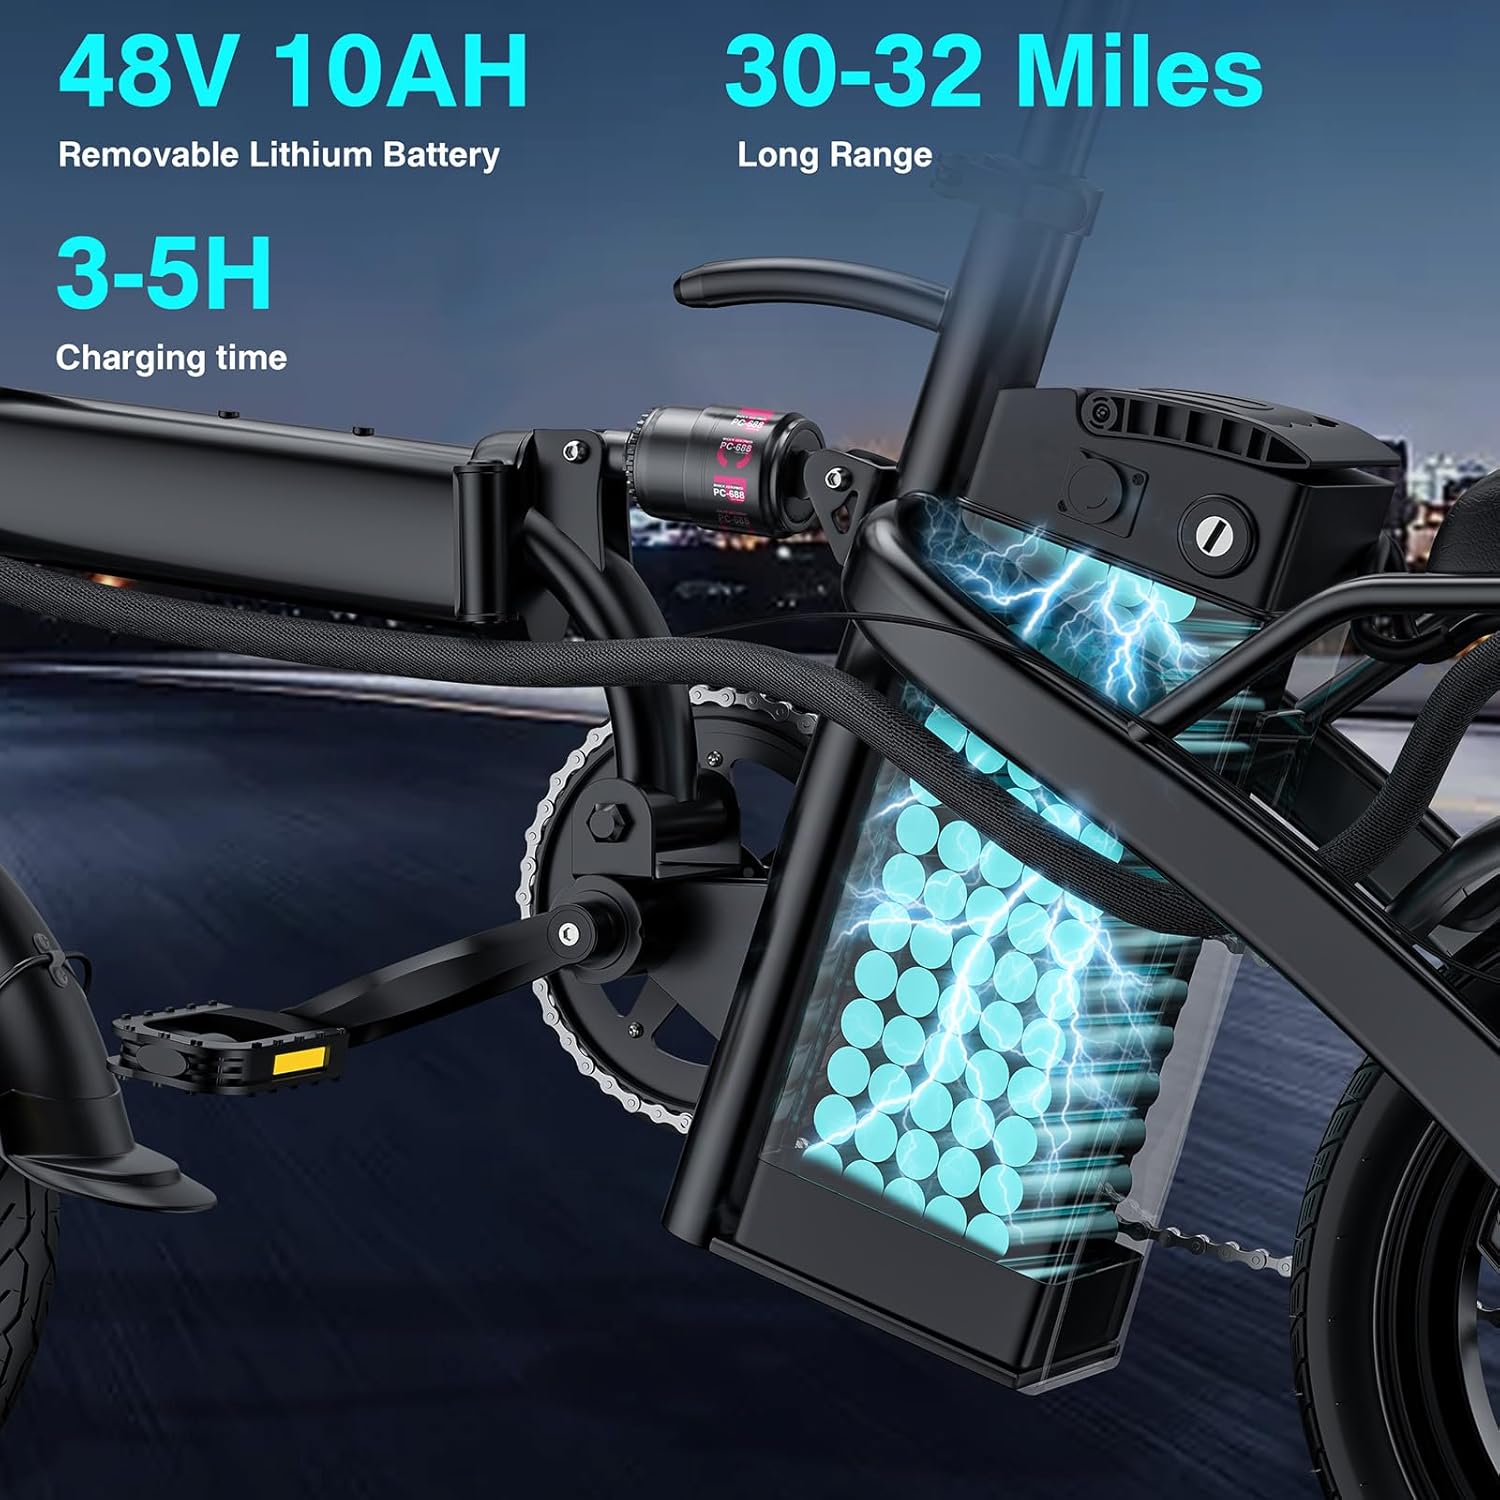
Image: Close-up view of the removable 48V 10Ah lithium battery and its charging port on the LELEKUAI T1 electric bike.
4. Operating Your Electric Bike
4.1 Powering On/Off
Insert the key into the ignition and turn it to the 'ON' position. The display will illuminate. To power off, turn the key to 'OFF' and remove it.
4.2 Riding Modes
The LELEKUAI T1 offers three riding modes:
- Pedal Assist Mode: Provides electric assistance as you pedal. There are 3 levels of pedal assist, adjustable via the control panel.
- Full Electric Mode (Throttle): Use the twist-grip throttle on the handlebar for propulsion without pedaling.
- Manual Cycling Mode: Ride the bike like a traditional bicycle without any electric assistance.
Video: Official LELEKUAI video demonstrating the folding mechanism and general operation of the electric bike.
4.3 Braking System
The bike is equipped with dual disc brakes for reliable stopping power. Apply both brake levers gently and evenly to slow down or stop. Avoid sudden, hard braking, especially at high speeds.

Image: Detailed view of the front and rear dual disc brakes, highlighting their design for effective stopping.
4.4 Headlight and Taillight
Activate the headlight for improved visibility during low-light conditions or at night. The taillight provides rear visibility and illuminates brighter when brakes are applied, similar to a car's brake lights.

Image: Close-up of the integrated headlight and taillight, essential for safe riding in low light.
5. Maintenance
Regular maintenance ensures the longevity and safe operation of your electric bike.
5.1 General Care
- Keep the bike clean. Wipe down the frame and components with a damp cloth. Avoid high-pressure washing.
- Lubricate the chain regularly with bicycle-specific chain lubricant.
- Store the bike in a dry place, away from direct sunlight and extreme temperatures.
5.2 Battery Care
- Charge the battery regularly, even if not in use, to maintain its health. Avoid fully discharging the battery.
- Do not expose the battery to extreme heat or cold.
- Use only the original charger provided with the bike.
5.3 Tire Maintenance
The bike uses 14-inch CST14X2.125 tires. Regularly check tire pressure and inflate to 40-50 PSI. Inspect tires for wear, punctures, or damage. Angled Schrader valves are recommended for inner tube replacements due to limited space around the hub.

Image: Close-up of the 14-inch CST tire, illustrating its tread pattern for grip and stability on different surfaces.
6. Troubleshooting
This section addresses common issues you might encounter.
| Problem | Possible Cause | Solution |
|---|---|---|
| Bike does not power on | Battery not charged or not properly installed; Key not in 'ON' position. | Ensure battery is charged and locked. Turn key to 'ON'. |
| Motor not assisting/working | Pedal assist sensor disengaged; Low battery; Motor connection issue. | Check pedal assist sensor near the pedal hub (push against sensor to activate). Charge battery. Contact support if connections are secure. |
| Brakes dragging or noisy | Brake calipers misaligned; Worn brake pads. | Adjust brake calipers. Inspect and replace brake pads if worn. |
| Reduced range or speed | Low tire pressure; Battery degradation; Riding conditions (hills, heavy load). | Inflate tires to recommended PSI. Ensure full battery charge. Consider riding conditions. |
7. Specifications
Key technical details of the LELEKUAI T1 Foldable Electric Bike.
| Feature | Detail |
|---|---|
| Model | T1 |
| Bike Type | Electric Bike, Folding Electric Bicycle |
| Motor | 560W Peak Powerful Motor |
| Max Speed | 20-24 MPH (depending on model variant and conditions) |
| Battery | 48V 10Ah Removable Lithium Battery (480 Wh) |
| Range | Up to 32 Miles (pedal assist, varies with conditions) |
| Charging Time | 3-5 Hours |
| Wheel Size | 14 inches |
| Frame Material | Carbon Steel |
| Suspension | Front Suspension, Middle Shock Absorber |
| Brake Style | Dual Disc Brakes (Front and Rear) |
| Max Load Weight | 330 lbs (150 kg) |
| Item Weight | 48 lbs (21.7 kg) |
| Included Components | Basket, Battery, Charger, Headlight, Lock |
| Special Features | Adjustable Seat, Digital Display, Foldable, Portable |

Image: Diagram showing the product dimensions and maximum load weight of the LELEKUAI T1 electric bike.
8. Warranty Information
The LELEKUAI T1 Electric Bike comes with a 1-year manufacturer's limited warranty. This warranty covers defects in materials and workmanship under normal use. Please retain your proof of purchase for warranty claims. For specific terms and conditions, refer to the warranty card included with your product or contact customer support.
9. Customer Support
For any questions, technical assistance, or warranty inquiries, please contact LELEKUAI customer support. We offer 24-hour online answers to ensure a smooth riding experience.
- Online Support: Visit the official LELEKUAI website or contact through your purchase platform for assistance.
- Email: Refer to your product packaging or warranty card for specific contact email.

Image: Graphic indicating LELEKUAI's 24-hour online customer support service.
