
1. Introduction
Thank you for choosing the ACMER T1 2.5W Laser Engraver. This compact and versatile laser engraver is designed for precision engraving and cutting on a variety of materials. Please read this manual thoroughly before operating the device to ensure safe and efficient use.
The ACMER T1 features a 2.5W blue light semiconductor laser, offering a spot size of 0.04 × 0.04 mm and a repetition accuracy of 0.01 mm. It supports a maximum engraving speed of 10,000 mm/min, making it suitable for both intricate details and efficient processing. Its lightweight and portable design, with a 130 x 130 mm working area, makes it ideal for various creative projects.

Figure 1: ACMER T1 2.5W Laser Engraver. This image shows the compact design of the laser engraver, ready for use.

Figure 2: ACMER T1 Laser Engraver features. This image highlights key features such as ultra-compact design, ease of use, safety, 2.5W laser power, multi-material compatibility, and a maximum engraving speed of 10,000 mm/min.
2. Safety Information
WARNING: This device is a Class 4 laser product. Direct exposure to the laser beam can cause severe eye damage and skin burns. Always wear appropriate laser safety goggles during operation. Never look directly into the laser beam or at reflections.
- Always operate the laser engraver in a well-ventilated area to dissipate fumes and smoke.
- Ensure the work surface is fire-resistant and clear of flammable materials.
- Keep children and pets away from the operating area.
- Do not leave the device unattended during operation.
- Disconnect power before performing any maintenance or cleaning.
- Avoid engraving or cutting highly reflective materials without proper precautions, as reflected laser light can be hazardous.
3. Setup
The ACMER T1 is designed for quick and easy setup. No complex assembly is required.
3.1 Unpacking
- Carefully remove all components from the packaging.
- Verify that all items listed in the packing list are present.
- Inspect the device for any signs of damage during transit.
3.2 Placement
- Place the engraver on a stable, level, and fire-resistant surface.
- Ensure adequate ventilation around the device.
- Maintain a safe distance from other objects to prevent accidental laser exposure.

Figure 3: Device dimensions and work area. The image illustrates the compact size (250x250x162mm) and the 130x130mm engraving area, highlighting its suitability for desktop use.
3.3 Software Installation and Connection
The ACMER T1 is compatible with various software, including LightBurn, LaserGRBL, and the ACMER APP. It supports Windows, macOS, and Linux operating systems.
- Download and install your preferred engraving software (e.g., LightBurn or LaserGRBL) from the official websites.
- Connect the engraver to your computer using the provided USB cable.
- Connect the power adapter to the device and plug it into a power outlet.
- Follow the software's instructions to establish a connection with the engraver.
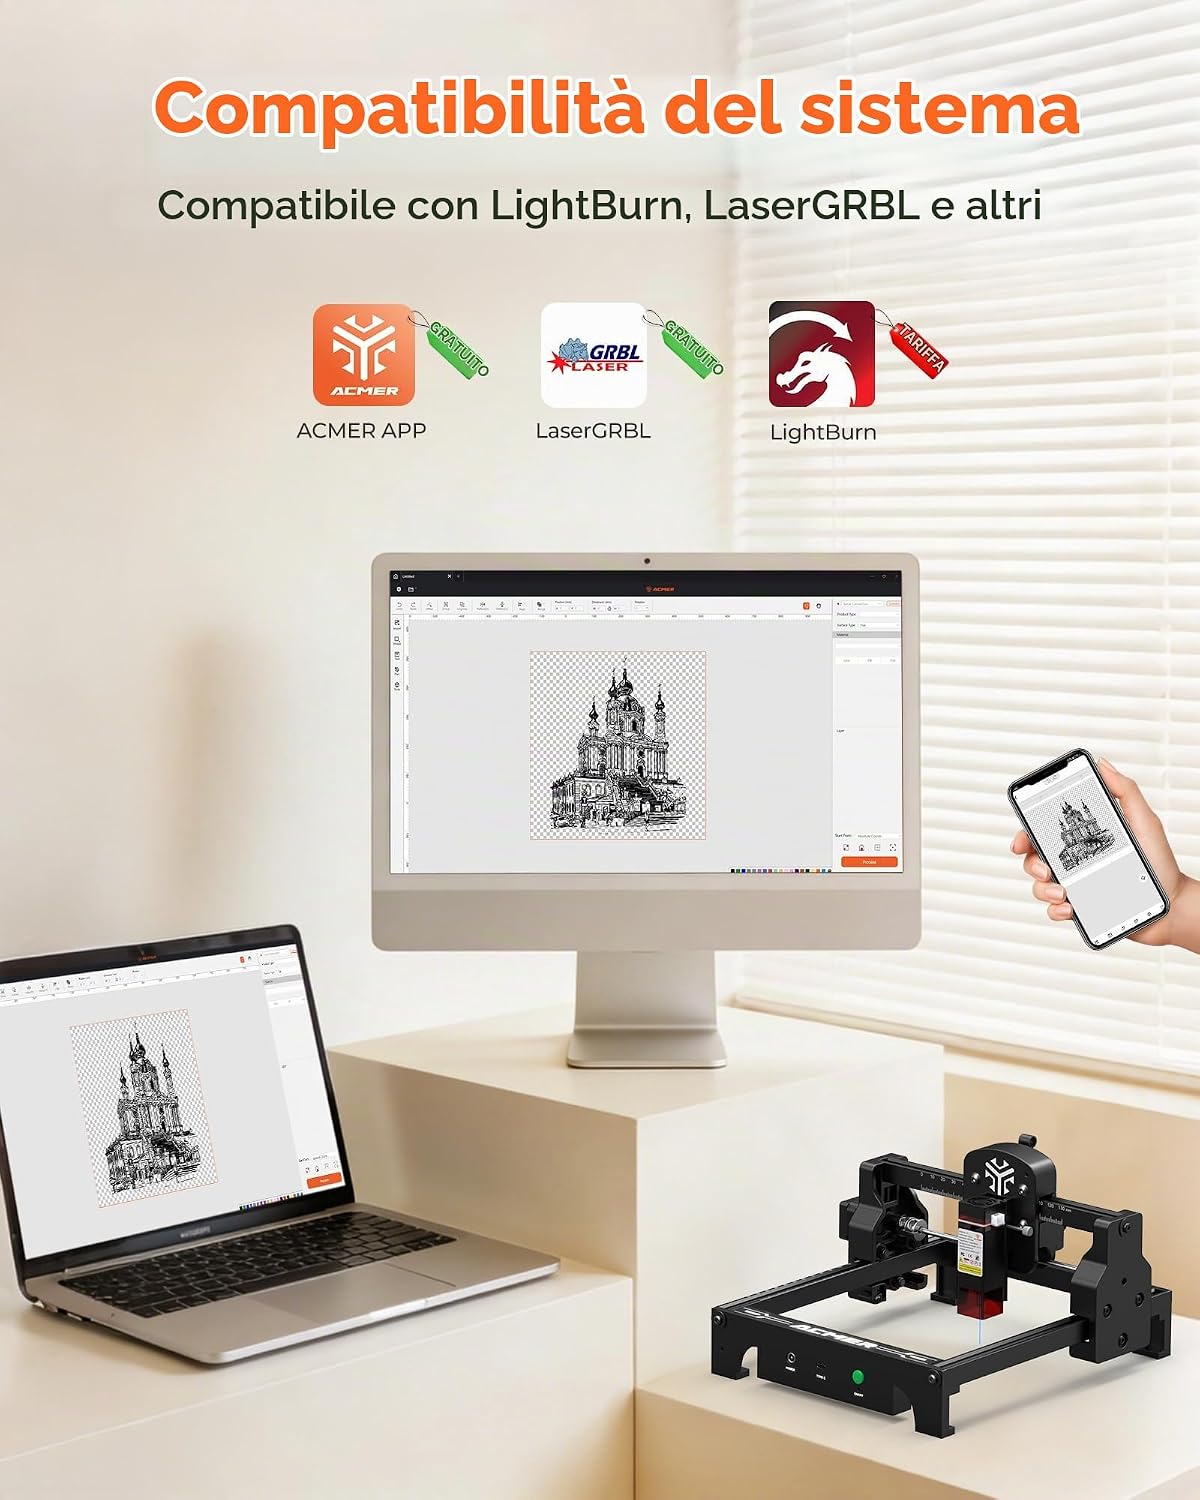
Figure 4: System compatibility. This image shows the engraver's compatibility with ACMER APP, LaserGRBL, and LightBurn across different operating systems.
4. Operating Instructions
4.1 Material Preparation
The ACMER T1 can engrave and cut a wide range of materials. Ensure your material is flat and securely placed within the working area.
- Supported Materials: Wood, bamboo, paper, plastic, leather, PCBs, aluminum oxide, painted and non-reflective lacquered metals, ceramics.
- Unsupported Materials: Highly reflective metals (e.g., polished stainless steel, copper), transparent materials (e.g., clear acrylic, glass without coating), PVC, and other materials that produce toxic fumes when laser-processed.

Figure 5: High-performance cutting. This image demonstrates the cutting capabilities on plywood (10mm), black acrylic (6mm), and fiberboard (3mm), along with the 0.04x0.04mm spot size.
4.2 Software Operation
- Open your chosen engraving software (e.g., LightBurn).
- Import your design file (JPG, PNG, BMP, DXF are supported).
- Adjust laser parameters (power, speed, passes) according to the material and desired effect. Refer to the software's documentation for detailed parameter settings.
- Position your design on the virtual work area to match the physical material placement.
- Perform a frame test (if available in software) to ensure the laser path is within the material boundaries.
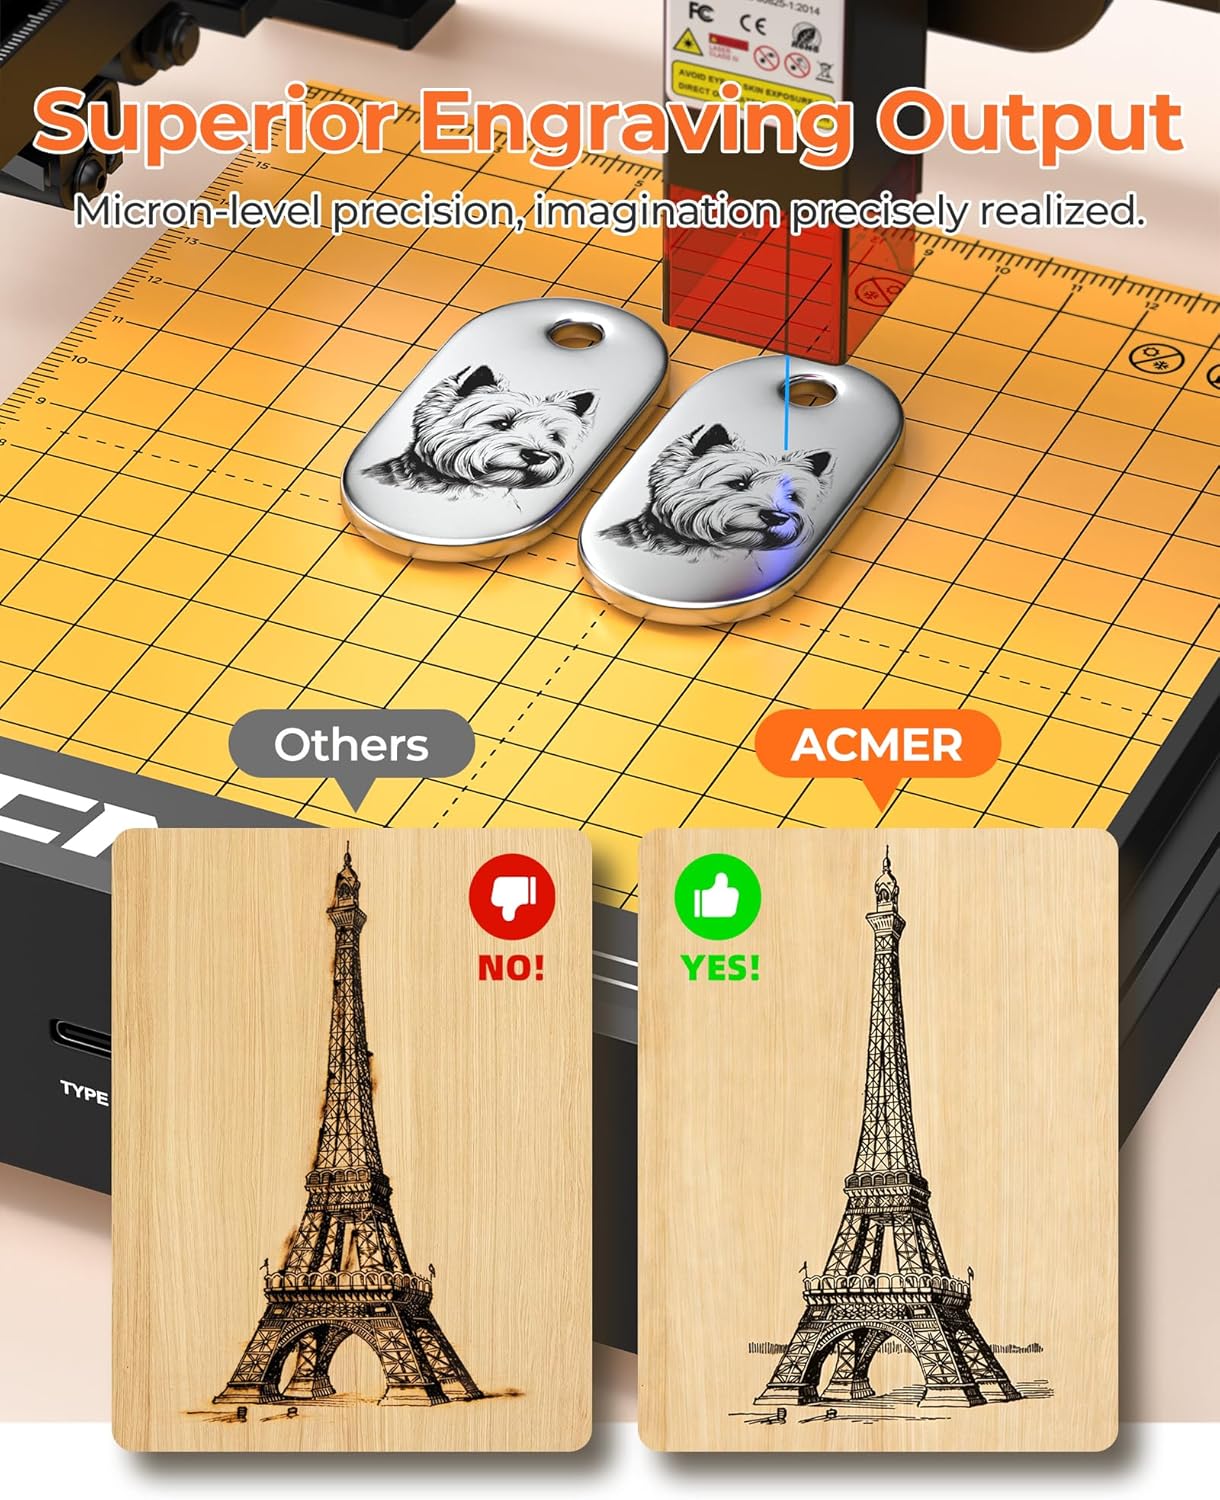
Figure 6: Superior engraving output. This image compares the engraving quality, showing the ACMER T1's micron-level precision in rendering detailed images like the Eiffel Tower.
4.3 Starting an Engraving/Cutting Job
- Ensure safety goggles are worn.
- Initiate the engraving or cutting process from the software.
- Monitor the process closely for any issues, such as material ignition or unexpected laser behavior.
- Do not interrupt the laser path with your hands or other objects during operation.

Figure 7: Creative projects with ACMER T1. This image shows a user creating various handmade items like wooden airplanes, butterflies, and coasters using the laser engraver.
5. Maintenance
Regular maintenance ensures optimal performance and extends the lifespan of your ACMER T1 laser engraver.
5.1 Cleaning the Laser Lens
- Frequency: After every 10-20 hours of operation, or if engraving quality degrades.
- Procedure:
- Ensure the device is powered off and disconnected from the power source.
- Gently clean the laser lens using a lint-free cloth and a small amount of lens cleaning solution (e.g., isopropyl alcohol).
- Avoid touching the lens with bare hands.
5.2 Cleaning the Device
- Wipe down the exterior of the engraver with a soft, dry cloth to remove dust and debris.
- Clean the guide rails and moving parts to ensure smooth operation.
5.3 Storage
- Store the engraver in a dry, dust-free environment when not in use.
- Keep it away from direct sunlight and extreme temperatures.
6. Troubleshooting
This section addresses common issues you might encounter with your ACMER T1 laser engraver.
| Problem | Possible Cause | Solution |
|---|---|---|
| Device not powering on. | Power cable loose, power adapter faulty, power outlet issue. | Check power connections. Try a different power outlet. Contact support if issue persists. |
| Laser not firing or weak output. | Dirty laser lens, incorrect power settings, laser module fault. | Clean the laser lens (Section 5.1). Verify power settings in software. Contact support if issue persists. |
| Engraving quality is poor or inconsistent. | Incorrect focus, material not flat, incorrect speed/power settings, dirty lens. | Ensure proper focus. Secure material. Adjust speed/power settings. Clean laser lens. |
| Device not connecting to software. | USB cable issue, driver not installed, incorrect port selected in software. | Try a different USB port/cable. Reinstall drivers. Select correct COM port in software. |
7. Specifications
Detailed technical specifications for the ACMER T1 2.5W Laser Engraver.
| Feature | Detail |
|---|---|
| Manufacturer | Acmer |
| Model Number | ACMER T1 2.5W |
| Laser Power | 2.5W (Engraver) |
| Laser Type | Diode Laser |
| Laser Wavelength | 455 ± 5 nm |
| Spot Size | 0.04 × 0.04 mm |
| Engraving Precision | 0.01 mm |
| Repetition Accuracy | 0.01 mm |
| Working Area | 130 × 130 mm |
| Maximum Engraving Speed | 10,000 mm/min |
| Total Power | 24 W |
| Power Supply | DC 12V 2A |
| Device Dimensions | 250 × 250 × 162 mm |
| Weight | 1.84 kg |
| Safety Class | Class 4 (IEC 60825-1 compliant) |
| Supported Operating Systems | Windows, macOS, Linux |
| Supported File Formats | JPG, PNG, BMP, DXF |
8. Warranty Information
ACMER products typically come with a standard manufacturer's warranty. Please refer to the warranty card included with your product or visit the official ACMER website for specific warranty terms and conditions, including duration and coverage details. Keep your proof of purchase for warranty claims.
9. Customer Support
If you encounter any issues or have questions regarding your ACMER T1 Laser Engraver that are not covered in this manual, please contact ACMER customer support. You can usually find contact information (email, phone, or support portal) on the official ACMER website or through your retailer.
When contacting support, please provide your product model number (ACMER T1 2.5W) and a detailed description of the issue.


