
1. Product Overview
The Garvee Cordless Pool Vacuum is designed for efficient cleaning of swimming pools, hot tubs, and spas. It features a powerful motor, long battery life, and a telescopic pole for versatile use.

Figure 1: Product Components. This diagram labels the main parts of the Garvee Cordless Pool Vacuum, including the portable handle, switch, charging interface, main pump casing, locking handle, filter bag, cleaner cover, vacuum head, outlet holes, check valve, charger, and telescoping tube.
- Portable Handle: For handheld operation.
- Switch: To power the unit on and off.
- Charging Interface: Connects to the charger.
- Main Pump Casing: Houses the motor and battery.
- Locking Handle: Secures components.
- Filter Bag (2pcs): Collects debris.
- Cleaner Cover: Protects internal components.
- Vacuum Head: The cleaning attachment.
- Outlet Holes: For water discharge.
- Check Valve: Prevents backflow.
- Charger: For recharging the battery.
- Telescoping Tube: Extends reach for deeper pools.
2. Safety Instructions
- Read all instructions before use.
- Do not operate the vacuum out of water.
- Keep children and pets away from the vacuum during operation.
- Use only the provided charger.
- Do not attempt to open or repair the battery pack.
- Ensure the charging interface is dry before connecting the charger.
- Store the vacuum in a cool, dry place when not in use.
3. Setup and Assembly
Follow these steps to assemble your Garvee Cordless Pool Vacuum:
- Install Vacuum Head: Align the vacuum head with the main pump casing and push until it clicks into place.
- Install Filter Bag: Insert a filter bag into the cleaner cover, ensuring it is properly seated.
- Attach Cleaner Cover: Secure the cleaner cover with the installed filter bag to the main pump casing.
- Attach Portable Handle: Connect the portable handle to the top of the main pump casing.
- Attach Telescoping Pole (Optional): For extended reach, attach the telescoping pole to the portable handle. Ensure it is securely fastened.

Figure 2: Assembly Steps. This image illustrates the five key steps for assembling the pool vacuum, from attaching the vacuum head to replacing the telescoping pole.
Video 1: Assembly Process. This video demonstrates the step-by-step assembly of the Garvee Cordless Pool Vacuum, showing how to connect the various components for use.
4. Charging the Battery
Before first use, fully charge the vacuum's battery. The unit charges in approximately 1.5 hours and provides up to 60 minutes of runtime.
- Ensure the charging interface is dry.
- Connect the charger to the charging interface on the vacuum.
- Plug the charger into a standard electrical outlet.
- The indicator light will show charging status (refer to Troubleshooting section for details).
- Disconnect the charger once fully charged.

Figure 3: Charging and Runtime. This graphic illustrates the fast charging time of 1.5 hours and the 60-minute running time of the Garvee pool vacuum.
5. Operating Instructions
The Garvee Cordless Pool Vacuum is suitable for various pool types, including in-ground pools, above-ground pools, hot tubs, and spas.
- Submerge the Vacuum: Carefully lower the vacuum into the water until it is fully submerged.
- Power On: Locate the switch (refer to Figure 1) and turn the unit on.
- Begin Cleaning: Guide the vacuum head along the bottom and sides of your pool, hot tub, or spa to collect debris. The powerful suction (4200 Liters per Hour / 18.5 GPM) effectively picks up sand, leaves, bugs, and other small particles.
- Corner and Floor Cleaning: The vacuum head is designed for efficient cleaning of both flat surfaces and corners.
- Power Off: Once cleaning is complete, turn off the vacuum before removing it from the water.
- Remove from Water: Carefully lift the vacuum out of the water.

Figure 4: Powerful Suction. This image shows the vacuum head actively cleaning underwater, highlighting its 40W motor and 4200 L/H water displacement for effective debris removal.
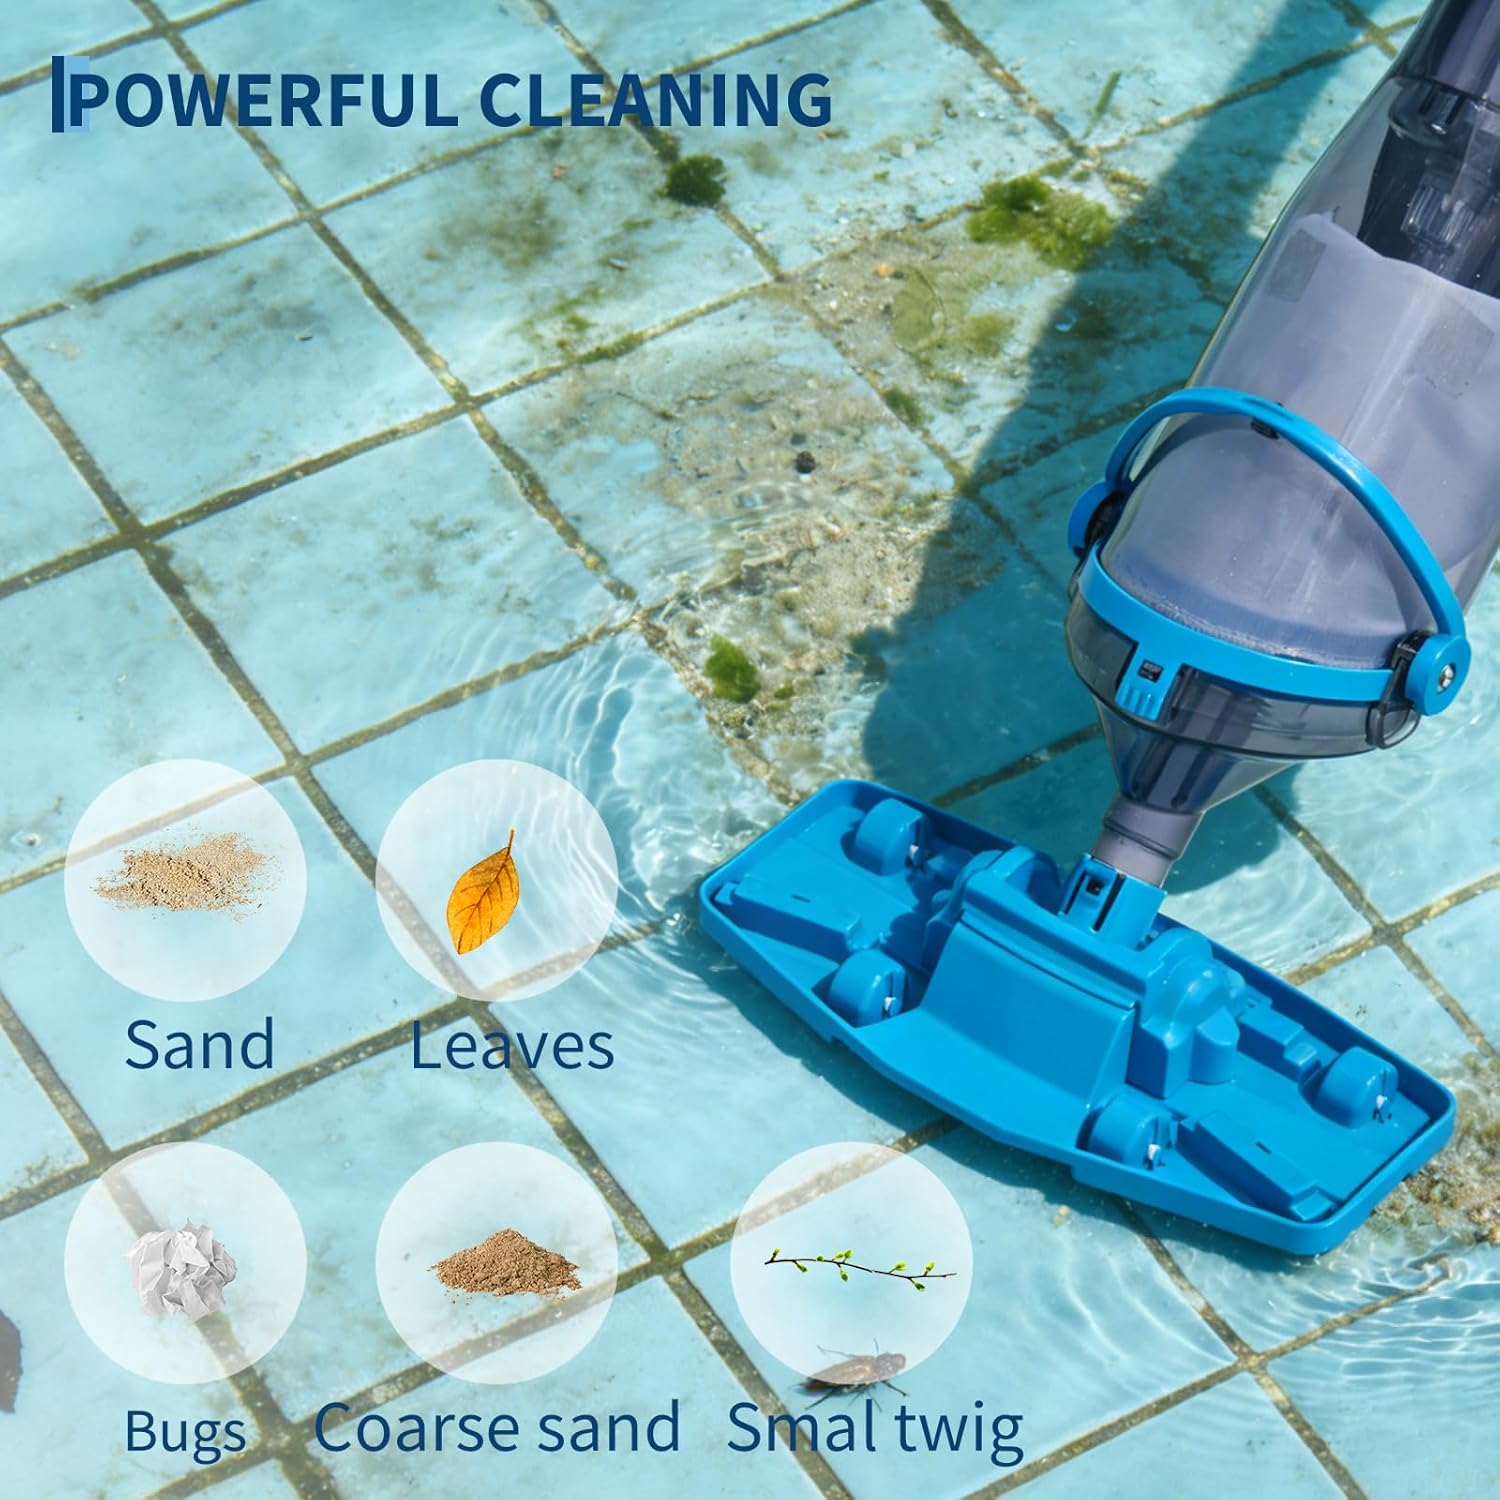
Figure 5: Effective Cleaning. This image illustrates the vacuum's capability to clean various types of debris, including sand, leaves, bugs, coarse sand, and small twigs.

Figure 6: Versatile Use. This image demonstrates that the Garvee Cordless Pool Vacuum is suitable for various scenarios, including in-ground pools, spas, hot tubs, and above-ground pools.
6. Maintenance
Regular maintenance ensures optimal performance and extends the life of your Garvee Pool Vacuum.
- Empty and Clean Filter Bag: After each use, remove the filter bag from the cleaner cover. Empty any collected debris and rinse the filter bag thoroughly with clean water. Allow it to dry completely before reinserting.
- Inspect Vacuum Head: Check the vacuum head for any trapped debris or wear. Clean as necessary.
- Wipe Down Unit: Wipe the exterior of the vacuum with a damp cloth to remove any residue. Do not use harsh chemicals.
- Storage: Store the vacuum in a cool, dry place, away from direct sunlight and extreme temperatures.
Video 2: How to Install a Filter Bag. This video provides instructions on correctly installing and removing the filter bag for cleaning and maintenance.
7. Troubleshooting
If you encounter issues with your Garvee Cordless Pool Vacuum, refer to the following common problems and solutions:
| Problem | Possible Cause | Solution |
|---|---|---|
| Vacuum does not turn on. | Battery is depleted. | Charge the battery for 1.5 hours. |
| Reduced suction power. | Filter bag is full or clogged. | Empty and clean the filter bag. |
| Reduced suction power. | Debris trapped in vacuum head. | Remove debris from the vacuum head. |
| Indicator light behavior. | Refer to indicator light guide. |
|

Figure 7: Indicator Light Guide. This image explains the meaning of different indicator light statuses for the vacuum's operation and charging.
8. Specifications
| Feature | Detail |
|---|---|
| Brand | Garvee |
| Model Name | 7p5JK-i5v3yWS5cHn4xcNA3ozlc1v |
| Color | Blue |
| Product Dimensions | 28.35"L x 8.71"W x 5.91"H |
| Power Source | Battery Powered |
| Special Features | Cordless, Handheld, Portable |
| Battery Type | Rechargeable Battery |
| Charging Time | 1.5 Hours |
| Capacity (Water Displacement) | 4200 liters per hour (18.5 GPM) |
| Required Assembly | No (basic assembly required) |
| Installation Type | Manual |
| Item Weight | 7.5 Pounds |
| UPC | 824126646535 |
| Manufacturer | Garvee |
9. Warranty Information
For detailed warranty information, please refer to the warranty card included with your product or visit the official Garvee website. Keep your purchase receipt as proof of purchase for any warranty claims.
10. Customer Support
If you have any questions, require technical assistance, or need to report an issue, please contact Garvee customer support through the following channels:
- Website: Visit the official Garvee website for FAQs and contact forms.
- Email: Refer to your product packaging or warranty card for customer service email addresses.
- Phone: Check your product documentation for customer support phone numbers.