1. Introduction
This manual provides essential information for the safe and efficient use of your Poolin EOC03 Embroidery Machine. Please read all instructions carefully before operating the machine to ensure proper function and to prevent damage.
The Poolin EOC03 is designed for home embroidery projects, offering features such as built-in designs, fonts, and WiFi design transfer. This bundle includes the EOC03 machine, 144 prewound bobbins, and a 20-color thread set.

Image: The Poolin EOC03 Embroidery Machine, showcasing its design and an embroidered floral pattern in the hoop.
2. Safety Instructions
- Always unplug the machine from the power outlet when not in use, before cleaning, or when performing maintenance.
- Keep fingers away from all moving parts, especially the needle area, during operation.
- Do not operate the machine if the power cord is damaged or if the machine is not functioning correctly.
- Use only accessories and attachments recommended by the manufacturer.
- Keep the work area well-lit and clear of obstructions.
- This machine is intended for household use only.
3. Setup
3.1 Unpacking and Placement
Carefully remove the machine and all accessories from the packaging. Place the machine on a stable, level surface with adequate space for operation and ventilation.
3.2 Power Connection
Connect the power cord to the machine and then to a suitable electrical outlet. Ensure the power switch is in the OFF position before connecting.
3.3 Bobbin Installation
The bundle includes 144 prewound A Style (Class 15 / SA156) bobbins. These bobbins are ready for immediate use, eliminating the need for manual winding. To install a bobbin:
- Open the bobbin cover plate, usually located on the needle plate.
- Insert the prewound bobbin into the bobbin case, ensuring the thread unwinds in the correct direction (refer to the markings on the machine).
- Guide the bobbin thread through the tension spring and into the thread guide slot.
- Close the bobbin cover plate securely.
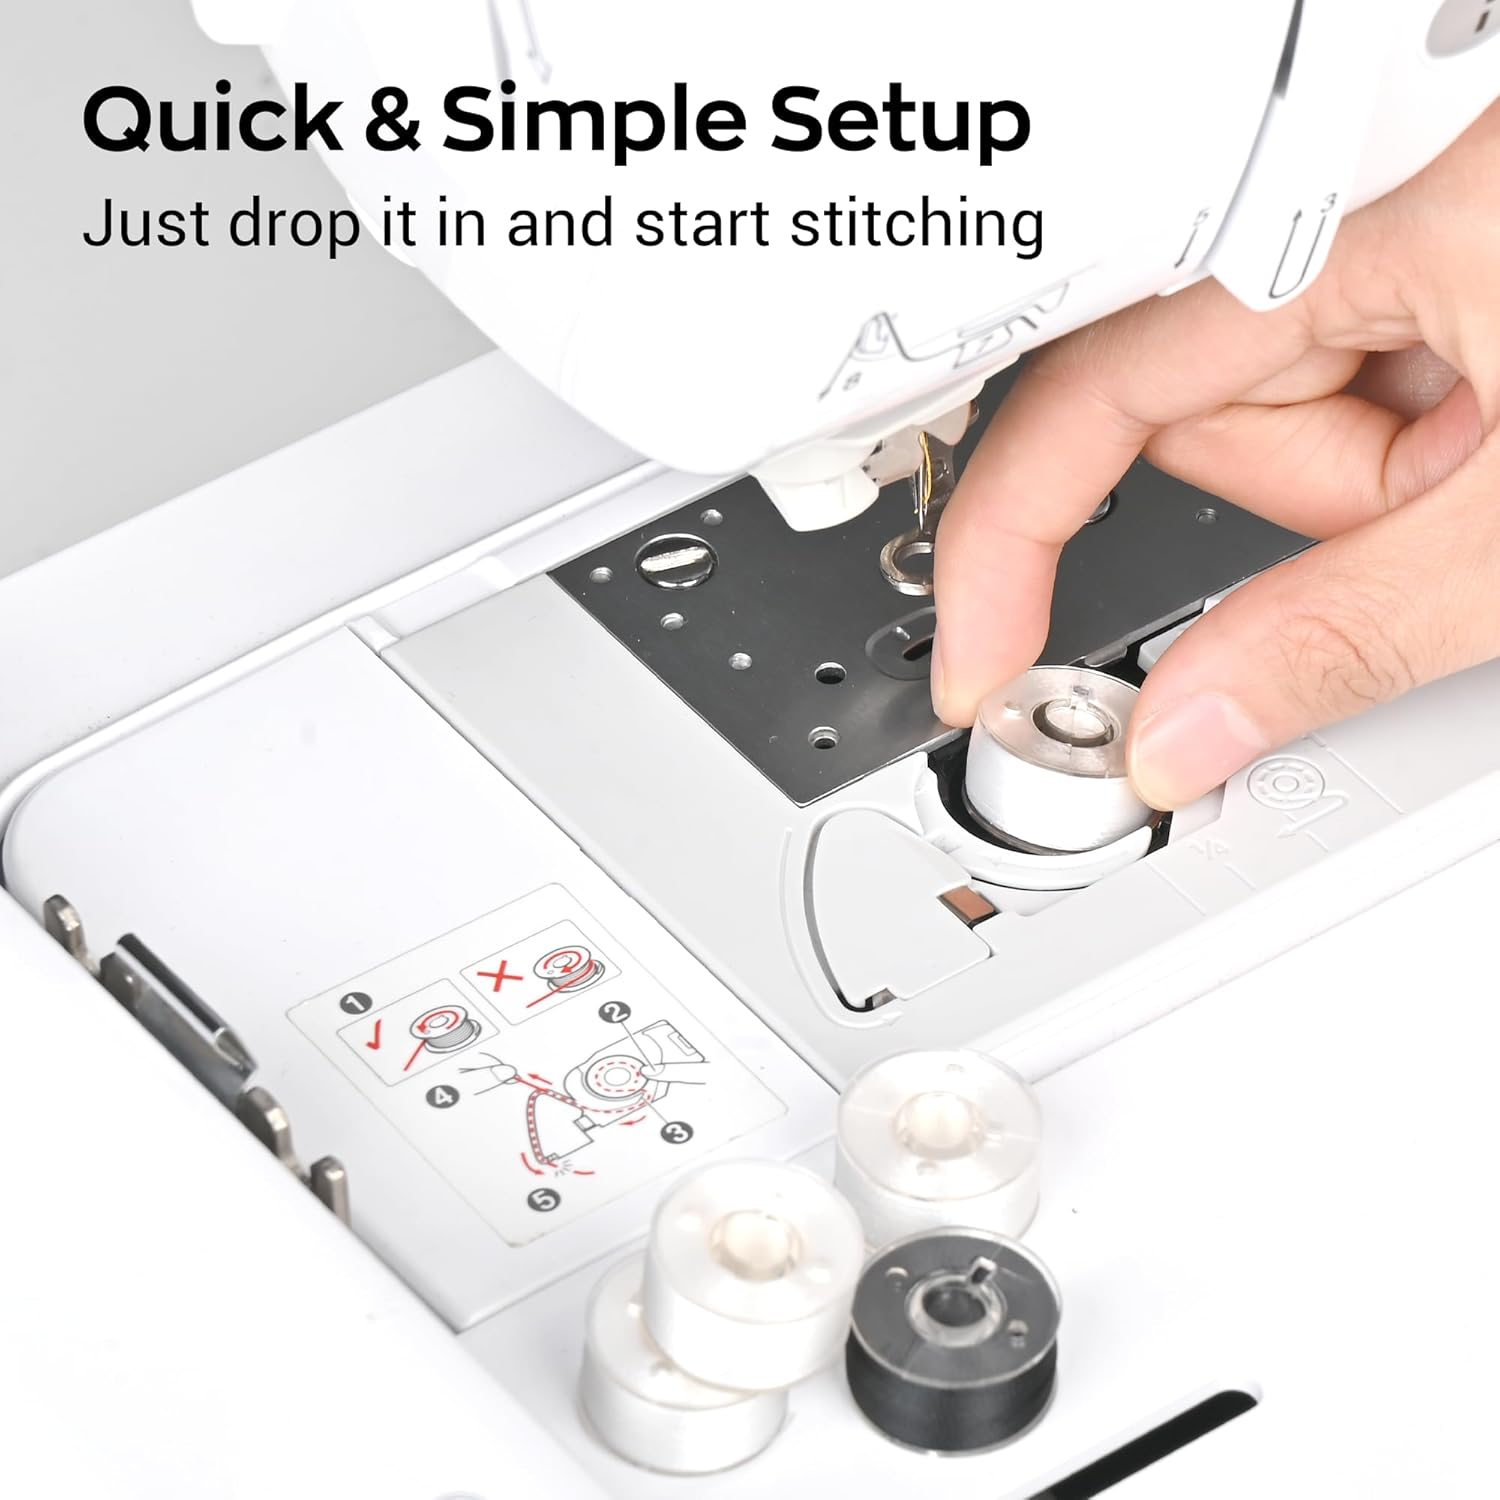
Image: A hand demonstrating the quick and simple setup of placing a prewound bobbin into the machine's bobbin compartment.
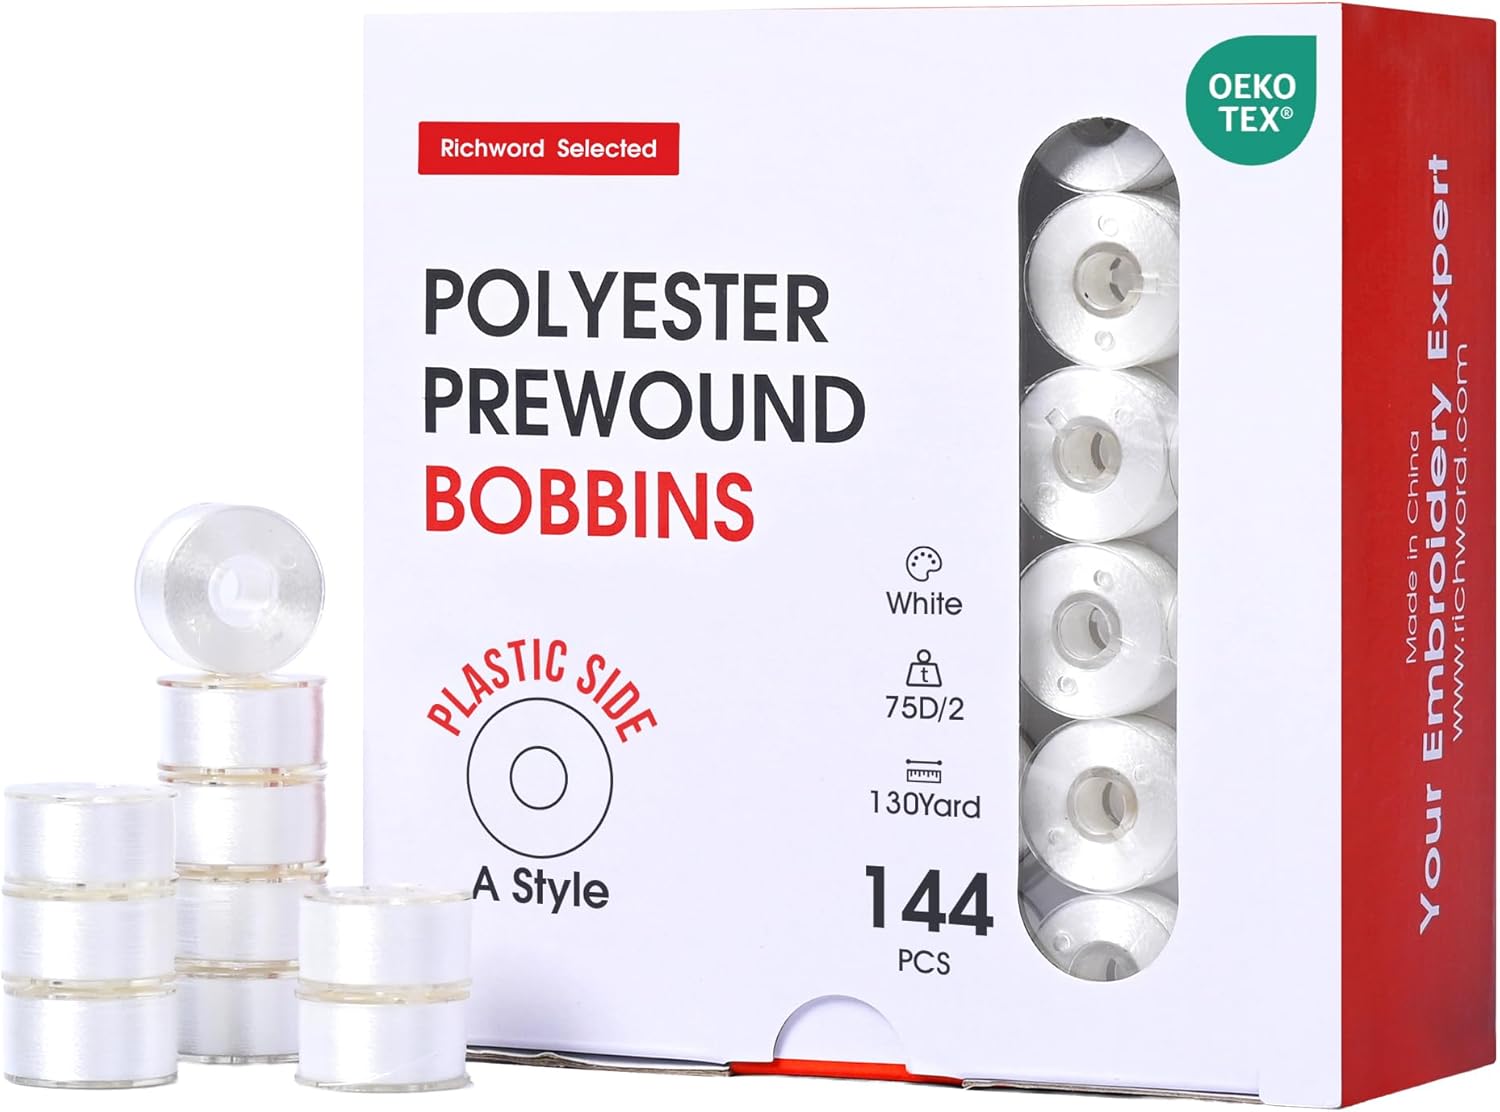
Image: A box containing 144 A Style prewound polyester bobbins, ready for use with the embroidery machine.
3.4 Threading the Machine
Follow the numbered threading path indicated on your machine. Ensure the thread is seated correctly in all guides and tension discs. The bundle includes a 20-color set of 40WT polyester embroidery threads (800M each).
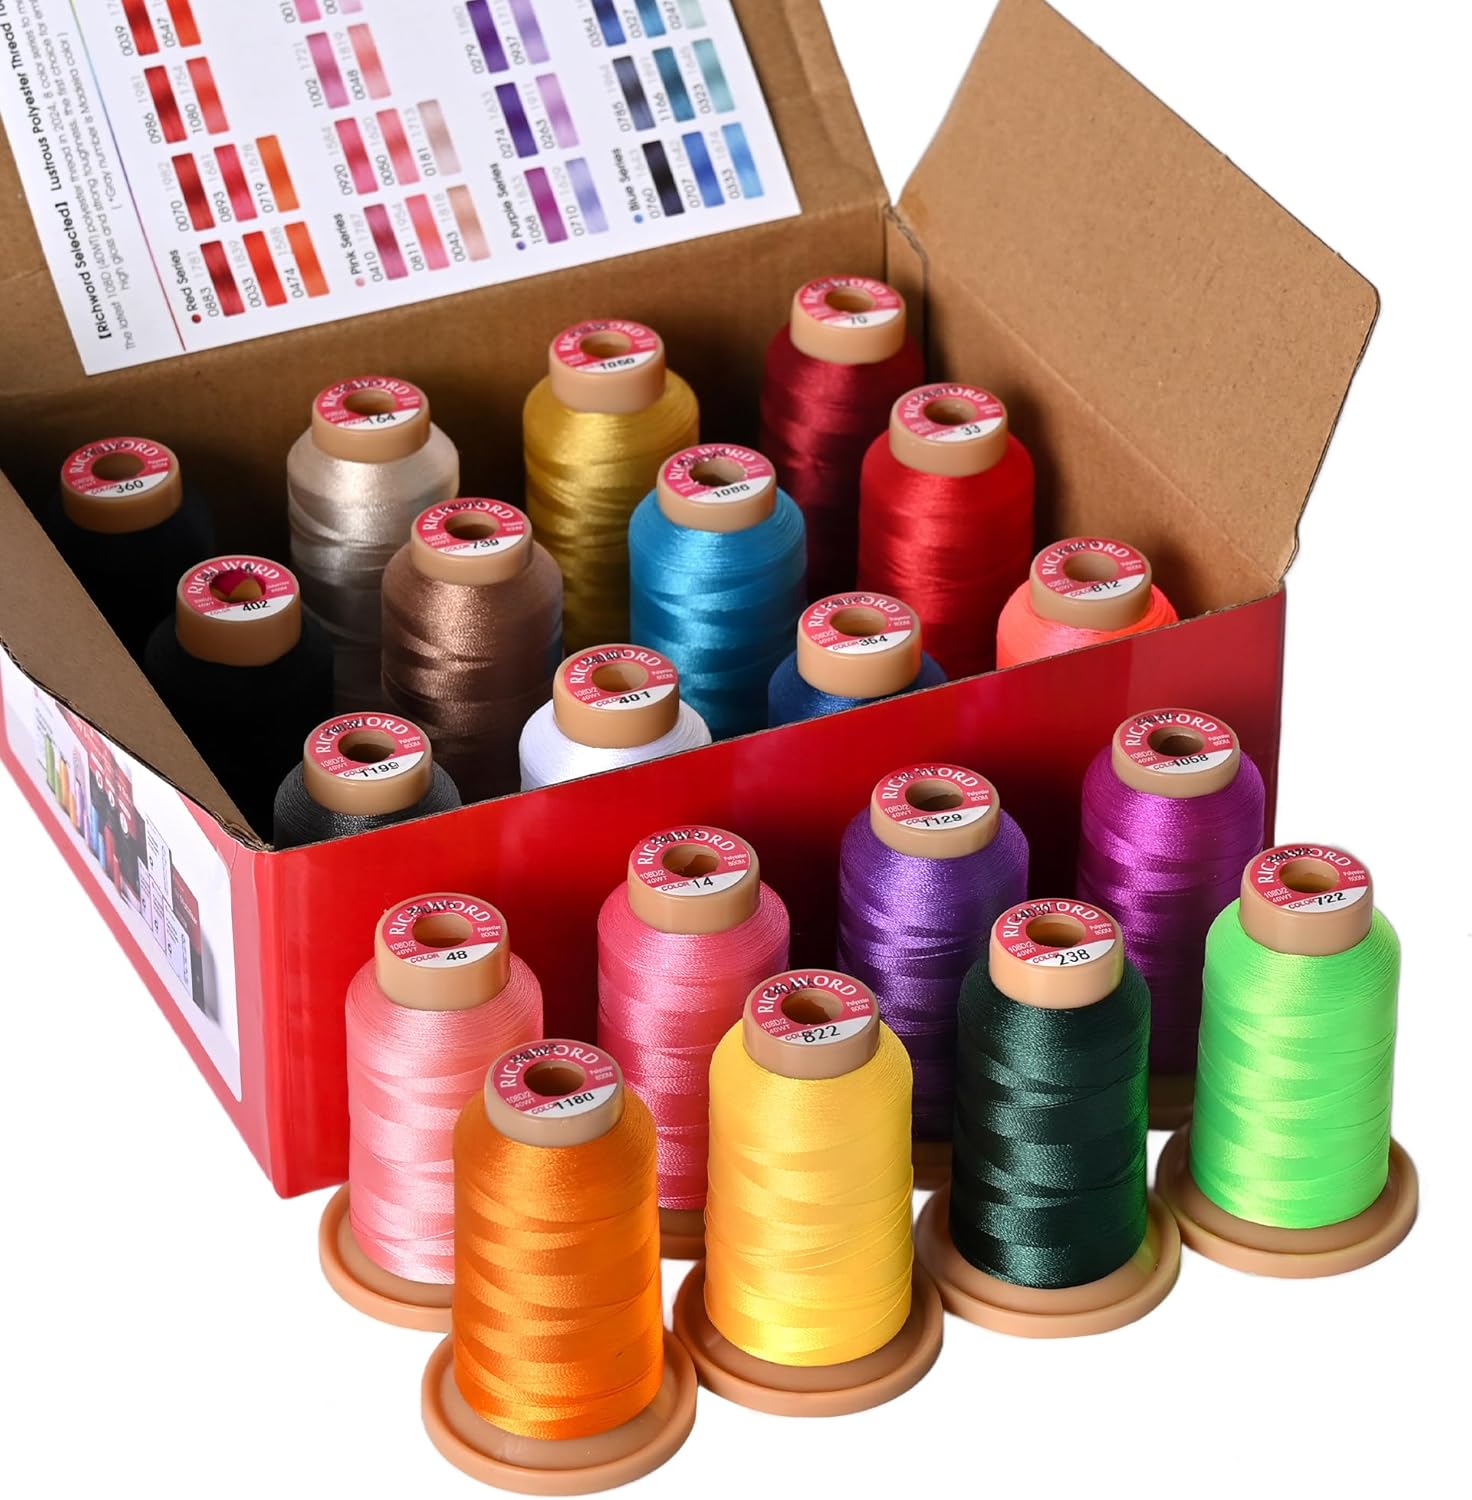
Image: A box containing a 20-color set of 800M polyester embroidery threads, suitable for various projects.

Image: Several spools of brightly colored polyester embroidery thread, highlighting their neatly wound, vibrant, and wash-resistant qualities.
3.5 Attaching the Embroidery Hoop
Select the appropriate hoop size (4x4 inches or 4x9.25 inches) for your design. Secure your fabric firmly within the hoop, ensuring it is taut and wrinkle-free. Attach the hoop to the embroidery unit by sliding it onto the carriage until it clicks into place.
3.6 WiFi Setup
The EOC03 supports WiFi design transfer. Access the WiFi settings on the machine's touchscreen. Connect to your local wireless network by selecting the network name and entering the password. This enables wireless transfer of embroidery designs from a compatible device.
4. Operating the Machine
4.1 Powering On and Screen Navigation
Turn on the machine using the power switch. The touchscreen display will illuminate. Use the touch interface to navigate through menus, select designs, and adjust settings.
4.2 Selecting and Transferring Designs
- Built-in Designs: The EOC03 includes 130 built-in embroidery designs and 8 fonts. Browse these options directly on the machine's screen.
- WiFi Transfer: For custom designs, use the WiFi feature to transfer files from your computer or mobile device to the machine. Refer to the machine's on-screen instructions or the full digital manual for specific software requirements and transfer procedures.
4.3 Preparing for Embroidery
- Select your desired design and adjust its size, rotation, or position on the screen as needed.
- Verify that the correct hoop size is attached and that the fabric is properly hooped.
- Ensure the upper thread and bobbin thread are correctly installed.
- Lower the presser foot.
4.4 Starting and Monitoring Embroidery
Press the Start/Stop button to begin the embroidery process. The machine will automatically stitch the design. Monitor the process for any thread breaks or issues. The machine will pause if a thread break is detected or if a color change is required.

Image: A close-up view of the embroidery machine's needle smoothly stitching a colorful floral design onto fabric, demonstrating consistent tension and even stitches.
4.5 Changing Thread Colors
When the machine pauses for a color change, follow the on-screen prompts. Cut the current thread, remove it, and re-thread the machine with the new color. Press Start/Stop to resume.
5. Maintenance
5.1 Cleaning the Machine
- Regular Cleaning: After each use, or every few hours of operation, use a small brush or vacuum cleaner to remove lint and dust from the bobbin area, feed dogs, and needle plate.
- Exterior Cleaning: Wipe the exterior surfaces with a soft, damp cloth. Avoid using harsh chemicals or abrasive cleaners.
- Screen Cleaning: Use a soft, lint-free cloth specifically designed for electronic screens to clean the touchscreen display.
5.2 Needle Replacement
Replace the needle regularly (approximately every 8-10 hours of embroidery) or if it becomes bent, dull, or damaged. Using a damaged needle can lead to skipped stitches, thread breaks, and fabric damage. Ensure the machine is unplugged before changing the needle.
5.3 Storage
When not in use, cover the machine with a dust cover to protect it from dust and debris. Store the machine in a dry, stable environment.
6. Troubleshooting
This section addresses common issues you might encounter. For more detailed troubleshooting, refer to the comprehensive digital manual or contact customer support.
- Thread Breaks:
- Check if the machine is threaded correctly, both upper and bobbin threads.
- Ensure the needle is inserted correctly and is not bent or dull.
- Verify that the thread tension is appropriate for the fabric and design.
- Check for burrs or rough spots on the needle plate or bobbin case.
- Skipped Stitches:
- Replace the needle with a new, appropriate size for your fabric.
- Ensure the fabric is properly hooped and taut.
- Check upper and bobbin threading.
- Poor Stitch Quality:
- Adjust thread tension.
- Clean the bobbin area and feed dogs.
- Use appropriate stabilizer for your fabric.
- Machine Not Starting:
- Ensure the power cord is securely plugged in.
- Check if the power switch is ON.
- Verify that the presser foot is lowered.
- Check for any error messages on the screen.
7. Specifications
| Feature | Detail |
|---|---|
| Model | Poolin EOC03 |
| Embroidery Area | 4x4 inches (100x100 mm), 4x9.25 inches (100x235 mm) |
| Built-in Designs | 130 |
| Built-in Fonts | 8 |
| Connectivity | WiFi for design transfer |
| Bobbin Type | A Style (Class 15 / SA156) Prewound |
| Thread Type (Included) | 40WT Polyester Embroidery Thread (800M spools) |
| ASIN | B0GVHFN4R8 |
8. Warranty and Support
For information regarding product warranty, please refer to the warranty card included with your purchase or visit the official Poolin website. For technical support, service, or additional inquiries, please contact Poolin customer service through their official channels.
Online Resources: For the most up-to-date information, FAQs, and additional tutorials, please visit the Poolin support section on their official website.


