Introduction
Thank you for choosing the Nakamichi NGTA100.4 4-Channel Car Power Amplifier. This amplifier is designed to deliver high-fidelity audio performance for your vehicle's sound system. With its Class AB design and robust power output, the NGTA100.4 ensures clear, powerful, and dynamic sound reproduction. This manual provides essential information for proper installation, operation, and maintenance to ensure optimal performance and longevity of your amplifier.
Please read this manual thoroughly before attempting installation or operation. Keep this manual for future reference.
Safety Information
- Professional Installation Recommended: Due to the complexity of car audio systems and electrical connections, professional installation is highly recommended.
- Disconnect Battery: Always disconnect the vehicle's negative battery terminal before starting any electrical work to prevent short circuits and damage.
- Proper Wiring: Ensure all wiring is correctly sized and fused according to specifications to prevent overheating and fire hazards.
- Ventilation: Install the amplifier in a location that allows for adequate air circulation to prevent overheating. Do not block cooling fins.
- Avoid Moisture: Do not expose the amplifier to moisture or water.
- Secure Mounting: Mount the amplifier securely to prevent it from shifting during vehicle movement, which could cause damage or injury.
Product Overview
The Nakamichi NGTA100.4 is a high-performance 4-channel Class AB car power amplifier. Key features include:
- Power Output: 100W RMS x4 channels, providing robust and clear audio.
- High-Quality Components: Utilizes original power tubes, original IR field effect transistors, and a high-power ring transformer for superior sound and reliability.
- SMT Capacitor Technology: Equipped with three-ring SMT capacitors for stable power delivery and enhanced sound quality.
- Versatile Audio Control: Independent front and rear input controls with adjustable crossover settings (High-Pass Filter/Low-Pass Filter) for precise sound tuning.
- Robust Thermal Management: Features a durable brushed aluminium housing with integrated heat-sink fins for efficient heat dissipation, ensuring consistent performance during extended use.
- Comprehensive Connectivity: Includes front and rear RCA inputs and gain adjustments for flexible system integration.
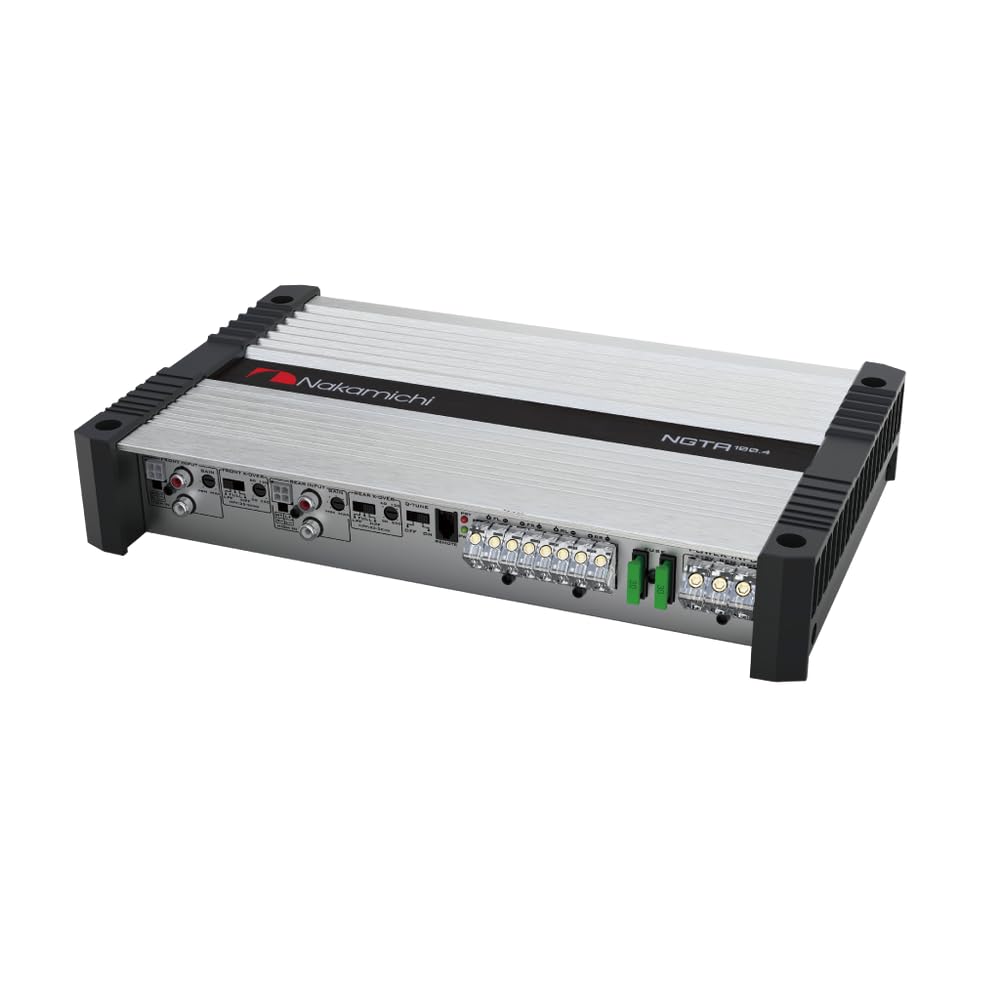
Figure 1: Nakamichi NGTA100.4 4-Channel Car Power Amplifier. This image shows the top view of the amplifier with its brushed aluminum finish and heat-sink fins.
Setup and Installation
Proper installation is crucial for the performance and safety of your amplifier. Refer to the following guidelines:
1. Mounting Location
- Choose a dry, well-ventilated location away from direct sunlight and heat sources.
- Ensure sufficient space around the amplifier for air circulation, especially around the heat-sink fins.
- Mount the amplifier securely to a solid surface using appropriate hardware to prevent movement.
2. Power Wiring
- Power (B+): Connect a heavy-gauge power cable (e.g., 4-gauge or 8-gauge, depending on total system power) directly from the positive (+) terminal of the vehicle's battery to the amplifier's B+ terminal. Install an appropriate fuse holder with a fuse (rated for the amplifier's current draw) within 18 inches (45 cm) of the battery.
- Ground (GND): Connect a heavy-gauge ground cable of the same size as the power cable from the amplifier's GND terminal to a clean, unpainted metal surface on the vehicle's chassis. Ensure a solid, low-resistance connection.
- Remote (REM): Connect a smaller gauge wire (e.g., 18-gauge) from the amplifier's REM terminal to the remote turn-on output of your head unit. This wire signals the amplifier to turn on and off with the head unit.
3. Signal Input (RCA)
- Connect RCA cables from the pre-out outputs of your head unit to the corresponding RCA input jacks (FRONT and REAR) on the amplifier.
- Ensure proper channel matching (e.g., Left Front to Left Front, Right Front to Right Front).
4. Speaker Output
- Connect your speakers to the amplifier's speaker output terminals. The NGTA100.4 supports 4-channel operation.
- Observe correct polarity (+ to + and - to -) for all speaker connections to avoid phase issues.
- Ensure the speaker impedance is within the amplifier's supported range (typically 2-8 ohms per channel).
Note: A detailed wiring diagram is typically provided in the physical product packaging. Always consult this diagram for specific connection points and fuse ratings.
Operating Instructions
1. Initial Power-Up
- After all connections are made and checked, reconnect the vehicle's negative battery terminal.
- Turn on your head unit. The amplifier's power indicator LED should illuminate, indicating it is receiving power and is operational.
2. Gain Adjustment
The gain control matches the amplifier's input sensitivity to the output level of your head unit. It is not a volume control.
- Set the head unit volume to about 75-80% of its maximum level.
- Play a dynamic piece of music.
- Slowly increase the amplifier's gain control (FRONT and REAR independently if available) until you hear slight distortion, then back off slightly until the sound is clear.
- Avoid setting the gain too high, as this can lead to distortion and potential damage to speakers and the amplifier.
3. Crossover Settings
The NGTA100.4 features independent crossover controls for the front and rear channels.
- HPF (High-Pass Filter): Allows frequencies above the set point to pass through. Typically used for full-range speakers or tweeters to prevent low bass frequencies from distorting them.
- LPF (Low-Pass Filter): Allows frequencies below the set point to pass through. Typically used for subwoofers to prevent high frequencies from reaching them.
- Adjust the HPF/LPF settings according to your speaker types and desired sound profile. Start with recommended settings for your speakers and fine-tune by ear.
Maintenance
- Cleaning: Use a soft, dry cloth to wipe the amplifier's exterior. Do not use harsh chemicals or abrasive cleaners.
- Ventilation: Periodically check that the heat-sink fins are free from dust and debris to ensure proper cooling.
- Connections: Occasionally inspect all power, ground, remote, RCA, and speaker connections to ensure they are secure and free from corrosion.
Troubleshooting
| Problem | Possible Cause | Solution |
|---|---|---|
| Amplifier does not turn on (no power LED) |
|
|
| No sound output |
|
|
| Distorted sound |
|
|
| Amplifier overheats (protection LED on) |
|
|
Specifications
| Feature | Specification |
|---|---|
| Model | NGTA100.4 |
| Number of Channels | 4 |
| Amplifier Class | Class AB |
| Output Power (RMS) | 100 Watts x 4 channels |
| Maximum Output Power | 400 Watts |
| Item Dimensions (L x W x H) | 43 x 22 x 6.5 Centimeters |
| UPC | 840735113008 |
| ASIN | B0GVF68V95 |
Warranty Information
The Nakamichi NGTA100.4 amplifier is covered by a limited warranty, typically for 1 year from the date of purchase. This warranty covers manufacturing defects under normal use. It does not cover damage caused by improper installation, accident, misuse, abuse, negligence, or unauthorized modification.
Please retain your proof of purchase for warranty claims. For specific warranty terms and conditions, refer to the warranty card included with your product or contact Nakamichi customer support.
Customer Support
If you encounter any issues or have questions regarding your Nakamichi NGTA100.4 amplifier that are not addressed in this manual, please contact Nakamichi customer support or your authorized Nakamichi dealer for assistance.
For the latest support information, product updates, and contact details, please visit the official Nakamichi website.