
Introduction
This manual provides detailed instructions for the safe and effective replacement of the drive belts on your PERFORMAX 9-inch Band Saw, model 240-3730. These replacement belts, identified as part number SD02/26-867, are designed to restore optimal performance to your band saw's drive system. Please read all instructions thoroughly before beginning the installation process.
Safety Information
Always prioritize safety when working with power tools and their components. Failure to follow these safety guidelines may result in injury or damage to equipment.
- Disconnect Power: Before performing any maintenance or installation, always unplug the band saw from its power source to prevent accidental startup.
- Wear Personal Protective Equipment (PPE): Use safety glasses to protect your eyes from debris. Gloves may be helpful to improve grip and protect hands.
- Consult Original Manual: Refer to your PERFORMAX 9" Band Saw's original instruction manual for specific safety warnings and disassembly procedures related to your machine.
- Use Proper Tools: Ensure you have the correct tools for the job to avoid stripping fasteners or damaging components.
- Work in a Well-Lit Area: Adequate lighting helps prevent errors and improves visibility of small parts.
Package Contents
Verify that all items are present and undamaged upon opening the package.
- 2 x Replacement Drive Belts (Part Number: SD02/26-867)
Installation Instructions
Follow these steps carefully to replace the drive belts on your PERFORMAX 9" Band Saw (Model 240-3730).
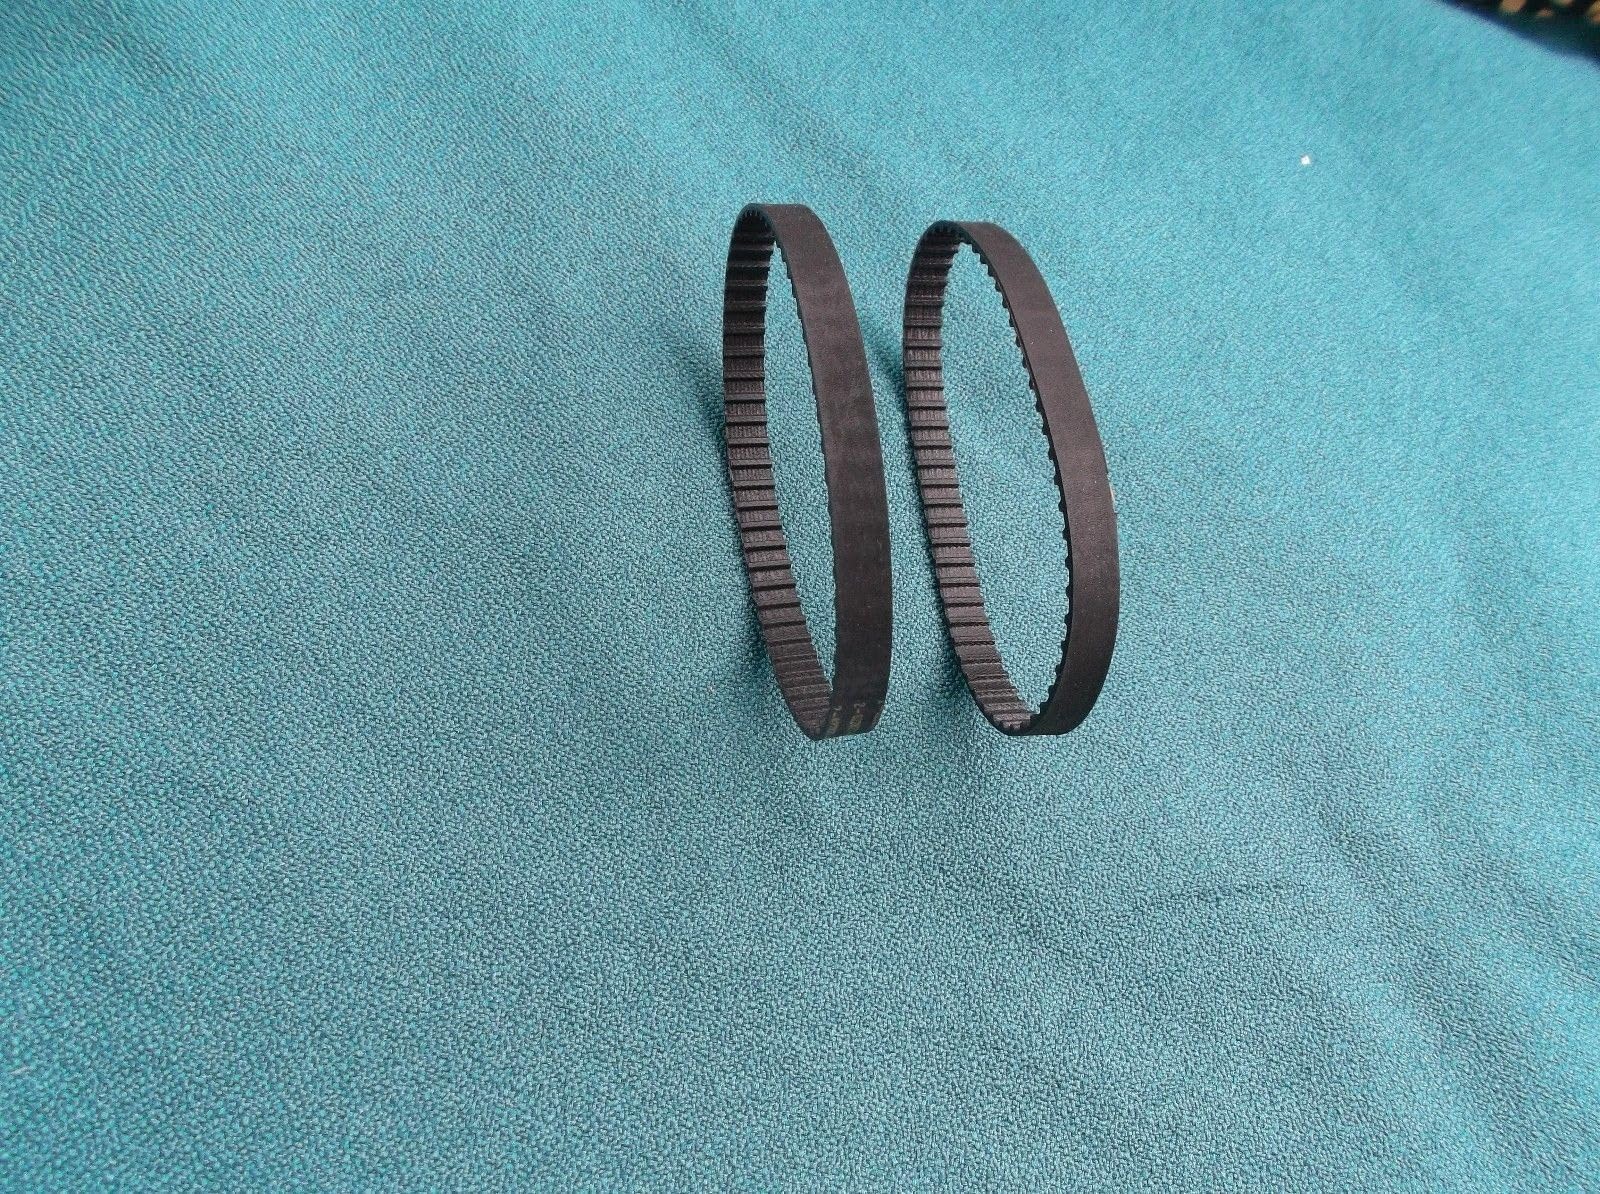
Image: Two replacement drive belts, coiled and ready for installation. These belts are designed for the PERFORMAX 9" Band Saw.
- Prepare the Band Saw: Ensure the band saw is unplugged from the power outlet. Clear the work area around the saw.
- Access the Drive System: Locate the belt cover on your PERFORMAX 9" Band Saw. This is typically on the side or rear of the motor housing. Use appropriate tools (e.g., screwdriver, wrench) to remove the fasteners securing the cover. Carefully set the cover and fasteners aside.
- Remove Old Belts: Once the drive system is exposed, identify the old drive belts connecting the motor pulley to the main drive pulley. Depending on the design, you may need to loosen a motor mounting bolt to relieve tension. Carefully roll or slide the old belts off the pulleys. Inspect the pulleys for any wear or damage.
- Install New Belts: Place the new replacement drive belts onto the smaller motor pulley first. Then, carefully stretch and roll them onto the larger main drive pulley. Ensure the belts are seated correctly in the grooves of both pulleys.
- Adjust Belt Tension: If you loosened the motor, gently push the motor away from the main drive pulley to apply appropriate tension to the belts. The belts should be taut but not overly tight; a slight amount of flex (approximately 1/2 inch) when pressed firmly in the middle is generally acceptable. Refer to your band saw's original manual for precise tensioning guidelines if available. Tighten the motor mounting bolts securely.
- Replace Cover: Reinstall the belt cover, ensuring all fasteners are securely tightened.
- Test Operation: Plug the band saw back into the power outlet. Briefly turn on the saw to observe the new belts. Listen for unusual noises and check for smooth operation. If any issues arise, immediately unplug the saw and re-evaluate the installation.
Operation
These drive belts are replacement components for your PERFORMAX 9" Band Saw. Once installed, the operation of the band saw should proceed as described in its original manufacturer's manual. Ensure all safety guards are in place and functional before operating the machine.
Maintenance
Regular maintenance of your drive belts can extend their lifespan and ensure consistent performance of your band saw.
- Regular Inspection: Periodically inspect the belts for signs of wear, cracking, fraying, or glazing. Replace belts at the first sign of significant wear.
- Keep Clean: Keep the belts and pulleys free from sawdust, grease, and other debris. A clean, dry cloth can be used for cleaning.
- Check Tension: Verify belt tension periodically. Belts that are too loose can slip, causing power loss and heat buildup. Belts that are too tight can put excessive strain on motor bearings and reduce belt life.
- Avoid Overloading: Do not overload the band saw, as this can cause excessive strain on the drive belts and lead to premature failure.
Troubleshooting
If you encounter issues after installing the new drive belts, consult the following table for common problems and solutions.
| Problem | Possible Cause | Solution |
|---|---|---|
| Belts slipping | Insufficient tension; oil/grease on belts/pulleys; worn belts | Adjust belt tension; clean belts and pulleys; replace belts if worn |
| Excessive noise (squealing, grinding) | Improper belt tension; misaligned pulleys; worn bearings (motor/pulley) | Adjust belt tension; check pulley alignment; inspect bearings |
| Premature belt wear | Over-tensioning; misaligned pulleys; overloading the saw; abrasive environment | Adjust tension; align pulleys; avoid overloading; keep area clean |
Specifications
| Product | Replacement Drive Belts |
| Quantity | 2 Belts |
| Compatibility | PERFORMAX 9" Band Saw, Model 240-3730 |
| Part Number (Belts) | SD02/26-867 |
| Material | Durable Rubber Compound |
Warranty and Support
For specific warranty information regarding these replacement drive belts, please refer to the seller's policy or contact the seller directly through the platform where the purchase was made. For support related to the PERFORMAX 9" Band Saw itself, consult the original manufacturer's documentation or their official support channels.