1. Introduction
This manual provides detailed instructions for the Waveshare ESP32-S3-CAM-OV5640 AI Development Board. It covers product features, setup procedures, operational guidelines, maintenance tips, troubleshooting, and technical specifications. This board is designed for intelligent terminal applications, integrating camera, display, and audio functionalities with AI capabilities.
2. Product Overview
2.1 Key Features
- Equipped with Xtensa 32-bit LX7 dual-core processor, operating up to 240MHz.
- Integrated 2.4GHz Wi-Fi and Bluetooth LE dual-mode wireless communication.
- Built-in 512KB Static RAM and 384KB ROM, with onboard 8MB PSRAM and 16MB Flash.
- Onboard 24PIN standard DVP camera interface, compatible with OV3660, OV5640, GC0308, and GC2145 cameras.
- Onboard 18PIN display FPC interface, supporting external display connections.
- Supports multiple high-definition cameras for image capture and AI visual recognition.
- Integrates dual microphones, audio amplifier, and echo cancellation functionality.
- Allows access to online large model platforms for AI speech interaction.
- Adapting USB, I2C, and UART interfaces for versatile connectivity.
- Onboard Lithium Battery charging circuit, supporting 3.7V Lithium Battery for power supply.
- Reserved two buttons for custom functions.
2.2 Package Contents
- ESP32-S3-CAM baseboard x1
- OV5640 camera x1
- 1217 8Ω 2W speaker x1
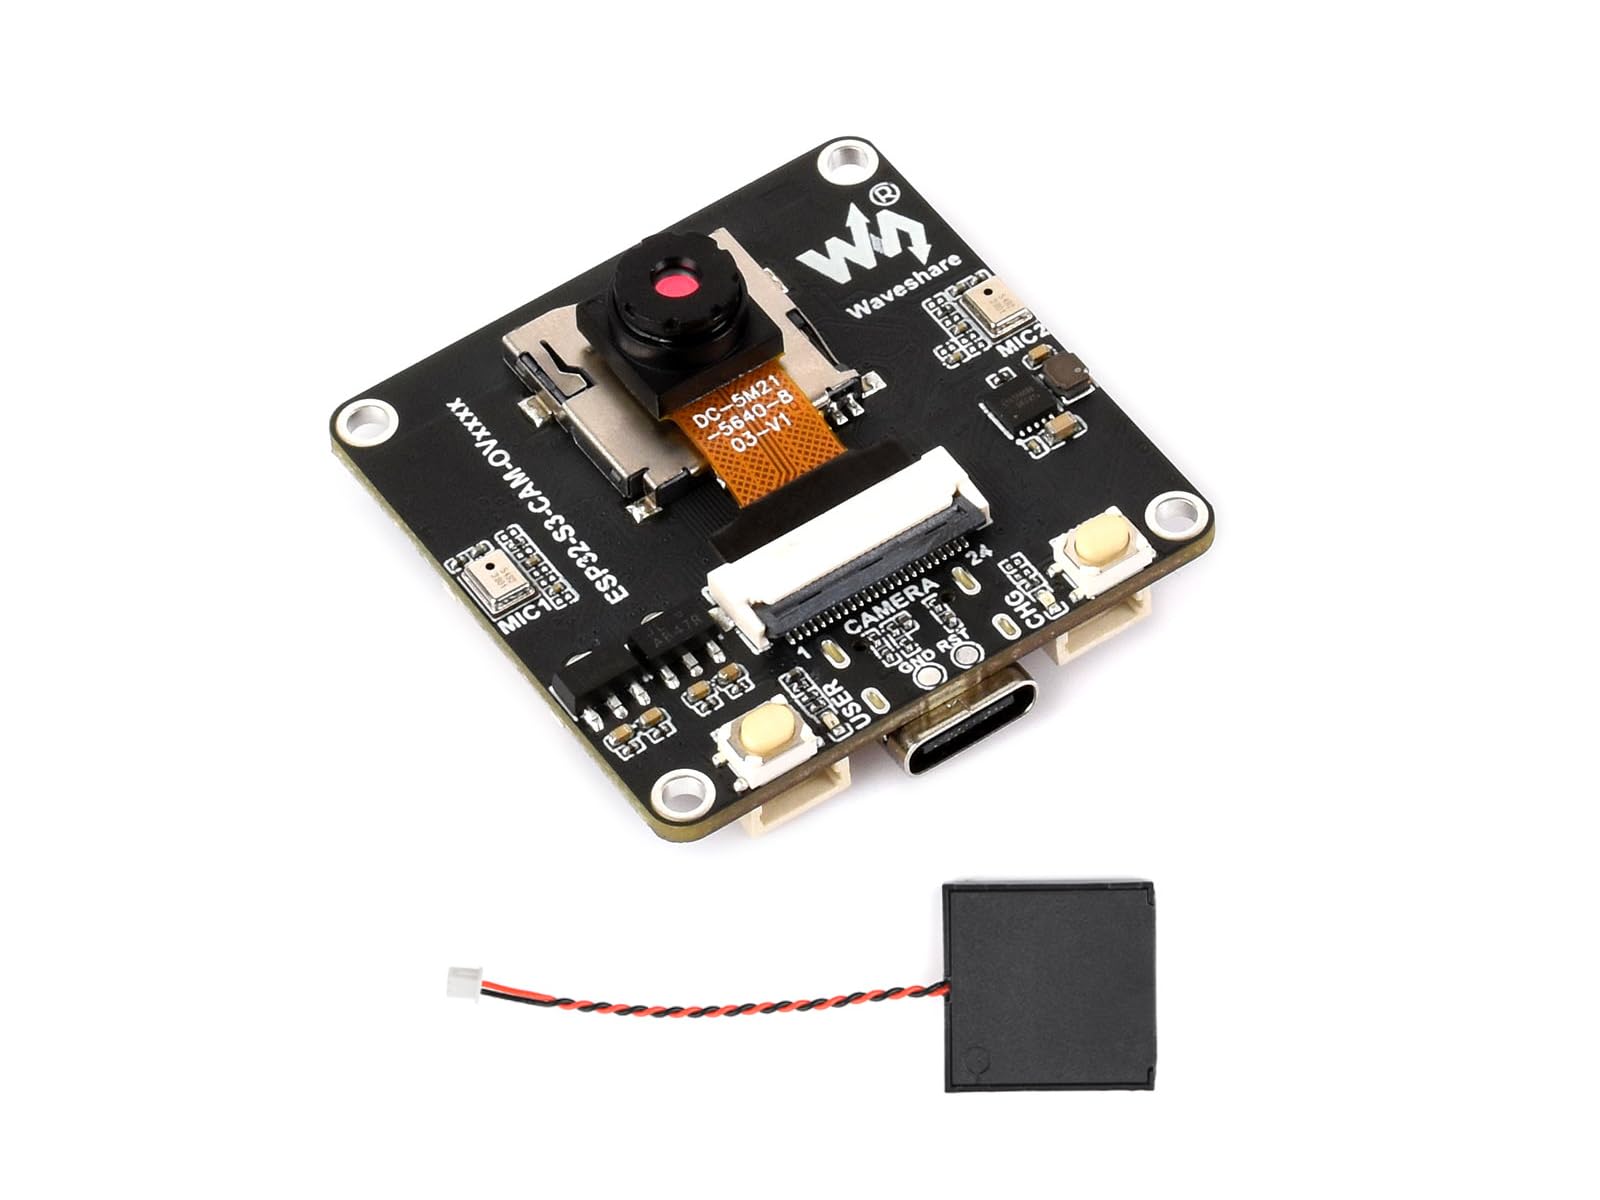
Figure 1: The Waveshare ESP32-S3-CAM-OV5640 AI Development Board, shown with the included OV5640 camera module and speaker. This image highlights the compact design and various interfaces available on the board.
3. Setup
Follow these steps to set up your ESP32-S3-CAM-OV5640 AI Development Board:
- Connect the Camera Module: Carefully connect the OV5640 camera module to the 24PIN DVP camera interface on the development board. Ensure correct orientation and a secure connection.
- Connect the Speaker: Attach the 1217 8Ω 2W speaker to the designated audio output pins on the board.
- Power Supply:
- USB Power: Connect the board to your computer using a USB-C cable. This will provide power and enable data communication for programming.
- Battery Power: For portable applications, connect a 3.7V Lithium Battery to the onboard charging circuit. Ensure correct polarity.
- External Display (Optional): If using an external display, connect it to the 18PIN display FPC interface. Refer to the display's specific documentation for connection details.
- Software Environment: Install the necessary drivers and development environment (e.g., ESP-IDF, Arduino IDE with ESP32-S3 board support) on your computer. Refer to the Waveshare online development resources for detailed software setup guides.
4. Operating Instructions
This section outlines basic operational procedures for the ESP32-S3-CAM-OV5640 board.
4.1 Programming and Firmware Upload
To upload firmware or programs to the ESP32-S3, connect the board via USB to your computer. Use your chosen development environment (e.g., Arduino IDE, PlatformIO, ESP-IDF) to compile and upload your code. Ensure the correct board and COM port are selected in your IDE settings.
4.2 Camera Operation
The OV5640 camera module can be initialized and controlled through software. Example code for image capture, video streaming, and AI visual recognition is typically provided in the development resources. The DVP interface allows for high-speed data transfer from the camera to the ESP32-S3 processor.
4.3 Audio Input and Output
The integrated dual microphones support audio input for speech recognition and AI interaction. The onboard audio amplifier drives the connected speaker for audio output. Libraries and examples for audio processing, noise reduction, echo cancellation, and speech synthesis are available in the development SDKs.
4.4 AI Speech Interaction
Leverage the board's capabilities to access online large model platforms for advanced AI speech interaction. This enables features such as voice commands, question answering, and natural language processing. Refer to specific platform integration guides for implementation details.
4.5 Edge Vision Detection
The board supports Edge Impulse object detection demos, allowing for real-time and multi-object detection directly on the device. This is ideal for applications requiring on-device AI processing without constant cloud connectivity.
5. Maintenance
Proper maintenance ensures the longevity and reliable operation of your development board.
- Cleaning: Use a soft, dry cloth to gently clean the board. Avoid using liquids or abrasive materials. For stubborn dust, use compressed air.
- Storage: Store the board in a cool, dry environment, away from direct sunlight, extreme temperatures, and high humidity.
- Handling: Always handle the board by its edges to avoid touching components, especially the camera lens. Static electricity can damage electronic components; use anti-static precautions when handling.
- Firmware Updates: Regularly check the Waveshare official website or development resources for firmware updates to ensure optimal performance and access to new features.
6. Troubleshooting
This section addresses common issues you might encounter.
| Problem | Possible Cause | Solution |
|---|---|---|
| Board not powering on. | Incorrect power connection, faulty USB cable, discharged battery. | Check USB cable connection and try another port/cable. Ensure battery is charged and connected with correct polarity. |
| Cannot upload firmware. | Incorrect COM port selected, missing drivers, board not in programming mode. | Install necessary USB drivers. Verify COM port in IDE. Ensure board is in bootloader mode (often by holding BOOT button while pressing and releasing RESET). |
| Camera not detected or no image. | Camera module incorrectly connected, faulty camera, software configuration error. | Check camera connection for proper seating and orientation. Verify camera initialization code in your program. Ensure the camera module is compatible. |
| No audio output from speaker. | Speaker incorrectly connected, audio amplifier not initialized, software volume too low. | Check speaker connection. Verify audio initialization and output code. Adjust software volume settings. |
7. Specifications
| Feature | Detail |
|---|---|
| Brand | Waveshare |
| Model Name | ESP32-S3 Cam OV5640 Dev Board |
| Processor | Xtensa 32-bit LX7 dual-core, up to 240MHz |
| Memory | 512KB SRAM, 384KB ROM, 8MB PSRAM, 16MB Flash |
| Wireless Connectivity | 2.4GHz Wi-Fi, Bluetooth LE |
| Camera Interface | 24PIN DVP (compatible with OV3660, OV5640, GC0308, GC2145) |
| Display Interface | 18PIN FPC (SPI/QSPI) |
| Audio | Dual microphones, audio amplifier, echo cancellation |
| Other Interfaces | USB, I2C, UART |
| Power Supply | USB-C, 3.7V Lithium Battery (onboard charging circuit) |
| UPC | 790885237072 |
| ASIN | B0GV43V5XP |
8. Warranty and Support
Waveshare provides online development resources and technical support for the ESP32-S3-CAM-OV5640 AI Development Board. For detailed documentation, example code, and community forums, please visit the official Waveshare website.
If you encounter any issues or require assistance, please contact Waveshare customer support through their official channels. Specific warranty terms and conditions may vary by region; refer to the Waveshare website for the most current warranty information.
Online Resources: www.waveshare.com


