Important Safety Information
Always assemble this product on a stable, level surface. Use appropriate tools and follow the instructions carefully. This product is heavy and may require more than one person to assemble and disassemble. Always secure the product to a stable foundation to prevent it from tipping over in windy conditions. Do not attempt to move or adjust the product when it is fully assembled and under load.
Product Overview
The MELLCOM 12x12 Louvered Pergola is designed to enhance your outdoor living space with its adjustable louvered roofs, robust all-weather frame, and integrated drainage system. It includes waterproof curtains and mosquito nets for versatile use in various weather conditions.
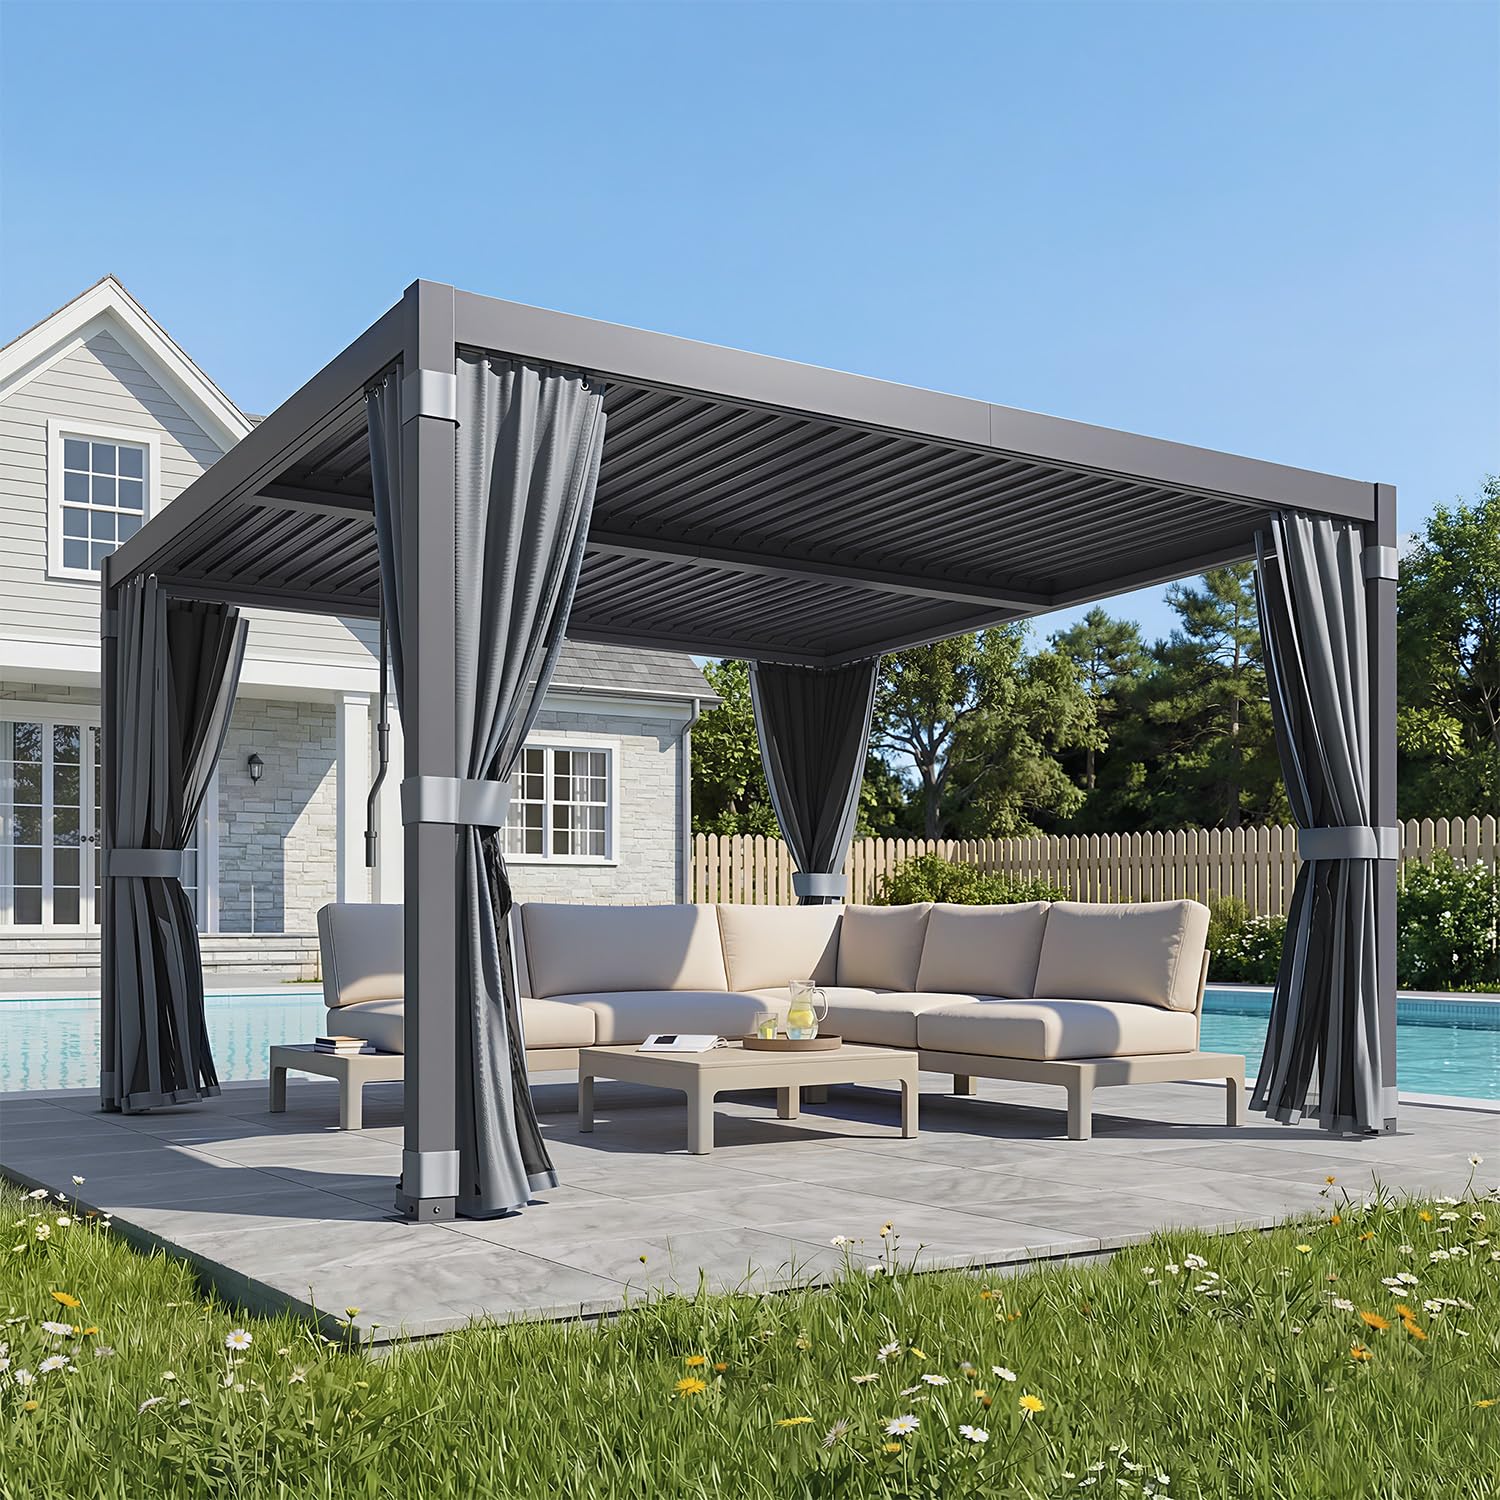
Image: The MELLCOM 12x12 Louvered Pergola, showcasing its design and features.
Key Features:
- Independent Louvered Roofs: Two independently controlled louvered roofs can be adjusted from 0-90 degrees using durable crank handles, offering full weather protection or partial shade.
- All-Weather Frame: Constructed from robust steel and aluminum, powder-coated in matte dark grey for rust-free, weatherproof, and UV-protected durability. Wind resistant up to 80 MPH.
- Built-in Drainage System: Rainwater flows from the louvers into channels within the framework, then vertically down through the posts to the ground, keeping the area beneath dry.
- Curtains and Nets: Detachable curtains and nets provide protection against insects, rain, and offer privacy. Enhanced with upper, middle, and lower straps to prevent movement in strong winds.
Setup and Assembly Instructions
This section provides detailed steps for assembling your MELLCOM Louvered Pergola. It is recommended to have at least two people for assembly due to the size and weight of components. Please refer to the included video for a visual guide.
Video: MELLCOM Louvered Pergola Installation Video. This video demonstrates the step-by-step assembly process for the pergola, including unboxing, parts check, frame construction, louver installation, and curtain attachment.
Package Contents:
Verify all parts are present and undamaged before beginning assembly. Refer to the packing list provided in your product box.
Tools Required:
- Power Drill
- Tape Measure
- Hammer
- Screwdriver
- Ladder
- Scissors
Assembly Steps:
- Install the Base Posts: Attach the base plates to the bottom of each post using the provided screws. Ensure a secure connection.
- Assemble the Beams: Connect the beam sections together, ensuring all screws are tightened. Pay attention to the orientation of the louver attachment points.
- Connect the Posts and Beams: With assistance, carefully lift and connect the assembled beams to the top of the posts. Secure all corner connections with the appropriate hardware.
- Install the Cross Beams: Attach the cross beams to the main frame, ensuring they are level and securely fastened.
- Apply Waterproof Tape (Beam Connectors): Apply waterproof tape to cross beam grooves and joints, avoiding screw holes, to prevent leaks. Then, install the beam connectors.
- Install the Louver Drive System: Assemble the louver drive rods and mechanisms according to the diagrams.
- Secure the Drive Mechanism: Attach the assembled drive mechanisms to the pergola frame, ensuring they are properly aligned for smooth louver operation.
- Install Louver Support Brackets: Fasten the louver support brackets to the frame.
- Install Adjustable Louvers: Carefully place and secure the adjustable louver panels into their respective positions on the drive system.
- Install Fixed Louvers: Install any fixed louver panels as per the design.
- Install Anchor Stakes: Secure the pergola to the ground using the provided anchor stakes. This is crucial for stability, especially in windy conditions.
- Insert Hooks into the Curtain Track: Slide the curtain hooks into the designated tracks along the perimeter of the pergola.
- Insert End Caps: Place the end caps into the curtain tracks to prevent hooks from sliding out.
- Install Curtains and Mosquito Netting: The mesh and curtain panels come pre-matched. Unzip one side and hang each panel on the track in order.
Operating Instructions
Adjusting Louvered Roofs:
The pergola features two independent louvered roof sections. Use the provided crank handles to adjust the angle of each louver section from 0 to 90 degrees. Turn the handle clockwise to close the louvers for rain protection or full shade, and counter-clockwise to open them for sunlight and ventilation.

Image: Demonstrates the adjustable louvered roof in open (sunbathe), closed (rainproof), and snow-proof positions.
Using Curtains and Nets:
The pergola is equipped with detachable curtains and mosquito nets. These can be deployed independently or together. The nets provide insect protection while allowing airflow and sunlight. The curtains offer privacy and additional weather protection. Use the integrated straps to secure them to the posts when not in use or to prevent them from flying in strong winds.

Image: Illustrates the versatility of the detachable fabric, showing fully open, nets only, and fully closed configurations.
Maintenance
Cleaning:
- Frame: Clean the aluminum and steel frame with a mild soap and water solution. Rinse thoroughly and dry to prevent water spots. Avoid abrasive cleaners or harsh chemicals.
- Louvers: Periodically inspect and clean the louver panels to ensure smooth operation and prevent debris buildup.
- Curtains and Nets: The fabric is detachable and washable. Follow the care instructions on the label for best results. Ensure they are completely dry before storing or reattaching to prevent mildew.
Seasonal Care:
- Winter: In areas with heavy snowfall, it is recommended to keep the louvers open to prevent snow accumulation and potential damage to the roof structure. Consider removing curtains and nets for storage during harsh winter months.
- Windy Conditions: Always secure the pergola to a stable foundation. In extremely windy conditions, it is advisable to open the louvers to reduce wind resistance and remove curtains/nets.
Drainage System Check:
Regularly inspect the internal drainage channels and post bases for any blockages from leaves or debris. Clear any obstructions to ensure efficient water evacuation.

Image: Diagram illustrating the built-in drainage system, showing how rainwater is channeled and discharged.
Troubleshooting
Louver Operation Issues:
- Stiff or Jammed Louvers: Check for any debris obstructing the louver mechanism. Ensure all screws in the drive system are properly tightened but not overtightened. Lubricate moving parts if necessary with a silicone-based lubricant.
- Uneven Louver Movement: Verify that the louver drive rods are correctly installed and aligned. Inspect for any bent or damaged components.
Water Leakage:
- Leaks at Joints: Ensure all waterproof tape and beam connectors are correctly applied at the joints during assembly. Reapply or reinforce if necessary.
- Drainage Blockage: Check the internal drainage system for any blockages. Clear leaves or debris from channels and post bases.
Pergola Instability:
- Wobbling or Movement: Confirm that the pergola is securely anchored to the ground using all provided anchor stakes. Ensure all frame connections are tight.
Specifications
| Feature | Detail |
|---|---|
| Brand | MELLCOM |
| Model | 12x12 |
| Material | Aluminum, Stainless Steel |
| Style | Modern |
| Product Dimensions (L x W x H) | 143.2"L x 140.8"W x 88.2"H |
| Item Weight | 383.3 Pounds |
| Frame Material | Metal |
| Water Resistance Level | Waterproof |
| Shape | Rectangular |
| Ultraviolet Light Protection | 100% |
| Assembly Required | Yes |
| Floor Area | 144 Square Feet |
Warranty Information
For specific warranty details, please refer to the warranty card included with your product or contact MELLCOM customer support. Keep your proof of purchase for any warranty claims.
Customer Support
If you have any questions, require assistance with assembly, or need to report missing/damaged parts, please contact MELLCOM customer support. Contact information can typically be found on the product packaging, in the included documentation, or on the official MELLCOM website.