Introduction
This manual provides essential instructions for the safe and effective setup, operation, and maintenance of your DoCred 2 Panel 60" H x 38" W No Dig Wood Privacy Screen. Please read this guide thoroughly before installation and retain it for future reference.
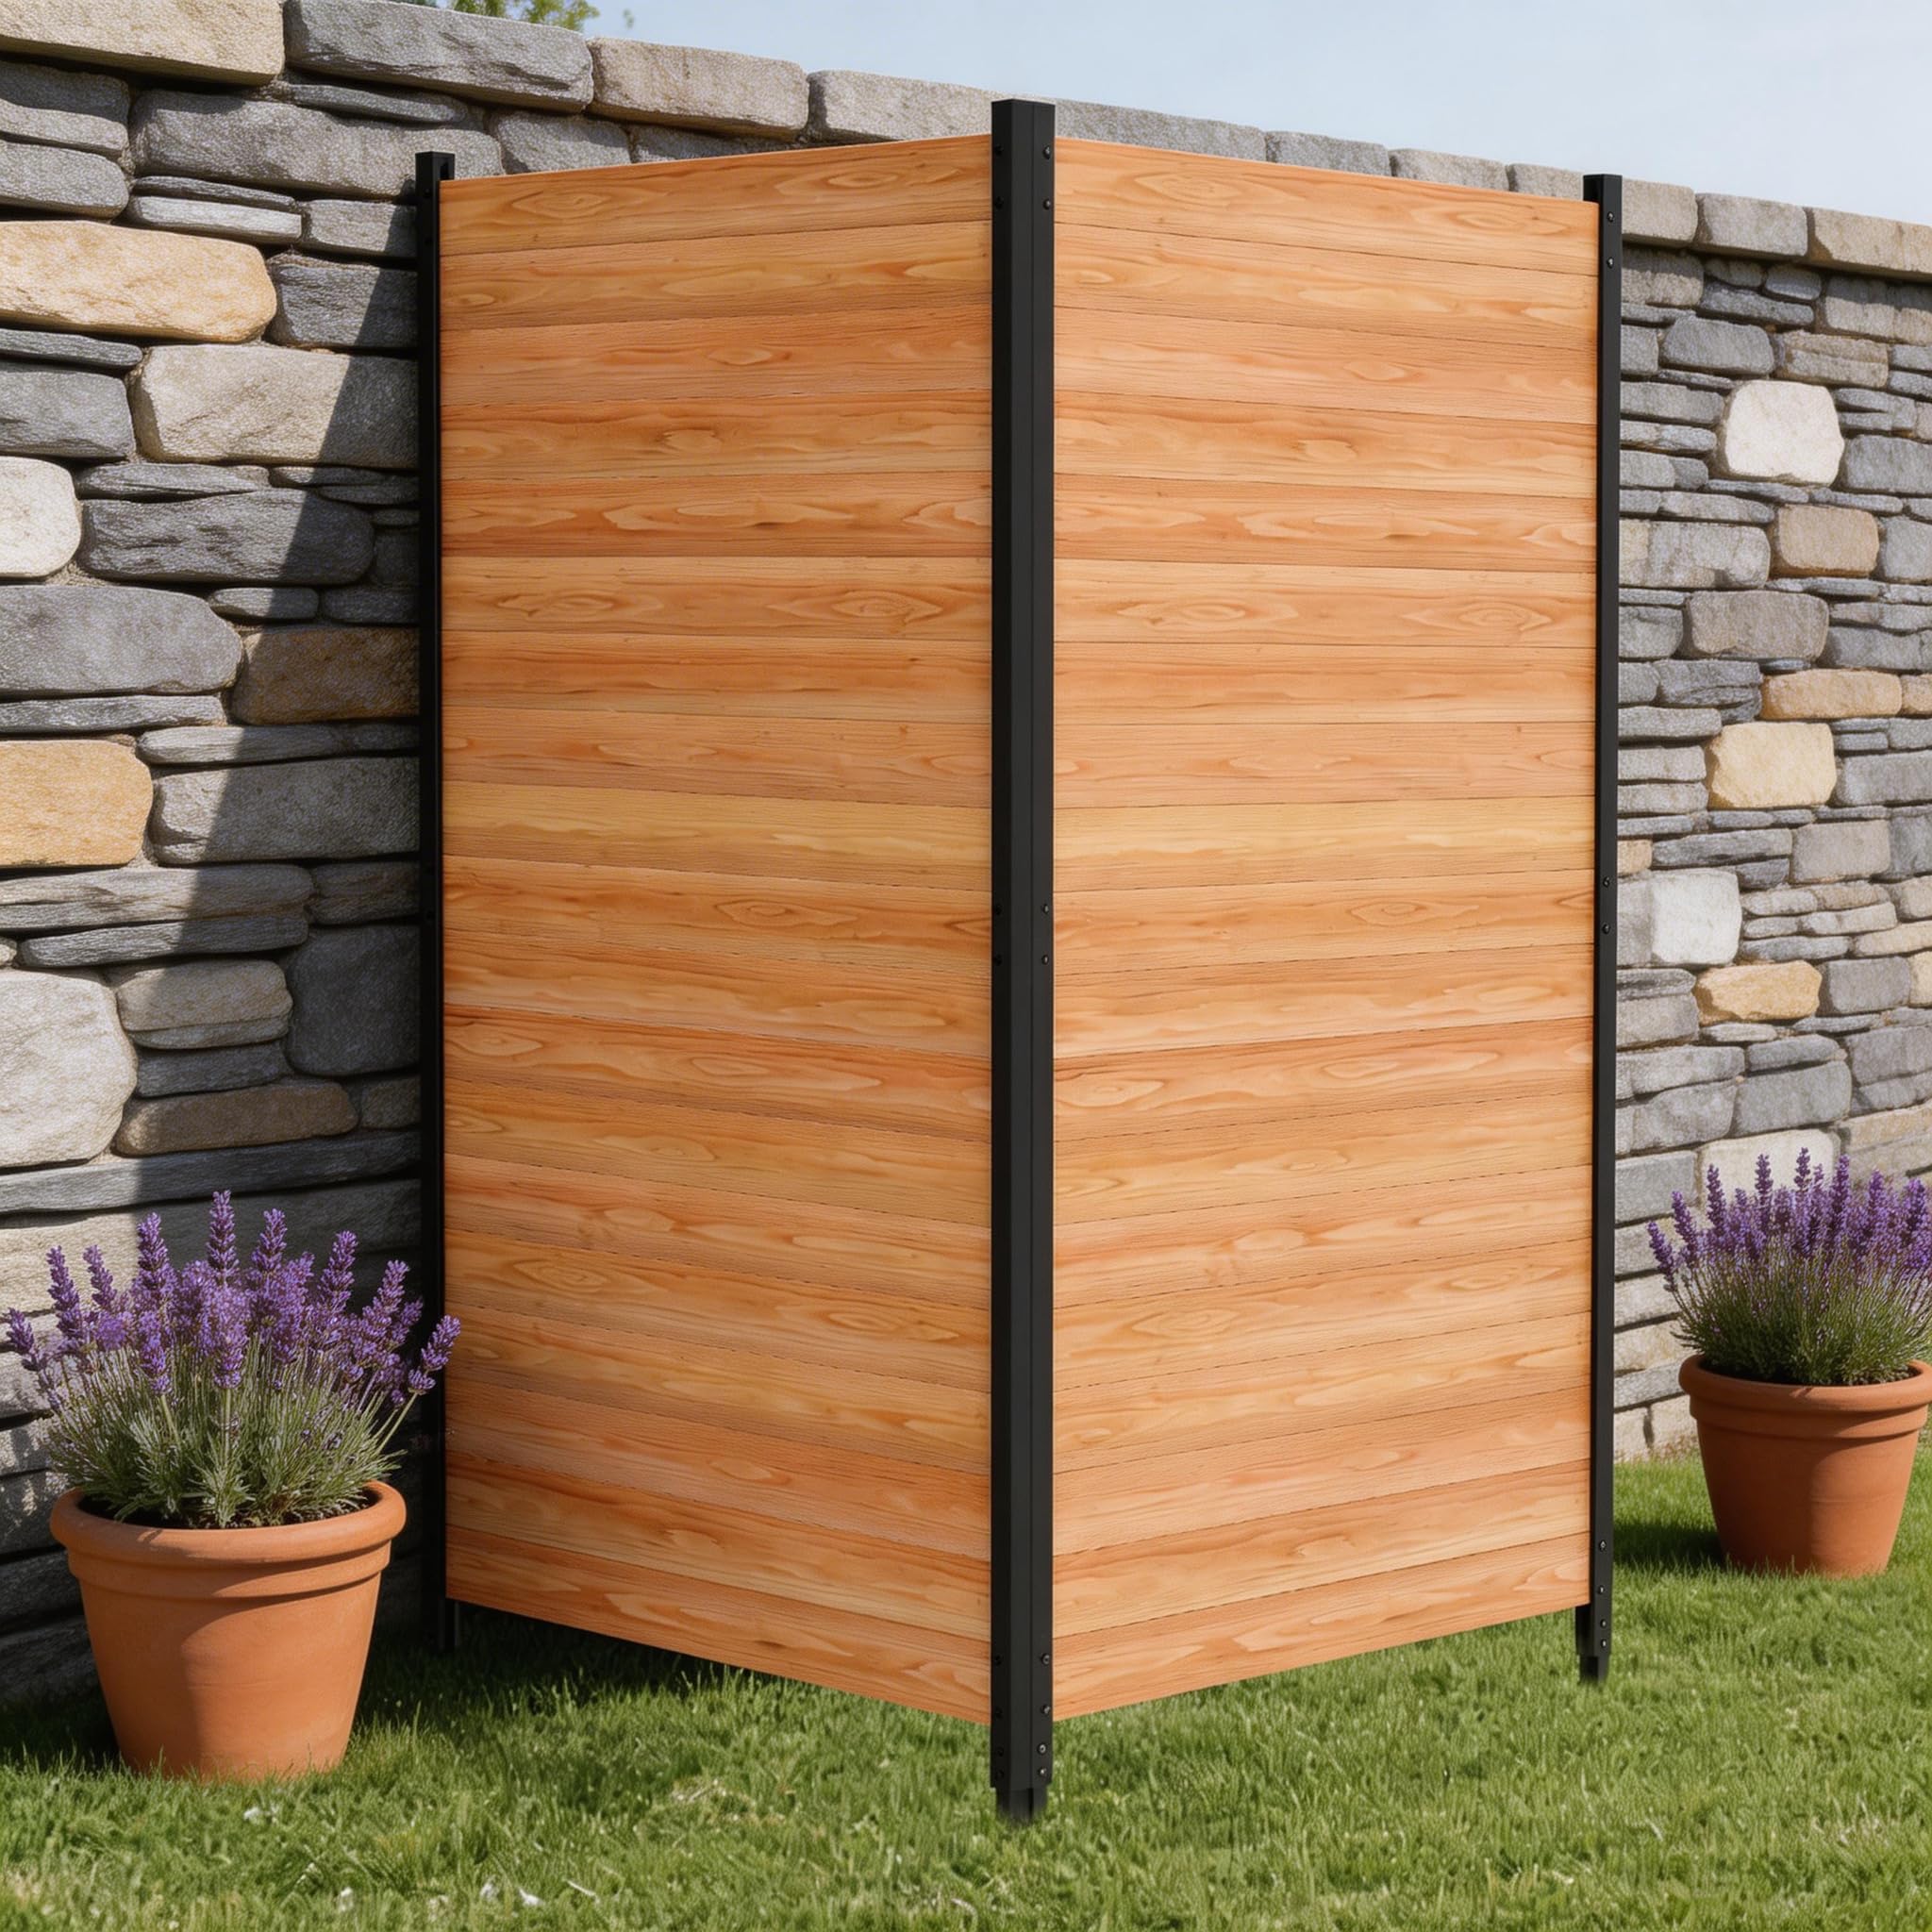
Image: The DoCred 2 Panel Wood Privacy Screen providing privacy in an outdoor setting.
Safety Information
Observe the following safety guidelines to prevent injury or damage to the product:
- Ensure all components are present and undamaged before assembly.
- Install the privacy screen on stable, level ground to prevent tipping.
- Exercise caution when handling tools during installation.
- Do not climb on or lean heavily against the privacy screen.
- Keep children and pets away from the installation area during setup.
Package Contents
Verify that all parts are included in your package:
- Wood Privacy Panels (2 units)
- Metal Stakes (for ground anchoring)
- Steel Frames/Posts
- Protective Caps
- Assembly Hardware (screws, bolts, etc.)
- Instruction Manual (this document)
Product Features
The DoCred Privacy Screen offers the following key features:
- Effective Privacy Protection: Designed to block unwanted views while allowing subtle light penetration.
- High-Quality Materials: Constructed from solid wood and durable steel frames for weather resistance and longevity.
- Secure Metal Stakes: 10-inch deep ground penetration for enhanced wind resistance and stability.
- Sleek & Versatile Design: Modern aesthetic suitable for various indoor and outdoor environments.
- Multi-Scenario Application: Ideal for patios, gardens, hiding trash cans, AC units, or as a decorative partition.
Specifications
| Attribute | Detail |
|---|---|
| Model | 2 Panel 60" H x 38" W No Dig Wood Privacy Screen |
| Dimensions (per panel) | Approximately 60" H x 38" W (each panel) |
| Material | Solid Wood Panels, Steel Frame, Metal Stakes |
| Installation Type | No-Dig, Ground Stake Anchoring |
| Manufacturer | DoCred |

Image: Product dimensions diagram, illustrating the height and width of the privacy screen panels.
Setup and Installation
Follow these steps for proper installation of your privacy screen:
- Unpack Components: Carefully remove all parts from the packaging and verify against the package contents list.
- Choose Location: Select a stable, level area for installation. Ensure the ground is suitable for driving metal stakes.
- Assemble Panels: Attach the wood panels to the steel frames using the provided hardware. Ensure all connections are secure.
- Insert Metal Stakes: Position the assembled screen. Drive the metal stakes attached to the steel frames firmly into the ground, ensuring they penetrate approximately 10 inches deep for maximum stability.
- Secure Protective Caps: Place the protective caps on top of the steel posts.
- Verify Stability: Gently push on the screen to ensure it is firmly anchored and does not wobble.

Image: Illustration of metal stakes designed for deep ground penetration to ensure stability and wind resistance.

Image: Detailed view of the privacy screen's structural components, including protective caps, wood panels, steel frame, and metal stakes.
Operating and Usage
Your DoCred privacy screen is designed for versatile use:
- Privacy Enhancement: Position the screen to block views from neighbors, streets, or other areas where privacy is desired.
- Concealment: Effectively hide unsightly items such as trash cans, recycling bins, air conditioning units, or utility boxes.
- Area Definition: Use it to define specific zones in your garden, patio, or outdoor living space.
- Noise Reduction: The closed panel design can offer some level of noise isolation in outdoor settings.
- Decorative Accent: Integrate the screen as a backdrop for plants, outdoor art, or other decorative elements.

Image: Visual comparison demonstrating how the wood privacy fence provides effective visual screening compared to an open fence.
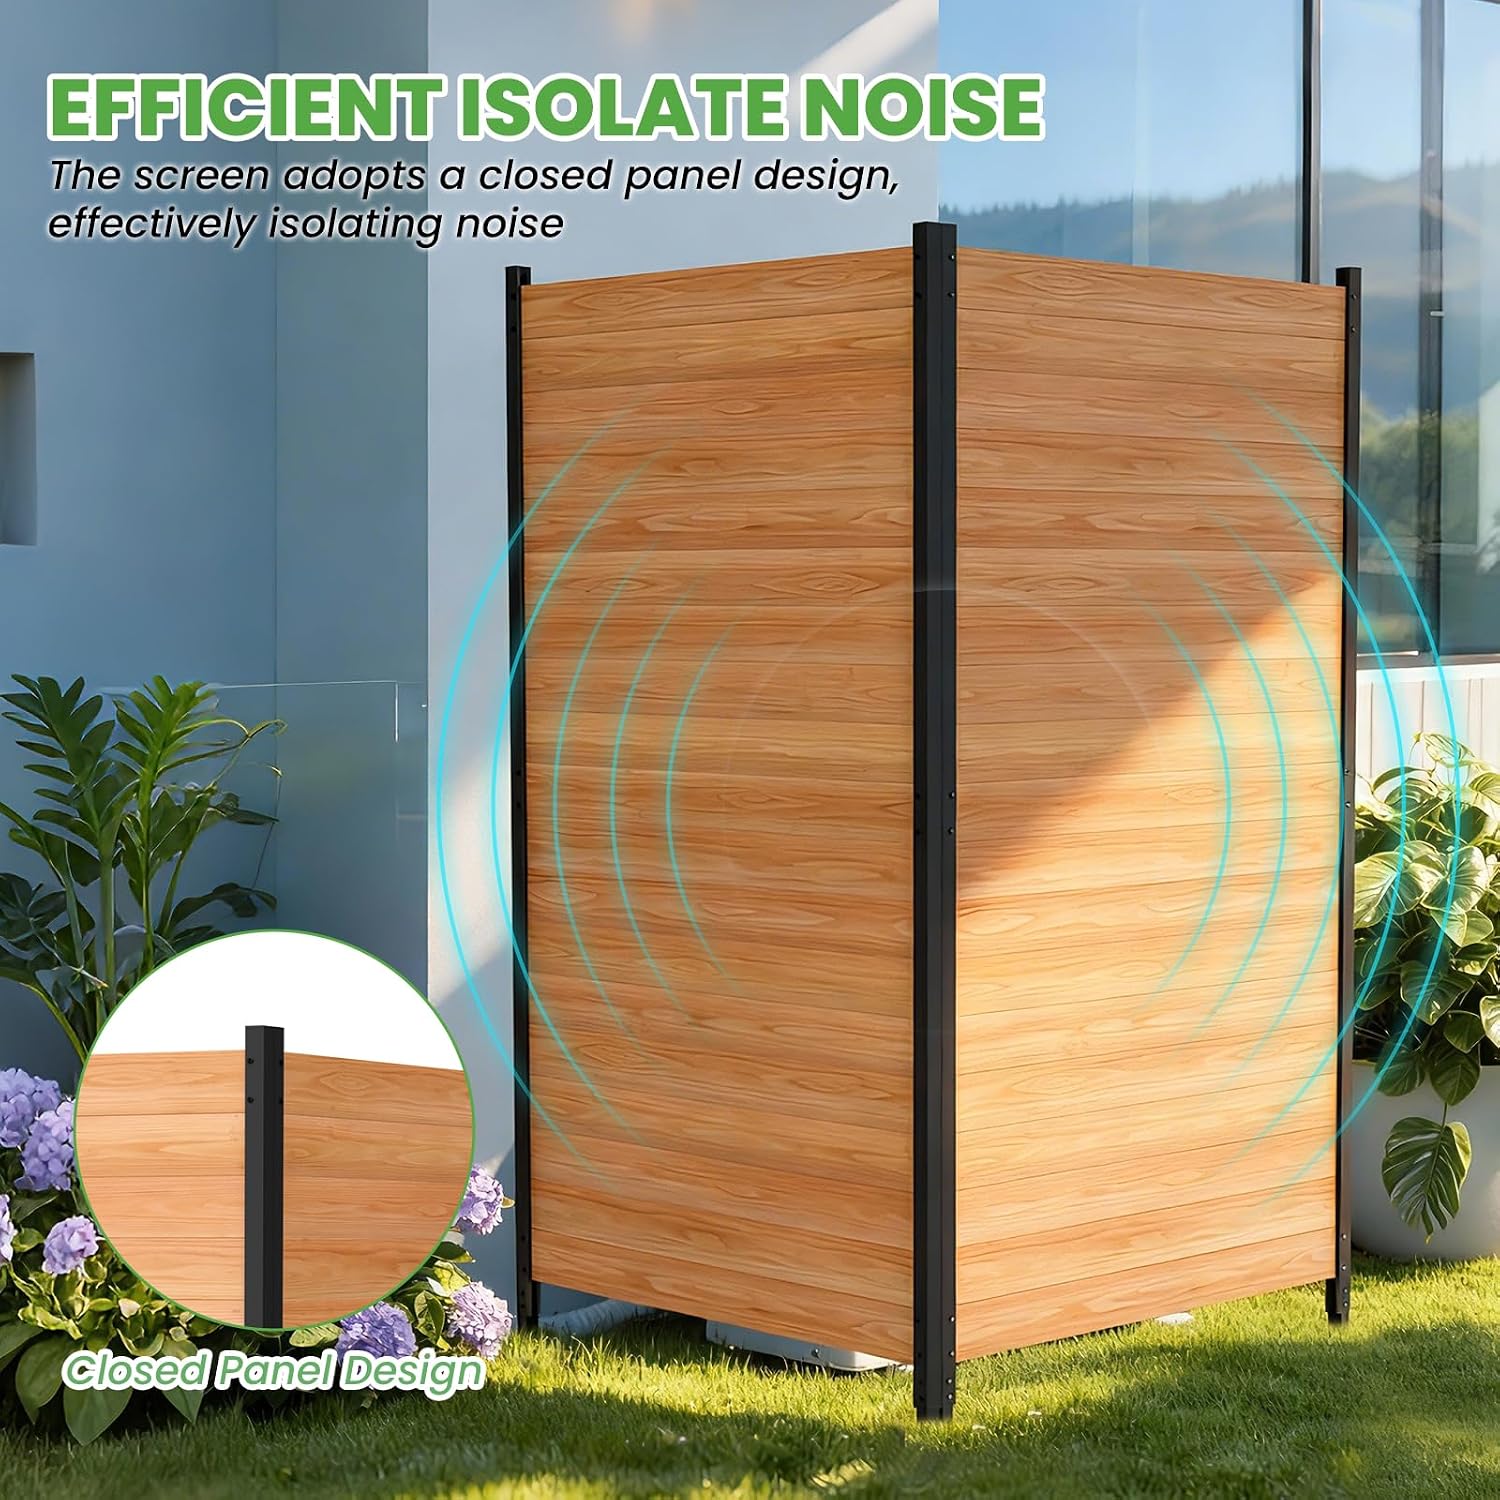
Image: The privacy screen's closed panel design is depicted, highlighting its ability to efficiently isolate noise.

Image: The privacy screen used to create a private lounging area beside a swimming pool.
Maintenance
Proper maintenance will extend the lifespan of your privacy screen:
- Regular Cleaning: Wipe down wood panels with a damp cloth to remove dirt and debris. Avoid harsh chemicals.
- Wood Treatment: Periodically inspect the wood for signs of weathering. Apply a wood sealant or stain as needed to protect against moisture and UV damage.
- Hardware Check: Annually inspect all screws and connections to ensure they remain tight. Tighten if necessary.
- Stake Stability: After heavy winds or ground shifts, check the stability of the metal stakes and re-secure if loosened.

Image: The natural fir wood frame is shown enduring rain, emphasizing its weather-resistant properties.
Troubleshooting
Refer to this section for common issues and solutions:
| Problem | Possible Cause | Solution |
|---|---|---|
| Screen is wobbly/unstable. | Stakes not fully inserted; loose hardware; uneven ground. | Ensure stakes are driven 10 inches deep. Tighten all assembly hardware. Relocate to more level ground if necessary. |
| Wood appears faded or weathered. | Exposure to sun and elements without treatment. | Clean the wood and apply a suitable outdoor wood sealant or stain to restore and protect. |
| Difficulty driving stakes into ground. | Hard or rocky soil. | Pre-dig small pilot holes or moisten the soil. Avoid excessively rocky areas. |
Warranty and Support
For warranty information or technical support, please contact DoCred customer service. Refer to your purchase documentation for specific warranty terms and contact details.
Note: An optional 2-Year Protection Plan may be available for purchase separately. This plan is not included with the product and provides additional coverage beyond the standard manufacturer's warranty.