
1. Product Overview
The IDEALHOUSE Queen Size Bed Frame is designed for comfort and durability, featuring a modern wing headboard upholstered in soft velvet fabric. This platform bed frame includes sturdy wood slats, eliminating the need for a box spring. It offers convenient under-bed storage space and is engineered for easy assembly.
- Modern Winged Headboard: Elegant design with soft velvet fabric.
- Sturdy Construction: Metal frame with wooden slats for durability and noise-free use.
- Under-Bed Space: 8 inches of clearance for storage and easy cleaning.
- No Box Spring Needed: Solid wood slats support your mattress directly.
- Easy Assembly: Designed for straightforward setup.

Image 1: The IDEALHOUSE Queen Size Bed Frame, showcasing its velvet wing headboard and overall design in a bedroom setting.
2. Safety Information
Please read all instructions carefully before assembly and use. Retain this manual for future reference.
- Adult Assembly Required: This product should be assembled by adults.
- Small Parts: Keep all small parts and packaging materials away from children and pets to prevent choking hazards.
- Proper Tools: Use only the tools provided or recommended in the assembly guide.
- Do Not Overtighten: Overtightening screws can damage the components. Tighten until snug.
- Secure Connections: Ensure all bolts and screws are fully tightened before using the bed frame. Periodically check and retighten as necessary.
- Weight Capacity: Do not exceed the maximum weight capacity of 800 lbs.
- Level Surface: Assemble and use the bed frame on a flat, level surface.
- Avoid Standing: Do not stand or jump on the bed frame.
3. Package Contents
Before beginning assembly, verify that all parts listed in your specific assembly manual are present and undamaged. If any parts are missing or damaged, do not proceed with assembly. Contact customer support for assistance.
Typically, your package will include:
- Headboard components (wing panels, main headboard)
- Side rails
- Footboard
- Center support beam(s)
- Wooden slats (with Velcro for secure placement)
- Support legs
- Hardware pack (bolts, washers, nuts, Allen wrench)
- Assembly instructions
4. Setup and Assembly Instructions
Assembly is designed to be straightforward and typically takes about an hour with two adults. Follow the detailed step-by-step instructions provided in your product's specific assembly manual. The general steps are outlined below:
- Unpack and Identify Parts: Carefully remove all components from the packaging. Lay them out on a clean, soft surface (like a rug or blanket) to prevent scratches. Identify each part using the provided parts list in your manual.
- Assemble the Headboard: Attach the wing panels to the main headboard section using the specified hardware. Ensure all connections are secure.
- Attach Side Rails: Connect the side rails to the assembled headboard and footboard using the appropriate bolts and washers. Do not fully tighten bolts until all major components are connected.
- Install Center Support: Attach the center support beam(s) and any associated support legs to the bed frame structure.
- Place Wooden Slats: Unroll or place the wooden slats across the bed frame. Many slats feature a Velcro design to keep them securely in place. Ensure they are evenly spaced and firmly attached.
- Final Tightening: Once all components are in place and aligned, go back and fully tighten all bolts and screws.
- Inspect: Double-check all connections for stability and ensure the bed frame is level.

Image 2: Close-up view of the bed frame's slat system, highlighting the noise-free, sturdy construction, Velcro design for secure placement, and solid wooden slats.
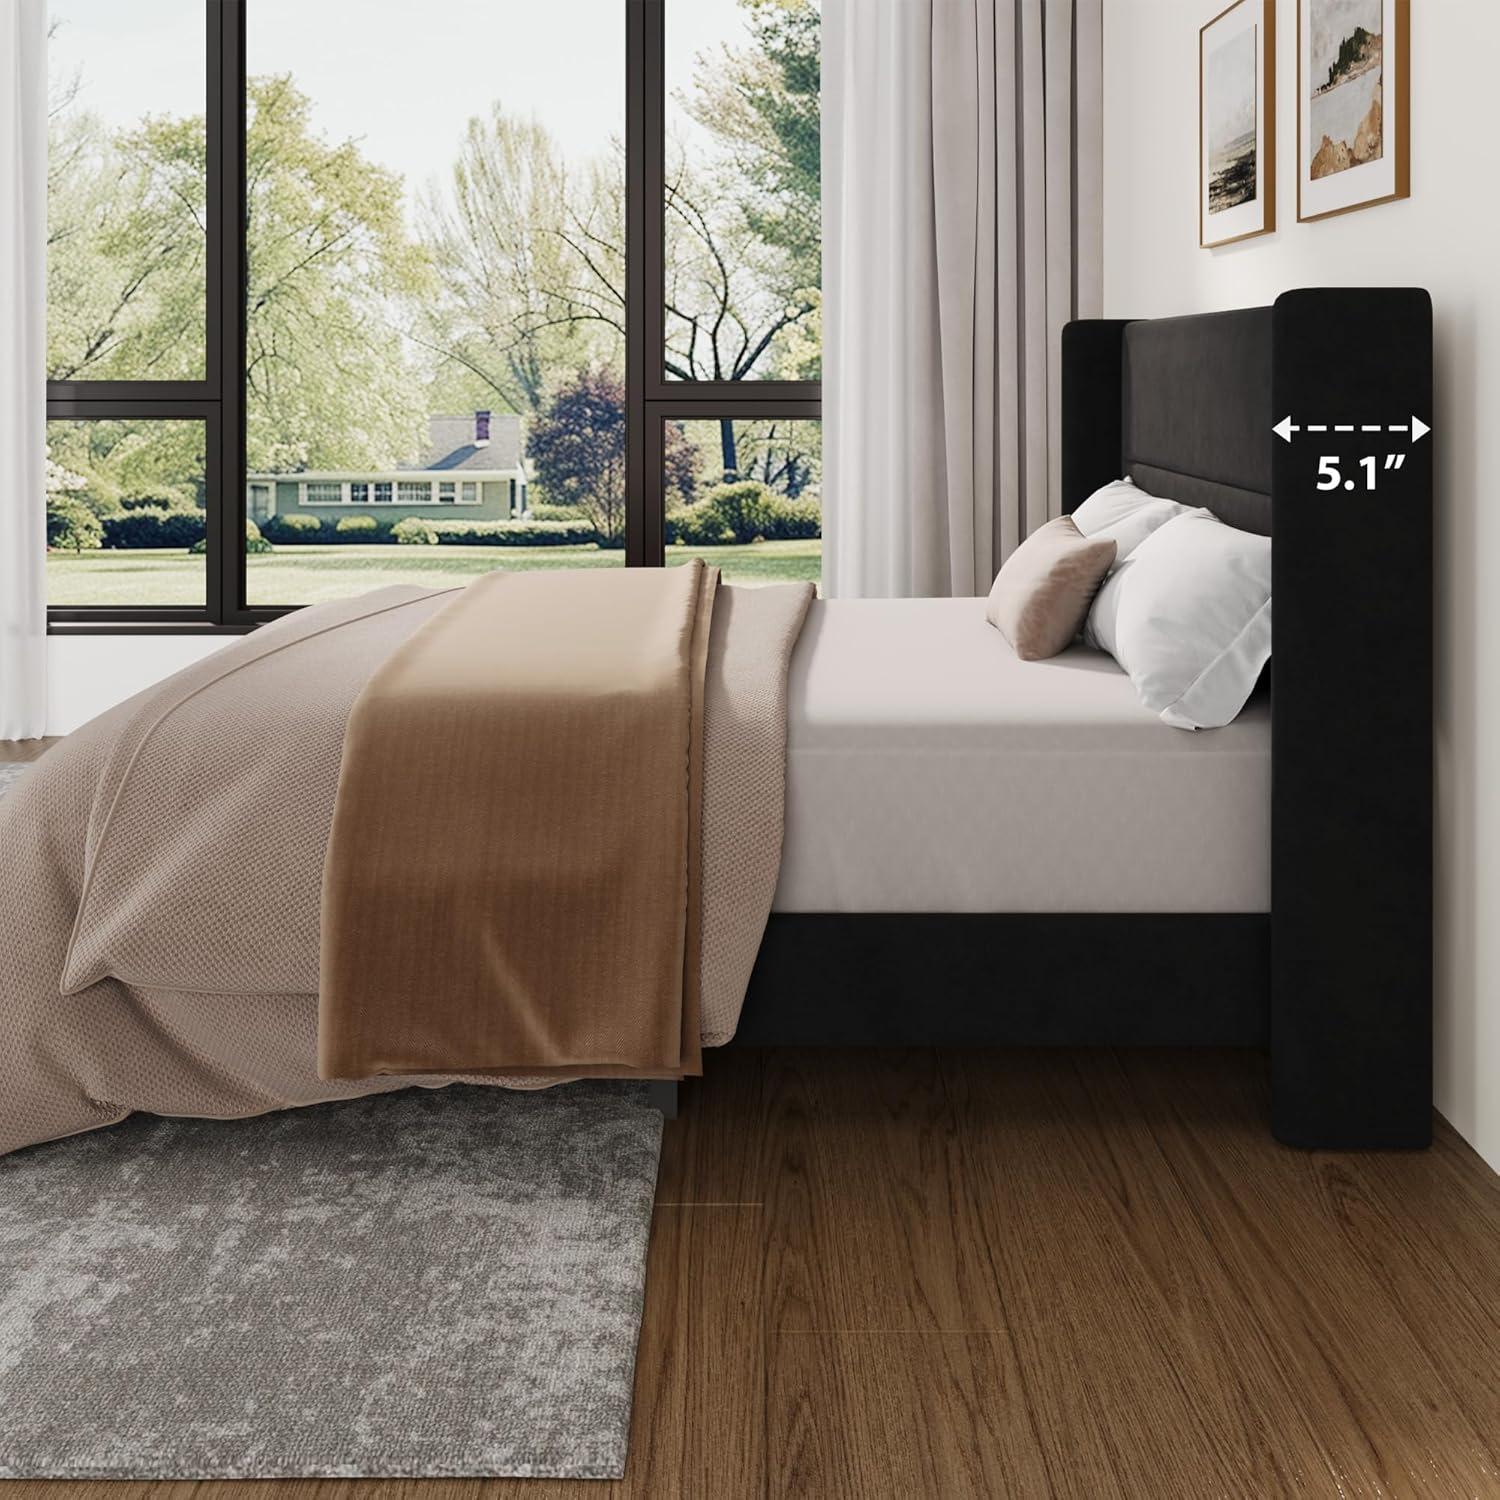
Image 3: Side profile of the assembled bed frame, illustrating the height of the headboard and the overall structural design.
5. Operating and Usage
Once assembled, the IDEALHOUSE Queen Size Bed Frame is ready for use.
- Mattress Placement: Place your Queen size mattress directly onto the wooden slats. A box spring is not required. The bed frame is compatible with mattresses between 8-12 inches thick.
- Under-Bed Storage: Utilize the 8 inches of clearance beneath the bed for storing items such as storage boxes, luggage, or shoes. This space also allows for easy cleaning with a robot vacuum.

Image 4: View demonstrating the 8-inch under-bed clearance, suitable for various storage solutions.
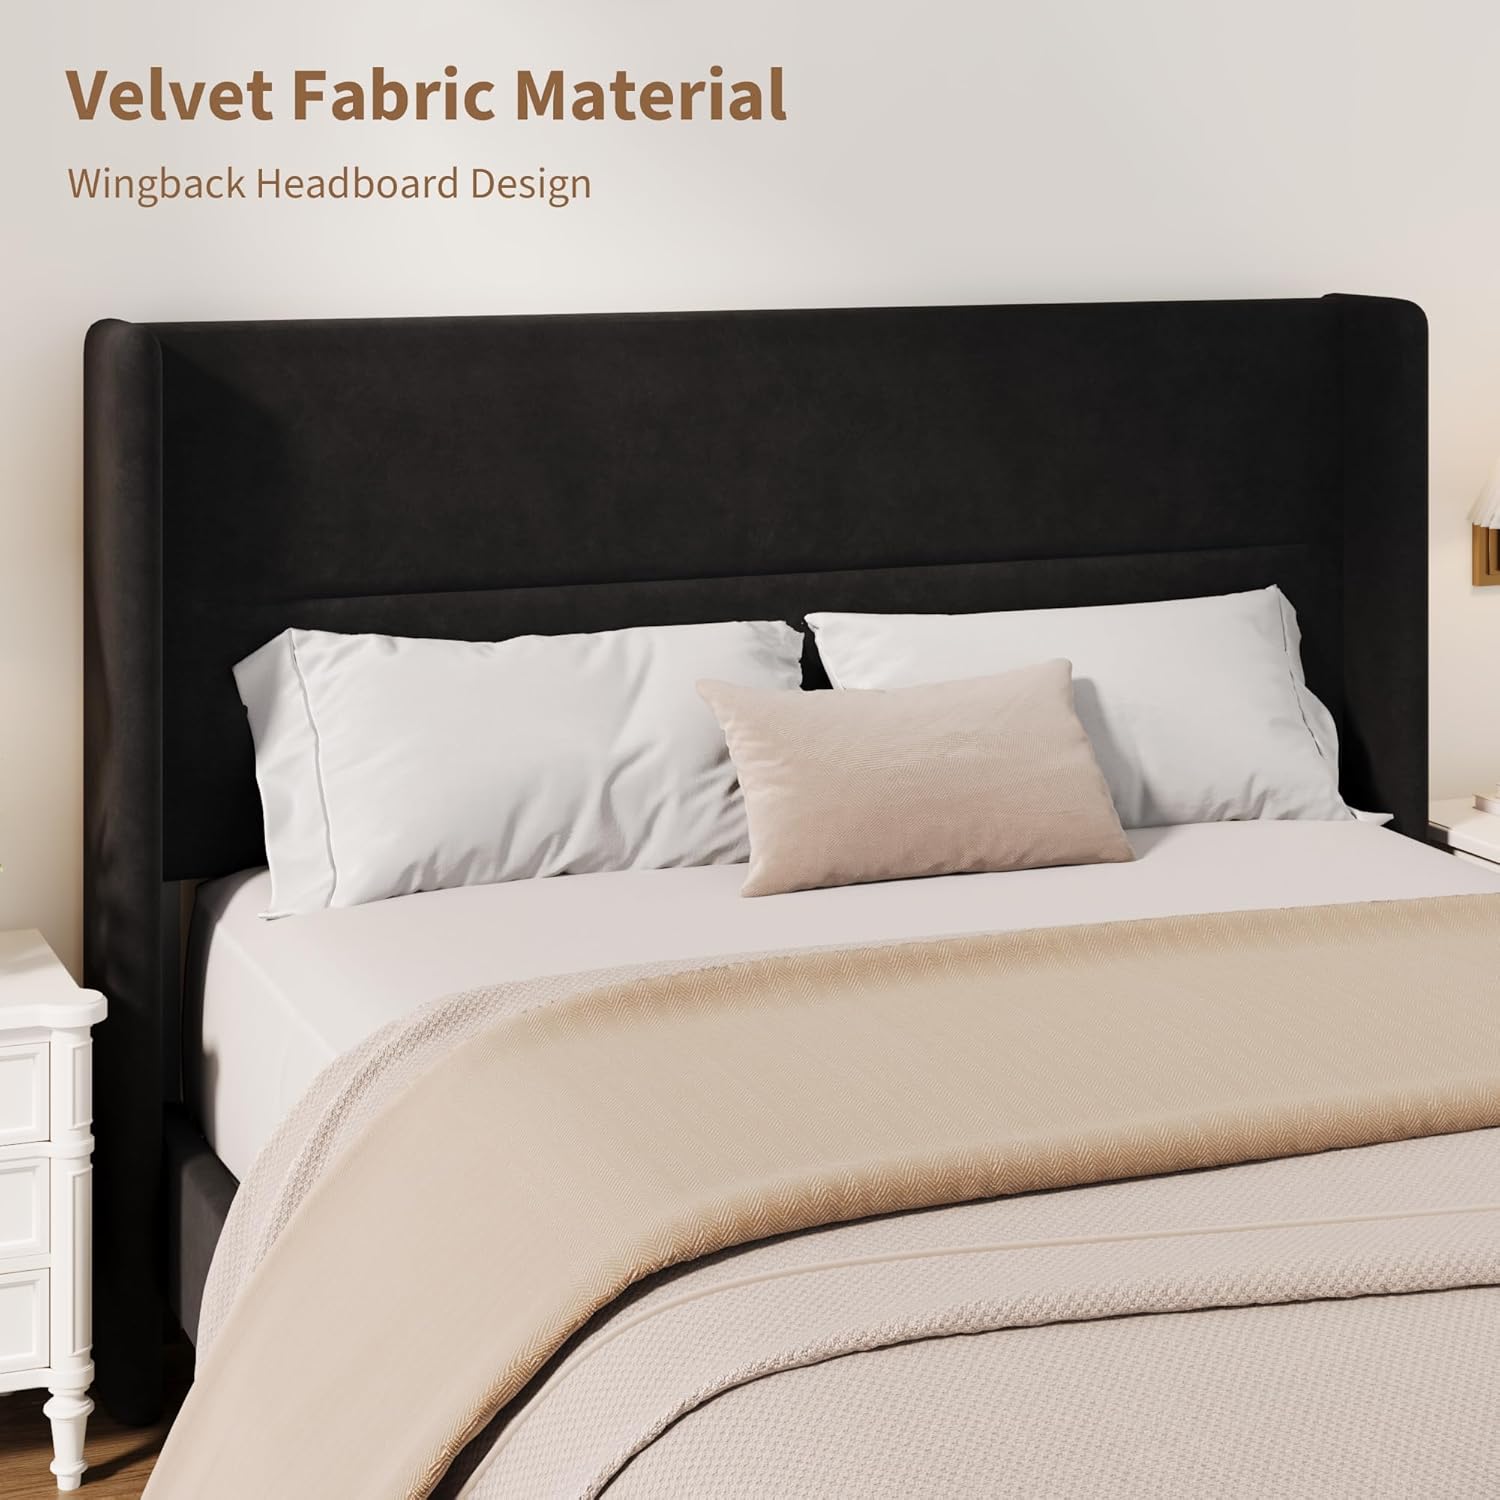
Image 5: Close-up of the velvet upholstered wing headboard, highlighting its texture and design.
6. Maintenance
Regular maintenance will help prolong the life and appearance of your bed frame.
- Cleaning the Velvet Fabric: For light dust, use a soft brush or vacuum cleaner with an upholstery attachment. For spills, blot immediately with a clean, dry cloth. For tougher stains, consult a professional upholstery cleaner or use a mild fabric cleaner specifically designed for velvet, testing on an inconspicuous area first.
- Frame Cleaning: Wipe metal and wood components with a damp cloth and mild detergent if necessary. Dry immediately.
- Check Connections: Periodically (e.g., every 3-6 months), check all bolts and screws to ensure they are still tight. Retighten if any feel loose to maintain stability and prevent squeaking.
- Avoid Harsh Chemicals: Do not use abrasive cleaners, strong chemicals, or solvents on any part of the bed frame.
7. Troubleshooting
If you encounter any issues with your bed frame, refer to the following common problems and solutions:
- Squeaking Noises:
Solution: Squeaking often indicates loose connections. Re-tighten all bolts and screws on the frame, especially where the side rails connect to the headboard and footboard, and the center support. Ensure slats are properly seated. - Parts Do Not Align During Assembly:
Solution: This can happen if bolts are fully tightened too early. Loosen all bolts slightly, adjust the components to align, and then gradually tighten all bolts evenly. Ensure you are using the correct parts for each step as per the assembly manual. - Bed Frame Feels Unstable:
Solution: Verify that all support legs are firmly on the ground and that all hardware is securely tightened. Ensure the bed frame is on a level surface. - Missing or Damaged Parts:
Solution: Do not attempt to force assembly with missing or damaged parts. Contact IDEALHOUSE customer support immediately for replacement parts.
8. Specifications

Image 6: Diagram illustrating the overall dimensions (L x W x H: 77.2" x 60.2" x 41.1"), 800 lbs capacity, and recommended mattress thickness (8-12 inches) for the Queen size bed frame.
| Feature | Detail |
|---|---|
| Size | Queen |
| Material | Engineered Wood, Fabric (Velvet) |
| Product Dimensions (L x W x H) | 85.83"L x 61.02"W x 41.73"H |
| Item Weight | 61.7 pounds |
| Weight Capacity | 800 lbs |
| Under-Bed Clearance | 8 inches |
| Recommended Mattress Thickness | 8-12 inches |
| Included Components | Slats |
| Color | Black |
| Model Number | 4D7-4H5S-W-DW0NDU2GWBPT8HBUFA |
| UPC | 820061330164 |
9. Warranty Information
IDEALHOUSE products are manufactured to high-quality standards. For specific warranty details regarding your Queen Size Bed Frame, please refer to the warranty card included with your purchase or contact IDEALHOUSE customer support directly. Keep your proof of purchase for any warranty claims.
10. Customer Support
If you have any questions, require assistance with assembly, or need to report missing/damaged parts, please contact IDEALHOUSE customer support. Have your product model number (Queen Bed Frame) and ASIN (B0GTQG63BZ) ready when contacting support for faster service.
For contact information, please refer to the packaging or the official IDEALHOUSE website.