1. Introduction
Thank you for choosing the Outsunny Outdoor Bin Storage Shed. This shed is designed to provide a secure and weather-resistant storage solution for two standard waste bins, helping to keep your outdoor area tidy and protected. Constructed from durable galvanized steel, it features convenient access options and ventilation to minimize odors. Please read this manual carefully before assembly and use to ensure safe and correct operation.
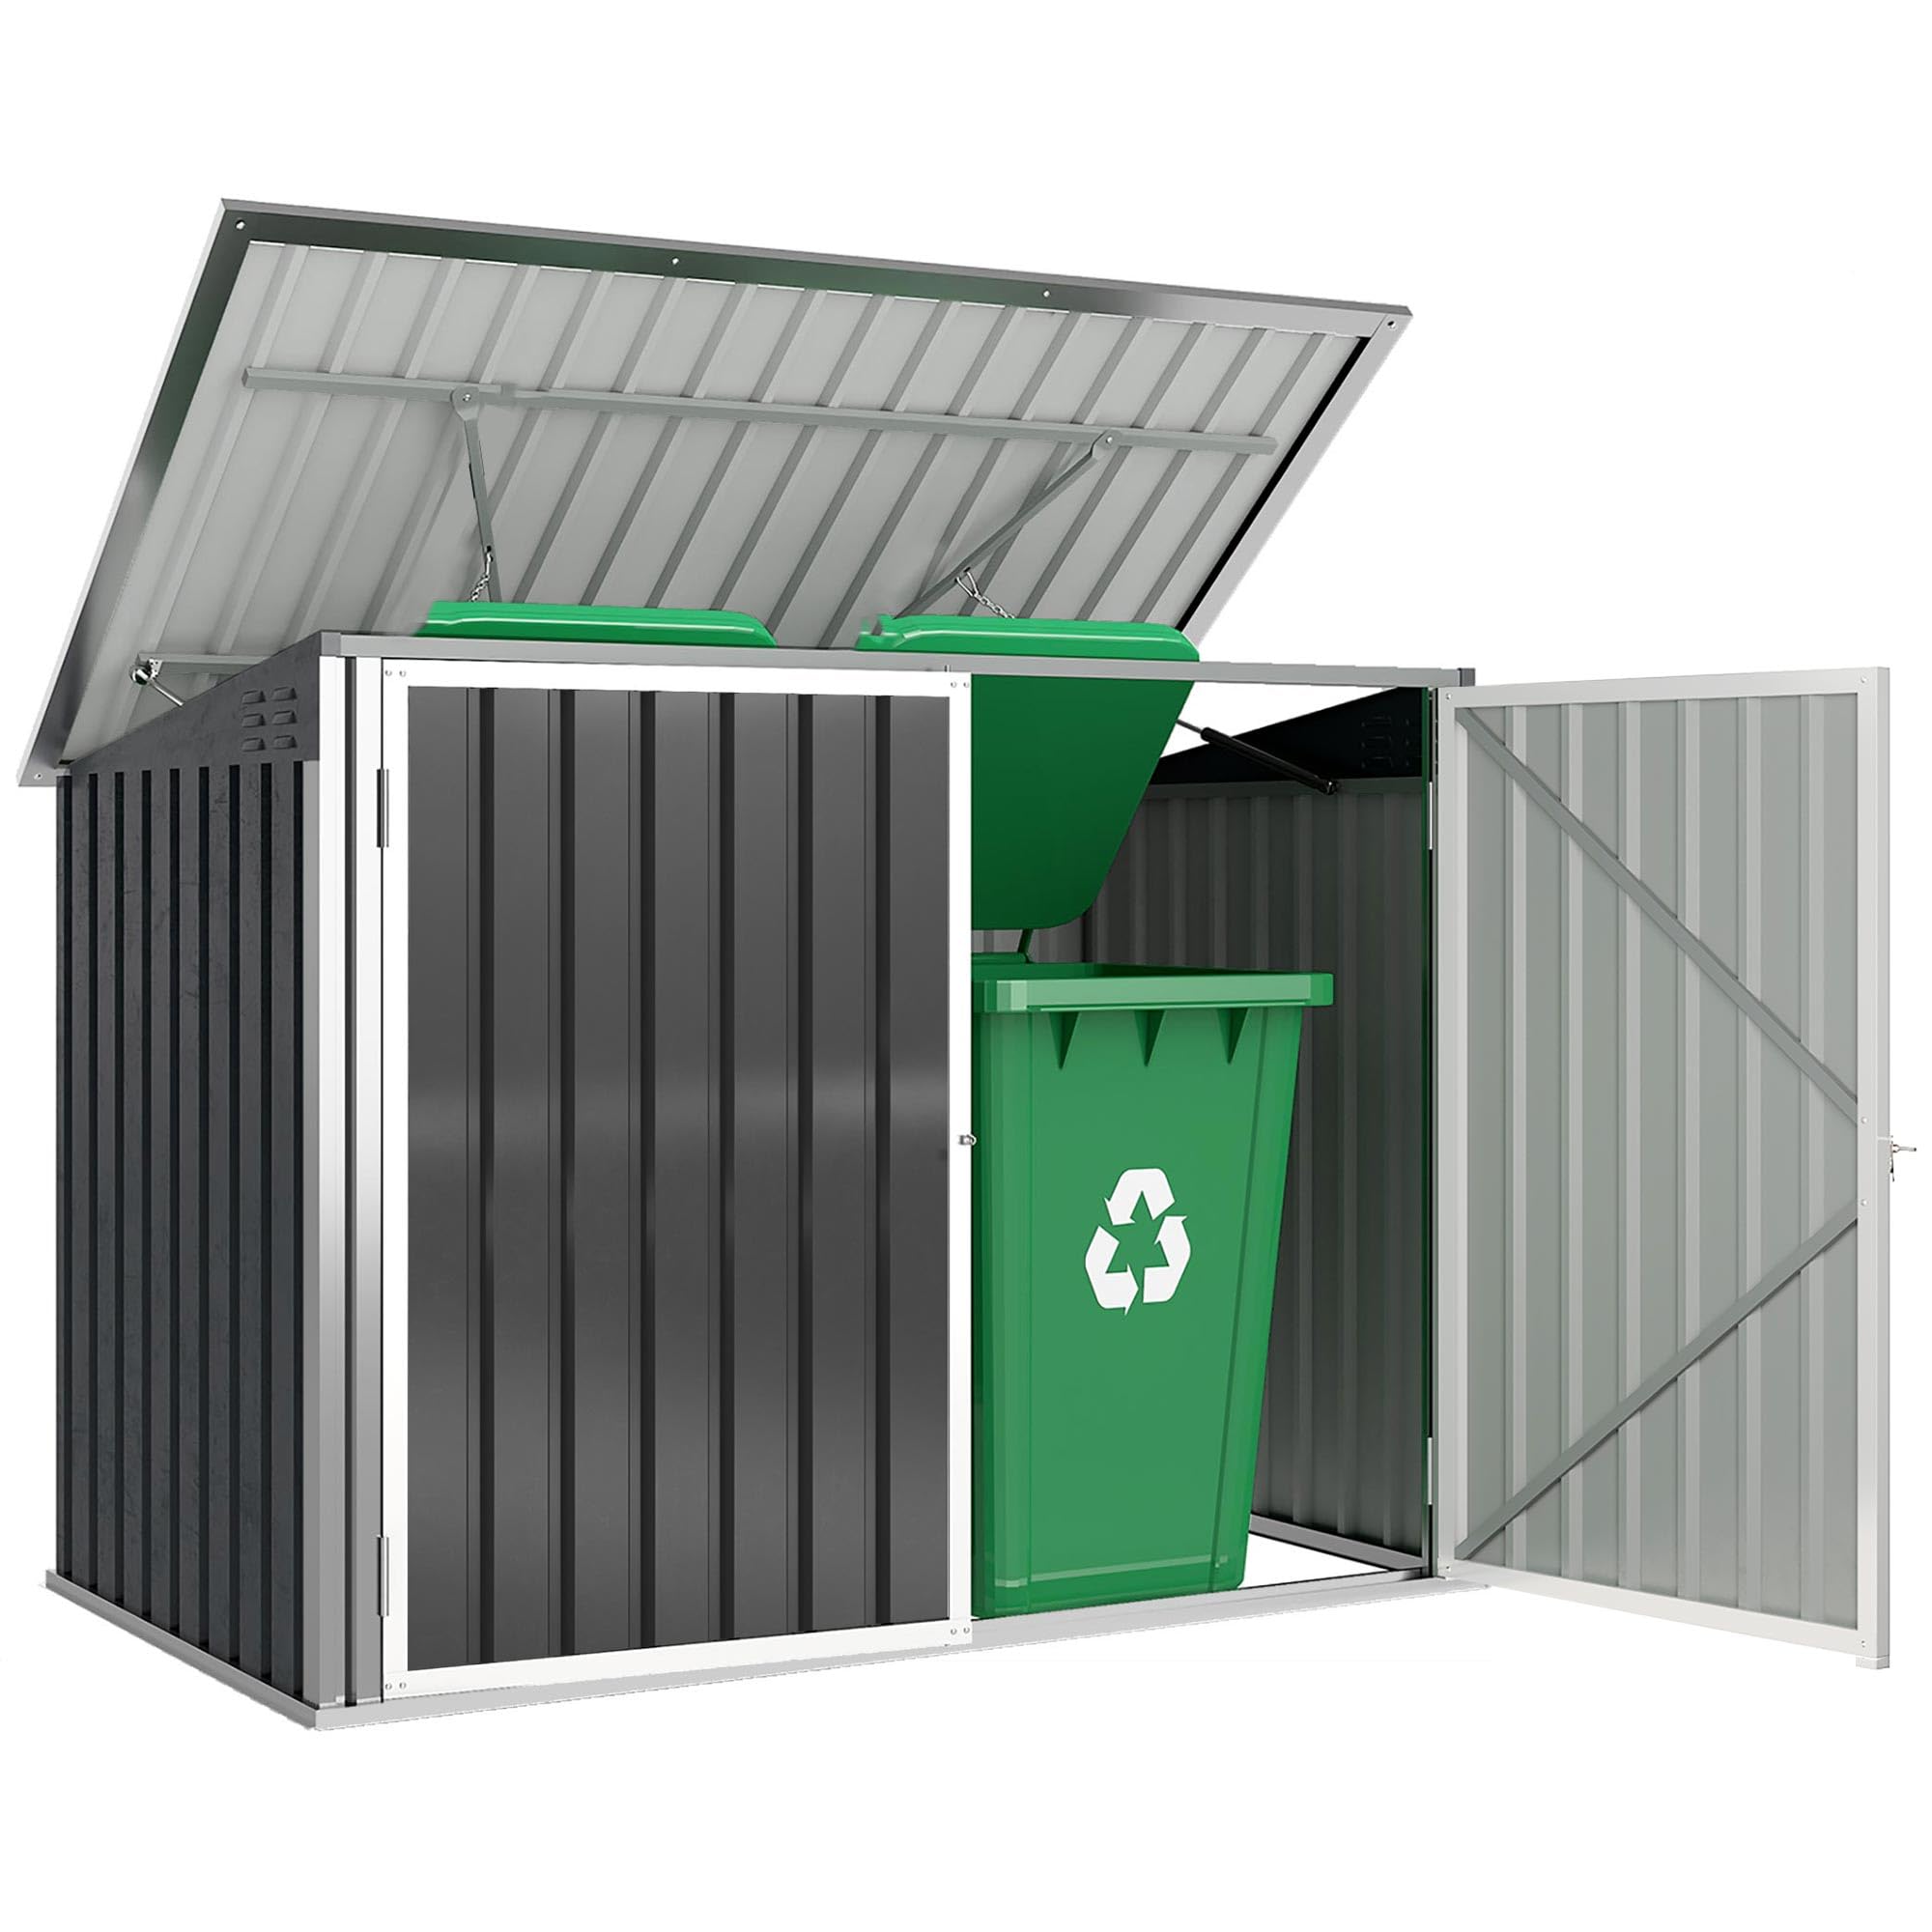
Image 1.1: The Outsunny Outdoor Bin Storage Shed, Dark Grey model, shown in an outdoor setting.
2. Safety Information
Always follow these safety precautions during assembly and use:
- Keep children and pets away from the assembly area.
- Wear appropriate personal protective equipment, such as gloves and safety glasses, during assembly.
- Ensure all parts are securely fastened before use.
- Do not overload the shed or place heavy objects on the roof.
- Position the shed on a level and stable surface to prevent tipping.
- Regularly inspect the shed for any signs of damage or loose components.
- Do not use the shed for storing flammable materials or chemicals.
3. Package Contents
Verify that all components are present before beginning assembly. If any parts are missing or damaged, please contact customer support.
- Galvanized steel panels (sides, back, doors, roof)
- Frame components
- Pneumatic lift supports for roof
- Door latches and locking mechanism
- Internal chains for bin lids
- Assembly hardware (screws, bolts, nuts, washers)
- Instruction manual

Image 3.1: The product is typically shipped in two packages.
4. Assembly Instructions
Assembly requires two people. Follow the steps below carefully. Tools required: screwdriver, wrench, measuring tape.
- Prepare the Site: Choose a level, stable, and dry location for the shed. Ensure there is enough space around the shed for assembly and future access.
- Assemble the Base Frame: Connect the base frame components using the provided hardware. Ensure all connections are tight and the frame is square.
- Attach Side and Back Panels: Securely attach the side and back galvanized steel panels to the base frame and to each other.
- Install Front Doors: Attach the double doors to the front frame. Ensure they swing freely and align correctly. Install the door latches and locking mechanism.
- Assemble the Roof: Attach the roof panels to the top frame. Install the pneumatic lift supports as per the diagram in your separate assembly guide. These supports allow the roof to open smoothly.
- Connect Bin Lid Chains: Attach the internal chains from the shed roof to the lids of your waste bins. This allows the bin lids to open automatically when the shed roof is lifted.
- Final Inspection: Check all bolts and screws to ensure they are tightened. Verify that the doors and roof open and close smoothly.

Image 4.1: Dimensional overview of the shed, crucial for planning installation space.

Image 4.2: View of the shed with the roof and doors open, demonstrating internal space for two bins.
5. Operating Instructions
The Outsunny Bin Storage Shed offers multiple ways to access your waste bins:
- Top Access: To deposit waste, simply lift the top lid of the shed. The pneumatic supports will assist in opening and holding the lid. If connected, the bin lids will also open simultaneously.
- Front Access: To remove or place bins, unlock the double front doors and swing them open. The wide opening allows for easy maneuverability of standard waste bins.

Image 5.1: Details of the shed's access features, including the double door latch, pneumatic roof lift, and internal bin lid chains.
Video 5.1: This video demonstrates the operation of the Outsunny Bin Storage Shed, showing how the roof opens and how bins can be accessed and placed inside.
6. Maintenance
To ensure the longevity and optimal performance of your bin storage shed, regular maintenance is recommended:
- Cleaning: Wipe down the exterior with a damp cloth and mild detergent as needed. Avoid abrasive cleaners that could damage the galvanized steel finish.
- Inspection: Periodically check all bolts, screws, and moving parts (hinges, pneumatic supports, latches) for tightness and proper function. Tighten any loose fasteners.
- Ventilation: Ensure the side air vents remain clear of debris to maintain proper airflow and prevent odor buildup.
- Weather Protection: While the shed is weather-resistant, consider clearing heavy snow accumulation from the roof to prevent structural stress.
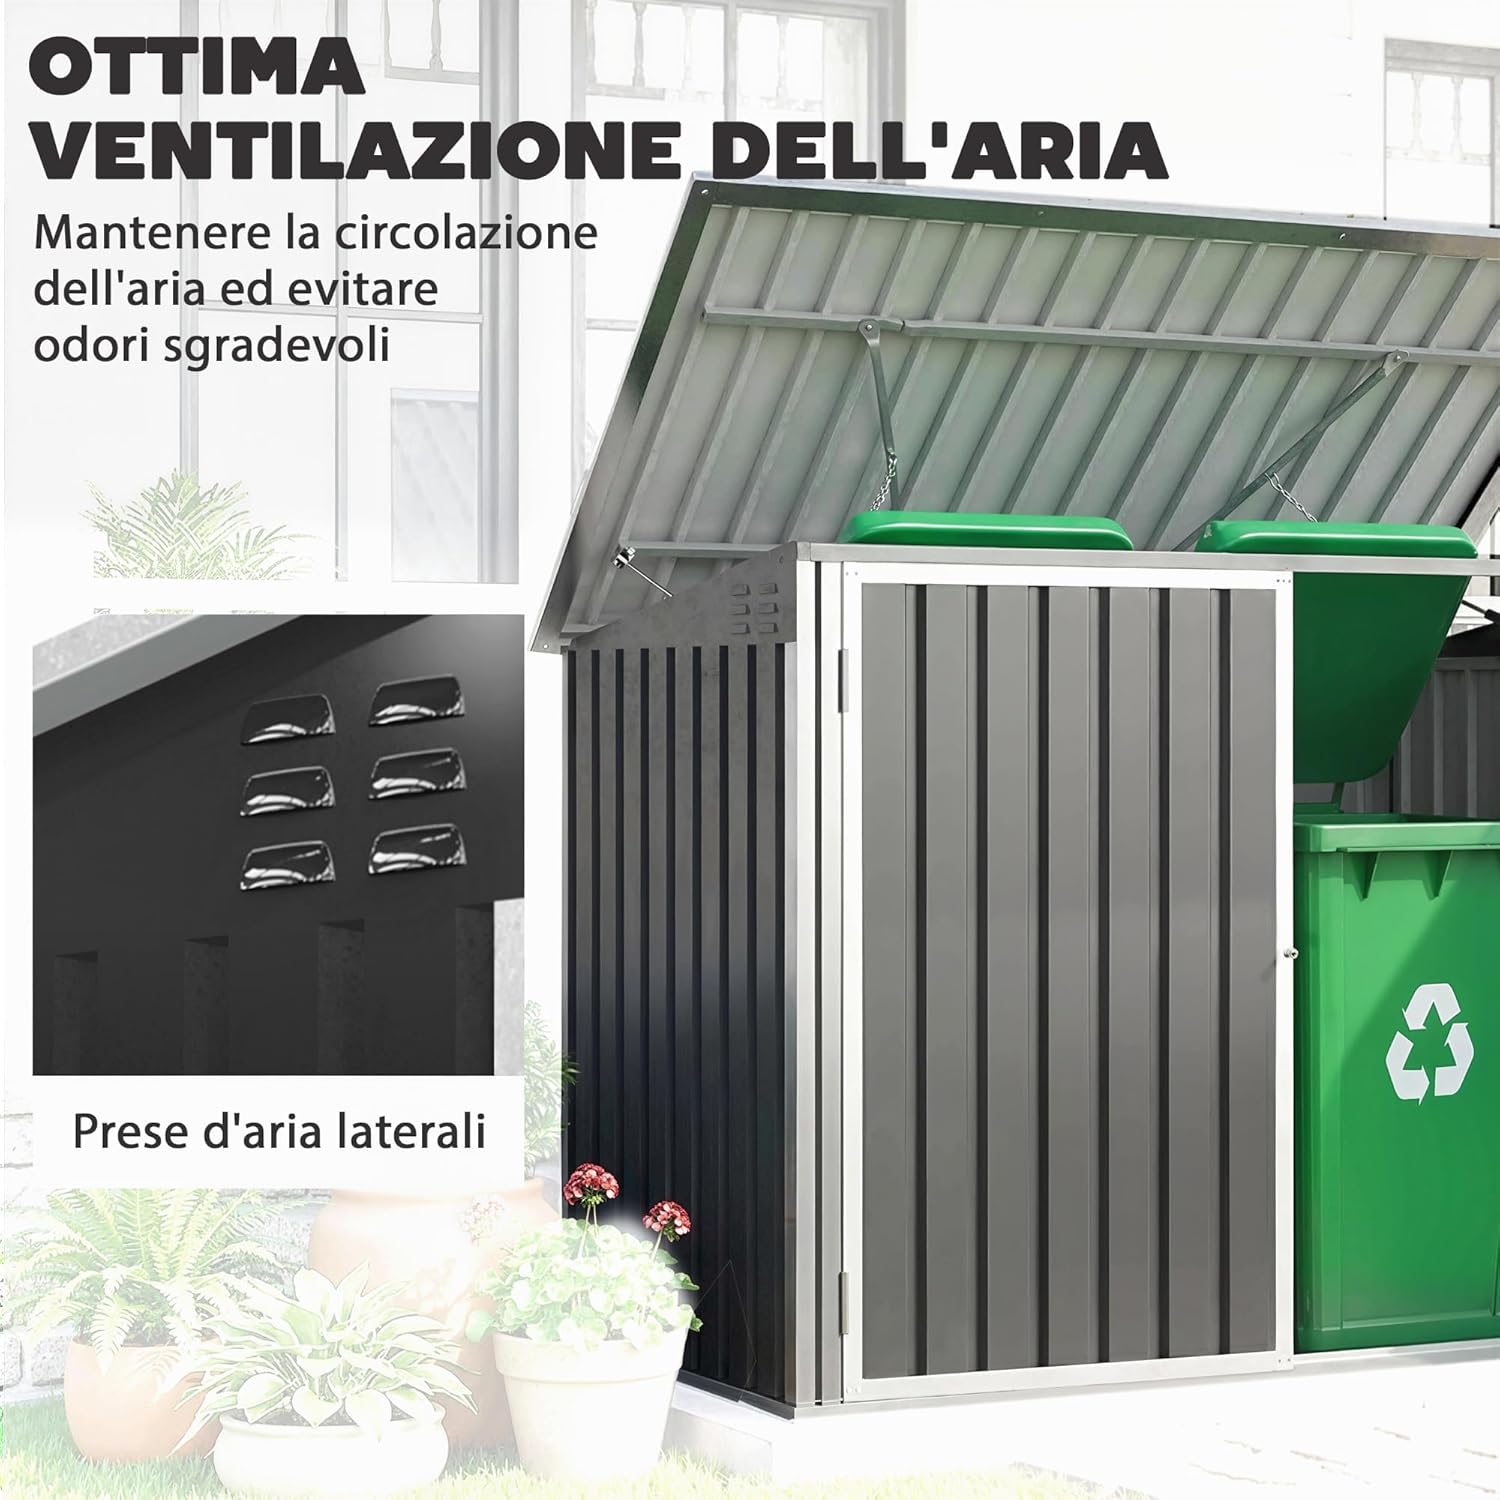
Image 6.1: The side air vents ensure proper ventilation within the shed.

Image 6.2: The galvanized steel construction provides resistance against rot, rain, and fire.
7. Troubleshooting
If you encounter any issues with your Outsunny Bin Storage Shed, refer to the following common solutions:
- Doors or Roof Not Closing Properly: Check for obstructions. Ensure the shed is on a level surface. Inspect hinges and latches for damage or misalignment.
- Pneumatic Supports Not Functioning: Verify that the supports are correctly installed and not damaged. Ensure no excessive weight is placed on the roof.
- Odor Buildup: Ensure the side air vents are clear. Clean the interior of the shed and bins regularly.
- Shed Instability: Confirm the shed is placed on a firm, level surface. Check all assembly hardware for tightness.
8. Specifications
| Feature | Specification |
|---|---|
| Model Number | 845-436V02CG |
| Overall Dimensions (L x W x H) | 179.5 cm x 108 cm x 113-129.5 cm |
| Material | Galvanized Steel Alloy |
| Color | Dark Grey |
| Surface Area | 1.91 m² |
| Single Door Dimensions (W x H) | 75 cm x 122 cm |
| Item Weight | 34.6 kg |
| Assembly Required | Yes |
| Water Resistance Level | Water Resistant |
9. Warranty and Support
This Outsunny product comes with a 2-year manufacturer's warranty. Please retain your proof of purchase for any warranty claims.
For further assistance, missing parts, or technical support, please contact Outsunny customer service. You can typically find contact information on the Outsunny brand website or through your retailer.