1. Introduction
This manual provides detailed instructions for the installation, operation, and maintenance of your new Cidava 13 Inch Car Radio. Designed specifically for Jeep Wrangler JK models from 2011 to 2017, this Android 13 car stereo offers advanced features including Wireless Apple CarPlay, Android Auto, 5G Wi-Fi, 4G LTE, a 13-inch IPS QLED screen, and a 32-band DTS audio equalizer. Please read this manual thoroughly before installation and use to ensure proper functionality and safety.
2. Safety Information
Always prioritize safety during installation and operation. Failure to follow these guidelines may result in injury, damage to the product, or damage to your vehicle.
- Professional Installation Recommended: If you are unsure about any step, seek professional assistance.
- Disconnect Battery: Always disconnect the vehicle's negative battery terminal before beginning any electrical work to prevent short circuits and electrical shock.
- Use Correct Tools: Use only appropriate tools for installation to avoid damaging vehicle components or the stereo unit.
- Secure Wiring: Ensure all wiring is properly routed and secured to prevent interference with vehicle operation or damage from vibration.
- Avoid Distractions: Do not operate the stereo's advanced features or watch videos while driving. Always keep your attention on the road.
- Check Compatibility: Verify that your vehicle is a Jeep Wrangler JK (2011-2017) before attempting installation.
3. Package Contents
Before beginning installation, ensure all components are present and undamaged. The package includes the following:
- Cidava 13 Inch Car Radio Head Unit
- Main Wiring Harnesses (Vehicle-specific)
- USB Cables (2x)
- GPS Antenna
- 4G LTE Antenna
- Radio Antenna Adapter
- CANBUS Decoder
- Microphone
- Installation Brackets and Screws
- Plastic Pry Tools

Figure 3.1: All components included in the Cidava 13 Inch Car Radio package.
Video 3.1: Unboxing the Cidava Car Radio for Jeep Wrangler JK 2011-2017, showing all included components.
4. Installation Guide
This section provides a step-by-step guide for installing the Cidava 13 Inch Car Radio in your Jeep Wrangler JK. Refer to the provided video for visual assistance.
Video 4.1: Detailed removal and installation process for the Car Radio in Jeep Wrangler JK 2011-2017.
4.1. Removing the Factory Radio
- Prepare the Vehicle: Ensure the vehicle is turned off and the parking brake is engaged. Disconnect the negative terminal of the car battery.
- Remove Lower Dash Panel: Gently pry off the lower dash panel on both sides of the steering wheel using a plastic pry tool. Unscrew the two 7mm bolts now exposed.
- Remove Top Dash Tray: Remove the rubber liner from the top dash tray and unscrew the 7mm bolt located underneath.
- Remove Window Control Panel: Use a pry tool to carefully remove the window control panel. Disconnect the wiring harness by sliding the red lock tab and pressing the black latch tab. Unscrew the 7mm bolt located behind this panel.
- Remove Main Dash Panel: Carefully pull the main dash panel towards you to unclip it from around the dashboard and instrument cluster.
- Remove Factory Radio: Unscrew the four 7mm bolts securing the factory radio (two on each side). Gently pull the radio out and disconnect all wiring harnesses and antenna connectors from the back.
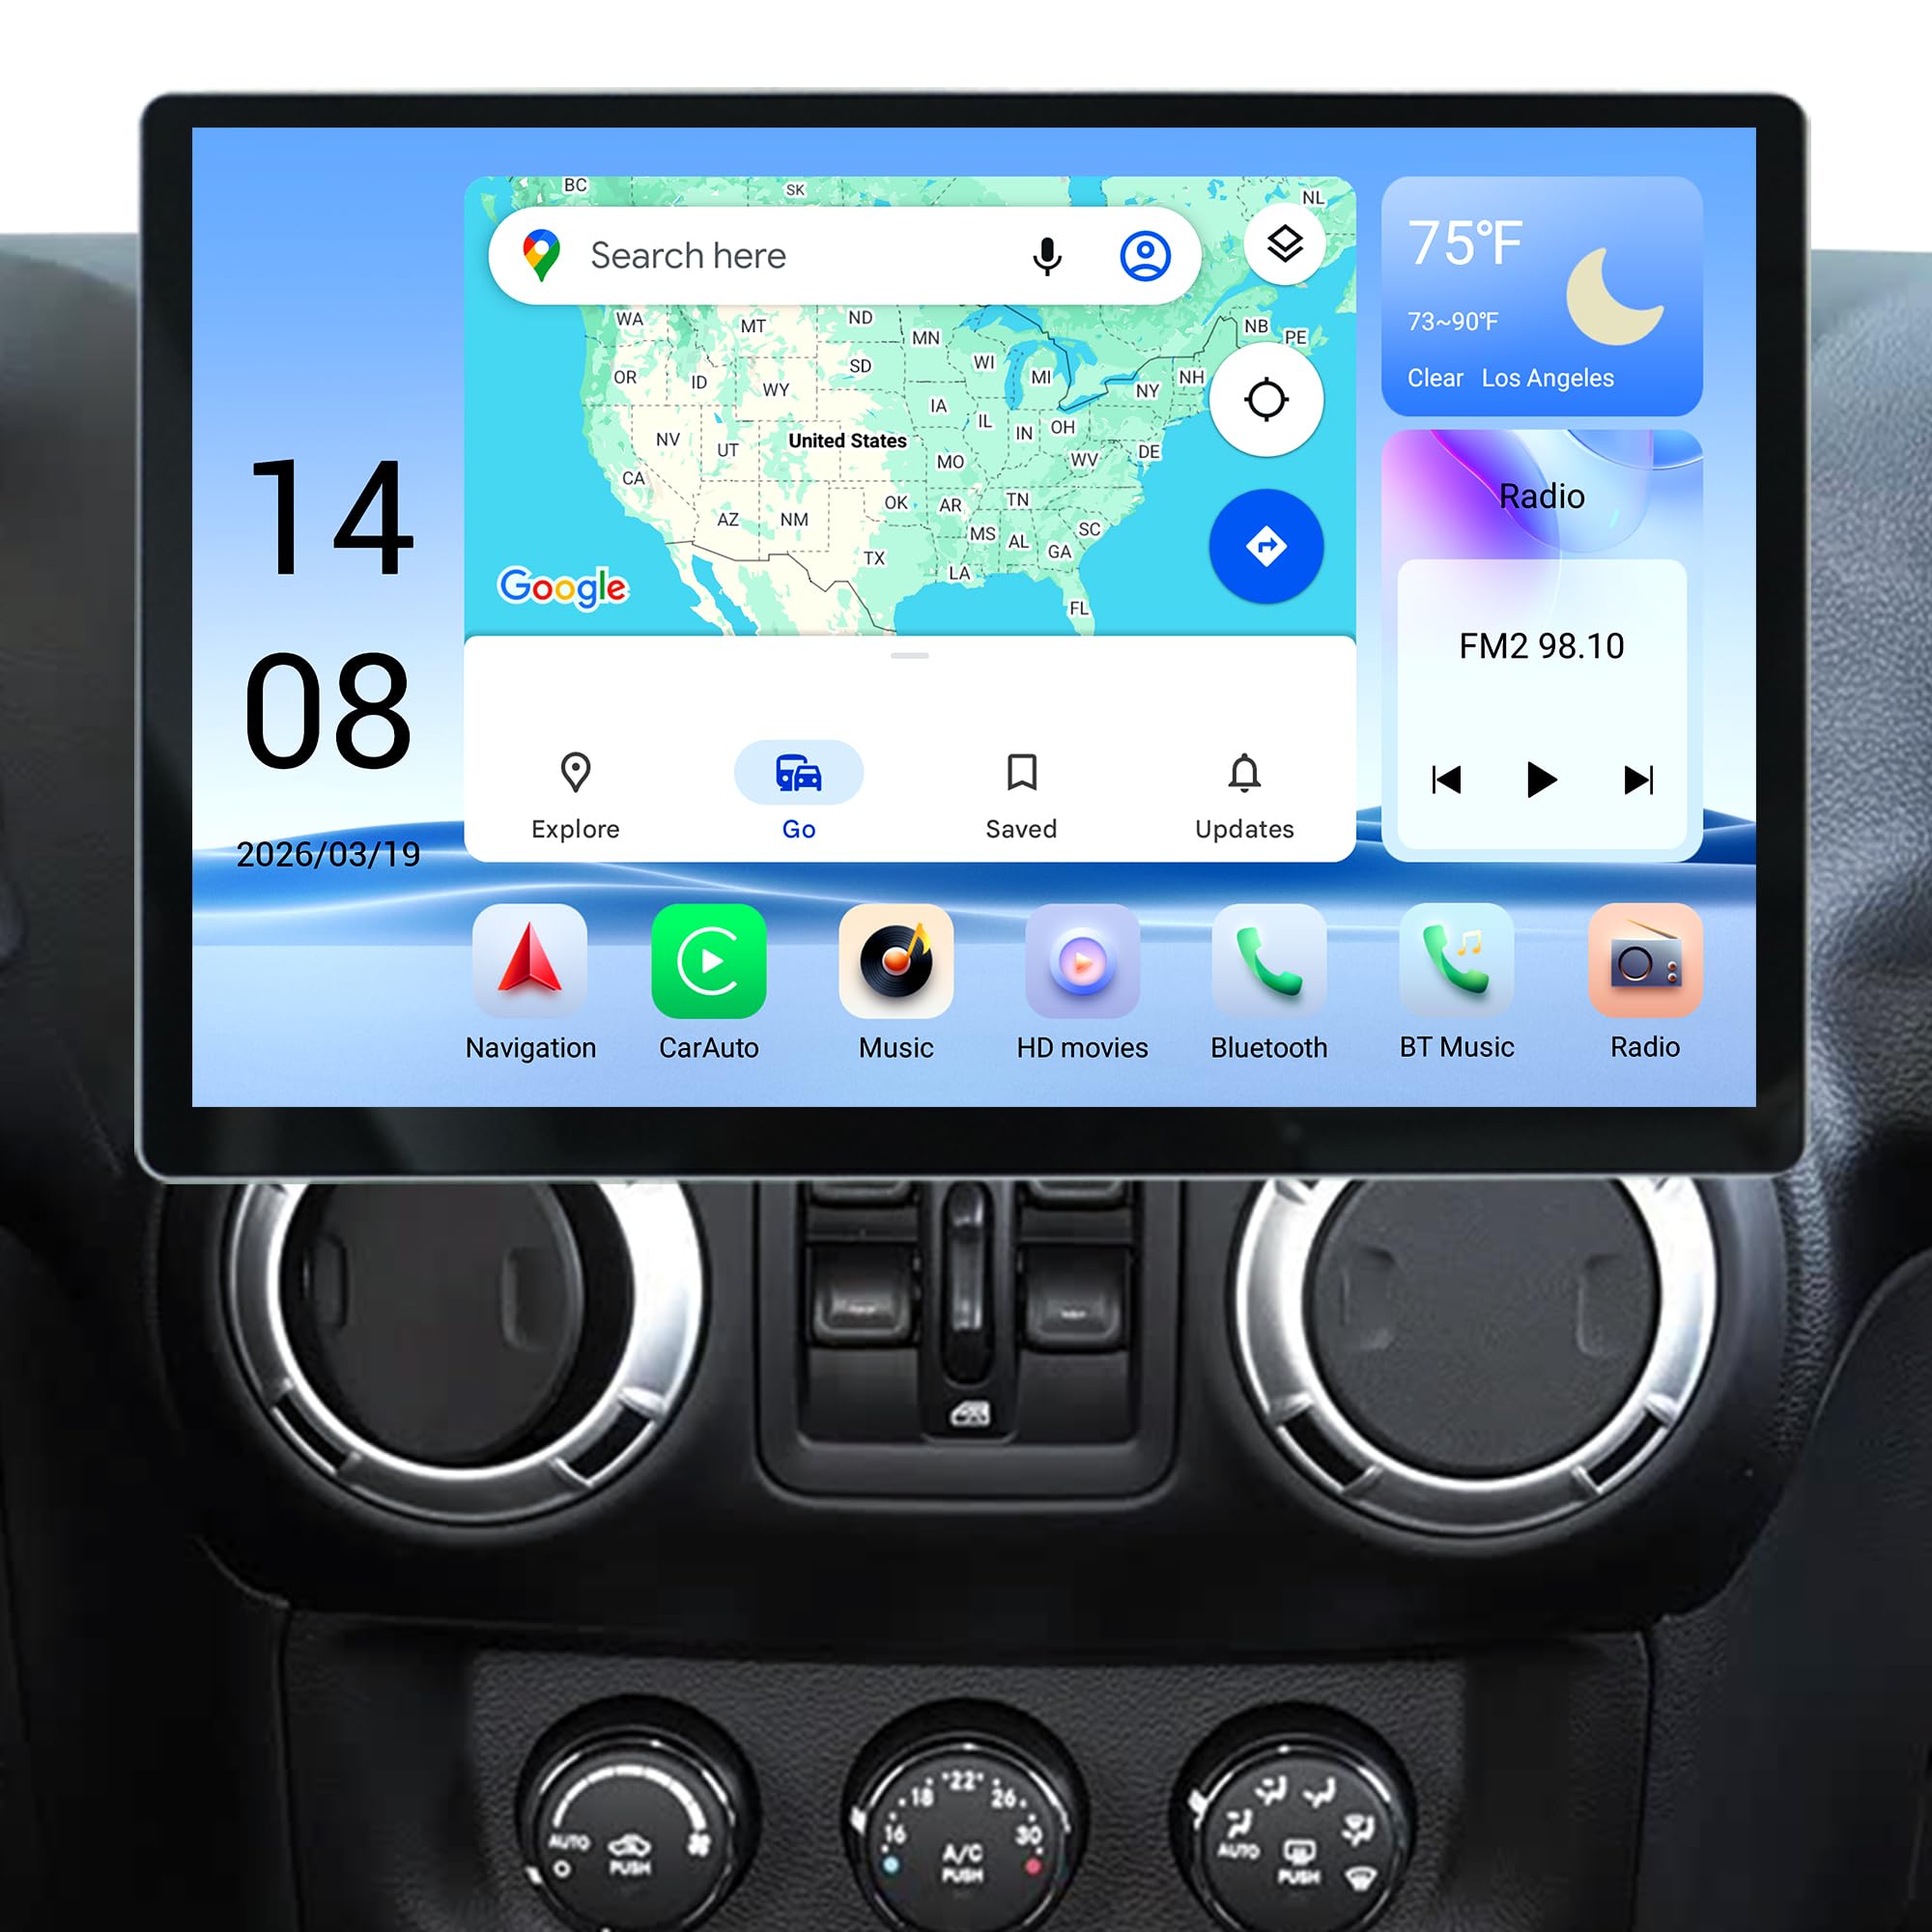
Figure 4.1: The Cidava 13 Inch Car Radio seamlessly integrated into a Jeep Wrangler JK dashboard.
4.2. Wiring the New Head Unit
Connect the provided harnesses and accessories to the new Cidava head unit. Ensure all connections are secure.
- Connect RCA Cable: Firmly insert the RCA cable into its designated slot on the head unit until you hear a click.
- Connect Reverse Camera Accessory: Insert the reverse camera accessory into its specific slot.
- USB Cables: If you plan to use wired CarPlay/Android Auto or a USB stick, connect the USB cables.
- Power Supply & Antenna: Connect the appropriate power supply cable (newer or older Jeep models) and the antenna cable to the head unit. Discard any cables not matching your vehicle.
- CANBUS Module: Connect the CANBUS module to its matching connector on the power cable harness.
- Amplifier Connection (if applicable): If your Jeep has an amplifier, connect the
Ask a question about this manual
Ask about setup, troubleshooting, compatibility, parts, safety, or missing instructions. Manuals+ will review the question and use this page’s manual context to help answer it.