1. Introduction
Thank you for choosing the THOMSON TDF-1001P Digital Photo Frame. This device allows you to display your favorite photos and videos, play music, and utilize features like a calendar, clock, and alarm. With Wi-Fi connectivity, you can easily share media and receive weather updates. Please read this manual thoroughly before operating the device to ensure proper use and maintenance.
2. Safety Information
- Do not expose the device to moisture, rain, or extreme temperatures.
- Avoid placing the device near heat sources or in direct sunlight.
- Use only the provided power adapter. Using unauthorized adapters may damage the device and void the warranty.
- Do not attempt to disassemble or repair the device yourself. Refer all servicing to qualified personnel.
- Keep the device away from strong magnetic fields.
- Clean the screen with a soft, dry cloth. Do not use liquid cleaners or sprays directly on the screen.
3. Package Contents
Please check the package for the following items:
- THOMSON TDF-1001P Digital Photo Frame
- Power Adapter
- User Manual (this document)
- Stand (if applicable)
4. Product Overview
Familiarize yourself with the components of your digital photo frame.
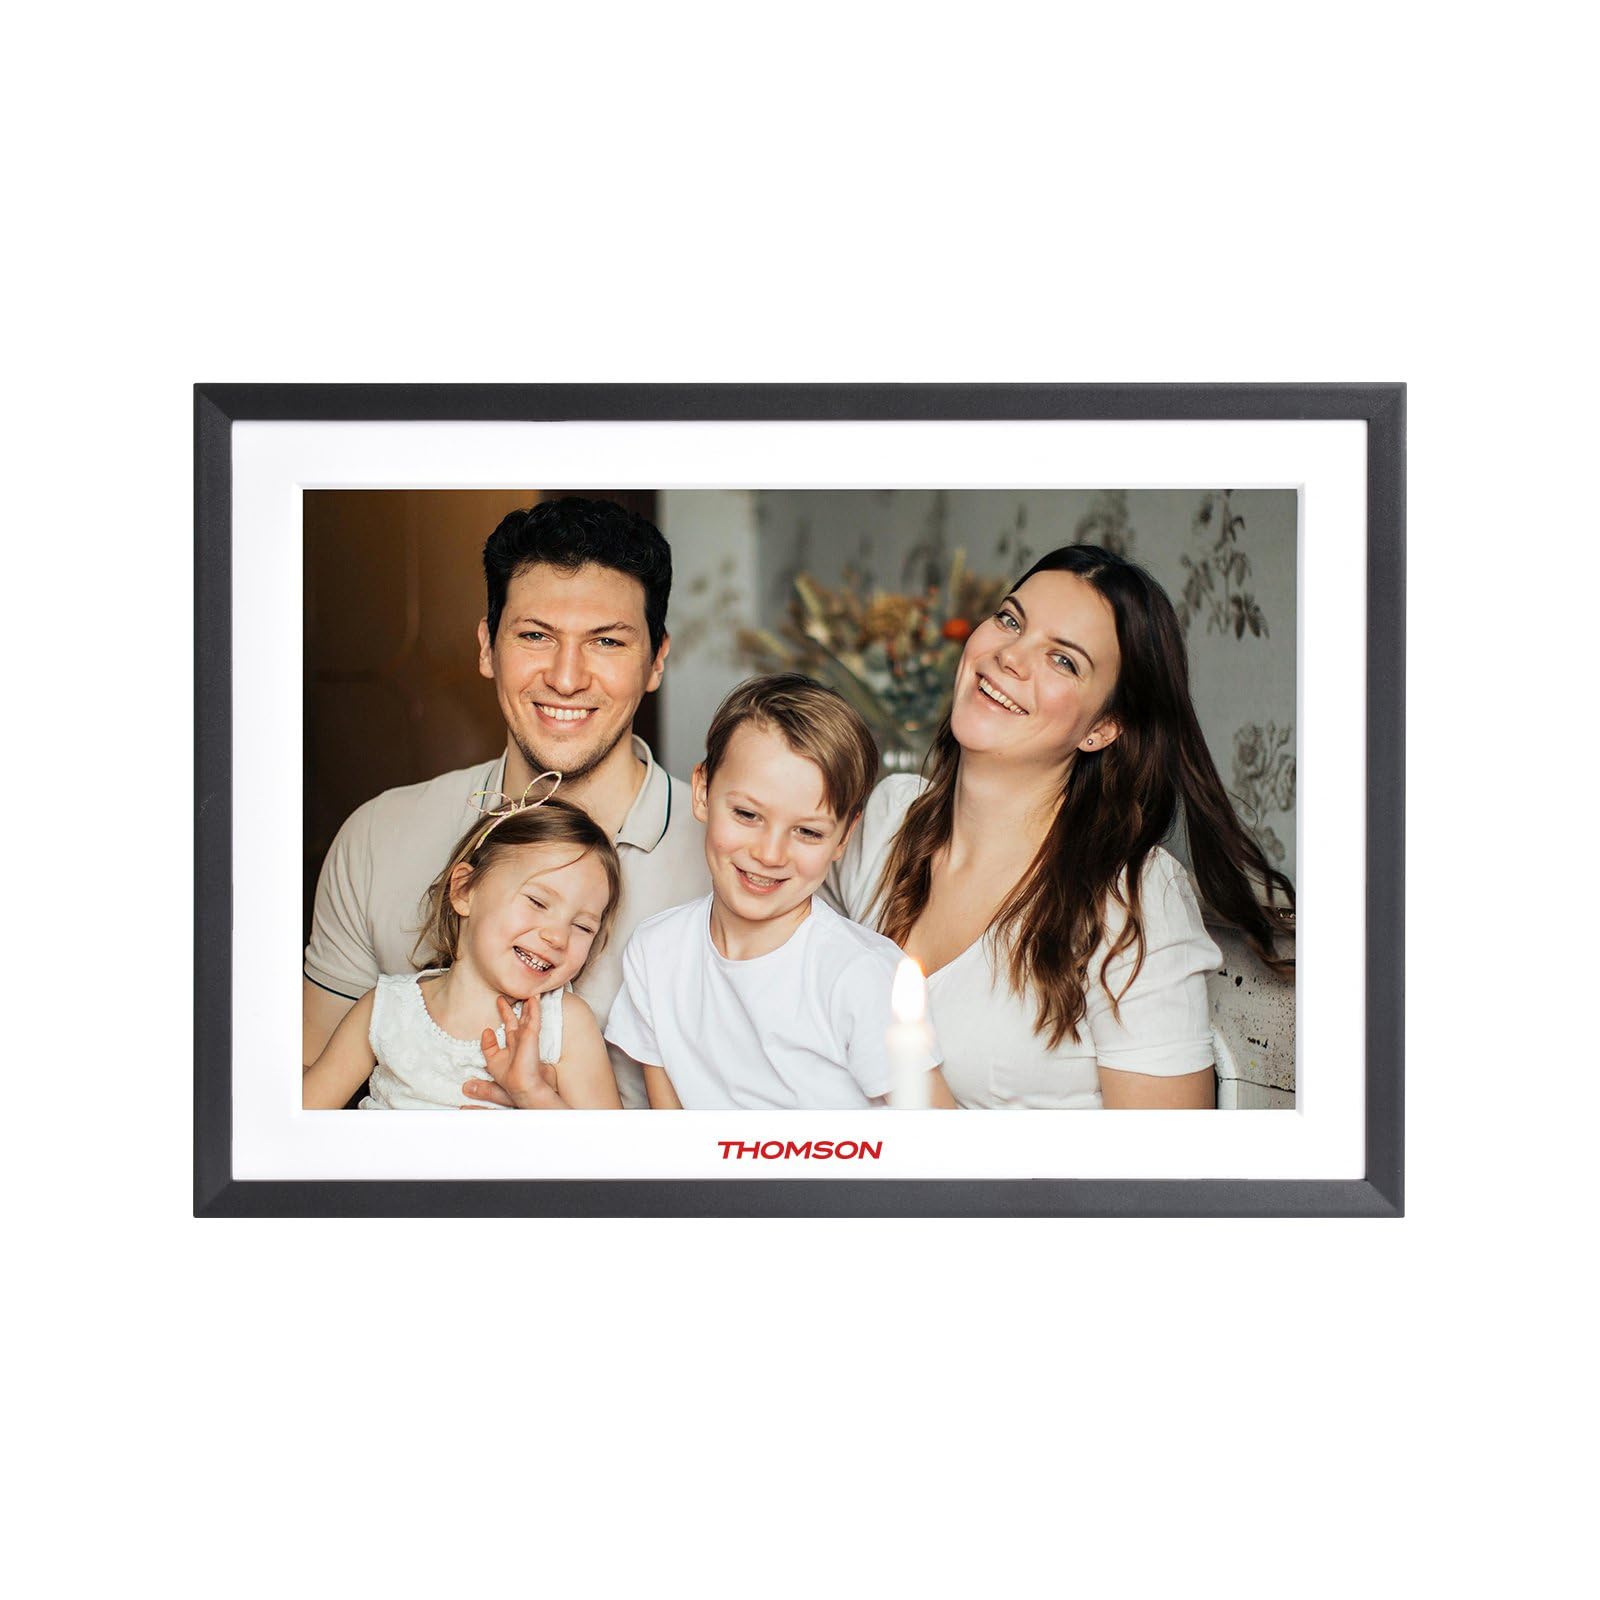
Figure 4.1: Front view of the THOMSON TDF-1001P Digital Photo Frame. This image shows the 10.1-inch IPS display with a black frame, designed for clear photo and video playback.
4.1. Front Panel
- 10.1-inch IPS Touch Screen: The main display for viewing content and interacting with the device.
4.2. Rear Panel and Ports
The rear panel typically includes various ports for connectivity and power.
- Power Input: Connects to the provided power adapter.
- USB Port: For connecting USB drives to transfer media.
- SD Card Slot: For inserting SD cards to expand storage or transfer media.
- Reset Button: A small pinhole button to reset the device if necessary.
5. Setup
5.1. Initial Power-On
- Unpack the digital photo frame and its accessories.
- Attach the stand to the back of the frame, ensuring it is securely fastened.
- Connect the power adapter to the power input port on the frame.
- Plug the power adapter into a wall outlet. The frame will automatically power on.
- Follow the on-screen instructions to select your language and region.
5.2. Wi-Fi Connection
Connecting to Wi-Fi enables online features like photo sharing and weather updates.
- From the main menu, tap on 'Settings'.
- Select 'Wi-Fi' or 'Network Settings'.
- Toggle Wi-Fi to 'On'. The frame will scan for available networks.
- Select your desired Wi-Fi network from the list.
- Enter the Wi-Fi password using the on-screen keyboard and tap 'Connect'.
- Once connected, a Wi-Fi icon will appear on the status bar.
5.3. App Setup for Sharing
To share photos and videos via Wi-Fi, you will need to install the dedicated app on your smartphone.
- Locate the app name or QR code in the frame's settings under 'Cloud Services' or 'App Connection'.
- Download and install the app on your smartphone from your device's app store.
- Open the app and create an account or log in.
- Follow the app's instructions to pair your smartphone with the digital photo frame, typically by scanning a QR code displayed on the frame or entering a unique device ID.
- Once paired, you can send photos and videos directly from your smartphone to the frame.
6. Operating the Digital Photo Frame
6.1. Navigating the Interface
The frame features a touch screen for easy navigation. Tap icons to open applications and swipe to browse content or menus.
6.2. Photo and Video Playback
- From the main menu, tap the 'Photos' or 'Gallery' icon.
- Select the source of your media (Internal Storage, SD Card, USB Drive, or Cloud/App).
- Browse through your albums or individual files. Tap on a photo or video to view it.
- During playback, you can typically swipe left/right to navigate between files, or tap the screen to reveal playback controls (play/pause, next, previous, rotate, delete).
6.3. Music Playback
- Tap the 'Music' icon from the main menu.
- Select the source of your music files.
- Browse and tap on a song to begin playback.
- Use the on-screen controls for play/pause, skip, volume adjustment, and repeat modes.
6.4. Calendar, Clock, and Alarm
- Calendar: Tap the 'Calendar' icon to view the current date and month. Some models may allow adding events.
- Clock: The current time is usually displayed on the home screen. Time settings can be adjusted in the 'Settings' menu.
- Alarm: Access the 'Alarm' function via the main menu or 'Settings'. You can set multiple alarms with custom times and sounds.
6.5. Weather Updates
If connected to Wi-Fi, the frame can display local weather information.
- Ensure the frame is connected to Wi-Fi.
- Go to 'Settings' and find 'Weather' or 'Location Services'.
- Enable weather updates and set your location (either automatically or manually).
- The weather forecast will then be displayed on the home screen or a dedicated weather widget.
7. Maintenance
7.1. Cleaning the Device
- Always power off and unplug the device before cleaning.
- Use a soft, lint-free cloth to gently wipe the screen and frame.
- For stubborn smudges on the screen, lightly dampen the cloth with water or a screen-safe cleaning solution, then wipe gently. Do not spray liquids directly onto the screen.
- Avoid abrasive cleaners or solvents.
7.2. Storage
When not in use for extended periods, store the digital photo frame in a cool, dry place, away from direct sunlight and extreme temperatures. It is recommended to keep the original packaging for storage.
8. Troubleshooting
This section addresses common issues you might encounter.
| Problem | Possible Cause | Solution |
|---|---|---|
| Frame does not power on. | Power adapter not connected or faulty. | Ensure the power adapter is securely connected to the frame and a working power outlet. Try a different outlet. |
| Cannot connect to Wi-Fi. | Incorrect password, out of range, or router issue. | Verify the Wi-Fi password. Move the frame closer to the router. Restart your Wi-Fi router. |
| Photos/videos not displaying. | Unsupported file format, corrupted files, or incorrect source selected. | Ensure files are in supported formats (e.g., JPEG for photos, MP4 for videos). Check if the files are corrupted. Select the correct storage source (SD card, USB, internal). |
| Touch screen unresponsive. | Temporary software glitch. | Restart the frame by unplugging and replugging the power adapter. If the issue persists, use a pin to press the reset button on the back. |
9. Specifications
| Feature | Specification |
|---|---|
| Model | TDF-1001P |
| Display Size | 10.1 inches |
| Resolution | 800*1280 IPS |
| Aspect Ratio | 16:10 |
| Internal Flash Storage | 32 GB |
| Touch Screen | G+P Type |
| Connectivity | Wi-Fi |
| Functions | Photo, Music, Video, Calendar, Clock, Alarm, Weather, Wi-Fi Sharing |
| Material | Plastic black frame and white middle frame |
| Item Dimensions (L x W) | 7.25"L x 10.44"W |
| Power Source | Corded Electric |
10. Warranty Information
The THOMSON TDF-1001P Digital Photo Frame comes with a 1-year limited warranty from the date of purchase. This warranty covers manufacturing defects in materials and workmanship under normal use. It does not cover damage caused by misuse, accidents, unauthorized modifications, or external causes such as power surges.
Please retain your proof of purchase for warranty claims. For detailed warranty terms and conditions, refer to the warranty card included in your package or contact customer support.
11. Customer Support
If you have any questions, require technical assistance, or need to make a warranty claim, please contact THOMSON customer support. Refer to the contact information provided on the product packaging or the official THOMSON website.
When contacting support, please have your product model number (TDF-1001P) and proof of purchase readily available.


