Introduction
This manual provides essential instructions for the safe and efficient use of your Intempo Aria Lite Noise Cancelling Earbuds. Please read this manual thoroughly before using the product and retain it for future reference. These earbuds feature Bluetooth 6.0 connectivity, up to 18 hours of total playtime, and three listening modes: Noise Reduction, Transparency, and Normal.
What's in the Box
- Intempo Aria Lite Noise Cancelling Earbuds (Left and Right)
- Charging Case
- USB Charging Cable
- Multiple Sizes of Ear Tips (Small, Medium, Large)
Product Overview
Familiarize yourself with the components of your Intempo Aria Lite earbuds and charging case.

Image: Intempo Aria Lite earbuds shown inside their open charging case, with one earbud placed beside the case. This illustrates the earbuds and their charging container.
Earbud Components
- Touch Control Area: For managing music playback, calls, and listening modes.
- Microphone: For hands-free calls.
- Ear Tip: Replaceable silicone tips for comfort and sound isolation.
- Charging Contacts: Located at the bottom of the earbud stem.

Image: A close-up view of two Intempo Aria Lite earbuds, highlighting their in-ear design, silicone ear tips, and metallic blue finish.
Charging Case Components
- Charging Port: USB-C port for charging the case.
- LED Indicator: Displays charging status and battery level.
- Earbud Slots: Securely hold and charge the earbuds.
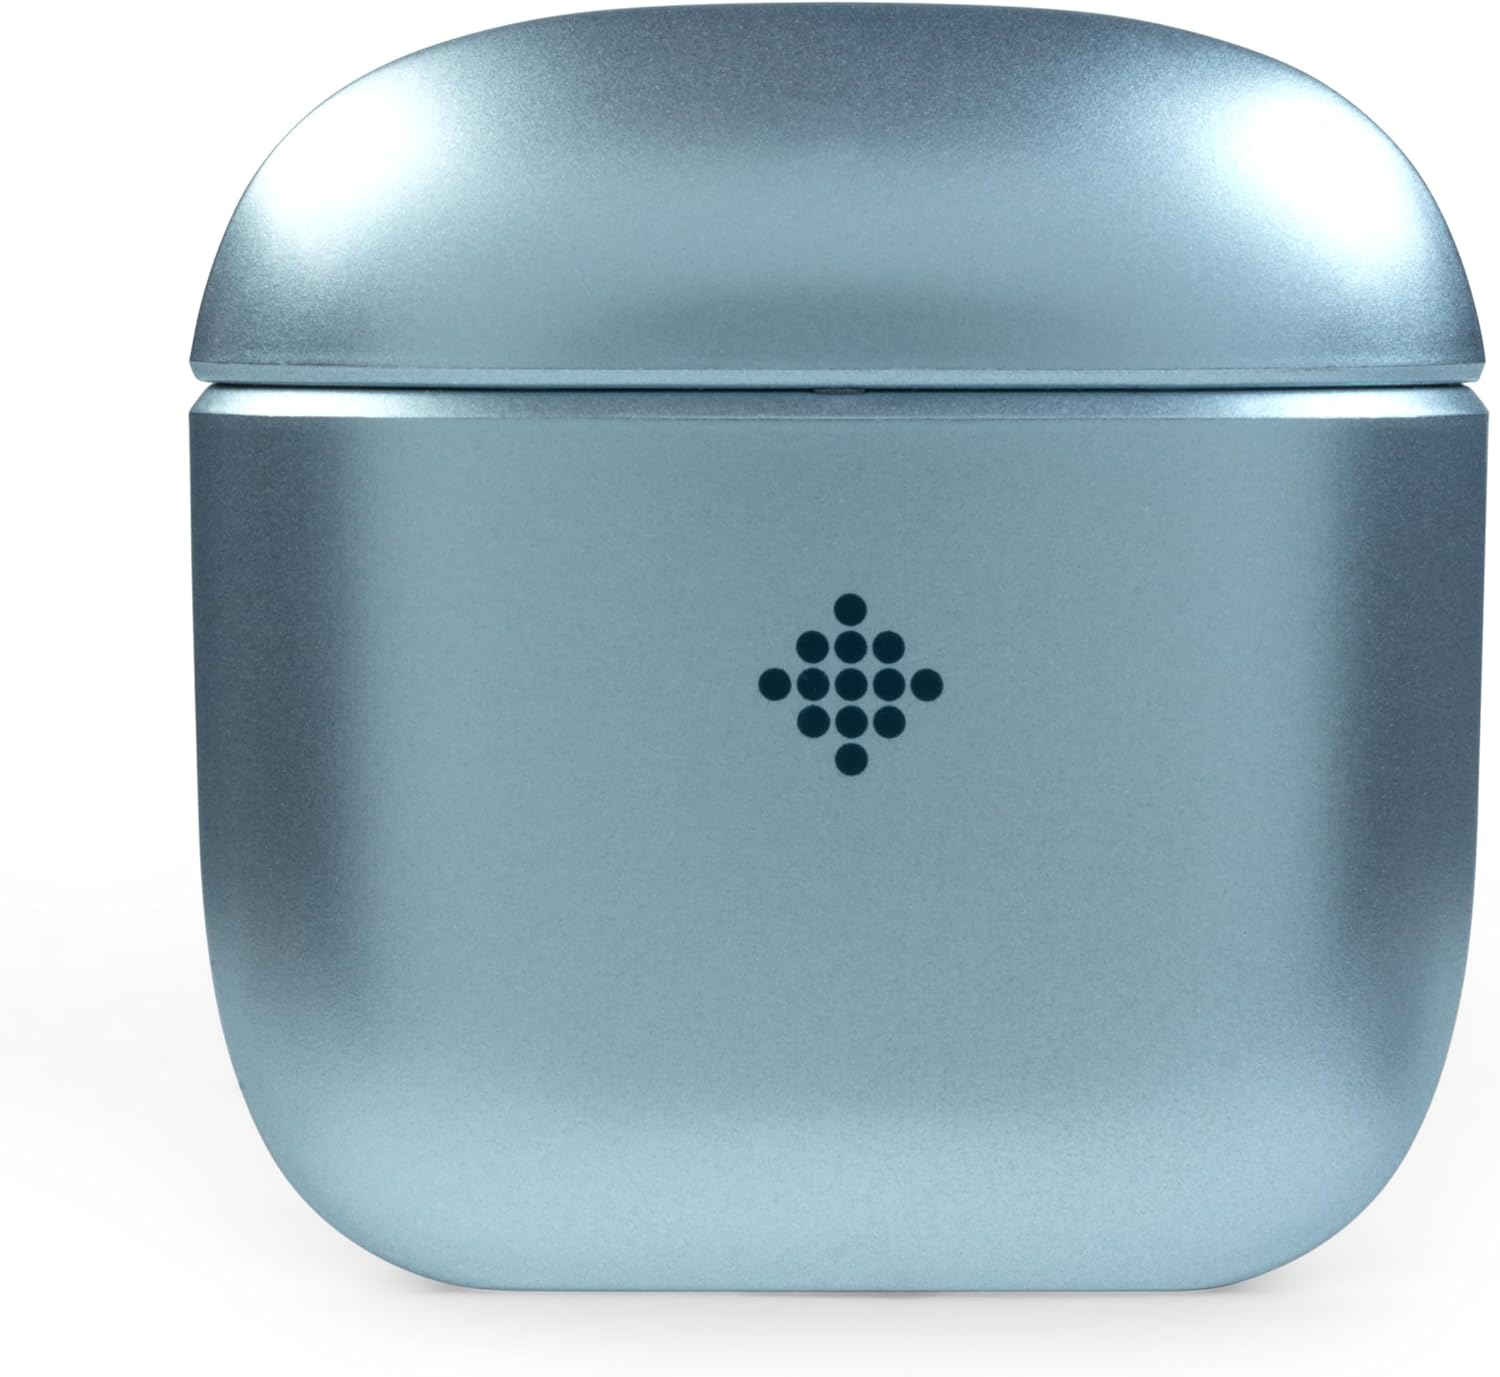
Image: The Intempo Aria Lite charging case in a closed position, showcasing its compact design and metallic blue color.
Setup
1. Charging the Earbuds and Case
Before first use, fully charge the earbuds and the charging case.
- Place the earbuds into the charging case. Ensure the charging contacts align.
- Connect the USB charging cable to the charging port on the case and to a suitable USB power source.
- The LED indicator on the case will show the charging status. A full charge typically takes approximately 1.5 hours.
- Once fully charged, disconnect the charging cable.
2. Bluetooth Pairing
Pair your earbuds with your Bluetooth-enabled device for the first time.
- Ensure the earbuds are charged and placed in the charging case.
- Open the charging case lid. The earbuds will automatically enter pairing mode, indicated by a flashing LED on the earbuds.
- On your device (smartphone, tablet, etc.), enable Bluetooth and search for available devices.
- Select "Intempo Aria Lite" from the list of found devices.
- Once connected, the earbud LED will stop flashing, indicating successful pairing.
- The earbuds will automatically reconnect to the last paired device when removed from the case, if Bluetooth is enabled on the device.
3. Choosing the Right Ear Tips
Selecting the correct ear tip size is crucial for comfort, sound quality, and effective noise cancellation.
- Try each size (Small, Medium, Large) to find the best fit for your ears.
- A good fit should feel secure and create a gentle seal in your ear canal, blocking out external noise.
Operating
Power On/Off
- Power On: Open the charging case lid, or remove the earbuds from the case. They will power on automatically.
- Power Off: Place the earbuds back into the charging case and close the lid. They will power off automatically.
Music Playback
Use the touch control area on either earbud to manage your music.
- Play/Pause: Single tap on either earbud.
- Next Track: Double tap on the right earbud.
- Previous Track: Double tap on the left earbud.
Call Management
Manage phone calls using the touch controls.
- Answer/End Call: Single tap on either earbud.
- Reject Call: Press and hold either earbud for 2 seconds.
Listening Modes
The Intempo Aria Lite offers three distinct listening modes:
- Noise Reduction (ANC): Minimizes ambient noise for an immersive audio experience.
- Transparency Mode: Allows you to hear your surroundings while listening to audio, enhancing awareness.
- Normal Mode: Standard audio playback without active noise cancellation or transparency.
To Switch Modes: Triple tap on the left earbud to cycle through Noise Reduction, Transparency, and Normal modes.
Maintenance
Cleaning
- Regularly clean the earbuds and charging case with a soft, dry, lint-free cloth.
- Do not use abrasive cleaners, alcohol, or chemical solvents.
- Gently clean the ear tips and charging contacts to ensure proper function.
Storage
- When not in use, store the earbuds in their charging case to protect them and keep them charged.
- Store in a cool, dry place, away from extreme temperatures and direct sunlight.
Battery Care
- To prolong battery life, avoid fully discharging the earbuds and charging case frequently.
- Charge the device regularly, even if not in constant use.
Troubleshooting
If you encounter issues with your earbuds, refer to the following common solutions:
- No Sound:
- Ensure earbuds are charged.
- Check Bluetooth connection on your device.
- Adjust volume on both the earbuds and your connected device.
- Pairing Issues:
- Ensure Bluetooth is enabled on your device.
- Turn off and on Bluetooth on your device.
- Forget "Intempo Aria Lite" from your device's Bluetooth list and re-pair.
- Ensure earbuds are fully charged.
- Earbuds Not Charging:
- Verify the charging cable is securely connected to both the case and power source.
- Clean the charging contacts on both the earbuds and inside the case.
- Try a different USB charging cable or power adapter.
- Poor Sound Quality:
- Ensure ear tips are correctly sized and sealed in your ear.
- Clean any debris from the earbud speakers.
- Move closer to your connected device to avoid interference.
Specifications
| Model Number | EE8168 |
| Brand | INTEMPO |
| Connectivity Technology | Bluetooth 6.0 |
| Form Factor | In-Ear |
| Battery Type | Lithium-ion |
| Total Playtime | Up to 18 hours (with charging case) |
| Charging Time | Approx. 1.5 hours |
| Material | Acrylonitrile Butadiene Styrene (ABS), Silicone |
| Color | Blue |
| Specific Use | Audio |
Warranty and Support
This product is sold with no manufacturer's guarantee. Information regarding software updates and spare parts availability is not provided.
For any operational issues not covered in this manual, please refer to the retailer where the product was purchased for further assistance.


