
Introduction
This manual provides essential instructions for the safe and effective use of your DatsenAAA 16-inch chainsaw chain replacement. This chain is designed for various chainsaw models, including Mastercraft 54-5706, 54-5712 (pre Apr 99), Troy-Bilt TB3516 Electric, TB4516CC Electric, Wen 6014, 6016, and Lumberjack chainsaws. Please read this manual thoroughly before installation and operation to ensure proper function and safety.
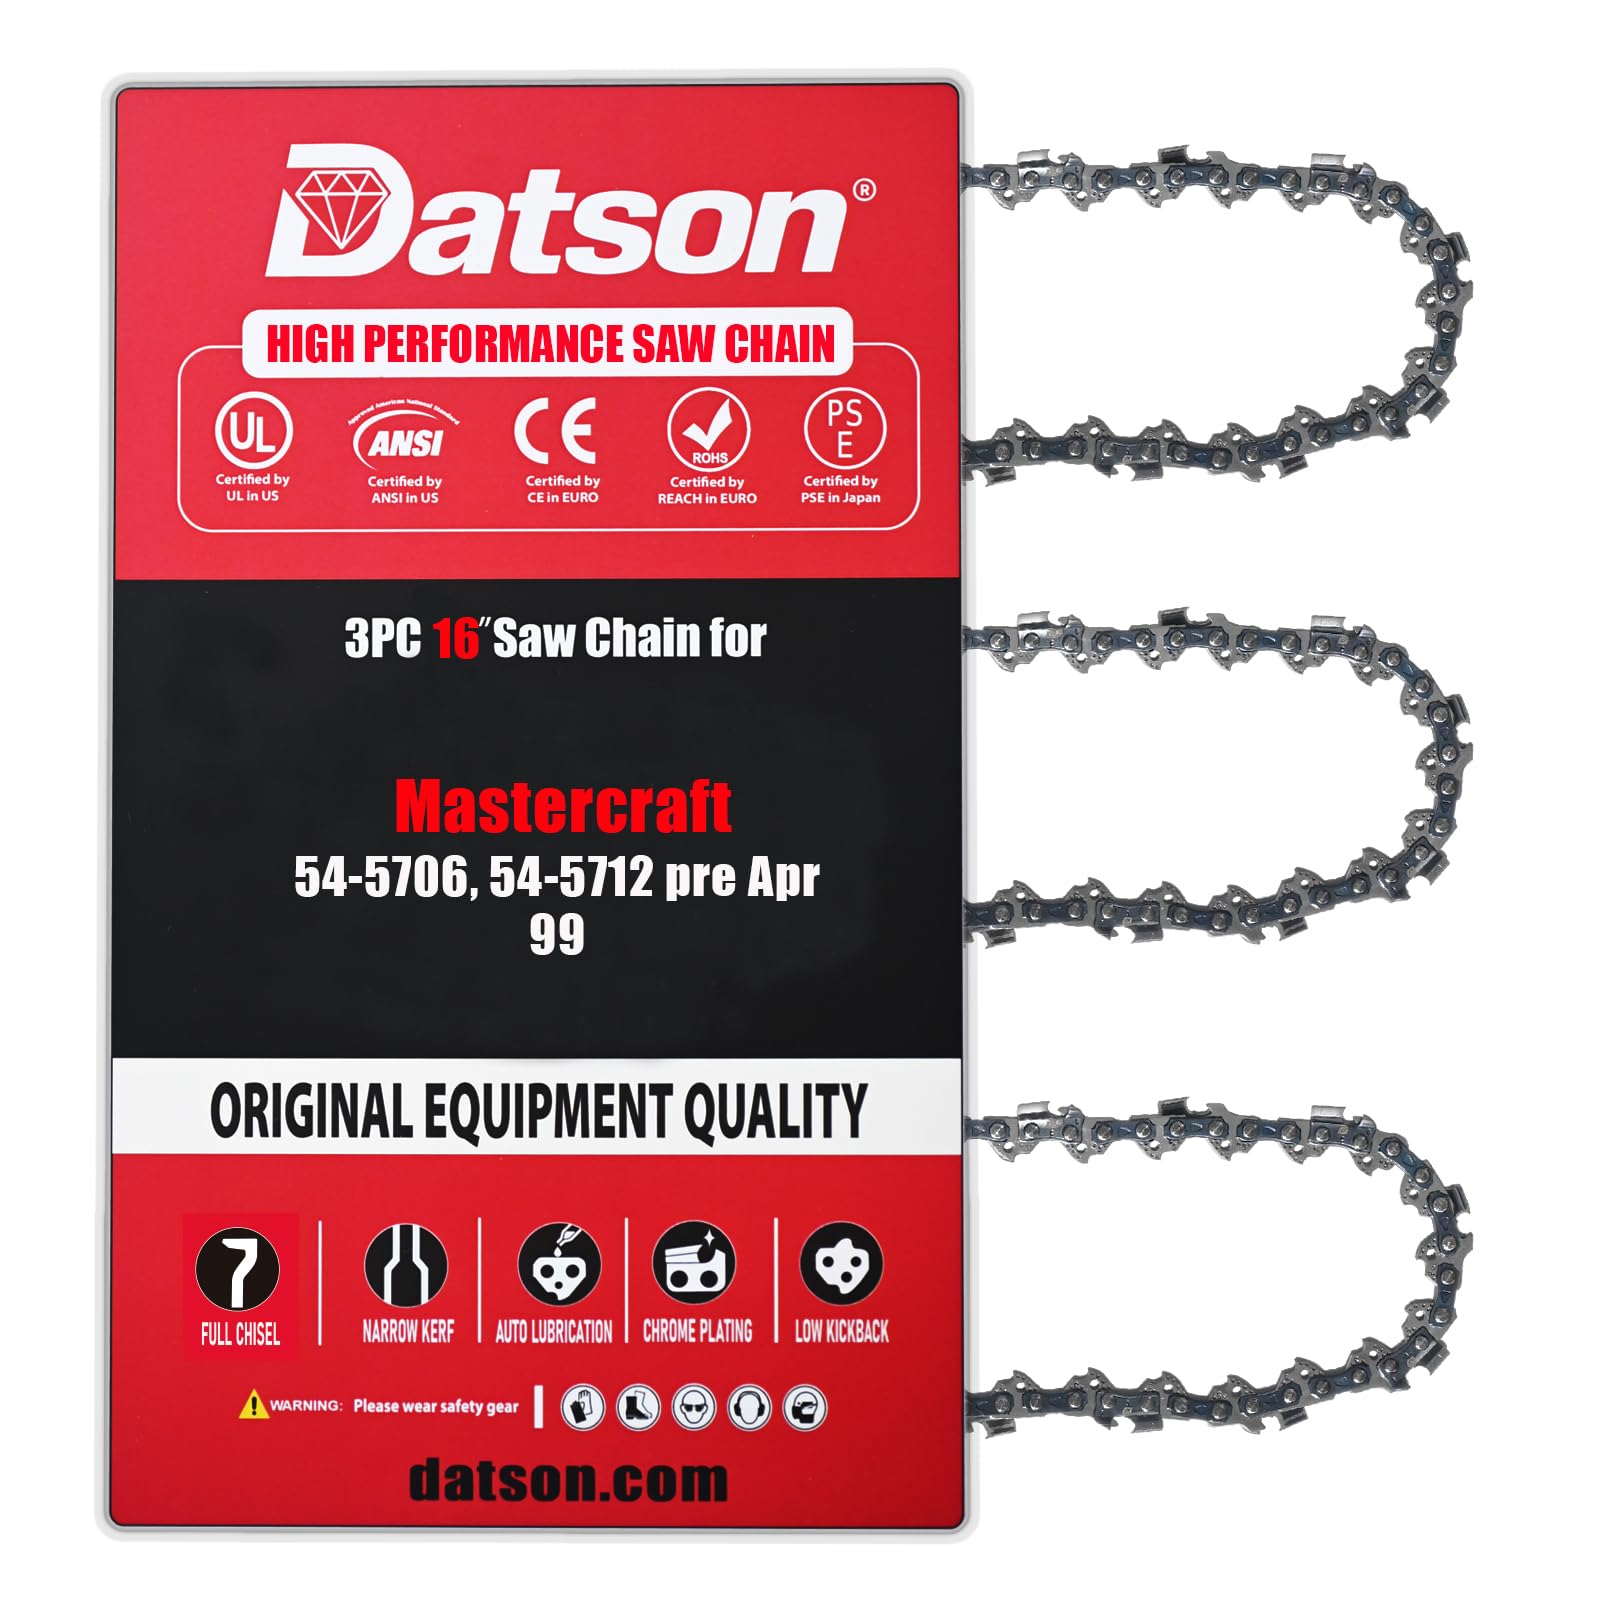
Image: Three DatsenAAA 16-inch chainsaw chains, packaged for replacement.
Setup and Installation
1. Confirm Chain Compatibility
Before installation, verify that the replacement chain matches your chainsaw's guide bar specifications. This includes confirming the correct pitch, gauge, and number of drive links. The DatsenAAA D008 chain features a 3/8" LP Pitch, .050" Gauge, and 55 Drive Links.
- Pitch: 3/8" LP (Low Profile)
- Gauge: .050"
- Drive Links: 55

Image: Close-up view of a DatsenAAA chainsaw chain link, highlighting the 'D' brand mark.
2. Chain Installation
Refer to your chainsaw's original instruction manual for specific chain installation procedures. Generally, installation involves:
- Ensure the chainsaw is turned off and unplugged (for electric models) or the spark plug cap is removed (for gas models).
- Remove the bar cover and old chain.
- Carefully place the new DatsenAAA chain onto the guide bar, ensuring the cutters face the correct direction (usually forward on the top of the bar).
- Fit the chain around the drive sprocket.
- Reinstall the bar cover, but do not fully tighten the nuts yet.

Image: Detailed view of chainsaw chain links, illustrating the strap design for secure connection.
3. Chain Tension Adjustment
Proper chain tension is crucial for safe and efficient operation. The chain should be snug against the guide bar, but still able to be pulled freely by hand. There should be no slack on the underside of the guide bar, and the drive links should not come out of the guide bar groove. Adjust the tension according to your chainsaw's manufacturer guidelines, then fully tighten the bar nuts.
Operating Instructions
Always follow the safety guidelines provided in your chainsaw's original manual. The DatsenAAA chain is designed for smooth cutting and reduced kickback, enhancing operational safety and efficiency.
- Smooth Cutting: The chain's design, utilizing Germany steel with controlled heating and punching systems, ensures better toughness and flatness for smooth cutting performance.
- Reduced Kickback: This low-kickback saw chain meets the ANSI B175.1-2012 performance requirements, contributing to safer operation.

Image: A DatsenAAA chainsaw chain positioned on a stack of cut wood, demonstrating its intended use.
Maintenance
Regular maintenance extends the lifespan of your chainsaw chain and ensures optimal performance.
1. Lubrication
The DatsenAAA chain features a built-in automatic oiling system. This system delivers oil to key parts of the chain, reducing friction and wear. Ensure your chainsaw's oil reservoir is adequately filled with appropriate bar and chain oil before each use.

Image: Detailed view of chainsaw chain links, highlighting the integrated lubrication system channels.
2. Sharpening
The Japanese chrome-plated technology used in the cutters provides enhanced durability and maintains sharpness longer. When sharpening becomes necessary, use the correct file size and angle as specified for 3/8" LP pitch chains. Consistent sharpening ensures efficient cutting and prolongs chain life.

Image: Close-up of a DatsenAAA chainsaw chain cutter tooth, showing its sharp edge.
3. Wear Inspection
Regularly inspect the chain for signs of wear, damage, or dullness. All saw chain rivets are hardened and quenched to resist wear and improve strength. Replace the chain if cutters are severely worn, cracked, or if rivets are loose.
Troubleshooting
This section addresses common issues you might encounter with your chainsaw chain.
Chain Not Cutting Effectively
- Dull Cutters: The most common cause. Sharpen the chain or replace it if the cutters are too worn.
- Incorrect Tension: A chain that is too loose or too tight can hinder cutting performance. Adjust tension as per the "Setup and Installation" section.
- Insufficient Lubrication: Ensure the chainsaw's oil reservoir is full and the automatic oiling system is functioning.
Chain Derailment or Jumping Off Bar
- Loose Chain Tension: This is a primary cause. Re-tension the chain immediately.
- Worn Guide Bar: A worn or damaged guide bar groove can cause the chain to derail. Inspect the guide bar for wear.
- Damaged Drive Links: Inspect the drive links for bends or damage. Replace the chain if damaged.
Excessive Wear or Breakage
- Lack of Lubrication: Continuous operation without proper lubrication will cause rapid wear.
- Improper Sharpening: Incorrect sharpening angles can weaken cutters and lead to premature wear or breakage.
- Cutting Dirty Wood: Cutting wood with embedded dirt, rocks, or metal can quickly dull or damage the chain.
Product Specifications
| Brand | DatsenAAA |
| Model Number | D008 |
| Chain Length | 16 inches |
| Pitch | 3/8" LP (Low Profile) |
| Gauge | .050" |
| Drive Link Count | 55 |
| Included Components | 3 Chains |
| Material | Germany Steel, Japanese Chrome-plated Cutters |
Warranty and Support
For warranty information or technical support regarding your DatsenAAA chainsaw chain, please contact the manufacturer directly. Keep your purchase receipt as proof of purchase.
You can find contact information for DatsenAAA through their official website or the retailer where the product was purchased.