Important Safety Information
Before operating your SMUG Compact Armless Treadmill, please read this entire manual carefully. Retain this manual for future reference. Failure to follow these instructions may result in injury or damage to the product.
- Ensure the treadmill is placed on a flat, stable surface before use.
- Keep children and pets away from the treadmill during operation.
- Do not use the treadmill if you weigh more than 200 lbs (90 kg).
- Always wear appropriate athletic footwear.
- Disconnect the power cord when not in use or before cleaning/maintenance.
- The treadmill will only start when the SAFETY KEY is ATTACHED. Error code E14 indicates that you are not using the safety key properly.
Package Contents
Verify that all items are present in the package:
- SMUG Compact Armless Treadmill
- Remote Control
- Safety Key
- Lubricant
- Allen Wrench
- User Manual

Figure 1: All items included in the SMUG Compact Armless Treadmill package.
Setup
The SMUG Compact Armless Treadmill requires minimal assembly. Follow these steps for initial setup:
- Unpack: Carefully remove all components from the packaging.
- Placement: Place the treadmill on a firm, level surface. Ensure there is adequate space around the unit for safe operation.
- Power Connection: Plug the power cord into a grounded electrical outlet.
- Attach Safety Key: Securely attach the red safety key to the designated slot on the treadmill's console. The treadmill will not operate without the safety key in place.
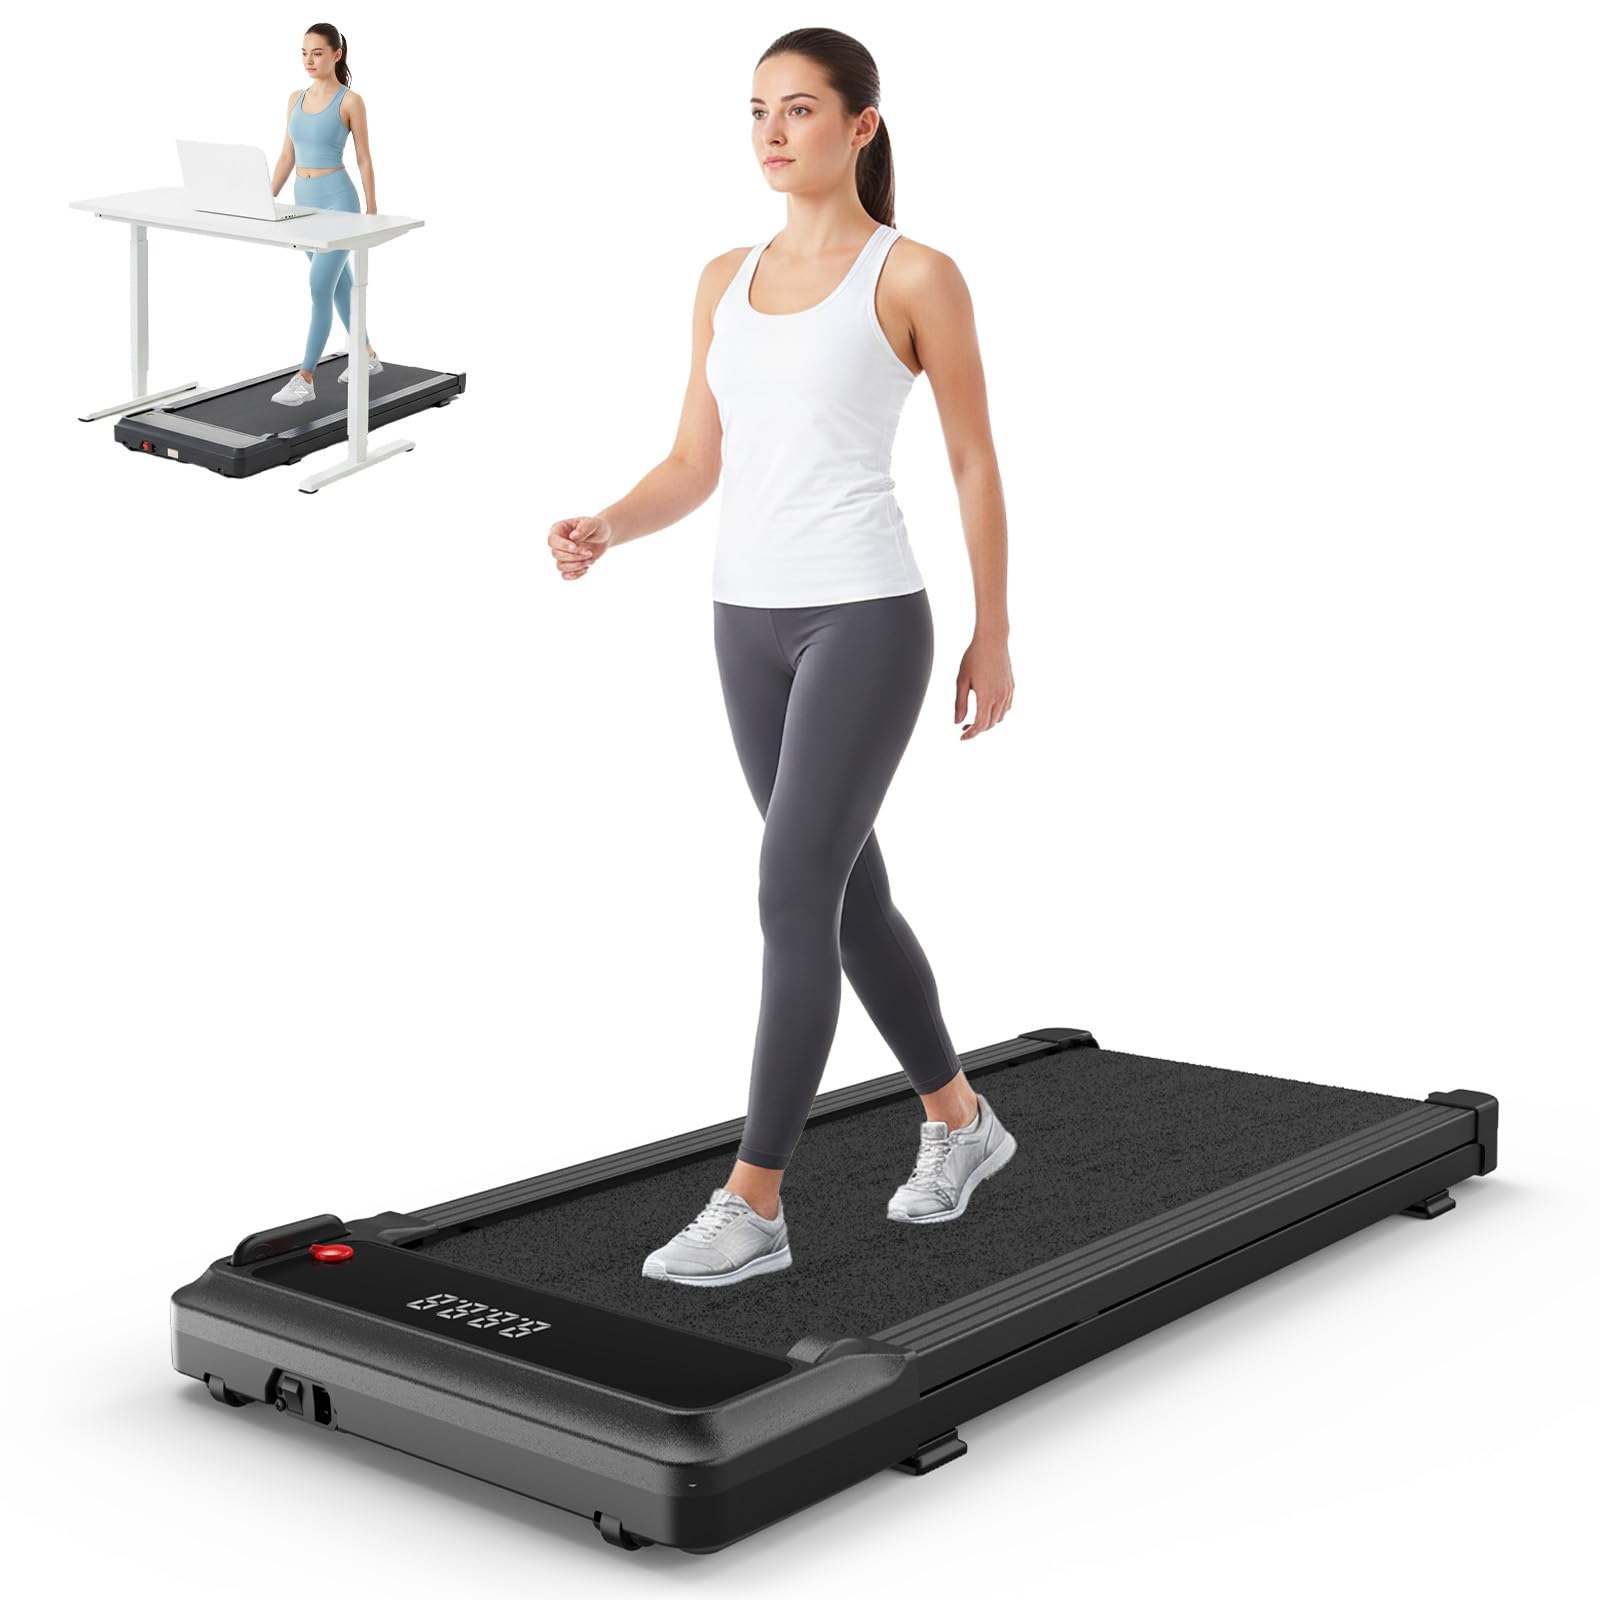
Figure 2: The SMUG Compact Armless Treadmill in an operational setup.
Operating Instructions
Remote Control
The treadmill is operated using the included remote control. Familiarize yourself with the buttons:
- Power Button: Press to turn the treadmill on/off.
- Start/Stop Button: Press to start or stop the walking belt.
- Speed Adjustment (+/-): Use these buttons to increase or decrease the walking speed.
- Mode (M) Button: Cycles through different display modes (Time, Speed, Distance, Calories).
- Program (P) Button: Selects pre-set workout programs (refer to the manual for program details).

Figure 3: LED Display and Smart Remote for the SMUG Treadmill.
Video 1: A brief review demonstrating the SMUG Under Desk Walking Pad Treadmill's operation and remote control functionality.
LED Display
The built-in LED display provides real-time feedback on your workout:
- Time: Duration of your workout.
- Speed: Current walking/running speed.
- Distance: Total distance covered.
- Calories: Estimated calories burned.
Running Modes
The treadmill offers various speed ranges to suit different activity levels:
- Working Mode: 0-1.5 MPH (for light activity while working).
- Walking Mode: 0-2.5 MPH (for a steady walk).
- Running Mode: 2.5-3.8 MPH (for a light jog).

Figure 4: Overview of available running modes and speed settings.
Safety Key Operation
The safety key is a critical safety feature. It must be attached to the designated slot on the treadmill for the unit to operate. In case of an emergency or if you step off the treadmill unexpectedly, the safety key will detach, immediately stopping the belt.

Figure 5: Correct attachment of the safety key for treadmill operation.
Maintenance
Regular maintenance ensures the longevity and optimal performance of your treadmill.
Lubrication
The walking belt requires periodic lubrication to reduce friction and wear. Use the provided lubricant or a treadmill-specific silicone lubricant.
- Turn off and unplug the treadmill.
- Lift the edge of the walking belt and apply a small amount of lubricant to the center of the deck.
- Repeat on the other side.
- Plug in the treadmill and run it at a low speed (e.g., 1 MPH) for a few minutes to distribute the lubricant.
- Lubricate approximately once every month or after 20 hours of use, whichever comes first.
Belt Adjustment
If the walking belt drifts to one side or feels loose, it may need adjustment. Use the included Allen wrench.
- Turn off and unplug the treadmill.
- Identify the adjustment bolts at the rear of the treadmill.
- If the belt drifts left, turn the left bolt clockwise a quarter turn. If it drifts right, turn the right bolt clockwise a quarter turn.
- If the belt feels loose, turn both bolts clockwise a quarter turn.
- Plug in the treadmill and run it at a low speed to check the alignment. Repeat adjustments as necessary.

Figure 6: Treadmill Damping System for enhanced comfort and durability.
Troubleshooting
Refer to this section for common issues and their solutions.
- Treadmill does not start: Ensure the power cord is securely plugged in and the safety key is correctly attached. Check if the power switch is in the 'ON' position.
- Error Code E14: This error indicates that the safety key is not properly attached. Re-attach the safety key firmly.
- Sudden Stops during operation: This can be caused by the safety key detaching. Ensure the safety key is securely in place. Also, verify the power supply is stable and the treadmill is on a level surface. If the issue persists, contact customer support.
- Excessive Noise: Check for loose parts. Ensure the treadmill is on a level surface. Lubricate the walking belt if it has not been done recently.
- Walking belt slips or hesitates: The walking belt may need tension adjustment (refer to 'Belt Adjustment' in the Maintenance section) or lubrication.
Specifications
| Feature | Detail |
|---|---|
| Brand | SMUG |
| Model Number | SMG-PBJV2-BK2 |
| Color | Bright Black |
| Product Dimensions | 42.2"D x 19.2"W x 3.6"H |
| Material | Alloy Steel |
| Maximum Speed | 5 Kilometers per Hour (approx. 3.1 MPH) |
| Maximum Weight Recommendation | 200 Pounds |
| Motor Horsepower | 1.75 HP |
| Display Type | LED |
| Metrics Measured | Calories Burned, Distance, Speed, Time |
| Special Features | Compact Design, Wheeled for portability |
| Assembly Required | No |
Storage
The compact and slim design of the SMUG treadmill allows for easy storage in various locations:
- Slide it under a desk or bed.
- Store it upright against a wall in a closet.
- Utilize the integrated wheels for effortless movement.

Figure 7: The treadmill's compact design allows for easy storage under furniture.
Warranty and Support
For warranty information, technical support, or any questions regarding your SMUG Compact Armless Treadmill, please refer to the contact details provided in your product packaging or visit the official SMUG website. Keep your purchase receipt as proof of purchase.