Introduction
Thank you for choosing the Portronics Meteo Digital Weather Station Clock. This device is designed to monitor your indoor environment by tracking real-time temperature and humidity levels. It features a large backlit LED display, an alarm with snooze function, 4-level weather indicators, and a lunar phase display. This manual provides instructions for setup, operation, and maintenance to ensure optimal performance of your device.
Package Contents
- Portronics Meteo Digital Weather Station Clock (1N)
- Type-C Power Cable (1N)
- User Manual (1N)
Product Overview
Familiarize yourself with the components and controls of your Portronics Meteo Digital Weather Station Clock.

Image: Rear view of the Portronics Meteo Digital Weather Station Clock, highlighting the control buttons. From left to right: SET Key (hold to enter settings, press for next option), ALARM Key (hold to set alarm, press to cycle options), UP Key (increase value, hold for fast; view Max/Min temperature), DOWN Key (decrease value, hold for fast; switch 12/24-hour format), and °C/°F Key (change temperature unit).

Image: Front display of the Portronics Meteo Digital Weather Station Clock. It shows indoor temperature (32.6°C), humidity (56%), current time (10:26 AM), day (SAT), and weather icons (sun, clouds, rain). Also visible are indicators for lunar phase and min/max temperature records.
Setup
1. Powering the Device
The Portronics Meteo can be powered in two ways:
- Type-C Power: Connect the provided Type-C power cable to the device's Type-C input port and plug the other end into a compatible USB power adapter (not included). This is the primary power source.
- AAA Battery Backup: For preserving time and settings during power outages, insert 3x AAA batteries (not included) into the battery compartment located at the back of the device. Ensure correct polarity.

Image: The Portronics Meteo Digital Weather Station Clock powered by a Type-C cable. The image also illustrates the location of the AAA battery compartment for backup power.
2. Placement
The device offers dual placement options:
- Tabletop: Use the integrated kickstand to place the clock on any flat surface, such as a desk or nightstand.
- Wall Mount: Utilize the mounting hole on the back of the device to hang it on a wall.
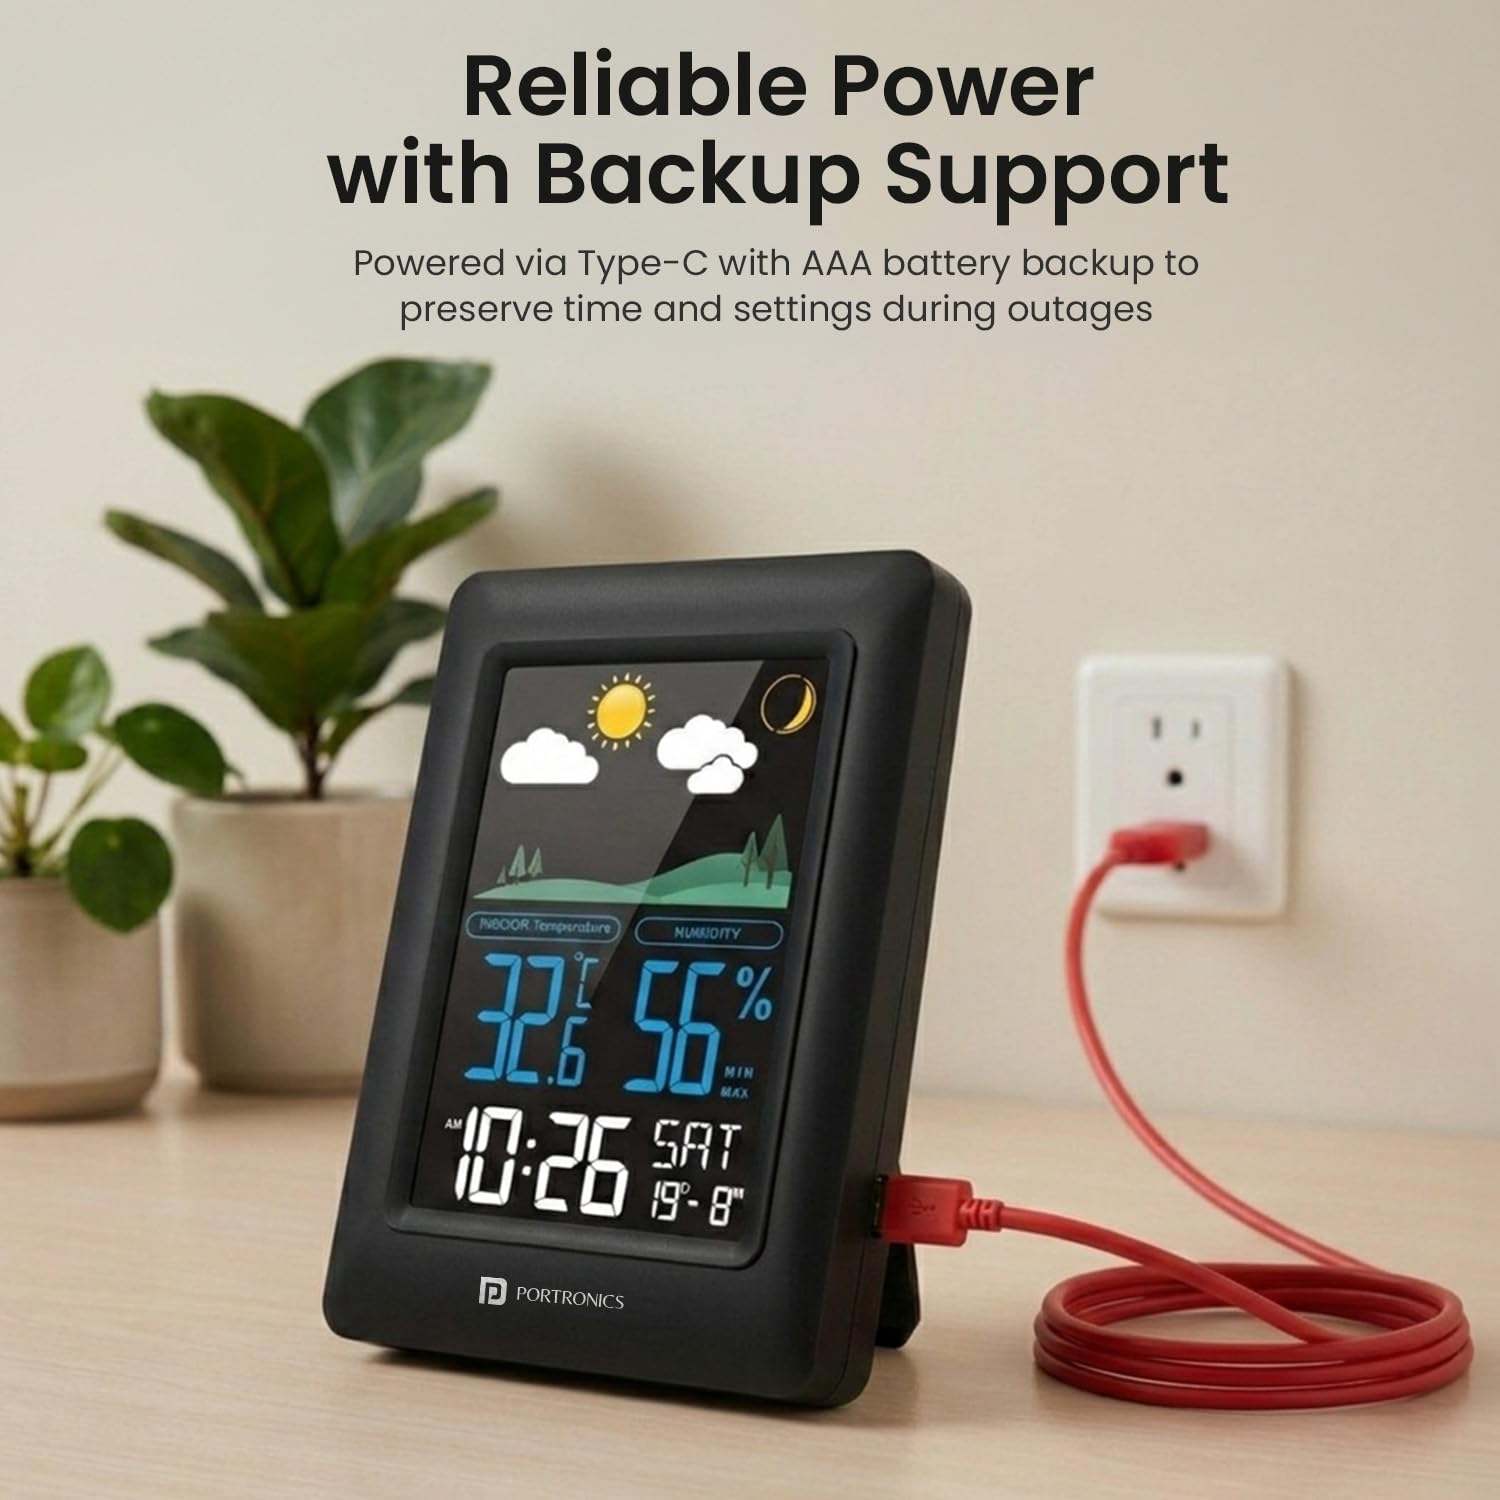
Image: The Portronics Meteo Digital Weather Station Clock placed on a bedside table, demonstrating its tabletop use and alarm function.

Image: The Portronics Meteo Digital Weather Station Clock showcasing its large LED screen and the three levels of brightness control. The image also shows an inset of the device's back, indicating wall-mount capability.
Operation
1. Setting Time and Date
- Press and hold the SET key for 3 seconds to enter time setting mode. The hour digit will flash.
- Use the UP or DOWN keys to adjust the hour.
- Press the SET key to confirm and move to the next setting (minute, year, month, day).
- Repeat steps 2 and 3 until all settings are complete.
- Press SET again to exit setting mode, or wait 15 seconds for it to exit automatically.
2. 12/24 Hour Format Switch
In normal display mode, press the DOWN key to switch between 12-hour and 24-hour time formats.
3. Setting the Alarm
- Press and hold the ALARM key for 3 seconds to enter alarm setting mode. The alarm hour digit will flash.
- Use the UP or DOWN keys to adjust the alarm hour.
- Press the ALARM key to confirm and move to the alarm minute setting.
- Use the UP or DOWN keys to adjust the alarm minute.
- Press ALARM again to exit alarm setting mode, or wait 15 seconds for it to exit automatically.
To activate/deactivate the alarm, press the ALARM key briefly in normal display mode. An alarm icon will appear/disappear on the display.
4. Snooze Function
When the alarm sounds, press any key (except ALARM) to activate the snooze function. The alarm will sound again after approximately 5 minutes. To stop the alarm completely, press the ALARM key when it is sounding.
5. Temperature Unit Switch (°C/°F)
In normal display mode, press the °C/°F key to switch between Celsius and Fahrenheit temperature units.

Image: The Portronics Meteo Digital Weather Station Clock displaying temperature and humidity. The image shows a comparison between Celsius (16.8°C) and Fahrenheit (78.8°F) readings, illustrating the unit switch function.
6. Display Brightness Adjustment
The LED display has 3 adjustable brightness levels. In normal display mode, press the UP key repeatedly to cycle through the brightness levels (High, Medium, Low).
7. Viewing Max/Min Temperature and Humidity
In normal display mode, press the UP key once to view the maximum recorded temperature and humidity. Press it again to view the minimum recorded temperature and humidity. The display will return to current readings automatically after a few seconds.
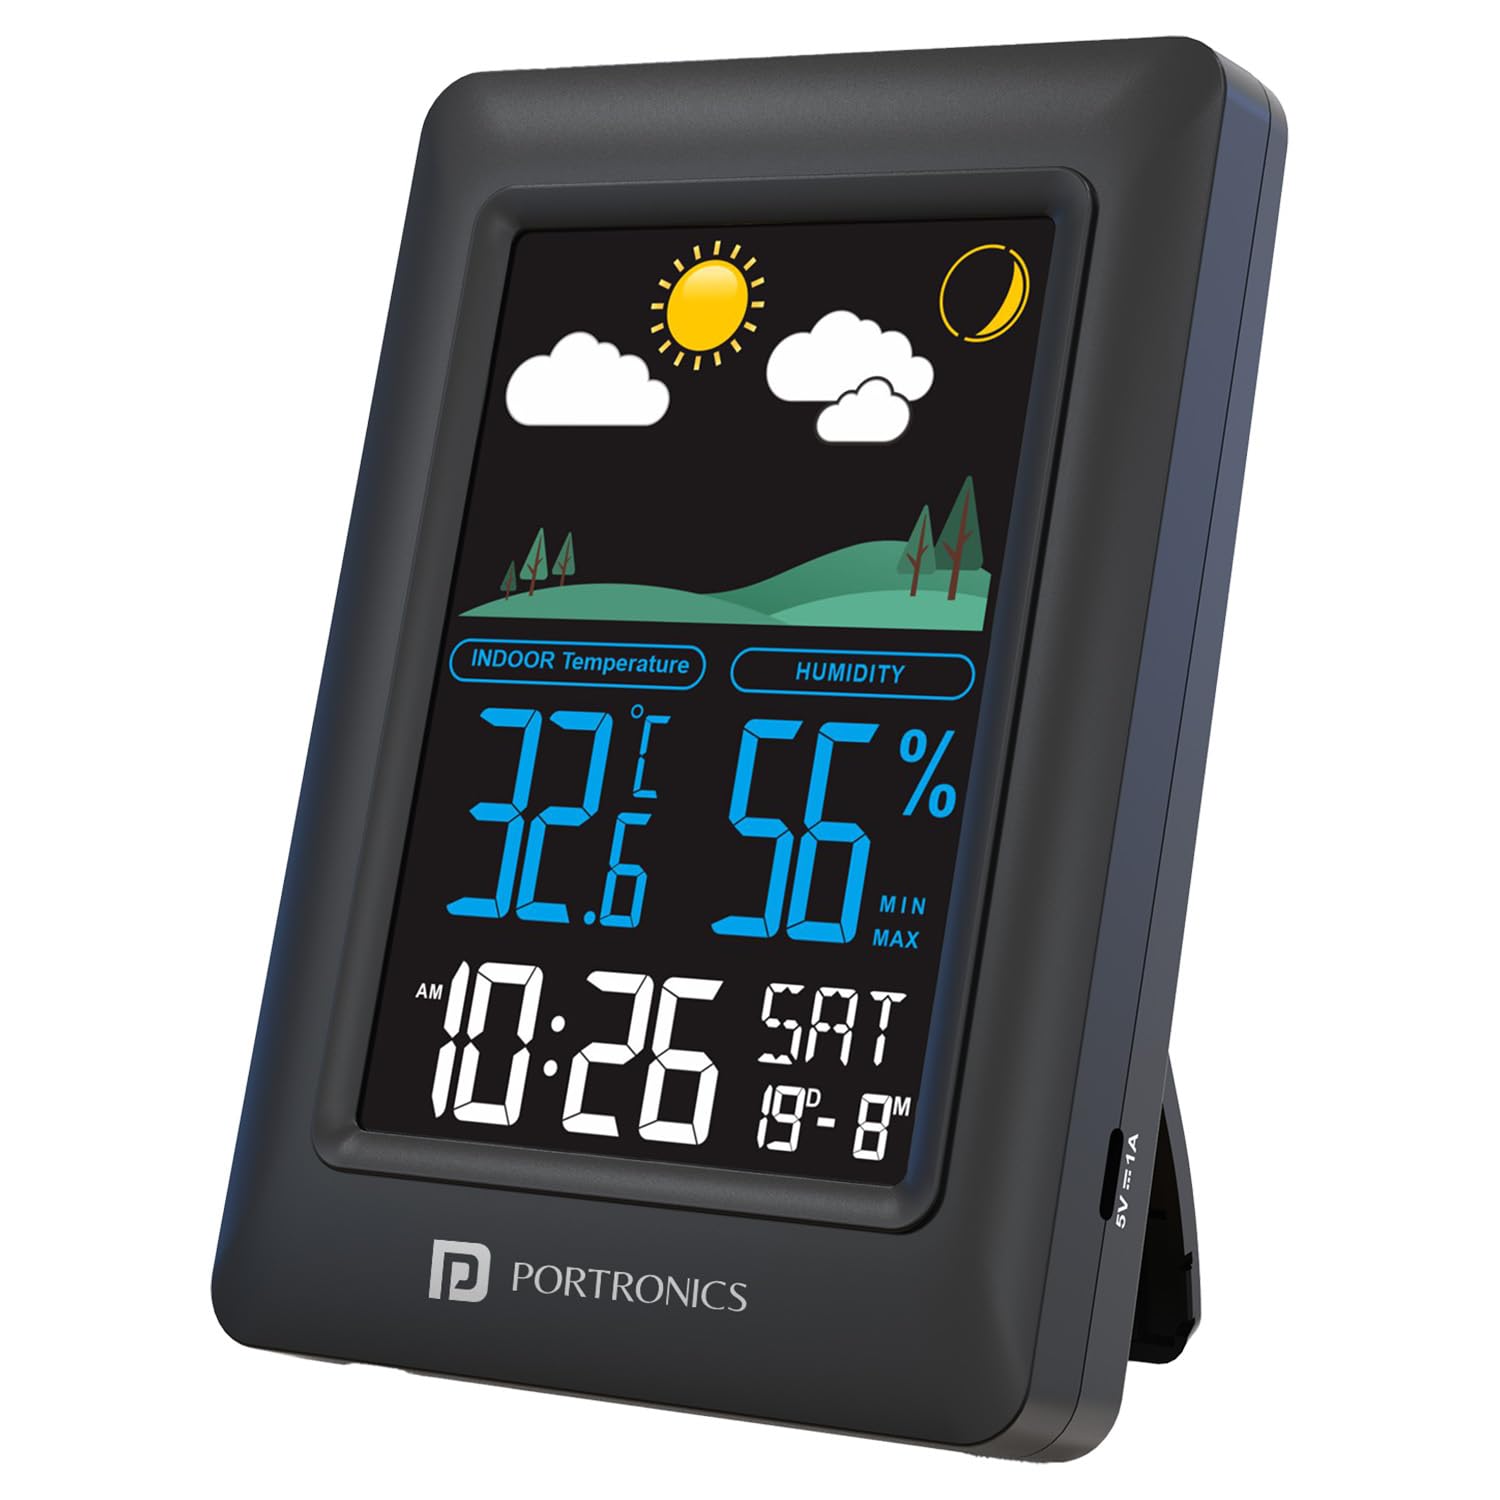
Image: The Portronics Meteo Digital Weather Station Clock displaying indoor temperature and humidity. The screen also shows weather indicators (sunny, cloudy) and a lunar phase icon, demonstrating its climate monitoring capabilities.
Maintenance
- Clean the device with a soft, dry cloth. Do not use abrasive cleaners or solvents.
- Avoid exposing the device to extreme temperatures, direct sunlight, or high humidity.
- If not using the device for an extended period, remove the AAA batteries to prevent leakage.
Troubleshooting
| Problem | Solution |
|---|---|
| Display is blank or dim. |
|
| Incorrect time or date. |
|
| Alarm not sounding. |
|
| Temperature/humidity readings seem inaccurate. |
|
Specifications
| Feature | Detail |
|---|---|
| Model Number | POR-3422 |
| Power Source | Type-C (main), 3x AAA Batteries (backup) |
| Display Type | LED, Backlit with 3 Brightness Levels |
| Temperature Unit | Celsius (°C) / Fahrenheit (°F) switchable |
| Time Format | 12H / 24H switchable |
| Special Features | Temperature & Humidity Monitor, Max/Min Records, Alarm & Snooze, 4-Level Weather Indicators, Lunar Phase Display, Wall/Table Mount |
| Product Dimensions | 16.8 x 10.6 x 3.5 cm |
| Item Weight | 420 g |
| Country of Origin | China |
Warranty and Support
Portronics products come with a standard warranty. For warranty claims, technical support, or any inquiries, please contact Portronics customer service:
- Email: help@portronics.com
- Phone: +91 9555-245-245
- Address: First Floor Property No D 8 Upper Basement Sector 8 Noida Uttar Pradesh 201301
Please retain your purchase receipt for warranty purposes.