1. Introduction
Thank you for choosing the KeepGlad RX02-B Dehumidifier. This appliance is designed to efficiently remove excess moisture from your indoor environment, creating a more comfortable and healthier living space. With its advanced features, including a digital humidity display, auto shut-off, washable filter, and ambient lighting, the RX02-B is suitable for areas up to 1000 sq.ft, such as basements, bathrooms, bedrooms, and laundry rooms. Please read this manual thoroughly before operation to ensure safe and optimal use.
2. Safety Instructions
To prevent injury to the user or others and property damage, the following instructions must be followed. Incorrect operation due to ignoring instructions may cause harm or damage.
- Always ensure the dehumidifier is placed on a stable, level surface.
- Do not operate the unit with a damaged power cord or plug.
- Keep the unit away from heat sources and direct sunlight.
- Do not block the air inlet or outlet.
- Unplug the unit before cleaning or performing any maintenance.
- This appliance is not intended for use by persons (including children) with reduced physical, sensory or mental capabilities, or lack of experience and knowledge, unless they have been given supervision or instruction concerning use of the appliance by a person responsible for their safety.
- Children should be supervised to ensure that they do not play with the appliance.
3. Product Overview
The KeepGlad RX02-B Dehumidifier features a sleek design with intuitive controls. Below is an overview of its main components and features.

Figure 3.1: Front view of the KeepGlad RX02-B Dehumidifier, showing the digital display, control panel, and visible water level indicator.
3.1 Package Contents
- KeepGlad RX02-B Dehumidifier Unit
- Washable Air Filter (pre-installed)
- Drain Hose
- User Manual
3.2 Key Features
- High Efficient Dehumidification: Dual semiconductor design removes up to 40 OZ of moisture daily, covering up to 1000 sq.ft.
- Digital Controls & Humidity Display: Smart sensors and digital display for real-time humidity monitoring and easy operation.
- Timer Setting: Programmable 4-8-12 hour timer to optimize energy consumption.
- Continuous Drain & Auto Shut-Off: Includes a drain hose for continuous operation and automatically shuts off when the water tank is full to prevent overflow.
- Ultra-Quiet Operation: Noise reduction system for whisper-quiet operation (as low as 28dB) in sleep mode.
- 7-Color Ambient Light: Soft, customizable ambient lighting to create a peaceful atmosphere.
- Washable Filters & 3 Adjustable Fan Speed: Reusable filtration system for dust and hair removal, with three fan speed options.
4. Setup
Follow these steps to set up your KeepGlad RX02-B Dehumidifier for the first time.
4.1 Placement
- Place the dehumidifier on a firm, level surface in an area where the humidity is highest.
- Ensure there is at least 8 inches (20 cm) of space around the unit for proper airflow.
- Avoid placing the unit near heat sources, in direct sunlight, or in areas where it might be exposed to splashing water.
- Recommended uses include attics, basements, bathrooms, bedrooms, laundry rooms, and RVs.
4.2 Filter Installation
The washable filter is typically pre-installed. Verify its correct placement before first use.
- Gently open the intake grille on the back of the unit.
- Ensure the filter is securely seated in its slot.
- Close the intake grille.

Figure 4.1: The reusable filter can be easily removed and washed for maintenance.
4.3 Power Connection
Plug the power cord into a grounded electrical outlet. The unit is now ready for operation.
5. Operating Instructions
The control panel on top of the unit allows you to manage all functions. The digital display shows the current humidity level.

Figure 5.1: Detailed view of the intuitive LED touch control panel.
5.1 Power On/Off
- Press the Power Button () to turn the unit ON or OFF.
5.2 Humidity Setting
- Use the '+' and '-' buttons to set your desired humidity level (from 40% to 80%). The unit will operate until this level is reached.
5.3 Fan Speed Adjustment
- Press the Fan Speed Button () to cycle through 3 adjustable fan speeds: Low, Medium, and High.
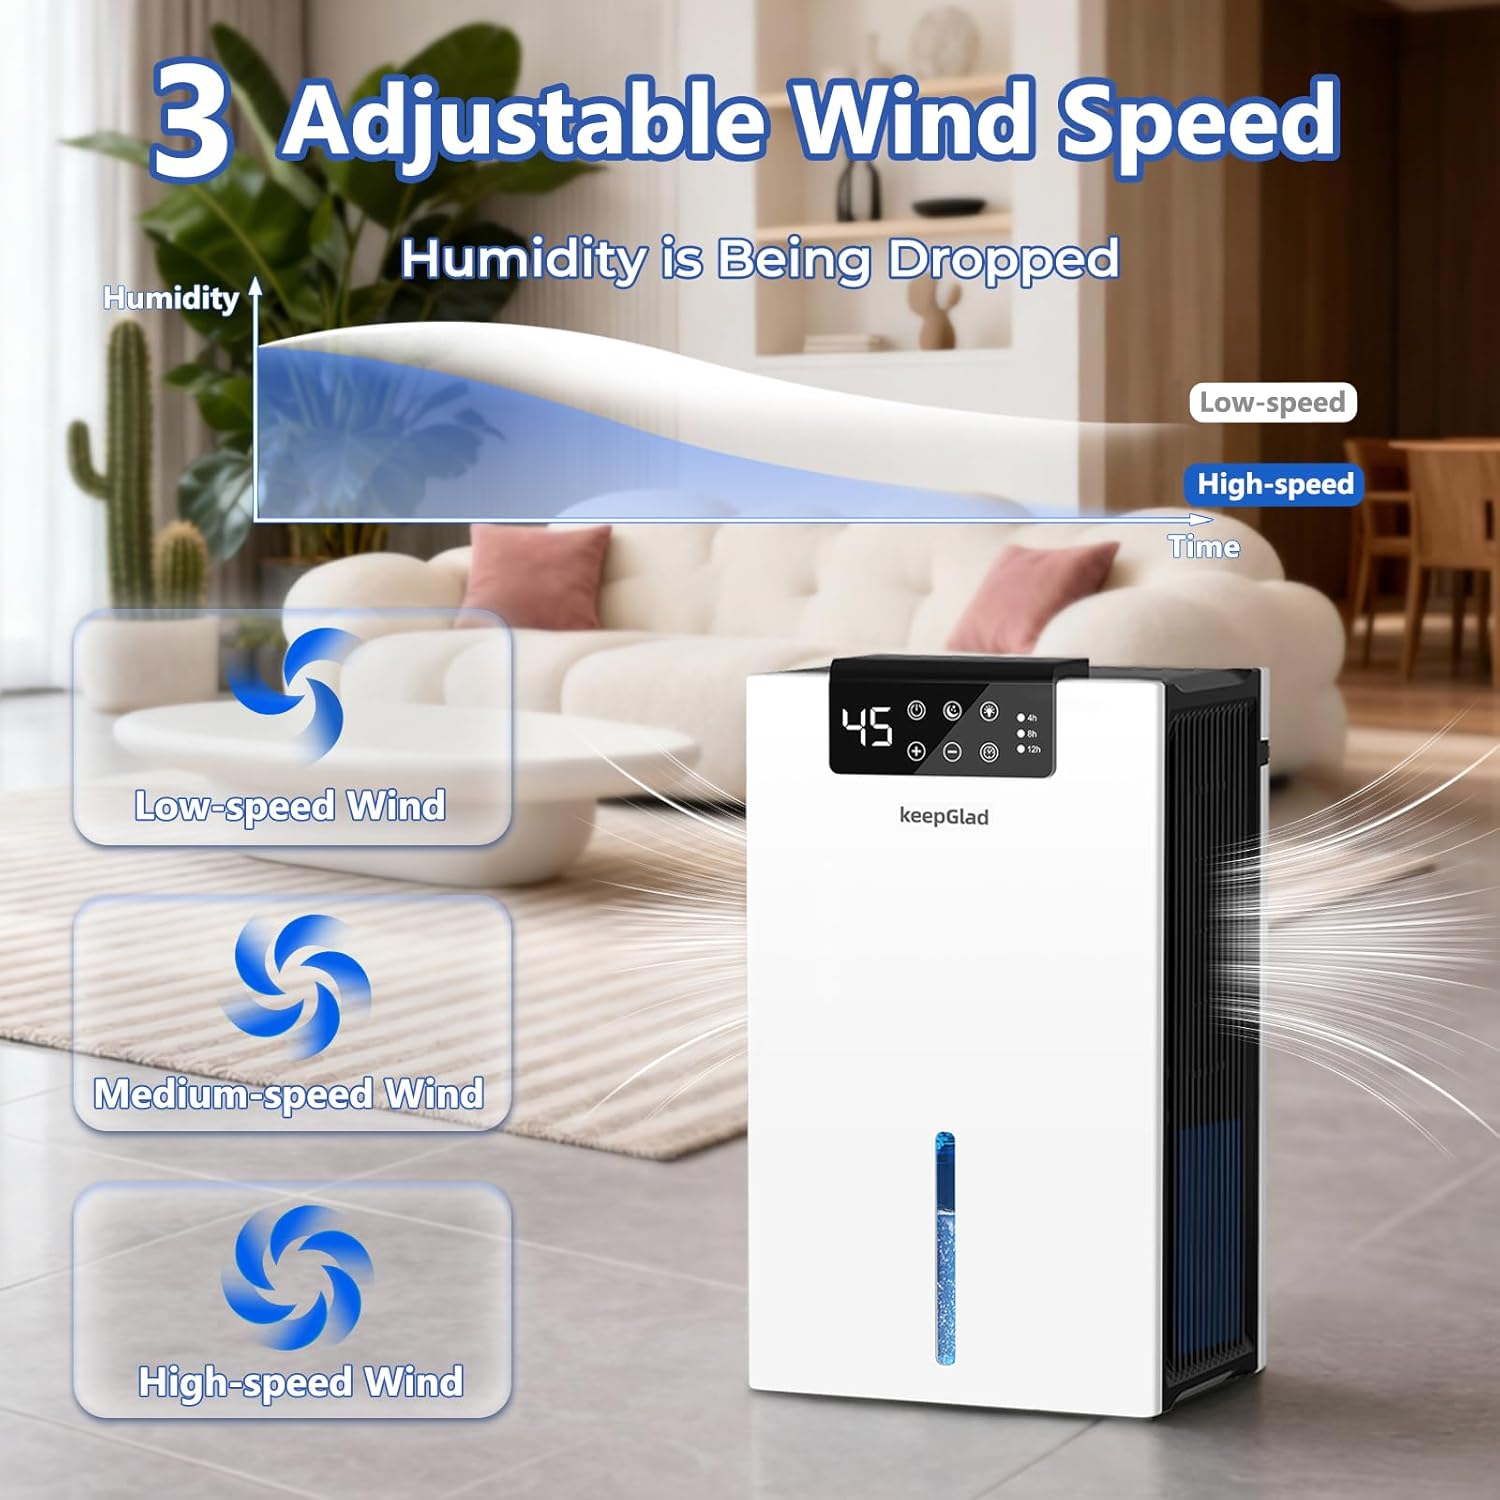
Figure 5.2: The dehumidifier offers three fan speeds for efficient moisture removal.
5.4 Timer Function
- Press the Timer Button () to set the unit to run for 4, 8, or 12 hours. The unit will automatically shut off after the selected time.
5.5 Ambient Light Settings
- Press the Light Button () to cycle through 7 different ambient light colors or turn the light off.
5.6 Sleep Mode
- Press the Sleep Mode Button () to activate sleep mode. In this mode, the lights automatically turn off, and the fan operates at its lowest, quietest setting (28dB) for undisturbed rest.

Figure 5.3: Quiet mode and timer settings ensure comfortable operation, especially during sleep.
6. Drainage
The KeepGlad RX02-B offers two drainage options: manual emptying of the water tank or continuous drainage via a hose.
6.1 Manual Drainage (Water Tank)
When the water tank is full, the unit will automatically shut off, and the digital display may indicate a full tank. The water level indicator on the front will also show the tank's status.
- Turn off the dehumidifier and unplug it.
- Gently pull out the water tank from the back of the unit.
- Open the water tank cover and pour out the collected water.
- Replace the cover and slide the empty tank back into the unit until it clicks into place.
- Plug in the unit and turn it on to resume operation.

Figure 6.1: The unit features an auto shut-off function when the water tank is full, indicated by a red light.
6.2 Continuous Drainage
For continuous operation without needing to empty the tank, use the provided drain hose.
- Ensure the water tank is empty and securely in place.
- Locate the continuous drainage port on the back of the unit (usually covered by a rubber plug).
- Remove the rubber plug.
- Connect one end of the provided drain hose to the drainage port.
- Direct the other end of the hose to a suitable drain (e.g., floor drain, large bucket) ensuring it is lower than the unit's drainage port for gravity flow.
- The unit will now continuously drain water, eliminating the need for manual tank emptying.

Figure 6.2: Options for manual and continuous drainage.
7. Maintenance
Regular maintenance ensures the longevity and efficiency of your dehumidifier.
7.1 Cleaning the Air Filter
The washable filter should be cleaned regularly (every 2-4 weeks, depending on usage) to maintain optimal performance.
- Turn off the dehumidifier and unplug it.
- Open the intake grille on the back of the unit.
- Remove the air filter.
- Wash the filter with warm, soapy water. Rinse thoroughly and allow it to air dry completely before re-installing.
- Once dry, place the filter back into its slot and close the intake grille.

Figure 7.1: Instructions for removable and washable filter maintenance.
7.2 Cleaning the Water Tank
Clean the water tank periodically to prevent mold and mildew growth.
- Remove the water tank as described in the drainage section.
- Wash the tank with warm water and a mild detergent.
- Rinse thoroughly and dry before placing it back into the unit.
7.3 Cleaning the Exterior
- Wipe the exterior of the unit with a soft, damp cloth.
- Do not use abrasive cleaners or solvents.
8. Troubleshooting
If you encounter any issues with your dehumidifier, refer to the following common problems and solutions.
| Problem | Possible Cause | Solution |
|---|---|---|
| Unit does not turn on. | No power supply; Water tank full or incorrectly installed. | Check power connection; Empty and re-install water tank correctly. |
| No water collected. | Humidity level is too low; Room temperature is too low; Air filter is clogged. | Adjust desired humidity setting; Ensure room temperature is above 41°F (5°C); Clean or replace air filter. |
| Unit is noisy. | Unit is not on a level surface; Air filter is clogged. | Place unit on a flat, stable surface; Clean or replace air filter. |
| Poor dehumidification. | Air filter is clogged; Room size exceeds capacity; Doors/windows are open. | Clean or replace air filter; Ensure unit is used in appropriate room size; Close doors and windows. |
9. Specifications
| Feature | Detail |
|---|---|
| Brand | KeepGlad |
| Model Number | RX02-B |
| Dehumidification Capacity | Up to 40 OZ (1.2 Liters) per day |
| Water Tank Capacity | 98 OZ (2.9 Liters) |
| Coverage Area | Up to 1000 sq.ft |
| Power | 90W |
| Noise Level | 28dB (Sleep Mode) |
| Fan Speeds | 3 (Low, Medium, High) |
| Timer Settings | 4, 8, 12 hours |
| Special Features | Digital Display, Auto Shut-Off, Washable Filter, Continuous Draining, 7 Ambient Lights, Portable |
10. Official Product Video
Watch the official product video for a visual guide on the KeepGlad Dehumidifier's features and operation.
Video 10.1: Official overview of the KeepGlad Dehumidifier, highlighting its air filter, timer mode, and drain hose functionality.
11. Warranty and Support
For warranty information, technical support, or any questions regarding your KeepGlad RX02-B Dehumidifier, please refer to the contact details provided on the product packaging or visit the official KeepGlad website. Keep your purchase receipt as proof of purchase for warranty claims.