
1. Introduction
This manual provides detailed instructions for the assembly, operation, and maintenance of your YITAHOME 10'x10' Metal Hardtop Gazebo. Please read all instructions carefully before beginning assembly and retain this manual for future reference.
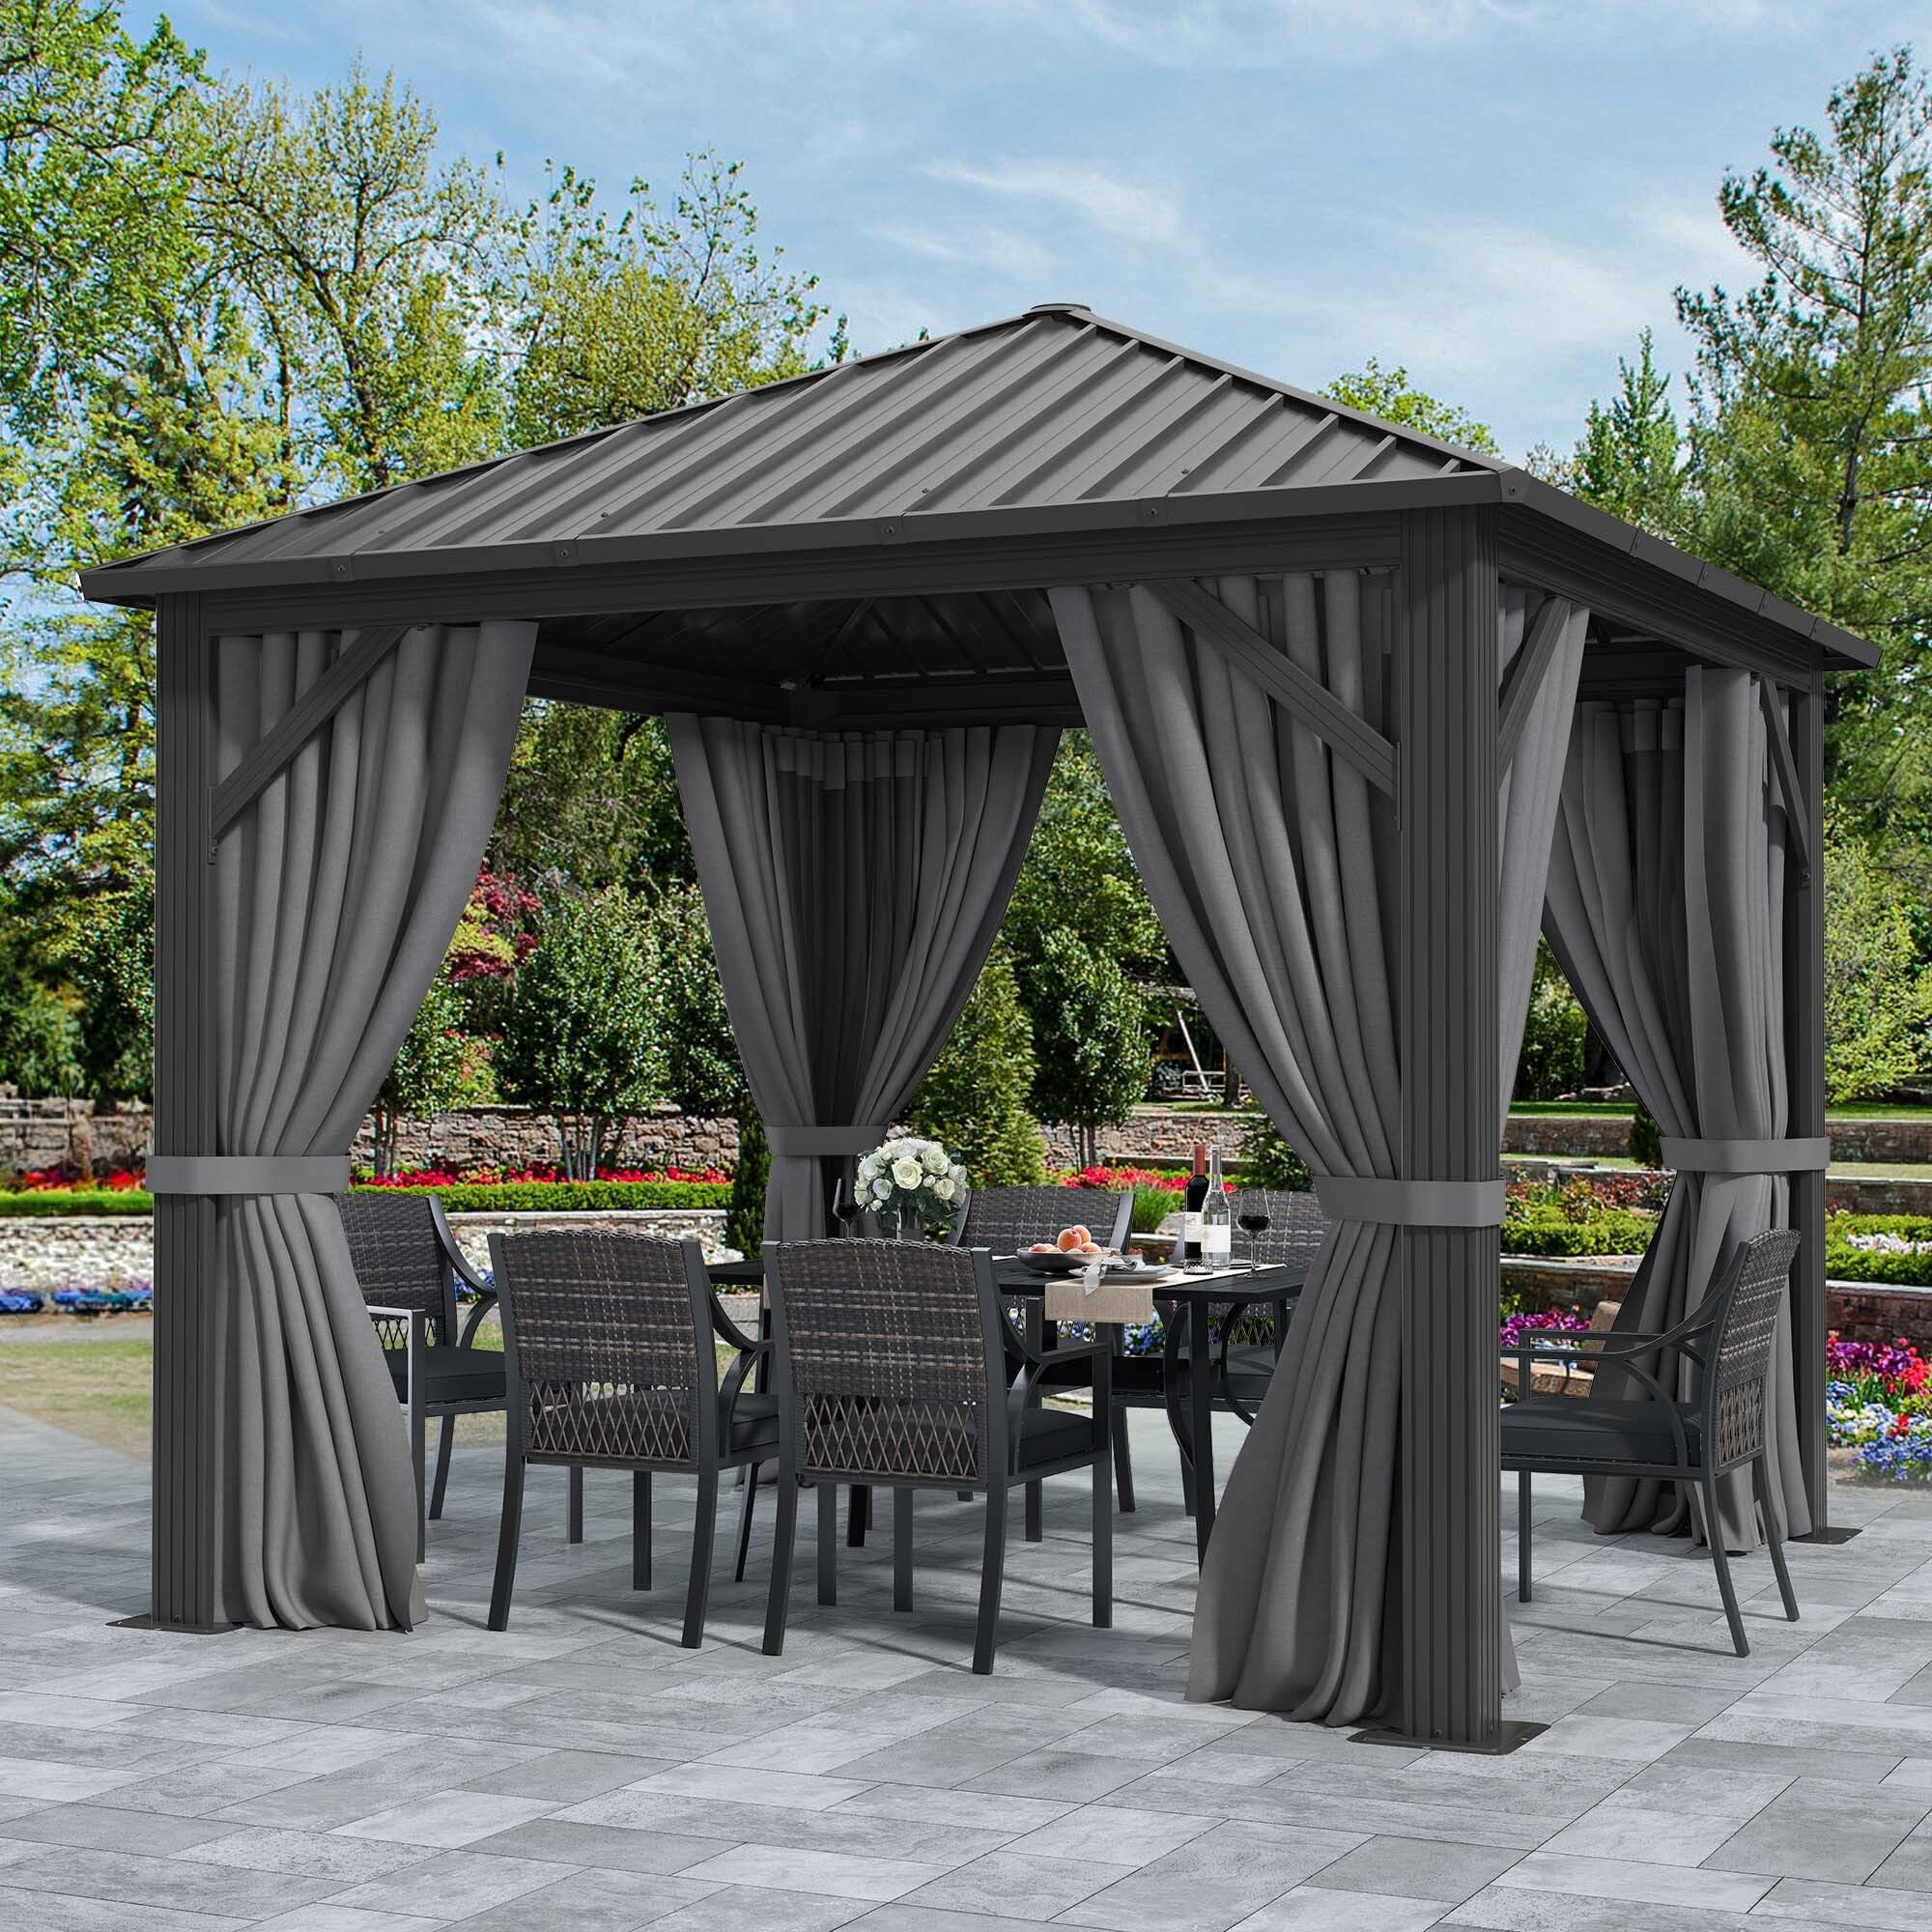
Image 1.1: YITAHOME 10'x10' Metal Hardtop Gazebo.
The YITAHOME 10'x10' Metal Hardtop Gazebo is designed to provide a comfortable and protected outdoor space. It features a robust metal frame, a galvanized iron roof, and double-layer sidewalls with netting and curtains for privacy and insect protection.
2. Safety Information
Important Safety Instructions:
- Always assemble this gazebo with 2-4 people. Attempting assembly alone may result in injury or damage to the product.
- Ensure all packages have arrived before starting assembly.
- Secure the gazebo to the ground using appropriate ground stakes, nails, or expansion screws. This is crucial for stability, especially in windy conditions.
- Do not exceed the recommended occupancy of 2-4 people at a time within the gazebo.
- Follow all included instructions and videos for safe assembly and use.
- Regularly inspect the gazebo for any loose connections, damaged parts, or signs of wear. Address any issues promptly.
- Do not hang heavy objects from the frame or roof hook that exceed its structural capacity.
- In severe weather conditions (e.g., heavy winds, snow accumulation), it is recommended to remove the curtains and netting and, if possible, disassemble or secure the gazebo further to prevent damage.
3. Package Contents
The YITAHOME 10'x10' Metal Hardtop Gazebo is delivered in two separate packages. These packages may arrive on different days. Please ensure both packages have been received before beginning the assembly process.

Image 3.1: Gazebo components are shipped in two separate boxes.
Refer to the packing list provided in the box for a complete inventory of all parts and hardware.
4. Setup and Assembly
Assembly typically requires 2-4 people and may take approximately 2-4 hours. Detailed instructions and installation videos are included to guide you through the process. It is recommended to lay out all parts and identify them according to the parts list before starting.
4.1. Frame Assembly
- Begin by assembling the main support posts and crossbeams. Ensure all connections are finger-tight only at this stage to allow for adjustments.
- The frame's feet are designed with holes for ground stakes. Secure the frame to the ground using ground nails or expansion screws for enhanced stability.

Image 4.1: Detail of the reinforcing ground nail and sturdy frame design.
4.2. Roof Panel Installation
- Install the galvanized iron roof panels according to the provided diagrams. Pay close attention to the orientation of each panel.
- Once all roof panels are in place, tighten all bolts and screws securely. Do not overtighten.

Image 4.2: Beveled metal roof design.
4.3. Sidewall and Netting Installation
- Attach the double-layer sidewalls, which include both polyester fabric curtains and black mesh netting.
- Utilize the double-track mechanism for smooth operation of the curtains and netting.

Image 4.3: Double-layered fabric sidewalls with netting and curtains.
Important Note: Some customers have reported minor misalignments during assembly. If you encounter this, do not force parts. Loosen adjacent connections, adjust the alignment, and then retighten. Patience is key during assembly.
5. Operating Instructions
5.1. Using the Sidewalls
- The gazebo features double-layer sidewalls: an outer polyester fabric curtain for privacy and UV protection, and an inner black mesh netting for insect protection and ventilation.
- Both layers operate independently on a double-track system. Use the dual-zipper system for easy access.
- To open, slide the curtains/netting along the tracks. To close, pull them together and zip them up.

Image 5.1: Double curtain system for privacy and insect protection.
5.2. Using the Top Hook
- A convenient hook is centrally located on the roof interior. This hook is designed for suspending lightweight lighting fixtures or small fans.
- Do not exceed the weight limit of the hook. Consult the product specifications or contact customer support if unsure.

Image 5.2: Central hook for lighting or fan fixtures.
6. Maintenance
6.1. Cleaning
- Frame: Clean the metal frame with a mild soap and water solution. Rinse thoroughly and dry to prevent water spots. Avoid abrasive cleaners or harsh chemicals.
- Roof: The galvanized iron roof can be cleaned with a soft brush and water to remove debris. Ensure proper drainage to prevent water accumulation.
- Curtains & Netting: The polyester fabric and mesh netting can be spot cleaned with mild soap and water. For deeper cleaning, they may be removed and hand washed. Allow to air dry completely before reattaching.

Image 6.1: Roof drainage texture and double track system.
6.2. Seasonal Care
- Winter: In areas with heavy snowfall, it is recommended to regularly clear snow from the roof to prevent structural damage due to excessive weight. Consider removing curtains and netting during winter months.
- Windy Conditions: Always ensure the gazebo is securely anchored to the ground. In extremely windy conditions, it is advisable to remove the curtains and netting to reduce wind resistance.

Image 6.2: Gazebo designed for various weather conditions.
7. Troubleshooting
| Problem | Possible Cause | Solution |
|---|---|---|
| Parts do not align during assembly. | Connections are too tight; slight manufacturing variations. | Loosen all adjacent bolts and screws to allow for flexibility. Gently adjust parts into position. Once aligned, tighten all fasteners securely. Do not force parts. |
| Water leaks from the roof during heavy rain. | Improper roof panel installation; sealant issues; extreme weather. | Inspect roof panels for proper overlap and secure fastening. Ensure all screws are tight. Consider applying a waterproof sealant to seams if leaks persist. Ensure proper drainage. |
| Gazebo feels unstable or sways. | Insufficient anchoring; loose frame connections. | Verify that the gazebo is securely anchored to the ground using all provided ground stakes or appropriate expansion screws. Check and tighten all frame bolts and connections. |
| Curtains/Netting do not slide smoothly. | Debris in tracks; damaged tracks or rollers. | Clean the tracks thoroughly to remove any dirt or debris. Inspect tracks and rollers for damage. Apply a silicone-based lubricant if necessary. |
8. Specifications
- Brand: YITAHOME
- Model: 10'x10' Metal Hardtop Gazebo (B0GN254PN7)
- Material: Metal frame, Galvanized Iron roof
- Product Dimensions (L x W x H): 120"L x 116"W x 120"H (10'L x 9.67'W x 10'H)
- Frame Material: Metal
- Water Resistance Level: Water Resistant
- Ultraviolet Light Protection: Yes
- Assembly Required: Yes (2-4 people, 2-4 hours recommended)
- Color: Gray
- Occupancy: 2-4 People
- UPC: 197839693050

Image 8.1: Product dimensions diagram.
9. Warranty and Support
For warranty information, missing parts, or technical support, please contact YITAHOME customer service directly. Refer to the contact information provided in your packaging or visit the official YITAHOME website.
When contacting support, please have your model number (B0GN254PN7) and purchase date available.