1. Introduction
Thank you for choosing the Quictent Essential Walk-in Greenhouse. This manual provides detailed instructions for the assembly, operation, and maintenance of your greenhouse. Designed for outdoor use, this portable 3-tier, 4-shelf garden hot house offers an ideal environment for winter seed starting and plant protection. Please read this manual thoroughly before setup and use to ensure proper function and longevity of your product.
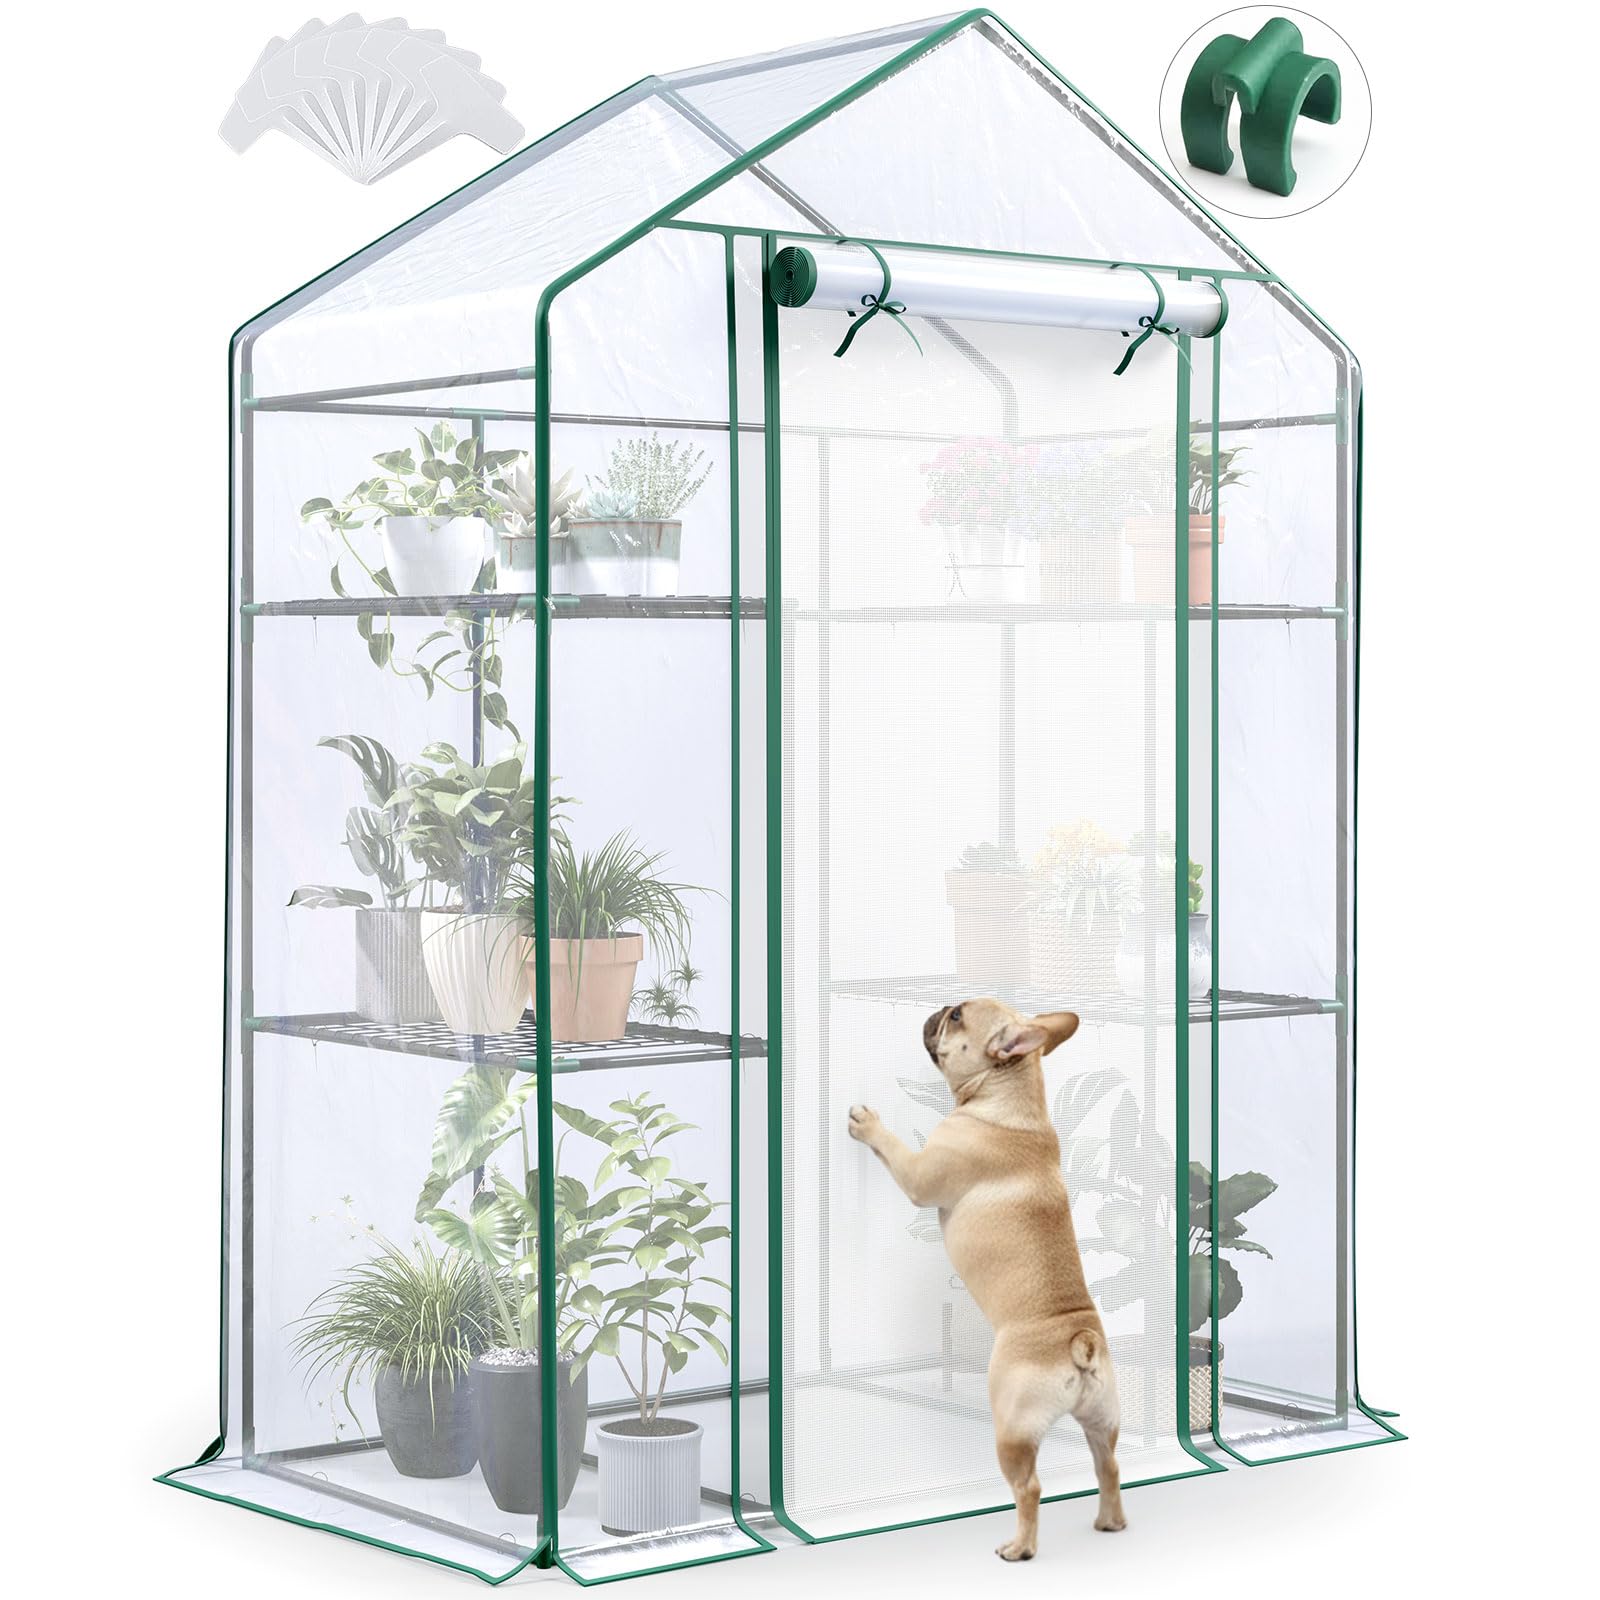
Image 1.1: The Quictent Essential Walk-in Greenhouse in an outdoor setting.
2. Safety Information
Important: Read all instructions carefully before assembling and using this product. Failure to follow these instructions may result in product damage or personal injury.
- Ensure all components are present and undamaged before beginning assembly.
- Assemble the greenhouse on a flat, stable surface.
- Always secure the greenhouse using the provided stakes, ropes, and by burying the bottom flaps in soil to prevent wind damage.
- Do not use the greenhouse in extreme weather conditions without additional reinforcement.
- Keep children and pets away from the assembly area.
- For product support, contact sales@quictents.com.
3. Package Contents
Verify that all the following components are included in your package:
- Greenhouse Frame Poles (various lengths)
- Connectors
- Clear Plastic Cover
- Mesh Plates (4 for shelves)
- Plastic Snap-on Clips
- Stakes
- Ropes
4. Assembly Instructions
Assembly of the Quictent Essential Walk-in Greenhouse is designed to be tool-free and can typically be completed by one person within 20 minutes. Follow these steps carefully:
- Unpack Components: Lay out all frame poles, connectors, and the cover. Familiarize yourself with the different parts.
- Assemble Base Frame: Connect the shortest poles to form the rectangular base of the greenhouse using the appropriate connectors.
- Build Vertical Supports: Attach the vertical poles to the base frame, ensuring they are securely fitted into the connectors.
- Install Shelves: The greenhouse features a 3-tier structure. Use the professional plastic snap-on clips to attach the 4 mesh plates directly onto the frame at the desired heights. This provides a stable and clean setup for your plants.
- Construct Roof Frame: Complete the upper frame structure, including the peaked roof, by connecting the remaining poles.
- Drape Cover: Carefully place the clear plastic cover over the assembled frame. Ensure the zippered door is positioned correctly.
- Secure Cover: Fasten the cover to the frame using any integrated ties or straps. Ensure the cover is taut to prevent flapping in the wind.
- Enhance Stability: To lower the center of gravity and prevent the structure from becoming top-heavy, place heavy items such as a wooden board, bricks, or large pots on the ground tier. Use the included stakes and ropes to anchor the greenhouse to the ground. Bury the overlong bottom flaps of the cover in soil for maximum wind resistance.
For a visual guide, please refer to the official product video below:
Video 4.1: Official Quictent Portable Walk-in Greenhouse Assembly and Features Overview.

Image 4.2: Product dimensions for the Quictent Essential Walk-in Greenhouse.
5. Operating Instructions
The Quictent Essential Walk-in Greenhouse is designed to create an optimal microclimate for your plants.
5.1 Light Transmission
The clear plastic cover maximizes light transmission, allowing unfiltered, full-spectrum sunlight to reach your plants directly. This promotes natural photosynthesis and allows for easy monitoring of plant growth without opening the greenhouse.

Image 5.1: The clear cover ensures high light transmittance for plant growth.
5.2 Ventilation and Protection
The greenhouse features a dual-layer zippered door with a built-in high-density mesh screen. This allows for fresh air circulation, maintaining a balanced microclimate while keeping pests out. Open the outer zippered door to utilize the mesh screen for ventilation.

Image 5.2: The protective screen door provides ventilation and keeps pests out.

Image 5.3: Arrows illustrate high-efficiency ventilation within the greenhouse.
5.3 Vertical Organization
The 3-tier structure with snap-on mesh plates provides versatile placement options for plants of different sizes. Utilize the different height levels for seedlings, small potted plants, and taller plants.

Image 5.4: The 3-tier design offers versatile plant placement options.
5.4 Winter Protection
The greenhouse helps maintain a warmer internal temperature, protecting plants from frost and cold weather during winter months.
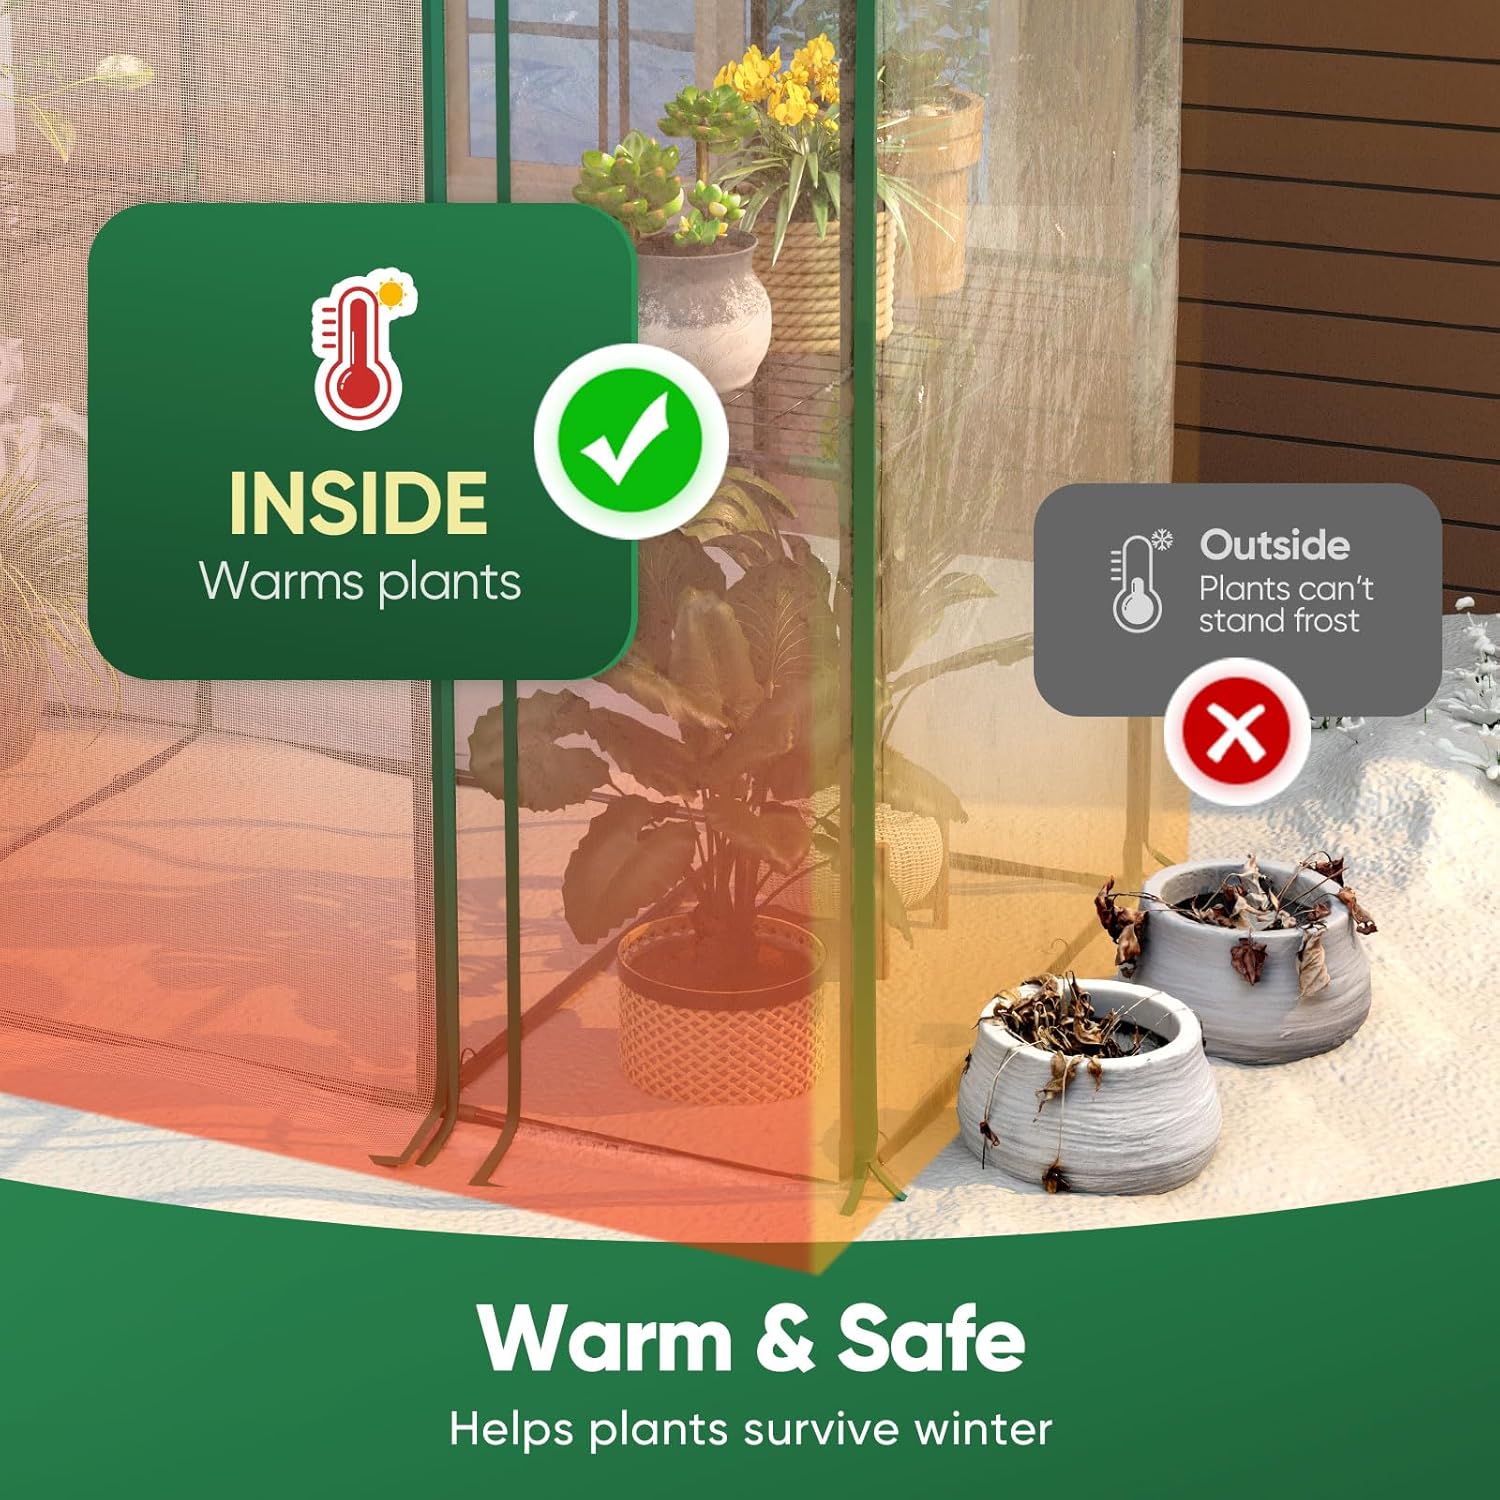
Image 5.5: The greenhouse provides a warm and safe environment for plants in winter.
6. Maintenance
Regular maintenance will extend the life of your Quictent Essential Walk-in Greenhouse.
- Cleaning: Periodically clean the plastic cover with mild soap and water to ensure maximum light penetration. Avoid abrasive cleaners that could damage the material.
- Inspection: Regularly inspect the frame for any loose connections and the cover for tears or damage. Address any issues promptly to prevent further deterioration.
- Securing: Re-check stakes and ropes periodically, especially after strong winds, to ensure the greenhouse remains securely anchored. Ensure the bottom flaps are still buried if applicable.
- Storage: If disassembling for storage, clean and dry all components thoroughly before packing them away in a cool, dry place.

Image 6.1: Details showing how the cover can be secured and extended edges for stability.
7. Troubleshooting
Here are solutions to common issues you might encounter:
- Greenhouse unstable in wind: Ensure all stakes are fully inserted into the ground, ropes are taut, and the bottom flaps of the cover are buried in soil. Add heavy items to the bottom tier for increased stability.
- Cover tears: Small tears can often be repaired with clear greenhouse repair tape. For significant damage, contact customer support for a replacement cover.
- Insufficient warmth: Ensure the door is fully closed when maximum warmth is desired. Consider adding a small, safe greenhouse heater for very cold climates.
- Excessive heat: Utilize the dual-layer zippered door with the mesh screen for ventilation. Open the main door fully during hot periods to allow for maximum airflow.
8. Specifications
| Feature | Specification |
|---|---|
| Brand | Quictent |
| Model Number | QTGH |
| Manufacturer Part Number | 1309C-R1 |
| Color | Clear |
| Product Dimensions (L x W x H) | 56.3" x 28.8" x 76.8" |
| Item Weight | 13.5 Pounds |
| Cover Material | Plastic (135 gsm nominal wall thickness) |
| Frame Material | Alloy Steel |
| Number of Doors | 1 (with mesh screen) |
| Number of Vents | 1 (integrated into door) |
| Indoor/Outdoor Usage | Indoor, Outdoor |
| Special Features | Easy Setup, Portable, Walk-in Design |
9. Warranty and Support
Quictent is committed to providing reliable service for its products.
- Lifetime Parts Replacement: Connectors, stakes, and similar small parts are eligible for lifetime replacement.
- 180-Day Complimentary Main Parts: Covers, frames, and poles are covered for 180 days from the date of purchase.
- Favorable Parts Support: After the complimentary service period, parts support is available at a favorable rate.
For any inquiries, support, or warranty claims, please contact Quictent customer service at sales@quictents.com. Please provide your model number (QTGH) and proof of purchase for efficient service.