
Introduction
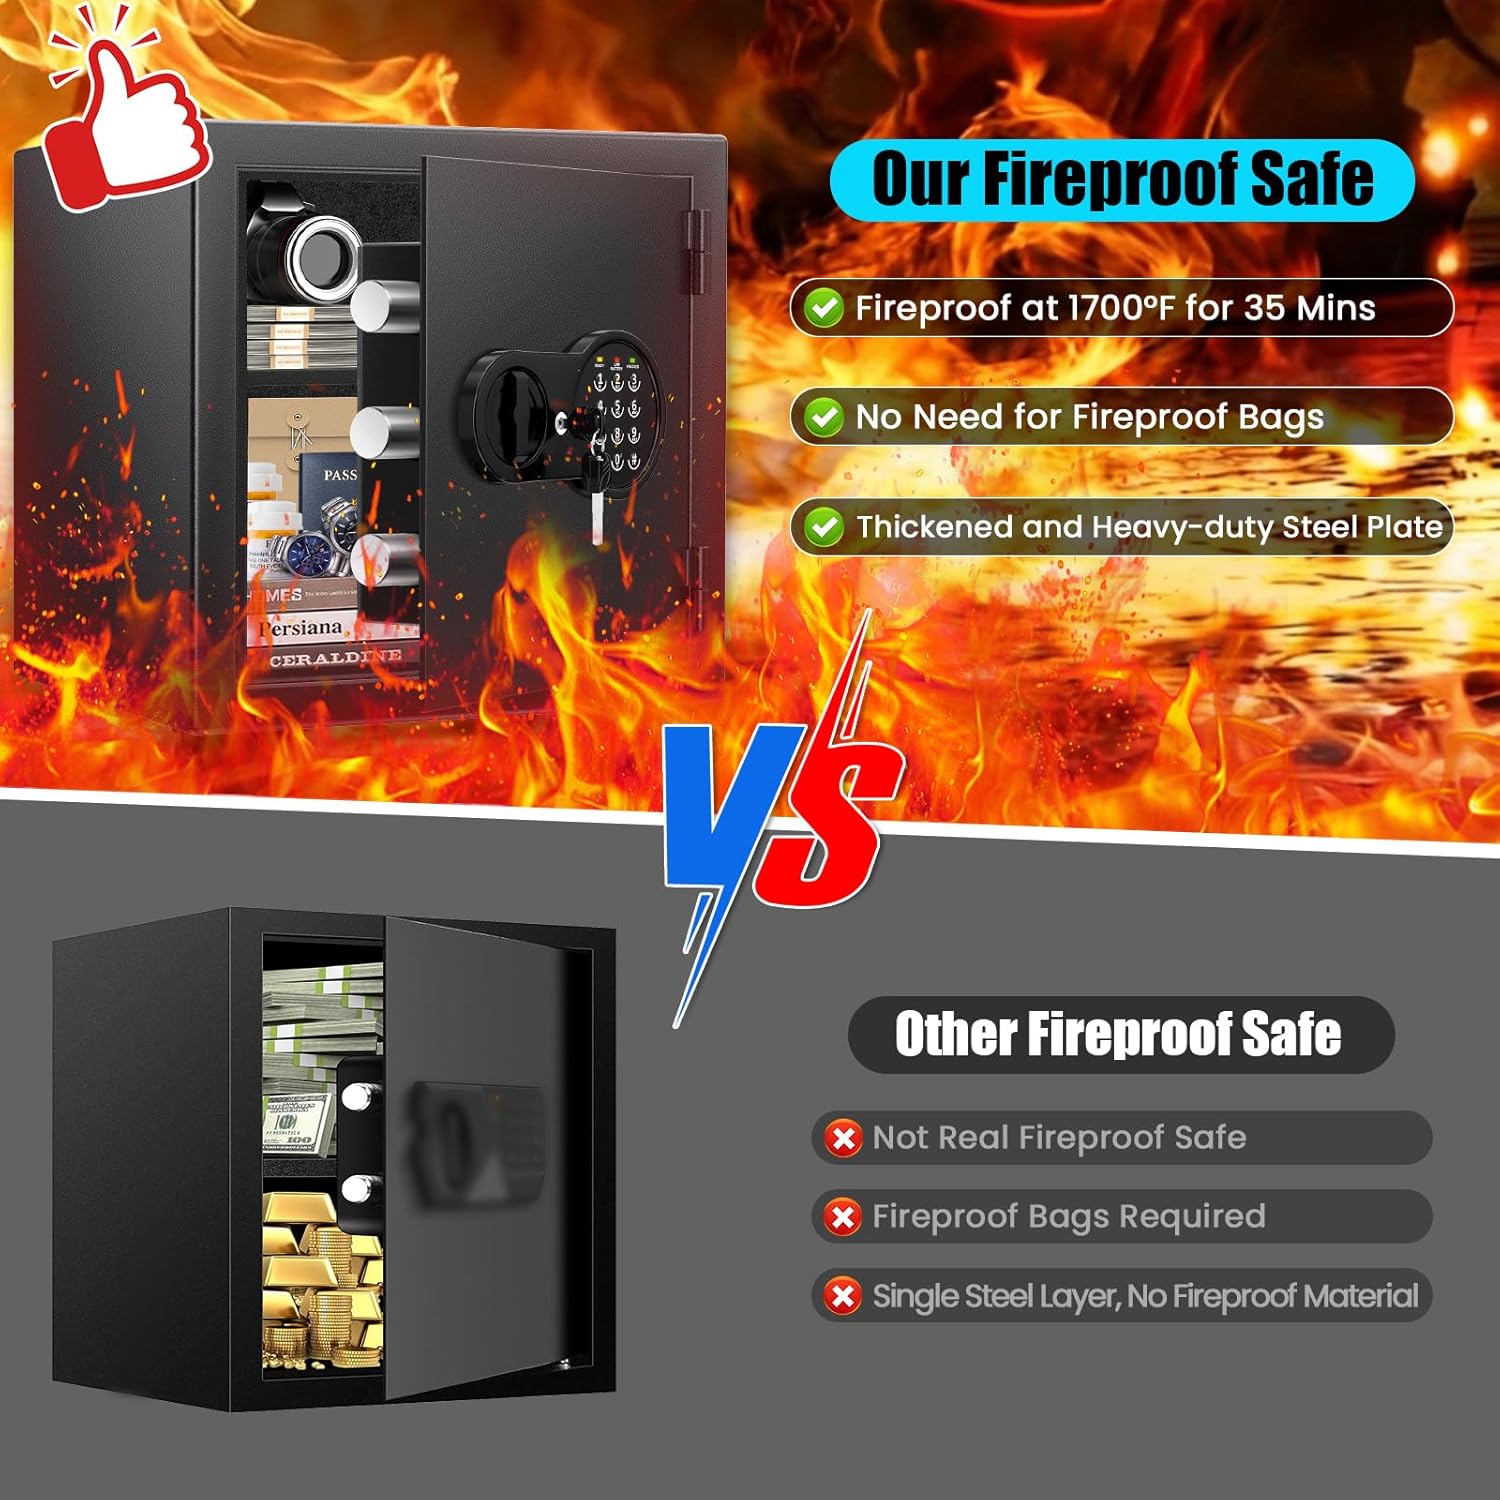
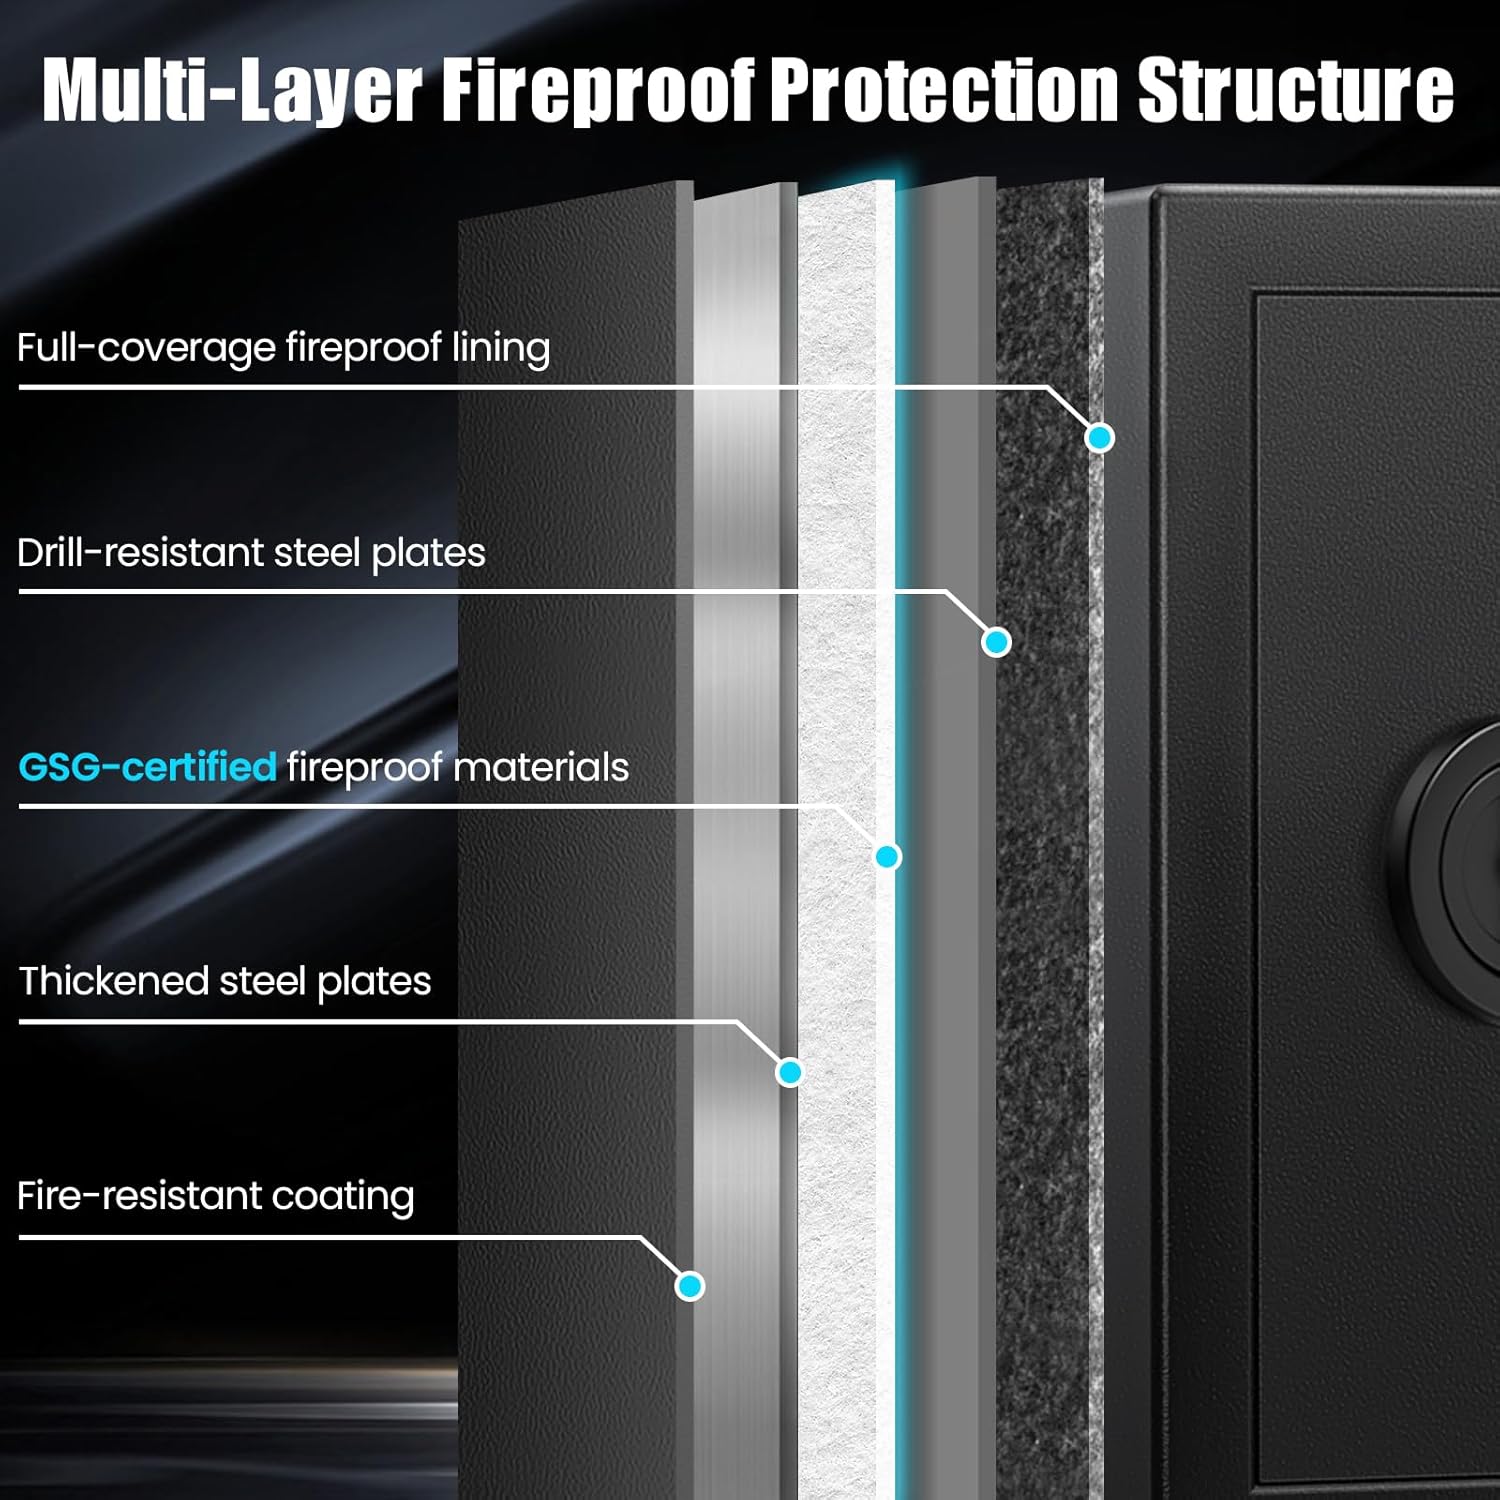
This manual provides comprehensive instructions for the safe and effective use of your Mitlvge ET Series 2.0 Cuft Fireproof Safe Box. Designed for home use, this safe offers advanced security features including a digital keypad, 35-minute fire protection up to 1700°F (927°C), and robust construction to protect your valuables. Please read this manual thoroughly before initial use and retain it for future reference.

This image illustrates the fire protection capabilities of the safe, showing it withstands high external temperatures while maintaining a safe internal temperature for paper documents.
This video demonstrates the fire resistance capabilities of the Mitlvge safe, showing its performance during a fire test compared to other safes.
Important Safety Information
- Do not store emergency keys or the external battery box inside the safe. These are essential for accessing the safe if the internal batteries die or the digital code is forgotten.
- Ensure the safe is placed on a stable, level surface.
- Keep the safe away from excessive moisture or direct sunlight.
- For optimal security, consider anchoring the safe to a wall or floor using the provided screw kit. If anchoring, ensure fireproof plugs are re-inserted into the holes to maintain fire resistance.
- Always verify the door is securely closed and locked after use.
Package Contents
Verify that all items listed below are included in your package:
- Safe box *1
- Instruction Manual *1
- Emergency Keys *2
- External Emergency Battery Box *1
- Fire-Resistant Plugs *2 (for mounting holes)
- Screw Kit *1 (for mounting)

This image displays the typical contents of the safe box package: the safe itself, two emergency keys, an external battery box, the instruction manual, and expansion bolts for mounting.
Setup Instructions
1. Initial Opening
Upon receiving your safe, it will be in a locked state. Use one of the provided emergency keys to open it for the first time.
- Insert the emergency key into the keyhole located behind the digital keypad cover.
- Turn the key clockwise to unlock.
- Rotate the knob on the digital keypad counter-clockwise to open the safe door.
- Remove the emergency key and store it in a secure location outside the safe.
The safe door is open, revealing the interior with a removable shelf. The digital keypad and emergency keyhole are visible on the exterior.
2. Battery Installation
The safe requires 4 AA batteries (not included) for the digital keypad to function.
- Open the safe door.
- Locate the battery compartment on the inside of the door.
- Insert 4 AA batteries, ensuring correct polarity (+/-).
- Close the battery compartment cover.

This image shows the internal battery case where 4 AA batteries are to be inserted to power the digital keypad.
3. Setting Your Personal Code
It is highly recommended to set a new personal code immediately after installing batteries.
- With the safe door open, press the red reset button located on the inside edge of the door (usually near the hinges). You will hear a beep.
- On the digital keypad, enter a new code (3-8 digits).
- Press the "#" button to confirm and save the new code. You will hear a confirmation beep.
- Test the new code with the door open to ensure it works correctly before closing the safe.
This video demonstrates how to set a new personal code for the safe. It shows pressing the reset button inside the door and then entering the new code on the digital keypad.
4. Mounting the Safe (Optional)
For enhanced security, the safe can be anchored to a wall or floor.
- Identify the desired mounting location.
- If mounting to a wall, remove the fireproof plugs from the pre-drilled holes on the back of the safe. If mounting to the floor, remove plugs from the bottom.
- Position the safe and mark the drilling points on the wall or floor.
- Drill pilot holes using an appropriate drill bit.
- Align the safe with the drilled holes and secure it using the provided expansion bolts from the screw kit.
- Important: Re-insert the fireproof plugs into the mounting holes after installation to maintain the safe's fire resistance.

This diagram illustrates the process of mounting the safe to a wall, highlighting the removal and re-insertion of fireproof plugs.
Operating Instructions
1. Opening the Safe with Digital Keypad
- Enter your personal 3-8 digit code on the digital keypad.
- Press the "#" button. The "PROCEED" light will illuminate.
- Within 5 seconds, rotate the knob counter-clockwise to open the door.

A hand is shown entering a code on the digital keypad of the safe.
2. Opening the Safe with Emergency Key
This method is used if you forget your code or if the batteries are completely drained.
- Remove the digital keypad cover to reveal the emergency keyhole.
- Insert one of the emergency keys into the keyhole.
- Turn the key clockwise to unlock.
- Rotate the knob counter-clockwise to open the safe door.
- Remove the emergency key and store it securely outside the safe.

The emergency key is inserted into the keyhole, ready to unlock the safe manually.
3. Using the External Emergency Battery Box
If the internal batteries are dead and you do not have the emergency key readily available, or prefer not to use it, you can power the keypad externally.
- Insert 4 AA batteries into the external emergency battery box.
- Plug the external battery box into the emergency power port located on the digital keypad (usually behind the cover or a small flap).
- Enter your personal code on the digital keypad.
- Press the "#" button and rotate the knob counter-clockwise to open the door.
- Once the safe is open, replace the internal batteries immediately.

The external battery box is shown plugged into the safe's keypad, providing temporary power.
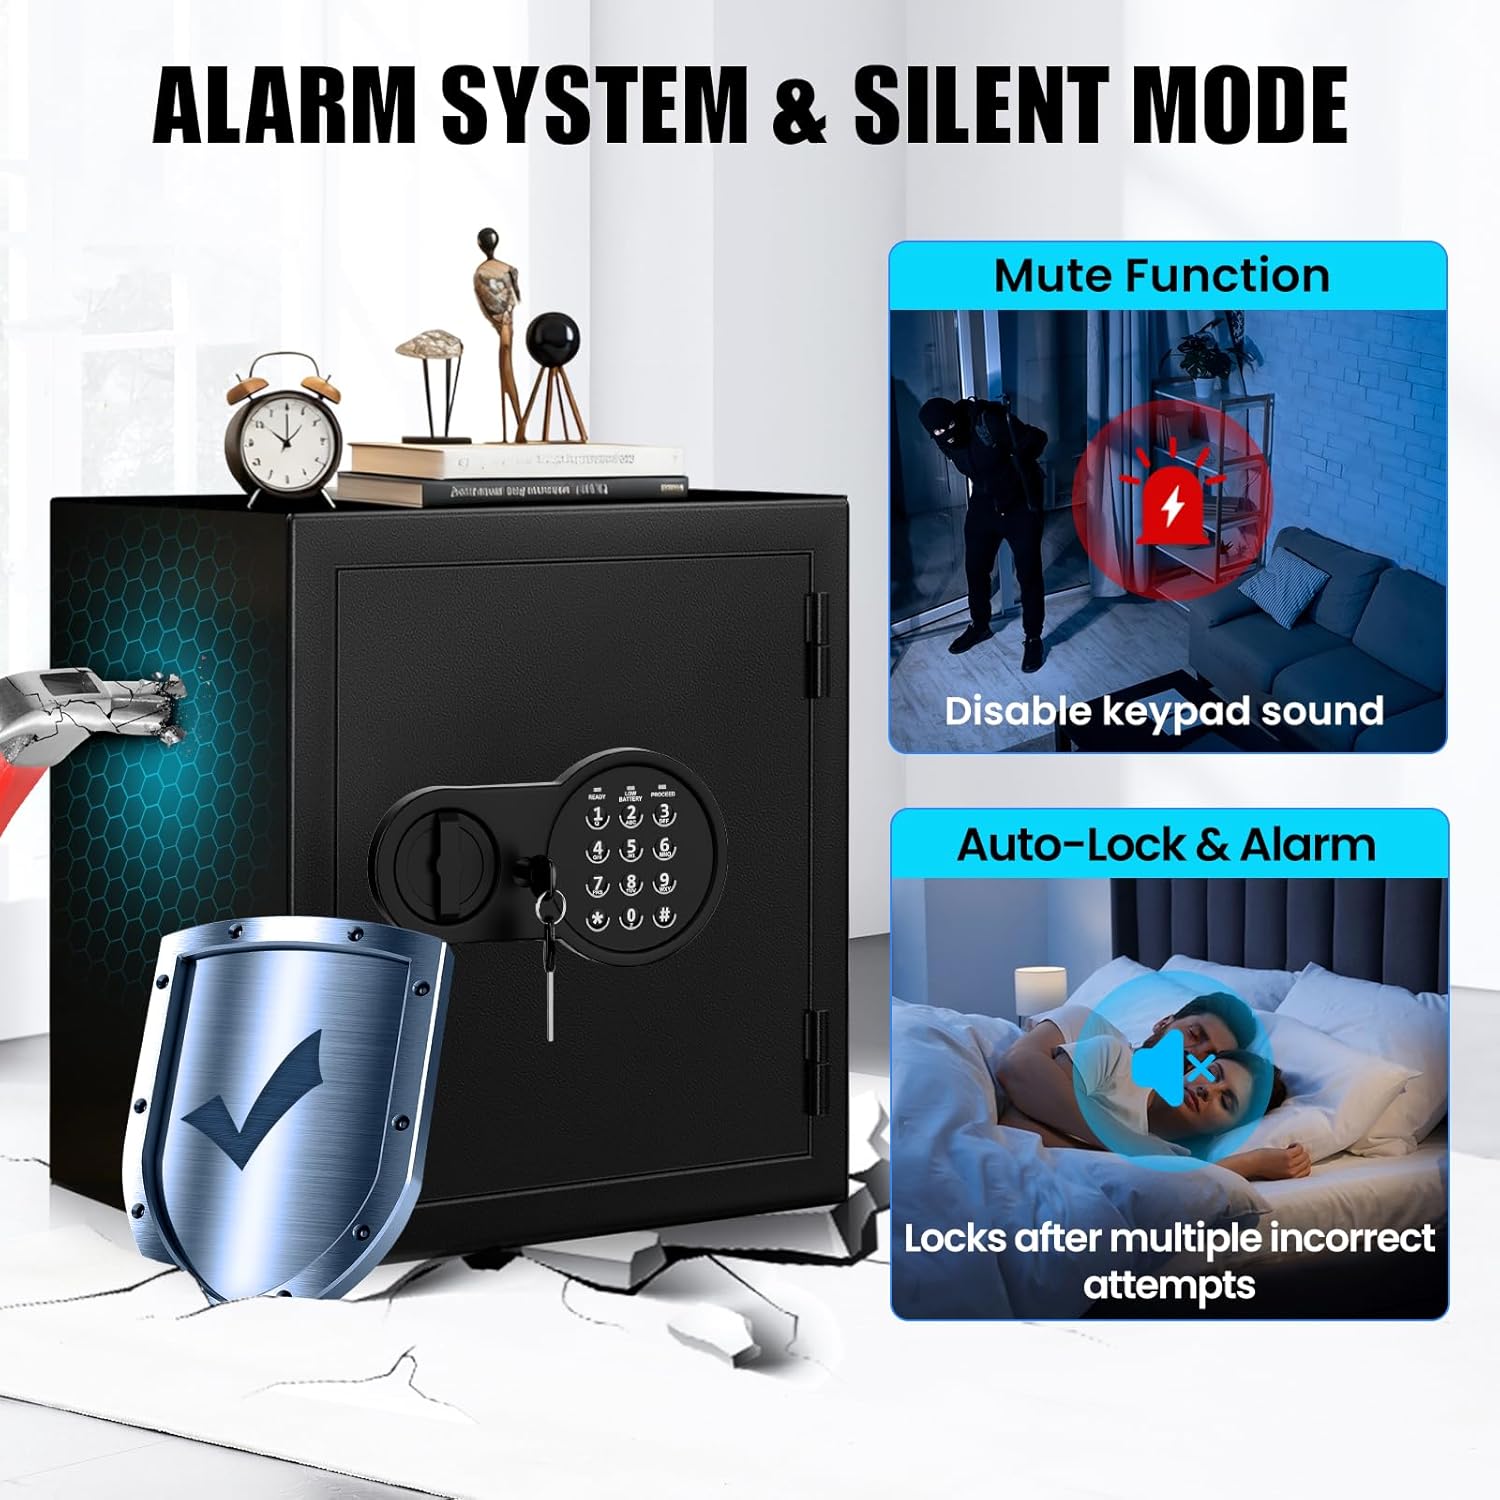
4. Silent Mode
To disable keypad sounds for discreet access:
- While the safe is unlocked and open, or when entering a code, press "*633".
- The keypad sounds will be muted. Repeat the sequence to re-enable sounds.

This image highlights the silent mode function, which disables keypad sounds, and the built-in LED light for visibility in low-light conditions.
5. Alarm System
The safe is equipped with an alarm system to deter unauthorized access.
- If multiple incorrect codes are entered consecutively, the alarm will activate, and the safe will temporarily lock out.
- The alarm will also sound if the safe experiences strong vibrations or attempts at forced entry.
- To silence the alarm, enter the correct personal code or use the emergency key.
This image depicts the safe's alarm system, showing an alarm icon and a scenario where an intruder attempts to force open the safe, triggering the alarm.
Maintenance
- Battery Replacement: Replace the 4 AA batteries in the internal compartment annually, or when the "LOW BATTERY" indicator light illuminates on the keypad.
- Cleaning: Wipe the exterior of the safe with a soft, damp cloth. Avoid abrasive cleaners or solvents.
- Interior Care: The soft felt interior can be gently vacuumed or wiped with a dry cloth to remove dust.
- Key Storage: Always keep emergency keys and the external battery box in a secure, easily accessible location outside the safe.
Troubleshooting
| Problem | Possible Cause | Solution |
|---|---|---|
| Safe does not open with digital code. | Incorrect code entered; dead batteries; keypad malfunction. | Re-enter code carefully. Replace internal batteries. Use external battery box or emergency key. |
| Keypad is unresponsive. | Dead batteries; temporary lockout after incorrect entries. | Replace internal batteries or use external battery box. Wait 5-10 minutes for lockout to clear, then try again. |
| Alarm sounds unexpectedly. | Multiple incorrect entries; physical shock/vibration. | Enter correct code or use emergency key to silence. Avoid bumping the safe. |
| Cannot set a new code. | Reset button not pressed correctly; code too short/long. | Ensure reset button is fully pressed. Enter a 3-8 digit code. |
| Internal LED light not working. | Faulty sensor or LED. | Contact customer support for assistance. |
Specifications
| Feature | Detail |
|---|---|
| Brand | Mitlvge |
| Model Number | ET |
| Capacity | 2.0 cubic feet |
| Exterior Dimensions (W x D x H) | 14" x 13.7" x 12.9" |
| Interior Dimensions (W x D x H) | 12.9" x 12.1" x 13.3" |
| Weight | 27 pounds |
| Material | Alloy Steel |
| Lock Type | Electronic Combination Lock, Key |
| Fire Protection | 35 minutes at 1700°F (927°C) |
| Mounting Type | Wall or Floor Mount (pre-drilled holes) |
| Power Source | 4 AA Batteries (not included) |
| Special Features | Fireproof, Low battery indicator, Built-in LED Light, Anti-theft Alarm, Silent Mode, Removable Shelf |

This diagram illustrates the external dimensions of the Mitlvge 2.0 Cuft Fireproof Safe Box, including width, depth, and height.
Warranty and Support
Mitlvge provides lifetime technical support for your safe. If you encounter any issues or have questions, please contact our customer service team. For unique key serial numbers, contact support for replacement keys.
In the event of a fire, Mitlvge offers a lifetime fire replacement program. Submit details of the fire incident to receive a free replacement safe.
A firefighter is shown next to an open safe, which appears undamaged despite a fire in the background, illustrating the lifetime fire replacement policy.