1. Introduction
Thank you for choosing the Tyler TM710-14 14-inch Portable LCD HD TV. This device is designed for versatility, serving as a portable television, a monitor for various devices, or a display for security cameras. Its compact size makes it ideal for use in RVs, kitchens, campers, bathrooms, and bedrooms. This manual provides essential information for the safe and efficient operation of your new portable TV.
Key Features:
- Sleek & Compact Design: 14-inch widescreen LED HDTV, optimized for small spaces.
- Versatile Connectivity: HDMI, USB, SD/MMC inputs for external audio/video playback.
- Integrated Audio: Built-in speakers and headphone jack.
- Digital TV Tuner: Full band digital TV tuner (ATSC, NTSC compatible).
- Power Options: AC/DC power compatibility, includes car charger.
- Convenient Stand: Built-in stand for easy placement.
- Broad Compatibility: Connects with streaming sticks (Roku, Fire Stick, Apple TV), gaming consoles, computers, and security cameras.
2. Safety Information
Please read all safety instructions carefully before using this product. Keep this manual for future reference.
- Do not expose the unit to rain or moisture to prevent fire or electric shock.
- Do not open the cabinet. Refer servicing to qualified personnel only.
- Avoid placing the unit near heat sources such as radiators, heat registers, stoves, or other apparatus (including amplifiers) that produce heat.
- Protect the power cord from being walked on or pinched, particularly at plugs, convenience receptacles, and the point where they exit from the apparatus.
- Only use attachments/accessories specified by the manufacturer.
- Unplug this apparatus during lightning storms or when unused for long periods of time.
- Clean only with a dry cloth.
- Ensure proper ventilation; do not block any ventilation openings.
3. What's in the Box
Verify that all items are present in the packaging:
- Tyler TM710-14 Portable TV
- Power Cable (AC Adapter)
- Remote Control
- Built-in Stand
- Antenna
- Car Charger (DC Adapter)
- RCA Adapter
4. Product Overview
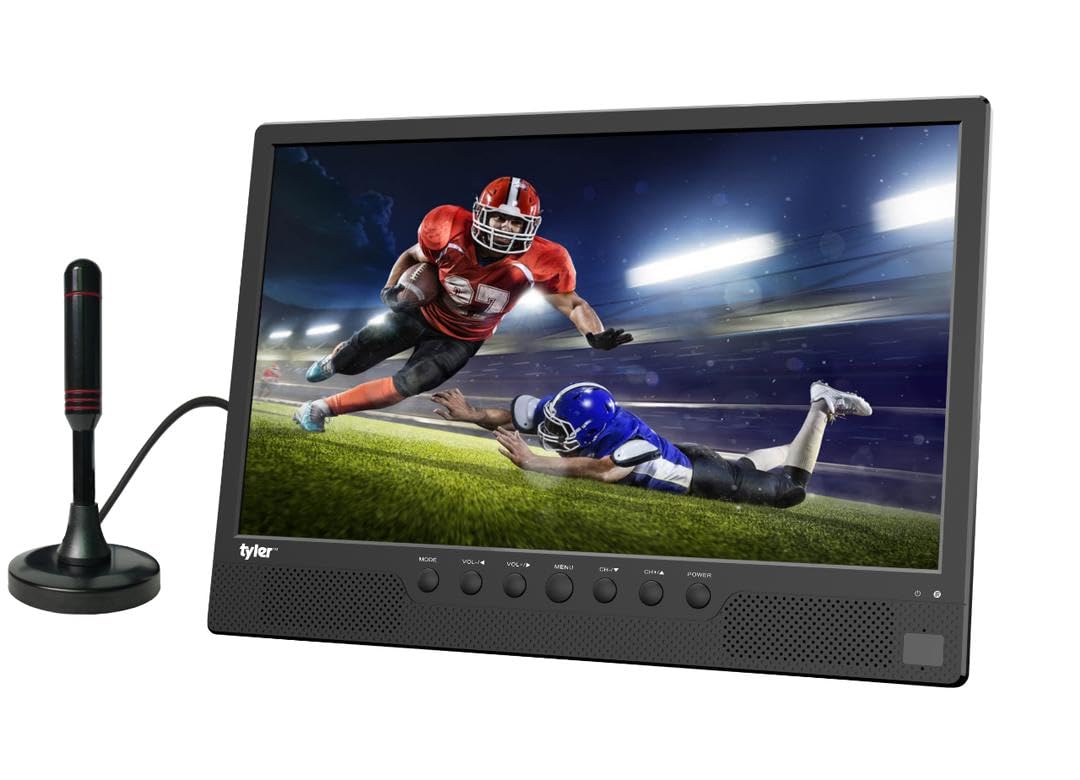
Figure 4.1: Front view of the Tyler TM710-14 portable TV, showing the screen, control buttons, and an attached antenna.

Figure 4.2: Rear view of the TV with the built-in stand extended, showing the DC 12V input, AV-OUT, AV-IN, HDMI input, and ANT input on the right side, and USB, SD/MMC input on the left.

Figure 4.3: Detailed rear view of the TV, illustrating the location of the DC 12V input, AV-OUT, AV-IN, HDMI input, ANT input, USB port, and SD/MMC card slot.
Control Buttons (Front Panel):
- MODE: Switches between input sources (TV, AV, HDMI, USB, SD/MMC).
- VOL-/VOL+: Adjusts volume down/up.
- MENU: Accesses the on-screen menu.
- CH-/CH+: Changes channels or navigates menu options.
- POWER: Turns the TV on/off.
5. Setup
5.1 Attaching the Stand
The TM710-14 features a built-in stand. Gently pull the stand out from the back of the unit until it locks into position. Ensure the TV is placed on a stable, flat surface.
5.2 Connecting Power
- AC Power: Connect the provided AC power adapter to the "DC 12V" input port on the back of the TV, then plug the adapter into a standard wall outlet.
- DC Power (Car Charger): For portable use, connect the car charger to the "DC 12V" input port and plug the other end into your vehicle's 12V power socket.
5.3 Connecting an Antenna
For receiving over-the-air broadcast channels, connect the included antenna to the "ANT" input port on the back of the TV. Position the antenna for optimal signal reception.
5.4 Initial Power On
Press the POWER button on the front panel or the remote control to turn on the TV. The first time you power on, the TV may guide you through an initial setup process, including language selection and channel scanning.
6. Operating Instructions
6.1 Selecting Input Source
Press the MODE button on the TV or the SOURCE button on the remote control to cycle through available input sources: TV (Antenna), AV, HDMI, USB, SD/MMC.
6.2 TV Mode (Antenna)
- Select "TV" as the input source.
- Access the MENU and navigate to "Channel Setup" or "Auto Scan".
- Initiate an auto scan to find available digital (ATSC) and analog (NTSC) channels.
- Use CH-/CH+ buttons to change channels.
6.3 Connecting External Devices
- HDMI: Connect a streaming stick (Roku, Fire Stick, Apple TV), gaming console, or computer to the HDMI Input port. Select "HDMI" as the input source.
- AV Input: Use the RCA adapter to connect older devices like DVD players to the AV-IN port. Select "AV" as the input source.
- USB/SD/MMC: Insert a USB flash drive or SD/MMC card into the respective slots. Select "USB" or "SD/MMC" as the input source to browse and play compatible media files (AVI, MOV, MPEG, MP4, MP3, JPEG, etc.).
6.4 Audio Output
The TV has built-in speakers. For private listening, connect headphones to the headphone jack (AV-OUT port can also function as audio out with appropriate adapter).
7. Maintenance
7.1 Cleaning the Screen
Gently wipe the screen with a soft, lint-free cloth. For stubborn marks, slightly dampen the cloth with water or a screen-cleaning solution specifically designed for LCD/LED displays. Do not spray liquid directly onto the screen.
7.2 Cleaning the Cabinet
Wipe the exterior of the TV with a soft, dry cloth. Avoid using abrasive cleaners or solvents.
7.3 Storage
If storing the TV for an extended period, unplug it from the power source and store it in a cool, dry place, away from direct sunlight and extreme temperatures.
8. Troubleshooting
| Problem | Possible Cause | Solution |
|---|---|---|
| No power | Power cable not connected; outlet not working; power adapter faulty. | Ensure power cable is securely connected. Test the outlet with another device. Try a different power adapter if available. |
| No picture/No signal | Incorrect input source selected; antenna not connected/positioned correctly; external device not powered on or connected properly. | Press MODE/SOURCE to select the correct input. Adjust antenna position or rescan channels. Check connections and power for external devices. |
| No sound | Volume too low or muted; external device audio settings. | Press VOL+ or unmute the TV. Check audio settings on connected external devices. |
| Remote control not working | Batteries depleted or inserted incorrectly; obstruction between remote and TV; remote sensor blocked. | Replace batteries. Ensure correct polarity. Remove any obstructions. Clean the remote sensor on the TV. |
9. Specifications
| Feature | Detail |
|---|---|
| Model Number | TM710-14 |
| Screen Size | 14 inches |
| Display Technology | LCD |
| Resolution | 1080p |
| Refresh Rate | 120 Hz |
| Aspect Ratio | 16:9 |
| Connectivity | HDMI (1), USB (1), AV, Antenna |
| Media Playback | USB, SD/MMC (AVI, MOV, MPEG 1/2/3/4, XVID, AVC, MP4, H.264, HEVC(H.265), FLV, MKV, MP3, JPEG, WMV, RMVB, MKY, 3GP) |
| Audio | Built-in speakers (2.0 channels), Headphone Jack (AV-OUT) |
| Power Supply | AC/DC (12V DC input) |
| Product Dimensions (D x W x H) | 1"D x 14"W x 11"H |
| Color | Black |
10. Warranty Information
The Tyler TM710-14 Portable LCD HD TV comes with a 1-Year Limited Warranty from the date of purchase. This warranty covers manufacturing defects in materials and workmanship under normal use. It does not cover damage caused by misuse, accidents, unauthorized modifications, or external causes.
Please retain your proof of purchase for warranty claims. For detailed warranty terms and conditions, refer to the documentation included with your product or contact customer support.
11. Customer Support
If you encounter any issues or have questions regarding your Tyler TM710-14 Portable LCD HD TV that are not addressed in this manual, please contact Tyler customer support.
- Website: Visit the official Tyler website for FAQs and support resources.
- Email: Refer to your product packaging or warranty card for support email address.
- Phone: Refer to your product packaging or warranty card for customer service phone number.
When contacting support, please have your model number (TM710-14) and proof of purchase ready.


