1. Introduction
This manual provides detailed instructions for the safe and effective operation, maintenance, and troubleshooting of your Temirup IR06PRO Infrared Thermometer Temperature Gun. This device is designed for accurate non-contact temperature measurement and includes a K-type thermocouple probe for contact measurements. It is suitable for various applications including cooking, HVAC, and industrial use.
2. Safety Information
- WARNING: This infrared thermometer is designed for measuring the temperature of inanimate objects. It is NOT intended for measuring human or animal body temperature. Readings for humans or animals will be inaccurate.
- Do not point the laser directly at eyes or indirectly off reflective surfaces.
- Do not use the device in environments with explosive gas, vapor, or dust.
- Keep the device away from electromagnetic fields generated by arc welders or induction heaters.
- Do not expose the device to extreme temperatures or high humidity.
- Always ensure the battery compartment is securely closed during operation.
3. Package Contents
Verify that all items listed below are present in your package:
- 1 x Temirup IR06PRO Infrared Thermometer
- 1 x K-type Thermocouple Probe
- 2 x AA Batteries
- 1 x Thermometer Carry Bag
- 1 x User Manual

4. Product Overview
4.1 Key Features
- High Accuracy: Advanced thermopile sensor with 12:1 distance-to-spot ratio, accuracy within ±1.5%, response time <0.5s.
- Dual Measurement Modes: Non-contact IR measurement (-40°F~1472°F / -40°C~800°C) and K-probe contact measurement (-40°F~1202°F / -40°C~650°C).
- Adjustable Emissivity: Range of 0.10-1.00 for precise calibration to various surface materials.
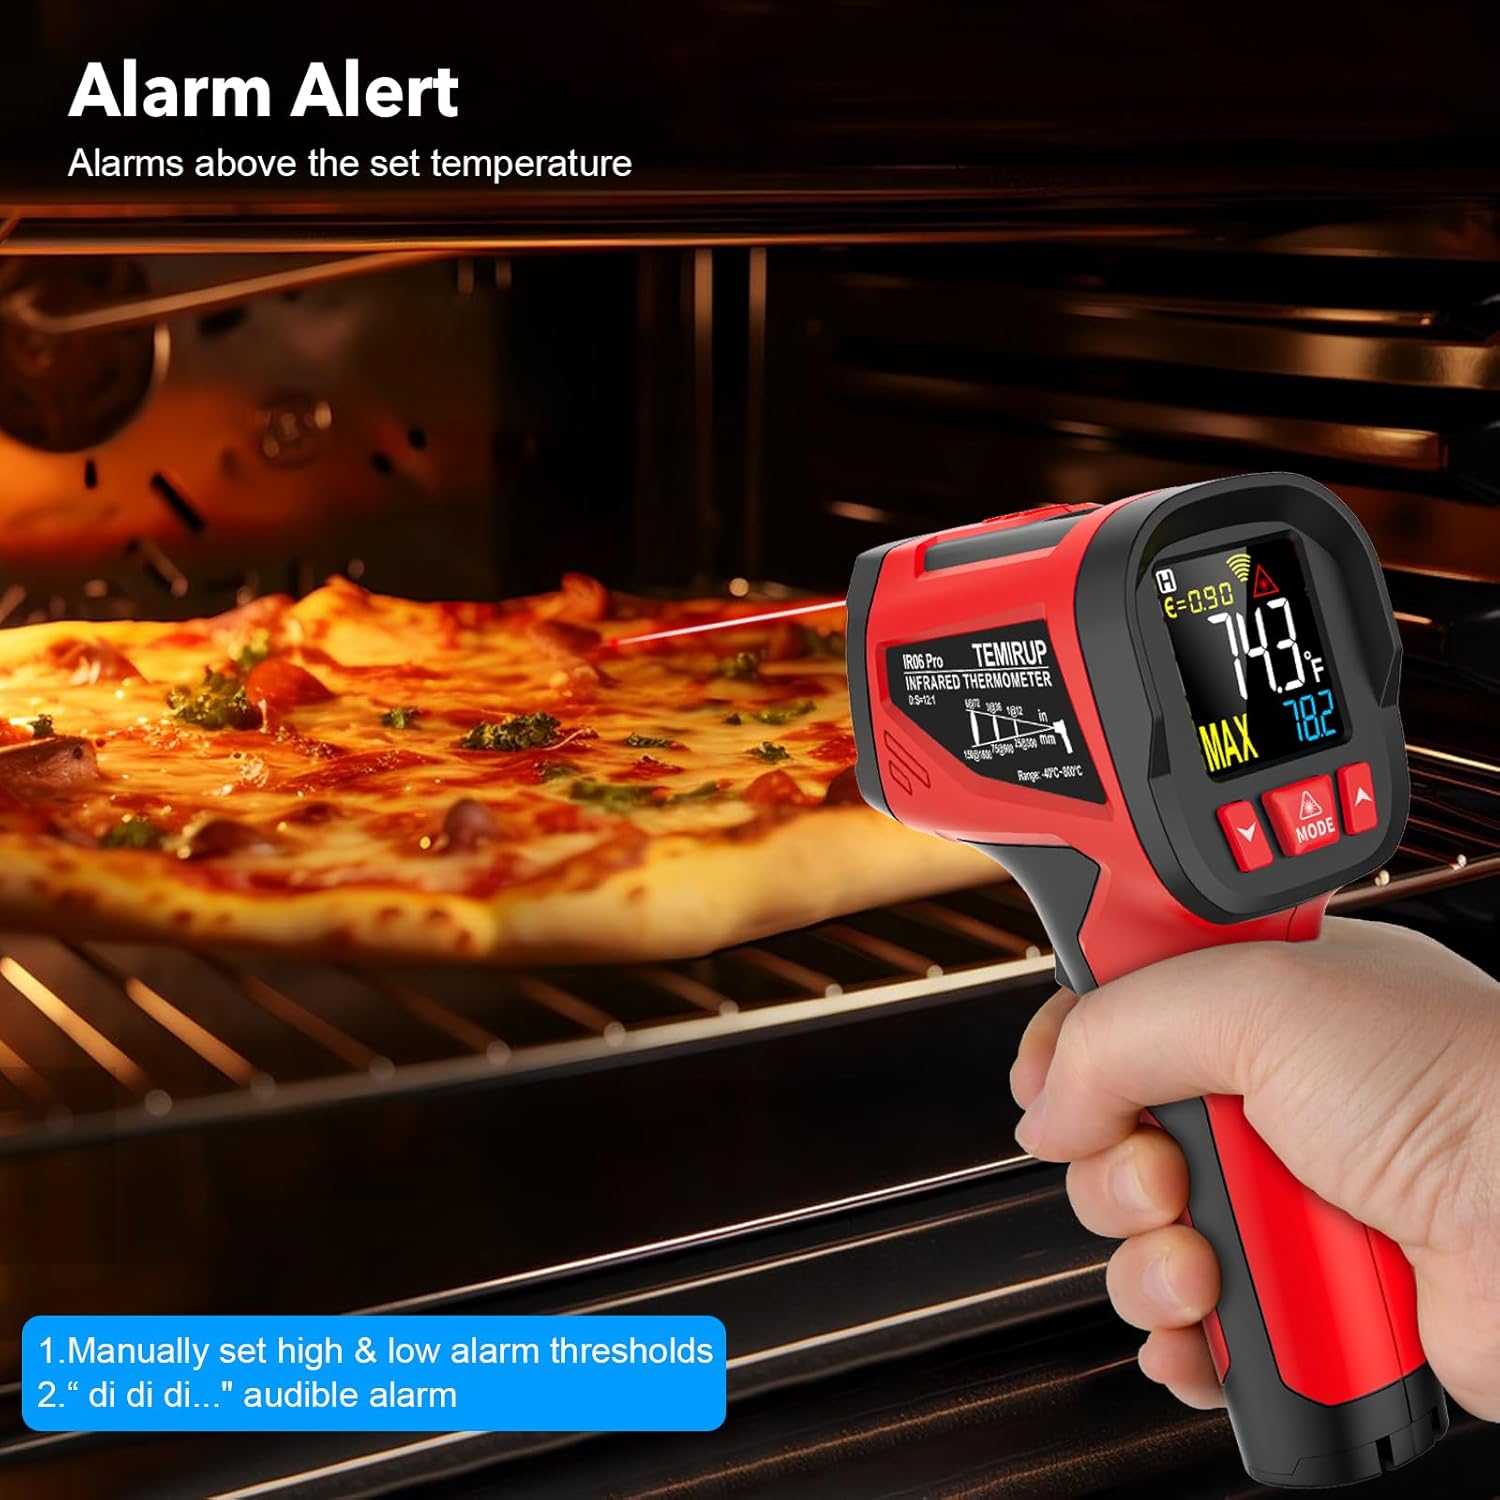
- Alarm Function: User-settable high (Hi) and low (Low) temperature alarm thresholds with an audible buzzer.
- HD Colorful VA Display: Backlit display for clear readings in low-light conditions.
- Multifunctions: Unit switch (°C/°F), laser aiming (can be turned off), MAX/HOLD data, low battery indication, and 30-second auto-off function.
- Ergonomic Design: Dual-color molded housing with a soft rubber grip for comfort and slip resistance.

4.2 Component Identification
Familiarize yourself with the different parts of your thermometer:

- Infrared Lens: For non-contact temperature measurement.
- Laser Hole: Emits the laser for aiming.
- K-type Thermocouple Socket: Port for connecting the K-type probe.
- Display Screen: Shows temperature readings, settings, and indicators.
- MODE Button: Cycles through settings (High Alarm, Low Alarm, Emissivity, Unit Switch).
- Up/Down Buttons: Adjust values in settings mode.
- Trigger: Activates measurement and saves settings.
- Battery Compartment: Located at the base of the handle.
5. Setup
5.1 Battery Installation
- Locate the battery compartment cover at the bottom of the handle.
- Open the cover by gently pulling it downwards.
- Insert two (2) AA 1.5V batteries, ensuring correct polarity (+/-).
- Close the battery compartment cover securely.
The device will power on automatically once batteries are installed. If not, press the trigger to activate.
6. Operating Instructions
6.1 Non-Contact IR Measurement
- Point the infrared lens towards the target object.
- Pull and hold the trigger. The laser pointer will activate (if enabled) to indicate the measurement area.
- The temperature reading will appear on the display instantly. The MAX temperature for the current measurement will also be shown.
- Release the trigger to hold the reading on the display. The device will automatically turn off after 30 seconds of inactivity.
Distance-to-Spot Ratio (D:S): The IR06PRO has a D:S ratio of 12:1. This means that at a distance of 12 inches, the measurement spot diameter is 1 inch. Ensure the target area is larger than the spot size for accurate readings.

6.2 K-Probe Contact Measurement
- Insert the K-type thermocouple probe into the socket at the top of the thermometer.
- Place the tip of the probe in direct contact with the object whose internal temperature you wish to measure.
- The K-probe temperature reading will be displayed on the screen, typically below the IR reading.

6.3 Adjusting Emissivity (E)
Emissivity (E) is a measure of an object's ability to emit infrared energy. Different materials have different emissivities. Adjusting this setting improves measurement accuracy for various surfaces.
- With the thermometer powered on, short-press the MODE button repeatedly until the emissivity symbol (ε) flashes on the display.
- Use the Up and Down buttons to adjust the emissivity value between 0.10 and 1.00.
- Pull the trigger to save the setting and exit the mode.

Tip: For most household applications, an emissivity of 0.95 is recommended.
6.4 Setting High/Low Temperature Alarms
The alarm function alerts you when the measured temperature exceeds a set high limit or falls below a set low limit.
- High Alarm (HI): Short-press the MODE button until "HI" flashes. Use the Up and Down buttons to set the desired high temperature threshold.
- Low Alarm (LOW): Short-press the MODE button again until "LOW" flashes. Use the Up and Down buttons to set the desired low temperature threshold.
- Pull the trigger to save the setting and exit the mode. An audible buzzer will sound if the measured temperature crosses these thresholds.
6.5 Unit Switching (°C/°F)
To switch between Celsius and Fahrenheit:
- Short-press the MODE button repeatedly until the °C/°F symbol flashes.
- Use the Up or Down button to select your preferred unit.
- Pull the trigger to save the setting.
6.6 Laser On/Off
To toggle the laser pointer:
- While in measurement mode (trigger pulled), short-press the Up button to turn the laser on or off.
Note: The laser is automatically off when the device is in settings mode.
7. Maintenance
- Cleaning the Lens: The infrared lens is the most delicate part of the thermometer. Clean it carefully with a soft, damp cloth or cotton swab. Do not use abrasive cleaners or solvents.
- Cleaning the Casing: Wipe the device casing with a damp cloth and mild soap. Do not immerse the device in water.
- Battery Replacement: Replace batteries when the low battery indicator appears on the display. Always use 2 AA 1.5V batteries.
- Storage: Store the thermometer in its carry bag in a cool, dry place when not in use. Avoid extreme temperatures and direct sunlight.
8. Troubleshooting
| Problem | Possible Cause | Solution |
|---|---|---|
| Device does not power on. | Dead or incorrectly installed batteries. | Check battery polarity and replace with new AA batteries if necessary. |
| Inaccurate readings. | Incorrect emissivity setting; lens is dirty; target too small or too far. | Adjust emissivity for the target material. Clean the lens. Ensure the target fills the measurement spot. |
| Laser not visible. | Laser is turned off. | Press the Up button during measurement to toggle the laser on. |
| K-probe not working. | Probe not fully inserted or damaged. | Ensure the K-type probe is fully and securely inserted into its socket. Inspect the probe for damage. |
9. Specifications
| Feature | Detail |
|---|---|
| Model Name | IR06PRO |
| Non-Contact IR Temperature Range | -40°F to 1472°F (-40°C to 800°C) |
| K-Probe Temperature Range | -40°F to 1202°F (-40°C to 650°C) |
| IR Accuracy | ±1.5% |
| K-Probe Accuracy | ±2.0% |
| Response Time | <0.5 seconds |
| Distance-to-Spot Ratio (D:S) | 12:1 |
| Adjustable Emissivity | 0.10 - 1.00 |
| Display Type | HD Colorful VA Display (Backlit) |
| Power Source | 2 x AA 1.5V Batteries |
| Auto-Off Function | Yes (after 30 seconds of inactivity) |
| Material | ABS+TPE |
| Item Weight | 10.4 ounces |
| Dimensions (Approx.) | 6.8 inches (Length) x 4.0 inches (Width) |
10. Warranty and Support
Temirup provides a 24-month after-sale service and technical support for your IR06PRO Infrared Thermometer. If the temperature gun is damaged within 24 months of purchase, please contact us for a free replacement.
For customer service and technical assistance, please refer to the contact information provided on the product packaging or the official Temirup website. Our customer service team is available 7 days a week, 24 hours a day to assist you.
Online Support: Visit the Temirup Store on Amazon for more information and support resources.