1. Product Overview
This manual provides instructions for the FERM 150mm Guide Bar, model CDA1190, designed for use with FERM AX-Power 12V cordless chainsaws.
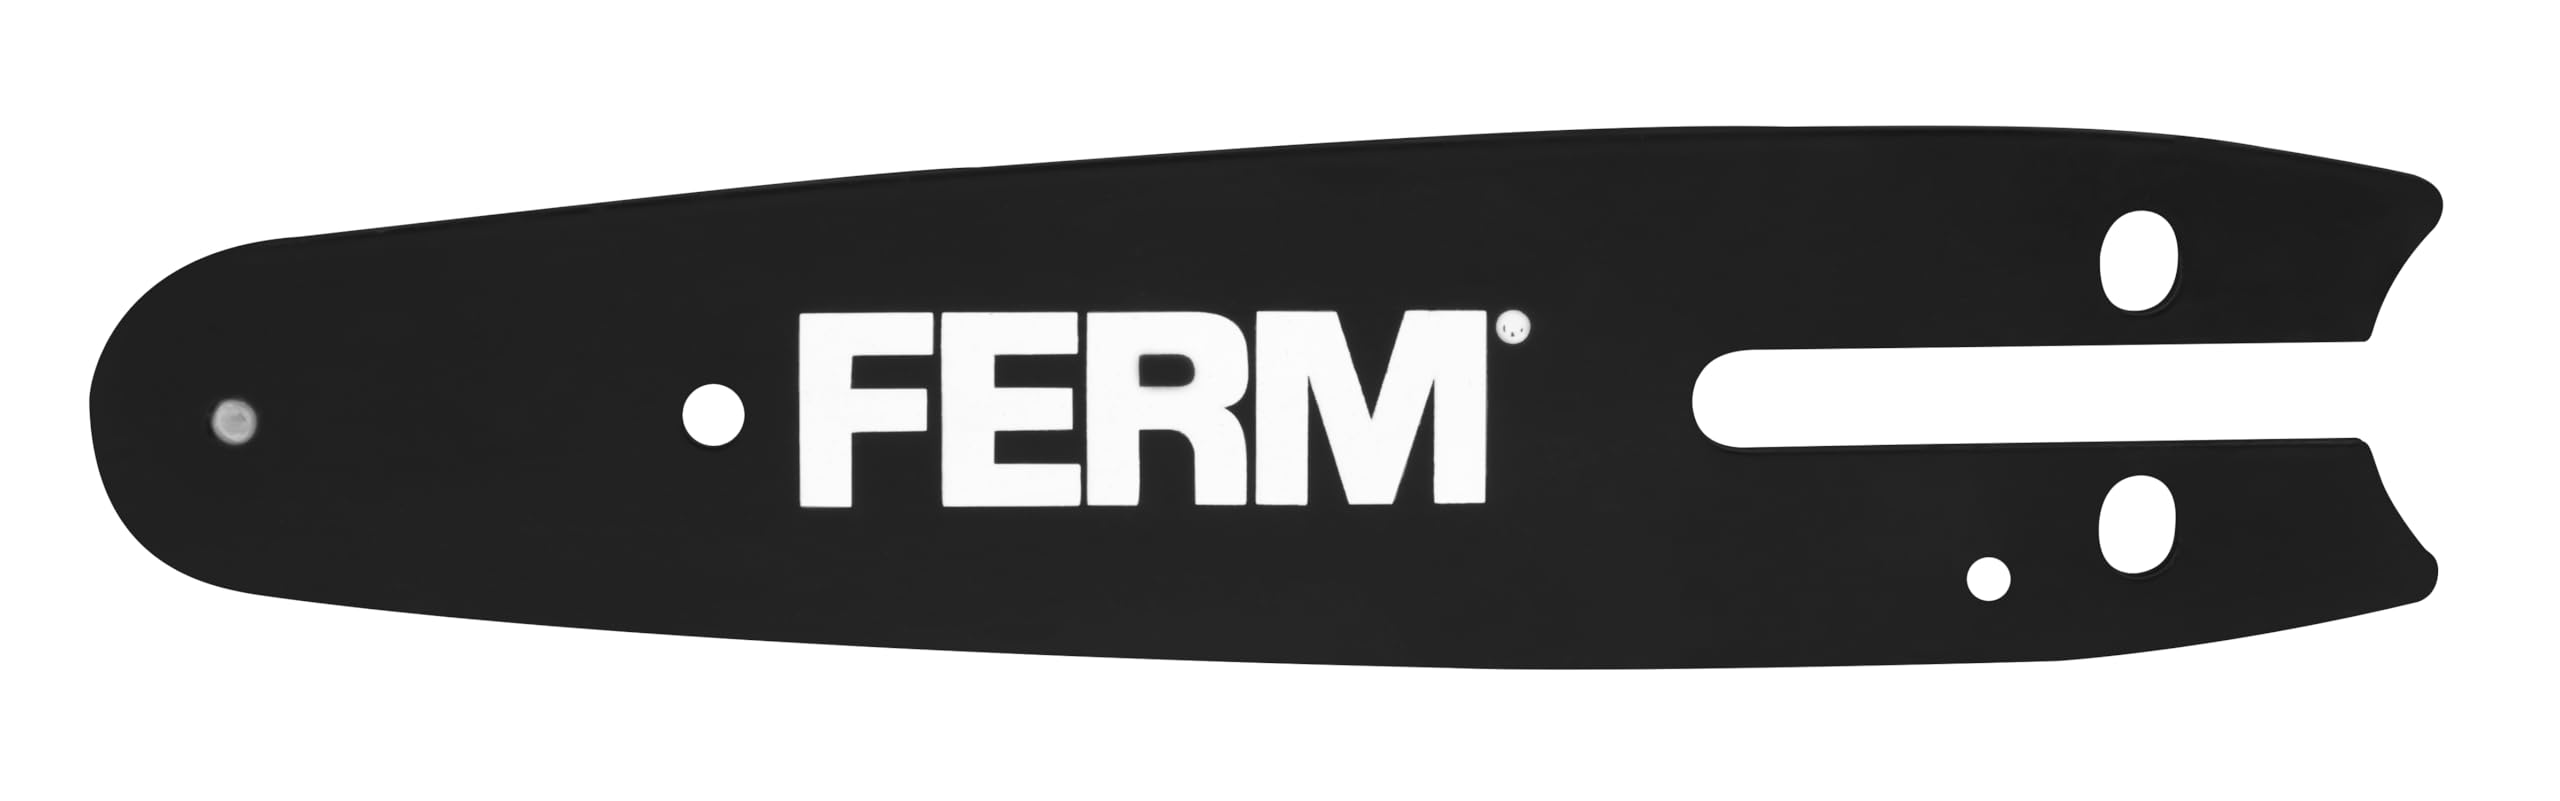
Image 1.1: The FERM 150mm guide bar, model CDA1190, showing its robust construction and design for cordless chainsaws.
The FERM AX-Power 150mm guide bar is a high-quality component engineered for excellent performance and durability in various sawing tasks. It ensures quick, clean, and precise cuts when properly installed and maintained.
Key Features:
- 150mm guide bar length.
- Constructed from high-quality steel for extended service life.
- Designed for quick, clean, and precise cutting.
- Easy installation and quick replacement.
2. Compatibility
This FERM CDA1190 150mm guide bar is specifically designed for the following FERM AX-Power 12V cordless chainsaw models:
- CSM1051
- CSM1052
- CSM1055
Ensure your chainsaw model is listed above for proper fit and safe operation. An accompanying chain, FERM CDA1191, is available separately and recommended for optimal performance with this guide bar.
3. Setup and Installation
Proper installation of the guide bar is crucial for safe and efficient chainsaw operation. Always refer to your chainsaw's specific instruction manual for detailed steps on guide bar and chain replacement.
General Installation Steps:
- Safety First: Ensure the chainsaw is turned off, the battery is removed (for cordless models), and any chain brake is engaged before beginning installation. Wear appropriate safety gloves.
- Remove Old Guide Bar (if applicable): Loosen the chain tensioning screw and the bar nuts. Carefully remove the side cover, the old chain, and the old guide bar.
- Clean Components: Clean any sawdust or debris from the chainsaw's mounting area, the drive sprocket, and the new guide bar's groove.
- Install New Guide Bar: Position the new FERM CDA1190 guide bar onto the chainsaw's mounting studs. Ensure the guide bar's slot aligns with the tensioning pin.
- Install Chain: Place the chain (e.g., FERM CDA1191) around the drive sprocket and into the groove of the guide bar. Ensure the cutting edges of the chain are facing the correct direction.
- Replace Side Cover: Reinstall the side cover and hand-tighten the bar nuts.
- Tension the Chain: Adjust the chain tensioning screw until the chain is snug against the guide bar but can still be pulled freely by hand. The chain should not sag on the underside of the guide bar. Refer to your chainsaw manual for precise tensioning guidelines.
- Final Tightening: Fully tighten the bar nuts securely.
- Check Lubrication: Ensure the chainsaw's automatic oiler is functioning and that the guide bar's oil holes are clear.
4. Operating Instructions
The guide bar itself does not have operational controls. Its function is integral to the chainsaw's cutting mechanism. Always operate your chainsaw according to its specific instruction manual and adhere to all safety precautions.
General Operating Considerations for the Guide Bar:
- Chain Lubrication: Ensure the chainsaw's automatic oiler is always filled with appropriate bar and chain oil. Proper lubrication is critical for reducing friction, heat, and wear on both the guide bar and chain.
- Chain Tension: Regularly check and adjust chain tension. An improperly tensioned chain can lead to premature wear of the guide bar, chain derailment, and unsafe operation.
- Cutting Technique: Avoid forcing the guide bar into the wood. Let the chain do the work. Excessive pressure can cause the guide bar to bend or wear unevenly.
- Kickback Prevention: Be aware of the kickback zone at the tip of the guide bar. Always use proper cutting techniques to minimize the risk of kickback.
5. Maintenance
Regular maintenance of your FERM CDA1190 guide bar will extend its lifespan and ensure consistent cutting performance. Perform these checks after each use or before extended storage.
Maintenance Procedures:
- Clean Guide Bar Groove: Use a guide bar cleaner or a thin tool to remove sawdust, resin, and debris from the guide bar groove. A clogged groove can impede chain movement and lubrication.
- Check for Burrs: Inspect the edges of the guide bar for burrs, especially along the top and bottom rails. File down any burrs with a flat file to prevent uneven chain wear and improve cutting.
- Inspect for Wear: Check the guide bar rails for signs of uneven wear, widening, or discoloration (indicating overheating). If the rails are significantly worn or damaged, the guide bar should be replaced.
- Flip Guide Bar: To promote even wear, it is recommended to flip the guide bar periodically (e.g., every time the chain is sharpened or replaced). This distributes wear across both sides of the rails.
- Check Oil Holes: Ensure the oil holes on the guide bar are clear and not obstructed. These holes are vital for delivering lubrication to the chain.
6. Troubleshooting
This section addresses common issues related to the guide bar. For chainsaw-specific troubleshooting, refer to your chainsaw's instruction manual.
| Problem | Possible Cause | Solution |
|---|---|---|
| Chain binds or runs stiffly |
|
|
| Uneven or crooked cuts |
|
|
| Guide bar overheating/discoloration |
|
|
7. Specifications
| Model Number | CDA1190 |
| Guide Bar Length | 150 mm |
| Compatibility | FERM AX-Power 12V Cordless Chainsaws (CSM1051, CSM1052, CSM1055) |
| Material | High-quality steel |
| Associated Chain (Sold Separately) | FERM CDA1191 |
| Manufacturer | FERM |
| ASIN | B0GKPVQ49M |
8. Warranty and Support
Information regarding specific warranty terms for the FERM CDA1190 guide bar is not available in this document. For warranty claims, technical support, or to inquire about spare parts, please contact FERM customer service directly or refer to the documentation provided with your original chainsaw purchase.
You may also visit the official FERM Brand Store for additional product information and support resources.