
1. Introduction
Welcome to the Aoango Electric Bike experience. This manual provides essential information for the safe assembly, operation, and maintenance of your new 1000 Peak Electric Bike, Model ek2 langse. Please read this manual thoroughly before your first ride to ensure optimal performance and safety.

Image: Overview of the Aoango Electric Bike, highlighting its design and features.
2. Setup and Assembly
Your Aoango Electric Bike is 90% pre-assembled. Follow these steps to complete the assembly and prepare for your first ride. It is recommended to keep the original packaging for future storage or transportation.
2.1 Unboxing and Initial Check
Carefully remove all components from the box. Verify that all parts listed in the packing list are present and undamaged. Refer to the assembly video for a visual guide.
Video: Detailed unboxing and initial setup guide for the electric bike. This video demonstrates how to unpack the bike and identify all included components.
2.2 Battery Charging
Before first use, fully charge the 48V 720WH removable lithium-ion battery. The battery can be charged while installed on the bike or removed for charging. A full charge typically takes 6 hours.

Image: Illustration showing the removable battery and charging options, either directly on the bike or by removing the battery.

Image: The removable 48V 14AH battery integrated into the bike frame, shown with charging cable connected.
2.3 Handlebar Assembly
Attach the handlebars to the stem. Ensure the stem is facing forward. Secure all screws firmly. The handlebar stem is adjustable for rider comfort.

Image: Close-up of the adjustable handlebar stem, illustrating its range of motion for personalized comfort.
2.4 Front Wheel Assembly
Install the front wheel, ensuring the brake rotor is correctly seated between the brake pads. Use the quick-release skewer to secure the wheel firmly. Ensure the safety washers are correctly positioned.
Video: Step-by-step instructions for installing the front wheel and securing it with the quick-release skewer.
2.5 Pedal Assembly
Attach the pedals. Note that there is a left (L) and right (R) pedal. Ensure they are screwed in tightly to prevent loosening during rides.
2.6 Fender and Light Assembly
Attach the front fender and headlight. Ensure all connections are secure and the light is properly aimed. The rear fender and rack are pre-assembled.

Image: View of the front fender and headlight, along with the LCD display, 7-speed shifter, and rear cargo rack.
3. Operating Instructions
Familiarize yourself with the controls and riding modes for a safe and enjoyable experience.
3.1 LCD Display Functions
The LCD display provides real-time information about your ride, including speed, battery power, pedal assist levels, and mileage. Use the plus and minus buttons to adjust settings.
Video: Demonstration of the LCD display functions, showing how to navigate through speed, battery, and pedal assist levels.

Image: The LCD display serving as the control panel and information hub, showing various ride data and settings.
3.2 Riding Modes and Pedal Assist
The bike offers 5 riding modes: Pure electric mode, Pedal assist mode (with 5 levels), and Classic bike mode. The cruise control function can be activated or deactivated with a button press.
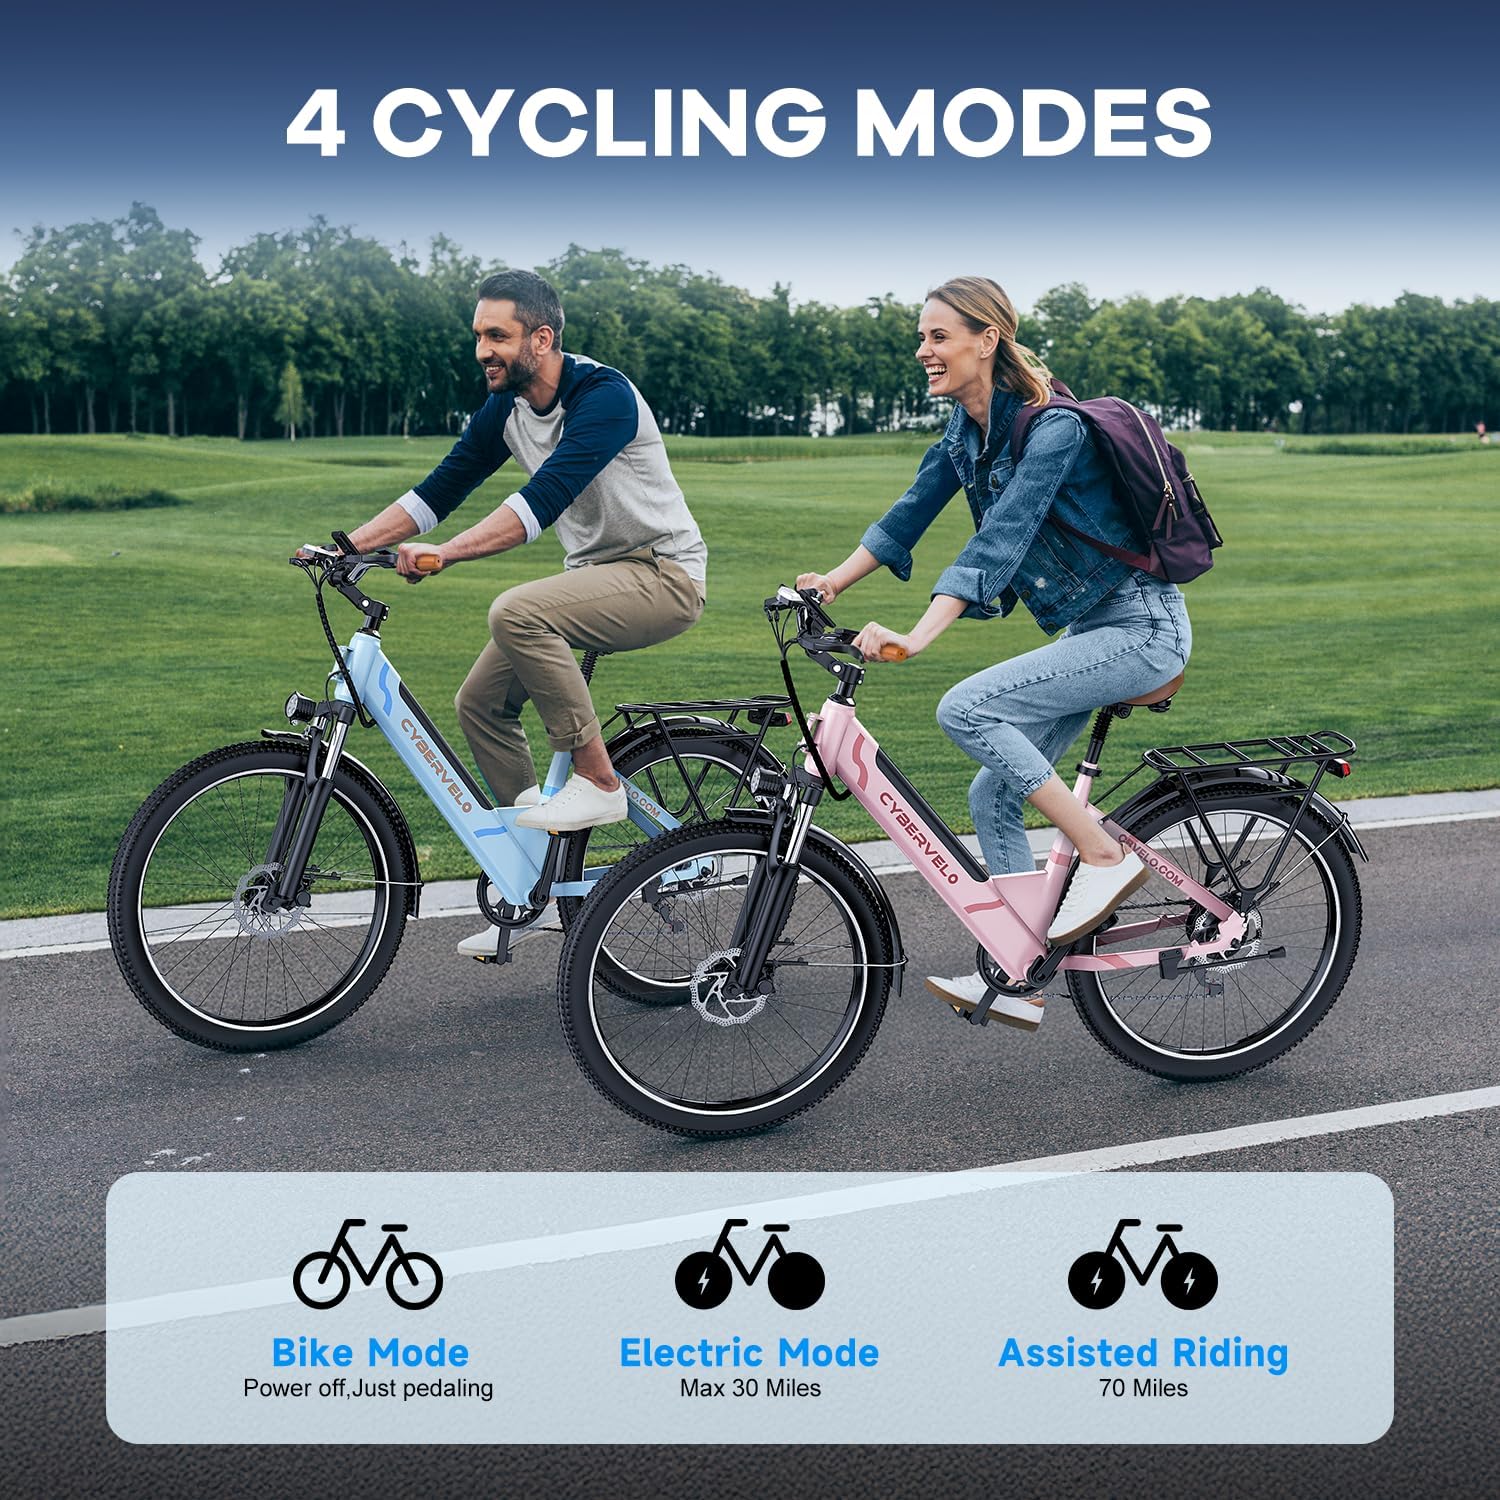
Image: Visual representation of the four cycling modes: Bike Mode (power off), Electric Mode, and Assisted Riding.
3.3 Shifting Gears and Throttle
Utilize the 7-speed Shimano transmission for optimal pedaling efficiency across various terrains. The twist throttle provides instant electric power when needed.
4. Maintenance
Regular maintenance ensures the longevity and safety of your electric bike.
4.1 Brakes
The bike is equipped with dual mechanical disc brakes and an EABS system. Regularly check brake pads for wear and ensure proper function. Adjust as needed.

Image: Close-up view of the front and rear disc brakes, emphasizing their reliable braking power.
4.2 Tires and Suspension
The 26-inch puncture-resistant tires are suitable for various terrains. Maintain recommended tire pressure. The front fork spring shock absorbers and saddle shock absorption system provide a comfortable ride; inspect them periodically for optimal performance.

Image: Illustration of the front fork shock absorption system, highlighting its suitability for diverse road conditions.
4.3 Battery Care
To prolong battery life, avoid fully discharging it frequently. Store the battery in a cool, dry place and charge it regularly, even when not in use for extended periods.
5. Troubleshooting
If you encounter issues, refer to these common troubleshooting tips:
- No Power: Check if the battery is fully charged and properly seated. Ensure the power button on the display is pressed.
- Motor Not Engaging: Verify that the pedal assist level is set above 0. Check all electrical connections for looseness.
- Brakes Squealing: This may indicate dirty brake rotors or worn pads. Clean rotors with isopropyl alcohol or replace pads if necessary.
- Unstable Steering: Ensure all handlebar and stem screws are tightened as per assembly instructions.
6. Specifications
| Feature | Detail |
|---|---|
| Bike Type | Electric Bike |
| Model Number | ek2 langse |
| Motor | 750W Peak (1000W Peak) Brushless Motor |
| Battery | 48V 720WH (15Ah) Removable Lithium-ion |
| Max Speed | Up to 25+ MPH |
| Max Range | Up to 80+ Miles (Pedal Assist) |
| Charging Time | Approx. 6 Hours |
| Gears | 7-Speed Transmission |
| Brakes | Dual Mechanical Disc Brakes with EABS |
| Wheel Size | 26 Inches |
| Frame Material | Chromoly Steel |
| Suspension | Front Fork Spring Shock Absorbers, Saddle Shock Absorption |
| Max Load Capacity | 350 lbs |
| Rider Height | 5'4" - 6'5" |

Image: A summary of key electric bike specifications including power, speed, range, and frame type.
7. Warranty and Support
Your Aoango Electric Bike comes with a Limited Warranty. For warranty claims, technical support, or any questions not covered in this manual, please contact Aoango customer service. Keep your purchase receipt as proof of purchase.