Thermalright TL-M12Q-S X3
Thermalright TL-M12Q-S X3 Wireless Splicing Case Fan Instruction Manual
Model: TL-M12Q-S X3 | Brand: Thermalright
1. Introduction
Thank you for choosing the Thermalright TL-M12Q-S X3 Wireless Splicing Case Fan. This 120mm fan features an infinity mirror ARGB lighting effect and a unique wireless splicing design for simplified cable management. This manual provides essential information for proper installation, operation, and maintenance to ensure optimal performance and longevity of your product.
2. Product Features
- Silent Fan Parameters: Fan size: 124x120x25mm, Speed: 2000 RPM ± 10%, Noise: ≤28.2 dB(A), Air Volume: 68.9 CFM, Air Pressure: 2.21 mm H2O. Power Interface: 4PIN PWM, Lighting Interface: 5V 3PIN ARGB. Voltage: DC 12V, Current: 0.17A. Designed for improved cooling performance with low noise output.
- High-Performance Heat Dissipation: The noise-reducing 7-blade design achieves speeds up to 2000 RPM with a noise level of ≤28.2 dB(A). Soft silicone corner pads are integrated to absorb vibration, balancing high heat dissipation with low noise.
- Optimized Design: Constructed from industrial-grade PBT+PC material with UL Class A insulation. Supports PWM series control for fan speed and 3-pin ARGB for lighting. Fans of the same type connect in series via integrated buckles.
- Wireless Splicing: A new power module cable simplifies wiring, reducing internal cable complexity. Signals and power are transmitted via contacts between fans, allowing for a cleaner build. Note: The control cable must be connected to the fan side with pins.
- Versatile Application: Functions effectively as a chassis fan or can be paired with a CPU heatsink to enhance overall cooling performance, reducing temperatures within the chassis and for the CPU.

Image: Three Thermalright TL-M12Q-S X3 fans showcasing their infinity mirror ARGB lighting and overall design.

Image: The fan's construction using high-quality PBT+PC material for durability.
3. Package Contents
Please check the package contents upon unboxing:
- 3 x Thermalright TL-M12Q-S X3 Case Fans
- 1 x Control Cable (for power and ARGB sync)
- Mounting Screws
4. Specifications
| Feature | Specification |
|---|---|
| Product Dimensions | 4.88"L x 4.72"W x 0.98"H (124x120x25mm) |
| Brand | Thermalright |
| Power Connector Type | 4-Pin PWM |
| Cooling Method | Air |
| Compatible Devices | Desktop |
| Noise Level | 28.2 Decibels (Max) |
| Material | PBT + PC Plastic |
| Maximum Rotational Speed | 2000 RPM |
| Air Flow Capacity | 68.9 Cubic Feet Per Minute (CFM) |
| Air Pressure | 2.21 mm H2O |
| Lighting Interface | 5V 3PIN ARGB |
| Bearing Type | S-FDB (Stably-FDB) Bearing |
5. Safety Information
Please read and follow these safety guidelines to prevent damage to the product or injury:
- Ensure your computer is powered off and unplugged from the wall outlet before installation or maintenance.
- Handle components carefully to avoid static discharge. Consider using an anti-static wrist strap.
- Do not attempt to disassemble the fan motor or bearing.
- Keep fingers and other objects away from rotating fan blades.
- Ensure proper ventilation during operation.
- Use only the provided cables and connectors.
6. Setup and Installation
Follow these steps to install your Thermalright TL-M12Q-S X3 fans:
- Prepare Your System: Power off your computer and unplug it from the power source. Open your computer case to access the fan mounting locations.
- Connect Fans (Wireless Splicing): Align the fans and connect them in series using the integrated buckles on the sides. Ensure a secure connection between each fan. You can connect up to three fans in a row.
- Connect Control Cable: Attach the provided control cable to the designated port on the side of the last fan in your series. Ensure the pins are correctly aligned. This single cable will manage both power and ARGB lighting for all connected fans.
- Mount Fans: Secure the assembled fan unit to your desired location (e.g., chassis fan mounts, radiator) using the provided mounting screws. The soft silicone corner pads will help reduce vibration.
- Connect to Motherboard:
- Connect the 4-pin PWM connector from the control cable to an available 4-pin fan header on your motherboard (e.g., CPU_FAN, SYS_FAN).
- Connect the 3-pin ARGB connector from the control cable to an available 5V 3-pin ARGB header on your motherboard. Do not connect to a 12V RGB header, as this can damage the LEDs.
- Cable Management: Route the control cable neatly to avoid interference with other components or airflow.
- Final Check: Double-check all connections before closing your computer case and powering on your system.

Image: Illustrates the wireless splicing connection between two fans.

Image: The easy connect power and lighting cable for simplified wiring.
7. Operating Instructions
Once installed, the Thermalright TL-M12Q-S X3 fans operate as follows:
- Fan Speed Control (PWM): The fan speed is controlled via the 4-pin PWM connection to your motherboard. You can adjust fan curves and speeds through your motherboard's BIOS/UEFI settings or dedicated software provided by your motherboard manufacturer.
- ARGB Lighting Control: The ARGB lighting effects are controlled via the 5V 3-pin ARGB connection to your motherboard. Use your motherboard's ARGB synchronization software (e.g., ASUS Aura Sync, MSI Mystic Light Sync, Gigabyte RGB Fusion, ASRock Polychrome Sync) to customize colors, patterns, and brightness.
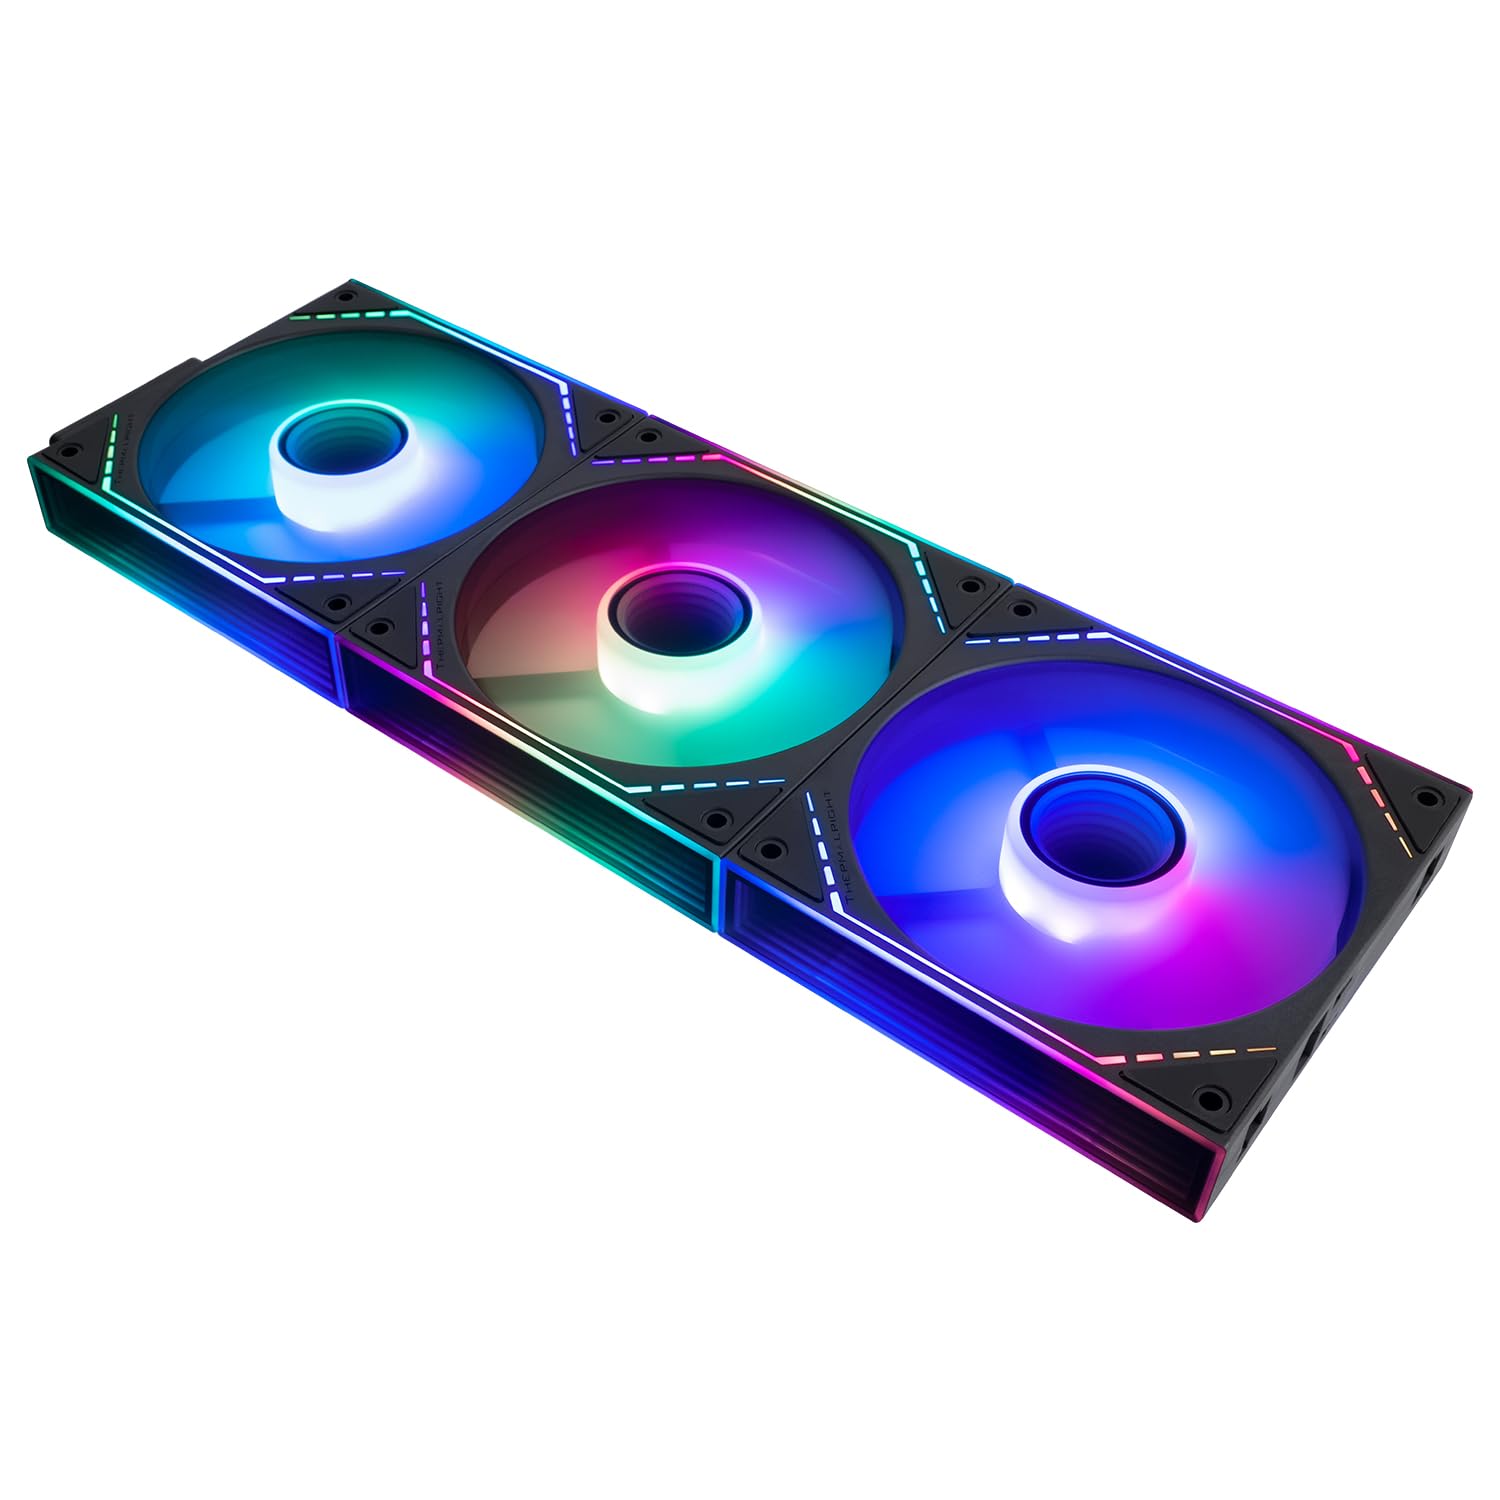
Image: Three fans connected in series, demonstrating synchronized ARGB lighting.

Image: Close-up of the fan's S-FDB bearing and vibration-absorbing rubber pads.
8. Maintenance
Regular maintenance helps ensure optimal performance and extends the lifespan of your fans:
- Cleaning: Periodically clean the fan blades and frame to remove dust buildup. Use a can of compressed air or a soft, dry cloth. Ensure the fan is powered off and unplugged before cleaning.
- Check Connections: Occasionally check that all power and ARGB connections are secure.
- Bearing Maintenance: The S-FDB bearing is designed for long-lasting, maintenance-free operation. Do not attempt to lubricate or disassemble the bearing.
9. Troubleshooting
If you encounter issues with your Thermalright TL-M12Q-S X3 fans, refer to the following common problems and solutions:
- Fan Not Spinning:
- Ensure the 4-pin PWM cable is securely connected to the motherboard fan header.
- Check your motherboard's BIOS/UEFI settings to ensure the fan header is enabled and configured correctly.
- Verify that the fans are properly spliced together and the control cable is firmly attached to the last fan.
- ARGB Lighting Not Working:
- Ensure the 3-pin ARGB cable is securely connected to a 5V 3-pin ARGB header on your motherboard.
- Confirm that you are using the correct motherboard software to control ARGB lighting.
- Check for any loose connections between the spliced fans.
- Verify that the ARGB header is enabled in your motherboard's BIOS/UEFI.
- Excessive Noise:
- Ensure all mounting screws are tightened to prevent vibration.
- Check for any cables or obstructions touching the fan blades.
- Clean any dust buildup on the fan blades.
- Adjust fan speed settings in your motherboard's software or BIOS/UEFI to a lower RPM if noise is a concern.
10. Warranty Information
Thermalright products are manufactured to high-quality standards and are backed by a manufacturer's warranty. For specific warranty terms and conditions, please refer to the warranty card included with your product or visit the official Thermalright website. Keep your purchase receipt as proof of purchase for warranty claims.
11. Support
If you require further assistance or have questions not covered in this manual, please contact Thermalright customer support. You can typically find contact information on the official Thermalright website or through your retailer.