Generic Refrigerator Ice Maker Replacement Part
Model: fene#6126-00643
Introduction
This instruction manual provides essential information for the safe and correct installation, operation, and maintenance of your new Generic Refrigerator Ice Maker Replacement Part, model fene#6126-00643. Please read this manual thoroughly before attempting any installation or use. Retain this manual for future reference.
Safety Information
Always prioritize safety when working with electrical appliances and water lines. Failure to follow these safety instructions could result in property damage, personal injury, or death.
- Disconnect Power: Always unplug the refrigerator from the power outlet before beginning any installation, maintenance, or troubleshooting.
- Shut Off Water Supply: Turn off the water supply to the refrigerator before disconnecting any water lines.
- Professional Installation Recommended: If you are not comfortable performing electrical or plumbing work, it is highly recommended to seek assistance from a qualified technician.
- Wear Protective Gear: Use gloves and eye protection to prevent injury from sharp edges or debris.
- Handle with Care: The ice maker contains delicate components. Handle it carefully to avoid damage.
Package Contents
Verify that all components are present and undamaged upon opening the package.
- 1 x Generic Refrigerator Ice Maker Replacement Part (Model fene#6126-00643, Part Number EAU60783850)
- Note: Additional mounting hardware or wiring harnesses may be required depending on your specific refrigerator model and are not always included.
Installation (Setup)
Follow these steps carefully to install the replacement ice maker. Refer to your refrigerator's specific service manual for detailed instructions if available.
- Prepare the Refrigerator:
- Unplug the refrigerator from the electrical outlet.
- Turn off the water supply valve to the refrigerator.
- Empty the ice bin and remove any existing ice.
- Access the Old Ice Maker:
- Locate the ice maker compartment, typically in the freezer section.
- Remove any screws or clips securing the old ice maker.
- Carefully disconnect the electrical wiring harness and any water lines from the old ice maker.
- Remove the old ice maker from the freezer.
- Install the New Ice Maker:
- Position the new ice maker (Model fene#6126-00643) into the freezer compartment.
- Connect the electrical wiring harness to the new ice maker. Ensure a secure connection.
- Connect any water lines to the new ice maker.
- Secure the new ice maker with the appropriate screws or clips.
- Post-Installation Checks:
- Turn the water supply valve back on. Check for any leaks around the water line connections.
- Plug the refrigerator back into the electrical outlet.
- Listen for the ice maker to cycle. The first cycle may take several hours.
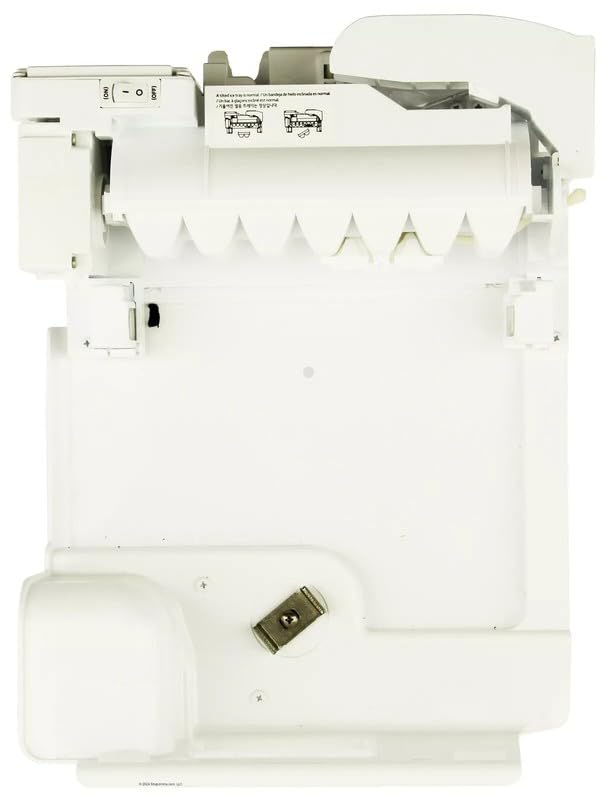
Image: Generic Refrigerator Ice Maker Replacement Part (Model fene#6126-00643). This image shows the overall appearance of the ice maker unit, including its main body and connection points, as it would appear before installation.
Operation
Once installed, the ice maker will begin its operation automatically.
- Initial Ice Production: It may take 12 to 24 hours for the freezer to reach the optimal temperature and for the ice maker to produce its first batch of ice.
- Discard First Batches: For sanitary reasons, discard the first two to three batches of ice produced. This helps flush out any impurities from the water line and new components.
- Ice Level Sensor: The ice maker is equipped with a sensor arm that detects the ice level in the bin. When the bin is full, the ice maker will automatically stop producing ice. When ice is removed, the arm will drop, and production will resume.
Maintenance
Regular maintenance ensures optimal performance and longevity of your ice maker.
- Cleaning the Ice Bin: Periodically remove and wash the ice storage bin with mild soap and warm water. Rinse thoroughly and dry completely before returning it to the freezer.
- Cleaning the Ice Maker: If mineral deposits or mold accumulate on the ice maker components, disconnect power and gently wipe surfaces with a damp cloth. Do not use abrasive cleaners or harsh chemicals.
- Water Filter: If your refrigerator has a water filter, ensure it is replaced according to the manufacturer's recommendations to maintain water quality and ice taste.
Troubleshooting
Before contacting support, review these common issues and their solutions.
| Problem | Possible Cause | Solution |
|---|---|---|
| No ice production | Refrigerator not plugged in; water supply off; freezer temperature too high; ice maker arm in 'off' position; clogged water line. | Check power connection; ensure water supply is on; set freezer to 0°F (-18°C); lower the ice maker arm; check for kinks or blockages in the water line. |
| Small or hollow ice cubes | Low water pressure; partially clogged water filter; freezer temperature too high. | Check water pressure; replace water filter; ensure freezer temperature is adequate. |
| Ice tastes bad or has odor | Old ice; uncleaned ice bin; old water filter; food odors in freezer. | Discard old ice; clean ice bin; replace water filter; store odorous foods in airtight containers. |
| Ice maker is noisy | Normal operation sounds; loose components. | Some noise during filling and harvesting is normal. If excessive, ensure ice maker is securely mounted. |
Specifications
- Product Type: Refrigerator Ice Maker Replacement Part
- Brand: Generic
- Model Number: fene#6126-00643
- Part Number: EAU60783850
- Compatible Kenmore Refrigerator Models: 79570332410, 79573059410, 79570323312, 79570329310, 79570329312, 79570355410, 79570333410, 79570322311, 79570322312, 79570339410, 79570354410, 79570323311, 79570329311, 79572495610, 79573053410, 79572493610, 79573052410, 79573065410, 79571069011, 79570323310, 79573063410, 79570322310, 79571062011
Warranty and Support
For warranty information or technical support, please refer to the documentation provided by your retailer or contact the seller directly. Keep your purchase receipt as proof of purchase.


