
1. Introduction
The Hedlaoy R60 Max Handheld Game Console is a portable gaming system designed for retro gaming enthusiasts. It features a high-performance 1.5GHz 64-bit RK3506B chip and DDR3-256M RAM, ensuring smooth gameplay across various emulators. Pre-installed with the Linux TitanOS, it offers responsive navigation and compatibility with a wide range of classic games. The console includes a 6-inch IPS screen for vibrant visuals and RGB backlit joysticks for comfortable control.
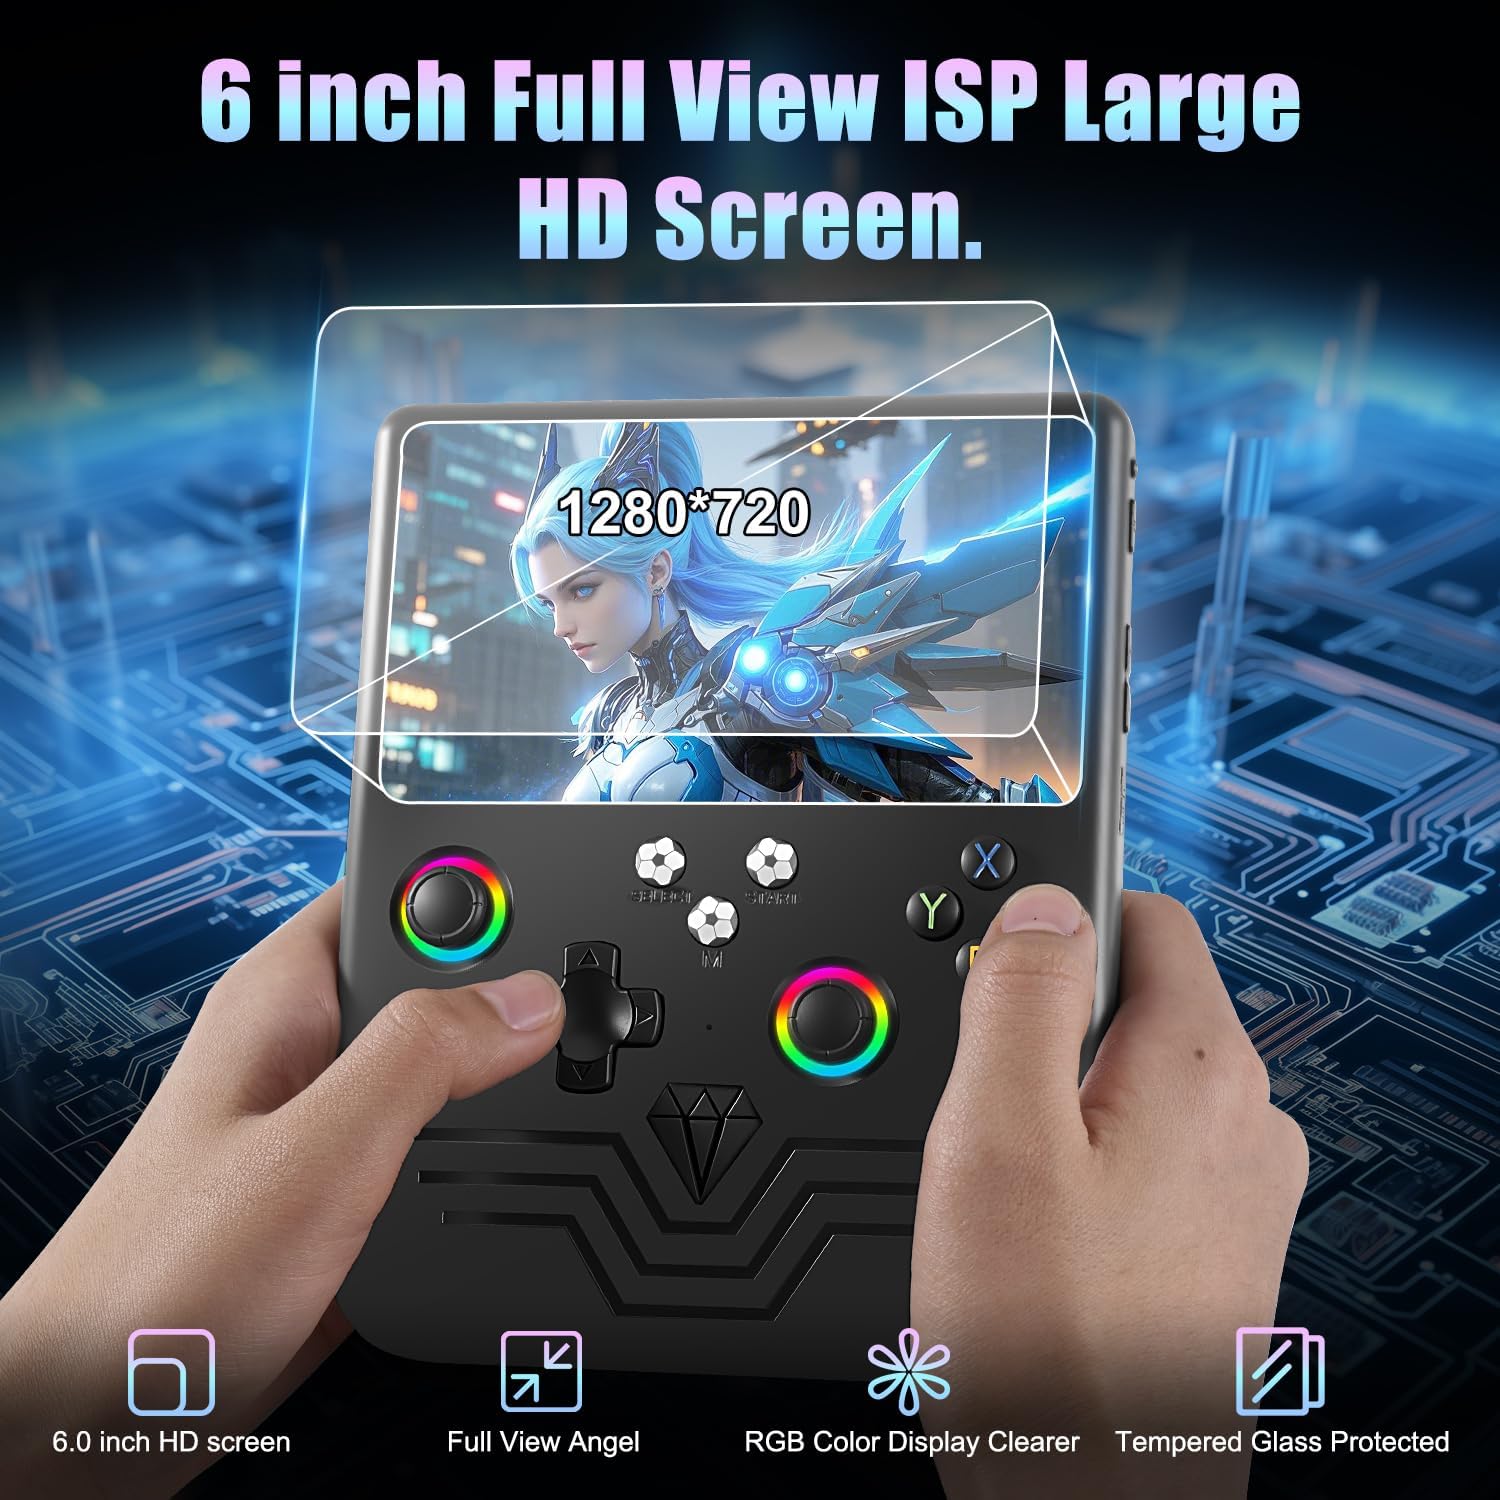
Image 1.1: The Hedlaoy R60 Max Handheld Game Console, showcasing its 6-inch IPS screen with a 1280x720 resolution.
2. What's in the Box
Upon unboxing your Hedlaoy R60 Max Handheld Game Console, please ensure all the following items are present:
- 1x R60 Max Handheld Game Console
- 1x Charging Wire (USB Type-C)
- 1x User Manual
- 1x Gift Box
3. Product Overview
Familiarize yourself with the various components and controls of your R60 Max console.
3.1. Console Layout and Key Functions

Image 3.1: Detailed diagram illustrating the key functions and ports of the R60 Max console.
- Left Stick: Analog joystick for movement and navigation.
- Arrow Keys (D-Pad): Directional input for games and menu navigation.
- Right Stick: Analog joystick for camera control or additional movement.
- Y/X/A/B Keys: Action buttons for gameplay.
- Select Button: Used for various in-game functions or menu selections.
- Start Button: Used to start games, pause, or access in-game menus.
- M Button: Menu button, often used to access quick menus or system settings.
- Speaker: For audio output.
- Headphone Jack: 3.5mm port for private audio listening.
- OTG Interface (USB Type-C): For connecting external devices or charging.
- Left Shoulder Buttons (L1/L2): Trigger buttons on the left side.
- Right Shoulder Buttons (R1/R2): Trigger buttons on the right side.
- TF Card Slot: For inserting the game storage card.
- Volume +/-: Buttons to adjust the audio volume.
- Power Button: Long press to turn the console on/off.
- Force Power Off: A small reset button for emergency shutdown.
3.2. RGB Backlit Joysticks
The console features RGB backlit joysticks that provide both aesthetic appeal and responsive control. These joysticks are designed for comfortable use during extended gaming sessions.

Image 3.2: The RGB backlit joysticks, offering precise control and customizable lighting.
4. Setup
4.1. Initial Charging
Before first use, fully charge the console. Connect the provided USB Type-C charging wire to the console's OTG interface and a compatible power adapter (not included). The 6000mAh battery typically requires 3-6 hours for a full charge and provides up to 10 hours of battery life.

Image 4.1: Information regarding the 6000mAh battery, charging time, and battery life.
4.2. Powering On/Off
- To Power On: Long press the Power button located on the side of the console.
- To Power Off: Long press the Power button until the shutdown options appear, then select 'Power Off'. Alternatively, use the 'Force Power Off' button in emergencies.
4.3. Inserting the TF Card
The console comes with a 128GB TF card pre-loaded with over 40,000 retro games and 35+ emulators. Insert the TF card into the designated TF Card Slot. Ensure it is inserted correctly to avoid damage.

Image 4.2: Overview of the R60 Max's gaming capabilities, including the 128GB TF card and pre-loaded games.
5. Operating Instructions
5.1. Navigating the User Interface
Use the Left Stick or Arrow Keys (D-Pad) to navigate through the main menu and game lists. The A button typically acts as a 'Select' or 'Confirm' button, while the B button usually functions as 'Back' or 'Cancel'.
5.2. Selecting and Launching Games
From the main menu, select the desired emulator or game category. Browse through the list of games. Press the A button to select a game and the Start button to launch it. The Linux TitanOS provides an ultra-responsive experience for game selection.
5.3. Saving and Loading Game Progress
To save your game progress, press the M (Menu) button during gameplay to access the quick menu. From there, select 'Save State' to record your current progress. To resume from a saved point, access the quick menu and select 'Load State'.
5.4. Audio Control
Adjust the volume using the Volume +/- buttons on the side of the console. For private listening, plug headphones into the 3.5mm Headphone Jack.
6. Maintenance
- Cleaning: Use a soft, dry cloth to clean the console's exterior. Avoid using liquid cleaners or abrasive materials.
- Screen Care: The 6-inch IPS screen is protected by tempered glass. However, avoid sharp objects and excessive pressure to prevent scratches or damage.
- Storage: Store the console in a cool, dry place away from direct sunlight and extreme temperatures.
- Battery: To maintain battery health, avoid fully discharging the battery frequently. Charge it regularly, even if not in use for extended periods.
7. Troubleshooting
- Console Not Turning On: Ensure the battery is charged. Connect the charging cable and try again. If the issue persists, try a long press on the Power button (5-10 seconds).
- Games Not Loading/Freezing: Some games may not be fully compatible or optimized for all emulators. Try restarting the console. Ensure the TF card is properly inserted.
- Poor Performance in Games: Performance can vary depending on the game and emulator. Newer or more graphically intensive games may experience slowdowns. Ensure the console is not overheating.
- No Sound: Check the volume settings. Ensure headphones are properly plugged in if used.
- Controls Unresponsive: Restart the console. If specific buttons or joysticks are consistently unresponsive, contact customer support.
8. Specifications
| Model Number | R60 Max |
| Processor | 1.5GHz 64-bit RK3506B chip |
| RAM | DDR3-256M |
| Operating System | Linux TitanOS |
| Screen Size | 6 Inches IPS |
| Memory Storage Capacity | 128 GB (TF Card included) |
| Battery Capacity | 6000mAh Lithium-Ion |
| Battery Life | Up to 10 Hours |
| Charging Time | 3-6 Hours |
| Hardware Interface | USB Type-C |
| Controller Type | Button Control, Joystick (RGB Backlit) |
| Dimensions (L x W x H) | 2.95" x 1.57" x 1.46" |
| Item Weight | 11.2 ounces |
| Material Type | Plastic |

Image 8.1: The R60 Max console demonstrating its portable design and dimensions.
9. Warranty and Support
For warranty information or technical support, please refer to the contact details provided by Hedlaoy at the point of purchase or visit the official Hedlaoy website. Keep your purchase receipt as proof of purchase for any warranty claims.