1. Introduction
This manual provides instructions for the installation and maintenance of the Generic Replacement Belt, model 810-CBL2950T. This belt is designed as a replacement part for various outdoor power equipment, specifically compatible with White-Outdoor LT18, LT185, LT16 models, and also compatible with F620, F680, F687, and PRO Z 554-L equipment. Refer to your equipment's original manual for specific belt routing diagrams and safety procedures.
Part Number: 954-05037
2. Safety Information
Always prioritize safety when working with machinery. Failure to follow safety instructions can result in serious injury or damage to equipment.
- Disconnect Power: Before attempting any installation or maintenance, ensure the equipment is turned off, the engine is cool, and the spark plug wire (for gasoline engines) or power cord (for electric equipment) is disconnected to prevent accidental startup.
- Wear Protective Gear: Use appropriate personal protective equipment, including gloves and eye protection.
- Read Equipment Manual: Always consult the original equipment manufacturer's manual for specific safety warnings, belt routing diagrams, and installation procedures relevant to your specific model.
- Secure Equipment: Ensure the equipment is stable and cannot move during the installation process.
- Keep Clear: Keep hands, feet, and clothing away from moving parts.
3. Package Contents
Verify that all components are present before beginning installation.
- One (1) Generic Replacement Belt (Model: 810-CBL2950T)
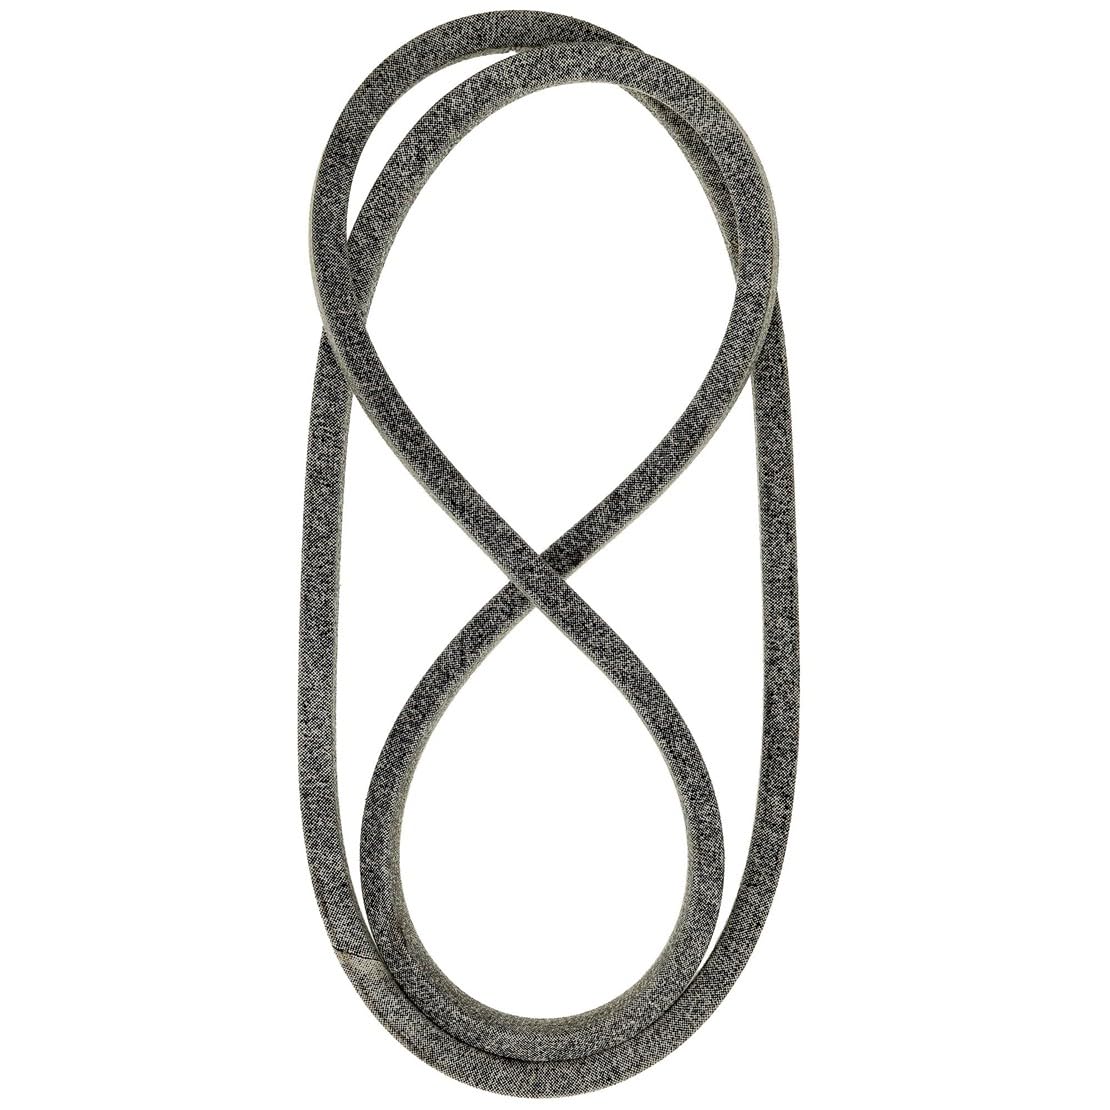
Figure 1: Generic Replacement Belt (Model 810-CBL2950T). This image shows the typical appearance of the replacement belt, coiled and ready for installation.
4. Installation Instructions
The following steps provide a general guide for replacing a drive belt. Specific procedures may vary depending on your equipment model. Always refer to your equipment's original service manual for detailed instructions and diagrams.
- Prepare Equipment: Ensure the equipment is on a flat, stable surface. Turn off the engine/power, remove the ignition key, and disconnect the spark plug wire or power source. Allow the engine to cool if it has been running.
- Access Belt Area: Depending on your equipment, you may need to remove deck covers, guards, or other components to gain access to the belt system.
- Document Belt Routing: Before removing the old belt, carefully observe and, if possible, sketch or photograph the existing belt routing around all pulleys and tensioners. This will be crucial for correct installation of the new belt.
- Relieve Tension: Locate any belt tensioners or idler pulleys. You may need to release tension on these components to allow the old belt to be removed. This often involves loosening bolts or using a lever.
- Remove Old Belt: Carefully remove the old belt from all pulleys and guides. Inspect the old belt for wear patterns, cracks, or damage, which can indicate underlying issues with pulleys or alignment.
- Inspect Pulleys and Bearings: While the belt is off, inspect all pulleys for wear, damage, or excessive play. Ensure they spin freely and are clean. Replace any worn or damaged pulleys.
- Install New Belt: Route the new replacement belt around the pulleys according to the diagram or photograph you made earlier. Ensure the belt is seated correctly in all pulley grooves.
- Apply Tension: Re-apply tension to the belt system. Ensure the belt is taut but not overly tight, allowing for proper operation without excessive strain on bearings. Refer to your equipment manual for recommended tensioning procedures.
- Reassemble: Reinstall any covers, guards, or components that were removed to access the belt area.
- Test Operation: Reconnect the spark plug wire or power source. Start the equipment and carefully test its operation in a safe, open area. Listen for unusual noises and observe belt movement. If any issues arise, immediately shut down the equipment and re-check the installation.
5. Operating Instructions
After successful installation, ensure the belt operates smoothly. The primary function of this replacement belt is to transmit power within your equipment. Proper operation relies on correct installation and regular maintenance.
- Always operate equipment according to the manufacturer's guidelines.
- Avoid sudden starts or stops that can put excessive strain on the belt.
- Ensure the belt is free from debris and obstructions during operation.
6. Maintenance
Regular inspection and maintenance will extend the life of your replacement belt and ensure optimal equipment performance.
- Regular Inspection: Periodically inspect the belt for signs of wear, cracking, fraying, glazing, or stretching. Replace the belt if any significant damage is observed.
- Cleanliness: Keep the belt and pulleys free from dirt, grass clippings, oil, and other debris. Contaminants can cause premature wear and slippage.
- Proper Tension: Ensure the belt maintains proper tension. An overly loose belt can slip, causing wear and inefficient power transfer. An overly tight belt can put excessive strain on bearings and reduce belt life.
- Alignment: Verify that all pulleys are properly aligned. Misalignment can lead to uneven belt wear and premature failure.
7. Troubleshooting
If you encounter issues after installing the new belt, consider the following common problems and solutions:
- Belt Slipping:
- Check belt tension. It may be too loose.
- Inspect pulleys for glazing, wear, or debris.
- Ensure the belt is dry and free of oil or grease.
- Unusual Noise (Squealing, Squeaking):
- Check belt tension. It may be too tight or too loose.
- Inspect pulleys and bearings for wear or damage.
- Verify correct belt routing.
- Premature Belt Wear:
- Check for proper belt tension.
- Inspect pulleys for misalignment, nicks, or sharp edges.
- Ensure the belt is not rubbing against any guards or obstructions.
If problems persist, consult a qualified service technician or refer to your equipment's original service manual.
8. Specifications
| Model Number | 810-CBL2950T |
| Part Number | 954-05037 |
| Compatible Models | White-Outdoor LT18, LT185, LT16; F620, F680, F687; PRO Z 554-L |
| Product Dimensions | Approximately 1 x 1 x 1 inches (packaged) |
| Power Source (Equipment) | Hand-powered (referring to the installation process, not the belt itself) |
| ASIN | B0GJS4XQDW |
9. Warranty and Support
Warranty: Based on the provided product information, there is no explicit warranty description for this replacement belt.
Support: For technical assistance or further inquiries regarding this replacement part, please contact the retailer or the manufacturer of your specific equipment for guidance on compatible parts and installation procedures.


