
1. Introduction
This manual provides essential information for the safe and efficient operation of your NerdQaxe++ 6TH/s Bitcoin Miner. This device is designed for stable and efficient Bitcoin and cryptocurrency mining using ASIC chips, suitable for home use and solo mining. It features an industry-leading energy efficiency ratio and ultra-low power consumption.
2. Product Overview
2.1 Key Features
- Powerful & Efficient Mining: 6TH/s SHA-256 hash rate with 15J/TH energy efficiency and 100W power consumption.
- Quiet & Compact Design: Operates at less than 40dB, ideal for home environments.
- Open-Source & Easy Integration: Supports open-source mining software (BTCminer, CGMiner) and mainstream mining pools (F2Pool, AntPool). Plug-and-play Ethernet connection.
- Reliable Power & Connectivity: Equipped with a 12V/10A DC power supply, supports remote monitoring, firmware updates, and real-time data synchronization via Ethernet.
- Versatile Mining Solution: Compatible with cryptocurrencies using the SHA-256 algorithm (BTC, BCH, LTC).
2.2 Components
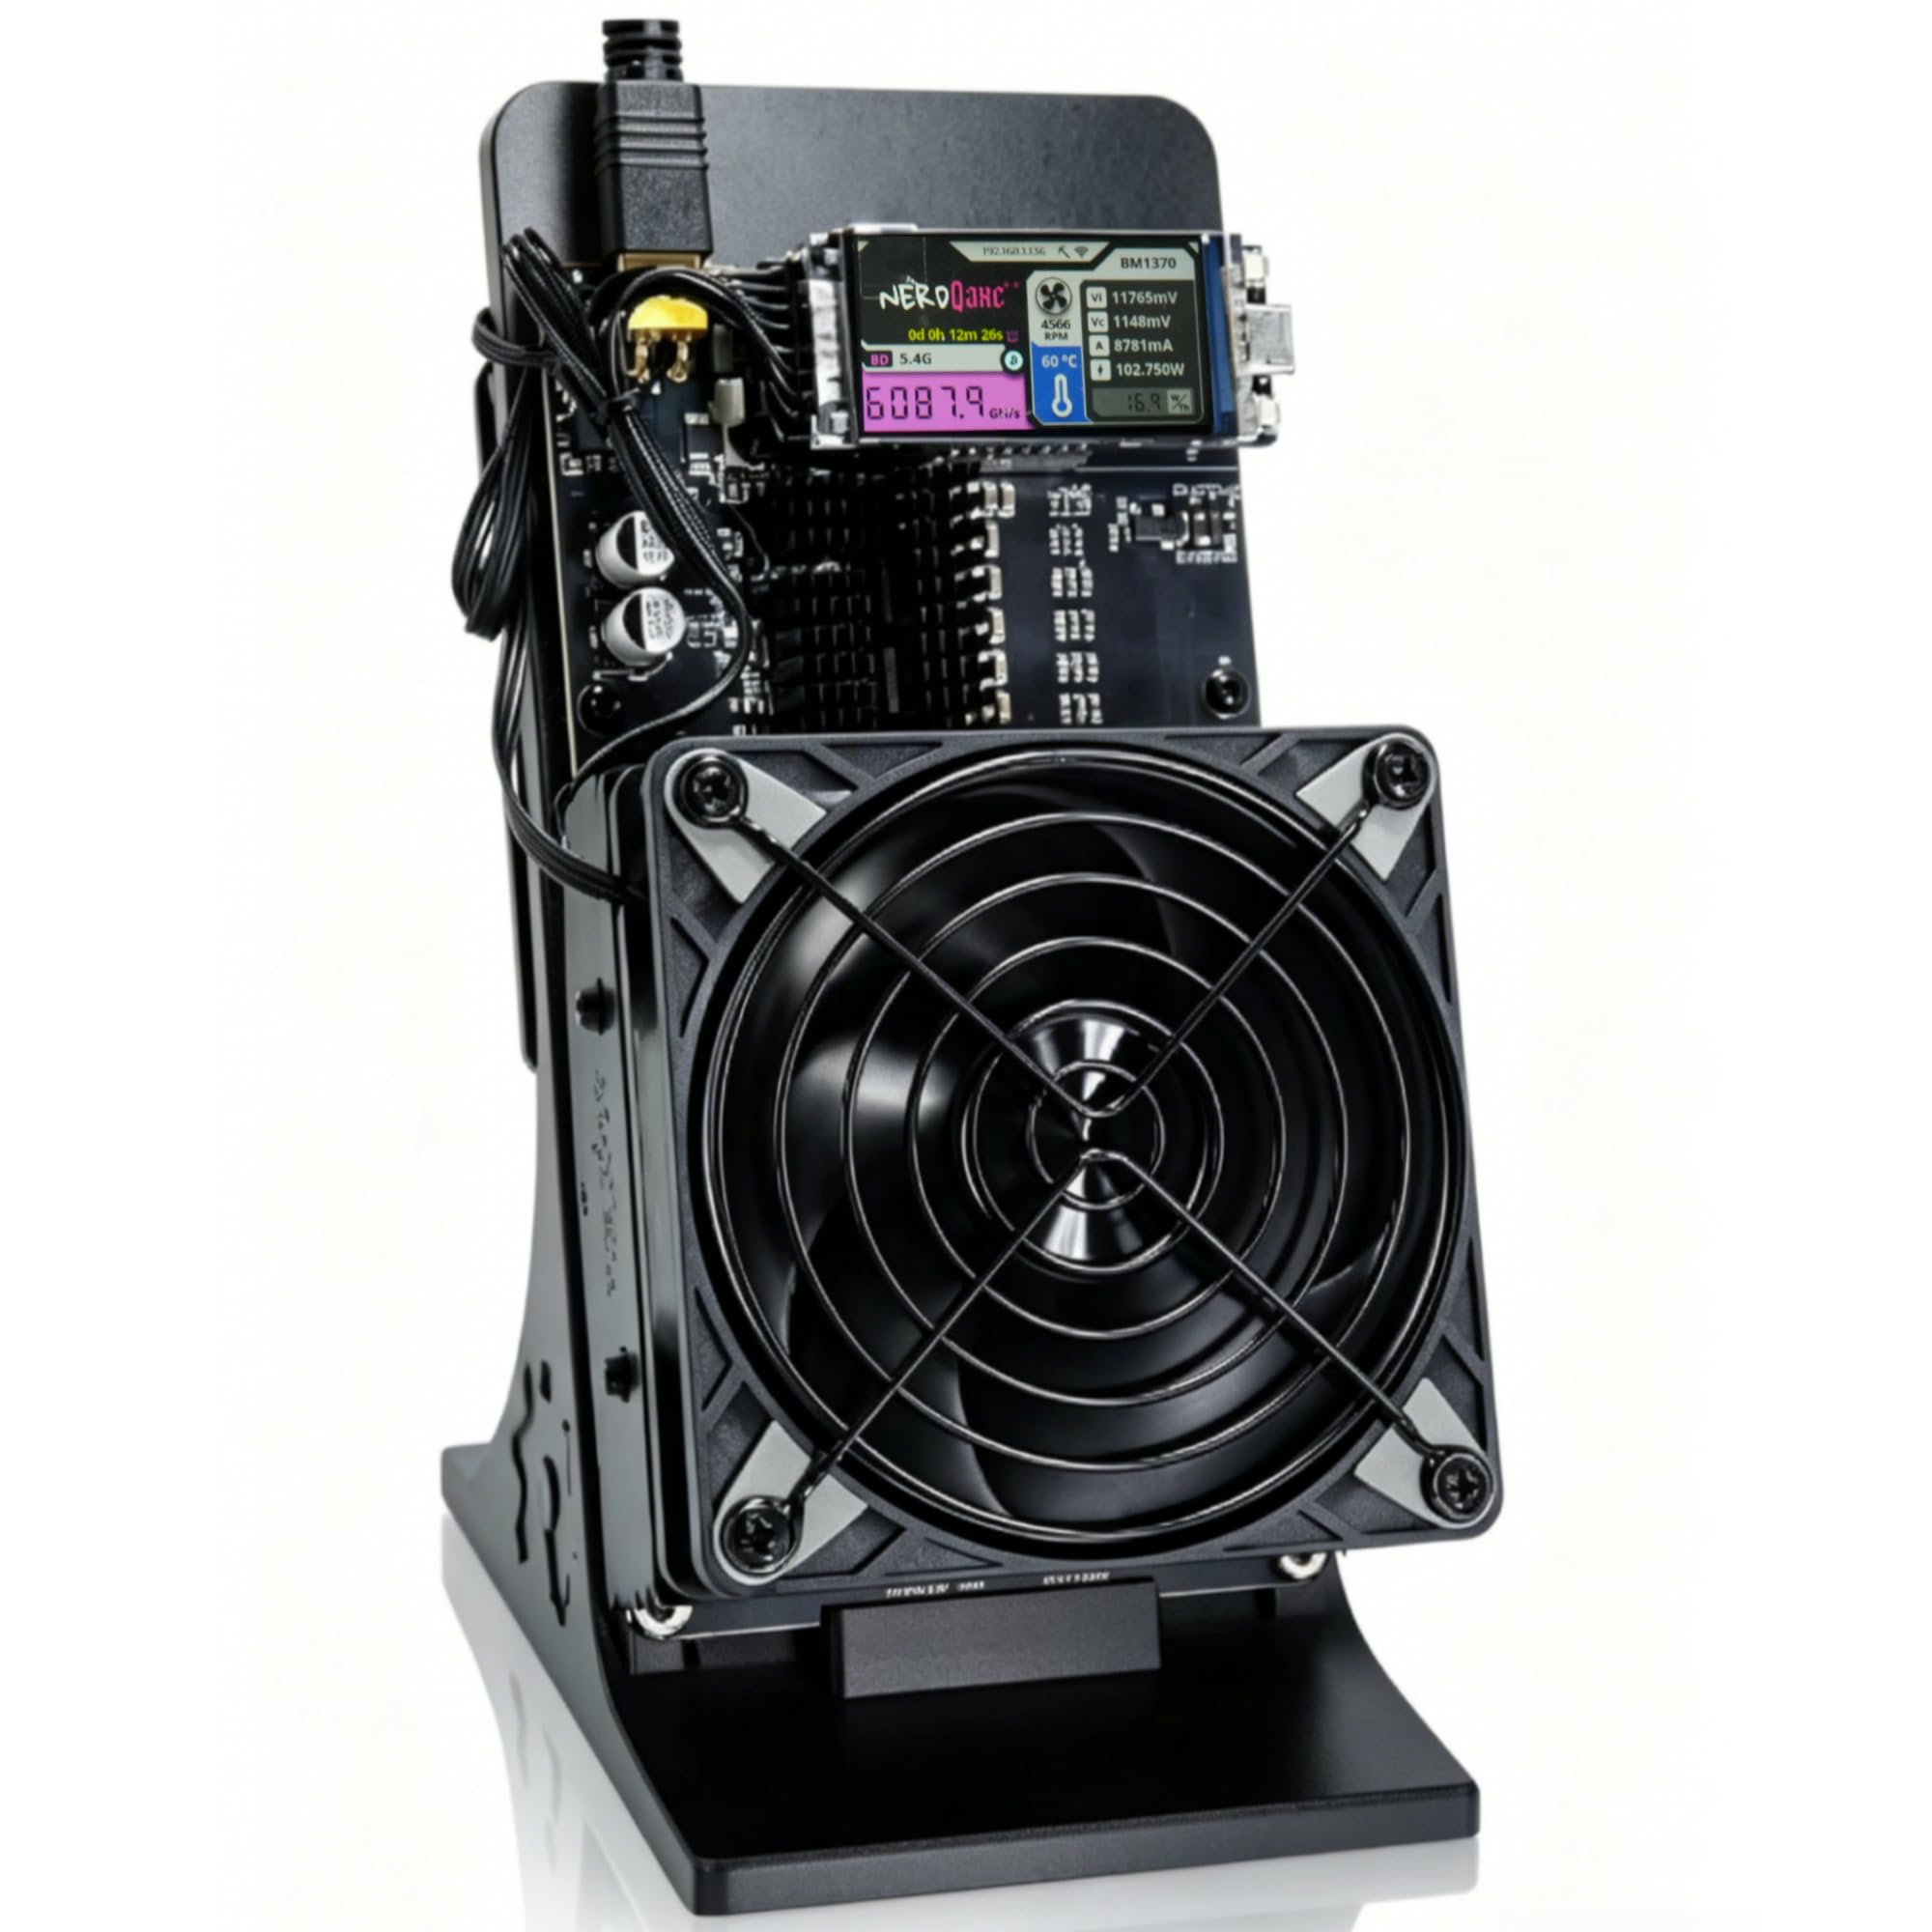
The NerdQaxe++ Bitcoin Miner includes the main mining unit with dual fans, a 1.9-inch display, and a 12V/10A DC power supply.



3. Setup Instructions
Follow these steps to set up your NerdQaxe++ Bitcoin Miner:
- Insert the Module: Carefully insert the main mining module into its designated slot on the base unit. Ensure it is seated firmly.
- Connect Power: Connect the 12V/10A DC power supply to the miner and then plug it into a power outlet.
- Network Connection: Connect the miner to your network via an Ethernet cable for a stable connection, or configure Wi-Fi settings as described in the operating instructions.
- Configure Mining Pool: Access the miner's web interface (usually via its IP address) to configure your mining pool settings, including Stratum Host, Stratum Port, and your Bitcoin wallet address.
- Save and Restart: Save all settings and restart the device to apply the changes.
4. Operating Instructions
Once set up, the NerdQaxe++ miner operates automatically. You can monitor its status and adjust settings via its web interface.
4.1 Monitoring the Miner
The 1.9-inch display on the miner provides real-time information such as Device IP, Temperature Chip, Current Hashrate, and Efficiency. For detailed monitoring, access the web interface.


4.2 Remote Monitoring and Firmware Updates
The device supports remote monitoring and firmware updates through its web interface. Ensure a stable Ethernet connection for these operations.
5. Maintenance
To ensure optimal performance and longevity of your NerdQaxe++ Bitcoin Miner, consider the following maintenance tips:
- Ventilation: Ensure the miner is placed in a well-ventilated area to prevent overheating. The dual fans are designed for efficient cooling, but proper airflow is crucial.
- Cleaning: Periodically clean the fans and vents to remove dust accumulation, which can impede airflow and lead to overheating. Use compressed air or a soft brush.
- Power Supply: Use only the provided 12V/10A DC power supply to ensure stable and correct power delivery.
6. Troubleshooting
Refer to the following common issues and their solutions:
| Issue | Solution |
|---|---|
| Overheating | Adjust the core voltage and frequency parameters within the miner's settings by lowering them. Ensure the miner is in a well-ventilated environment. |
| CURRENT PROTECTION situation | Unplug the power, move the miner to a well-ventilated area, and restart it after it has cooled down. |
| General issues / Miner not working | First, try to reset the device. If you are unable to reset it successfully or encounter other issues, please contact the Amazon seller for technical support. |
| Overclocking concerns | Firmware upgrades may raise the miner's required voltage and boost operating frequency. Overclocking does little harm to the chip in a well-ventilated environment. |

7. Specifications
| Specification | Value |
|---|---|
| Model Name | NerdQaxe++ |
| Brand | Generic |
| Hash Rate | 6 TH/s (SHA-256) |
| Energy Efficiency Ratio | 15 J/TH |
| Output Wattage | 98 Watts (approx. 100W) |
| Power Supply | 12V/10A DC (GaN adapter included) |
| Cooling Method | Dual Fan |
| Noise Level | Less than 40dB |
| Connectivity | Ethernet, WiFi |
| Display | 1.9-inch |
| Dimensions (L x W x H) | 6.7 x 5.5 x 7.5 inches |
| Item Weight | 3 Pounds |
| Compatible Cryptocurrencies | SHA-256 algorithm (Bitcoin, Bitcoin Cash, Litecoin, etc.) |
8. Warranty and Support
The NerdQaxe++ Bitcoin Miner comes with a 2-year warranty. For any technical assistance, troubleshooting beyond this manual, or warranty claims, please contact the seller directly through the platform where the product was purchased.


