
1. Introduction
This manual provides detailed instructions for the assembly, operation, maintenance, and troubleshooting of your Trygoal Outdoor Privacy Panel with Stand, Model C-Trygoal-PF17SC. Please read this manual thoroughly before installation and use to ensure proper function and longevity of your product.
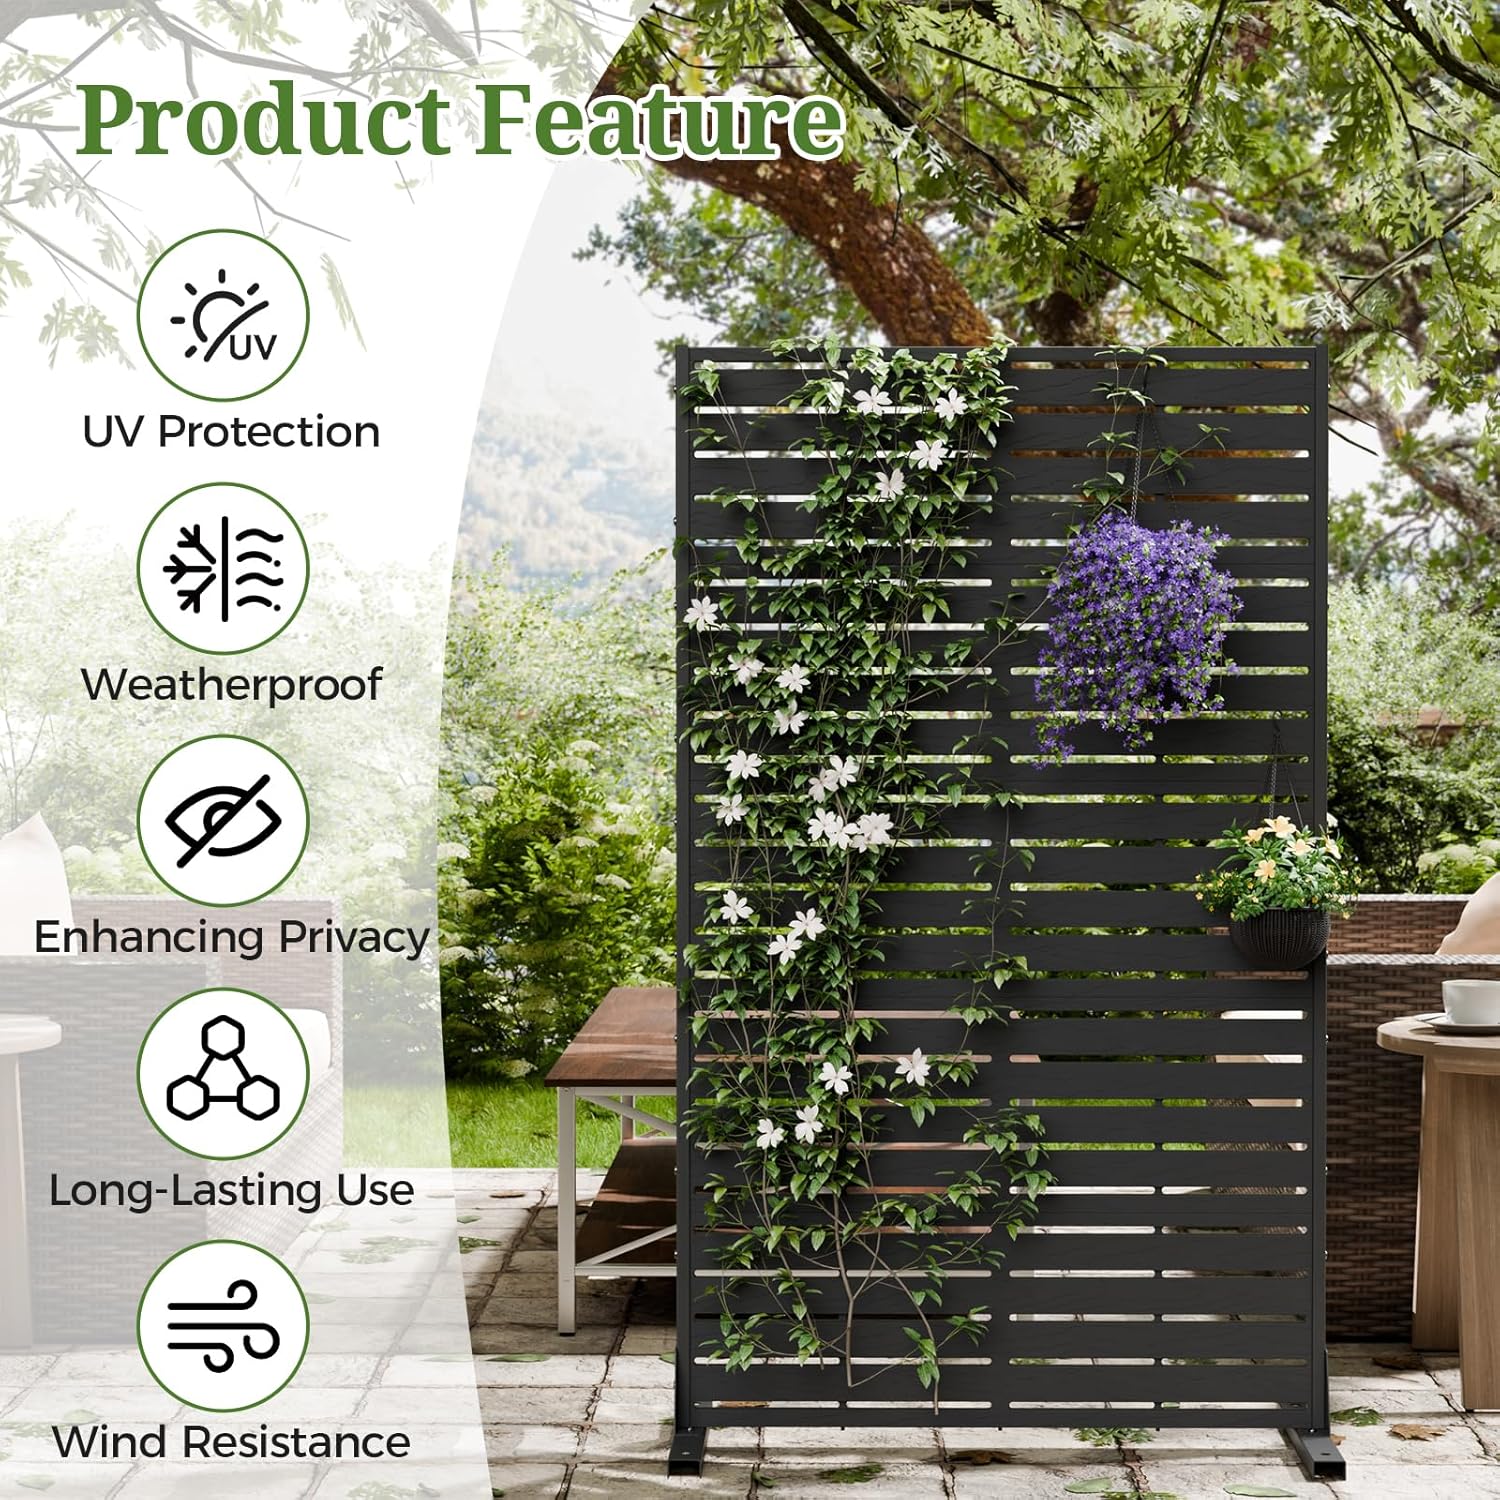
Figure 1: Key features of the Trygoal Outdoor Privacy Panel.
Product Features:
- UV Protection: Designed to resist damage from sun exposure.
- Weatherproof: Constructed to withstand various outdoor weather conditions.
- Enhanced Privacy: Provides an effective visual barrier for outdoor spaces.
- Long-Lasting Use: Built with durable materials for extended outdoor life.
- Wind Resistance: Engineered to offer stability against wind.
2. Safety Information
Please observe the following safety precautions to prevent injury or damage to the product:
- Read all instructions before assembly and use.
- Ensure all components are securely fastened during assembly.
- Do not climb on or lean heavily against the privacy panel.
- In areas prone to strong winds, ensure the panel is adequately anchored to the ground using the provided hardware or additional securing methods.
- Keep children and pets away from the assembly area to avoid accidents.
- Regularly inspect the panel for any signs of wear, damage, or loose connections.
3. Setup and Assembly
Included Components:
- Privacy fence screen HDPE 5 panels
- Sturdy steel posts
- Metal base
- Ground spike (4 pieces)
- Expansion screws (for hard ground installation)
Assembly Instructions:
- Unpack all components and verify against the included components list.
- Attach the steel posts to the metal bases using the provided screws. Ensure a secure fit.
- Carefully slide the HDPE privacy panels into the grooves of the steel posts. The panels feature a louver pattern.
- Connect multiple panels if applicable, ensuring they interlock correctly.
- Position the assembled privacy panel in your desired location.
- For Hard Ground (e.g., concrete, patio): Use the provided expansion screws to secure the metal bases to the ground.
- For Soft Ground (e.g., grass, soil): Use the provided ground spikes to anchor the metal bases firmly into the ground.
- Double-check all connections and anchors for stability before use.
Video 1: Assembly guide for the Trygoal Freestanding Privacy Screen Panel.

Figure 2: Installation methods for hard ground and grassland.

Figure 3: Product dimensions and scale reference.
4. Operating Instructions
The Trygoal Outdoor Privacy Panel is designed for straightforward use to enhance privacy and aesthetics in various settings.
- Placement: Position the privacy panel in areas where visual screening is desired, such as patios, balconies, gardens, poolside areas, or even indoors as a room divider.
- Adjustments: The freestanding design allows for flexible placement and repositioning as needed. Ensure the base is stable on the chosen surface.
- Protection: The louvered design provides privacy while allowing some airflow. The HDPE material offers UV protection and weather resistance.
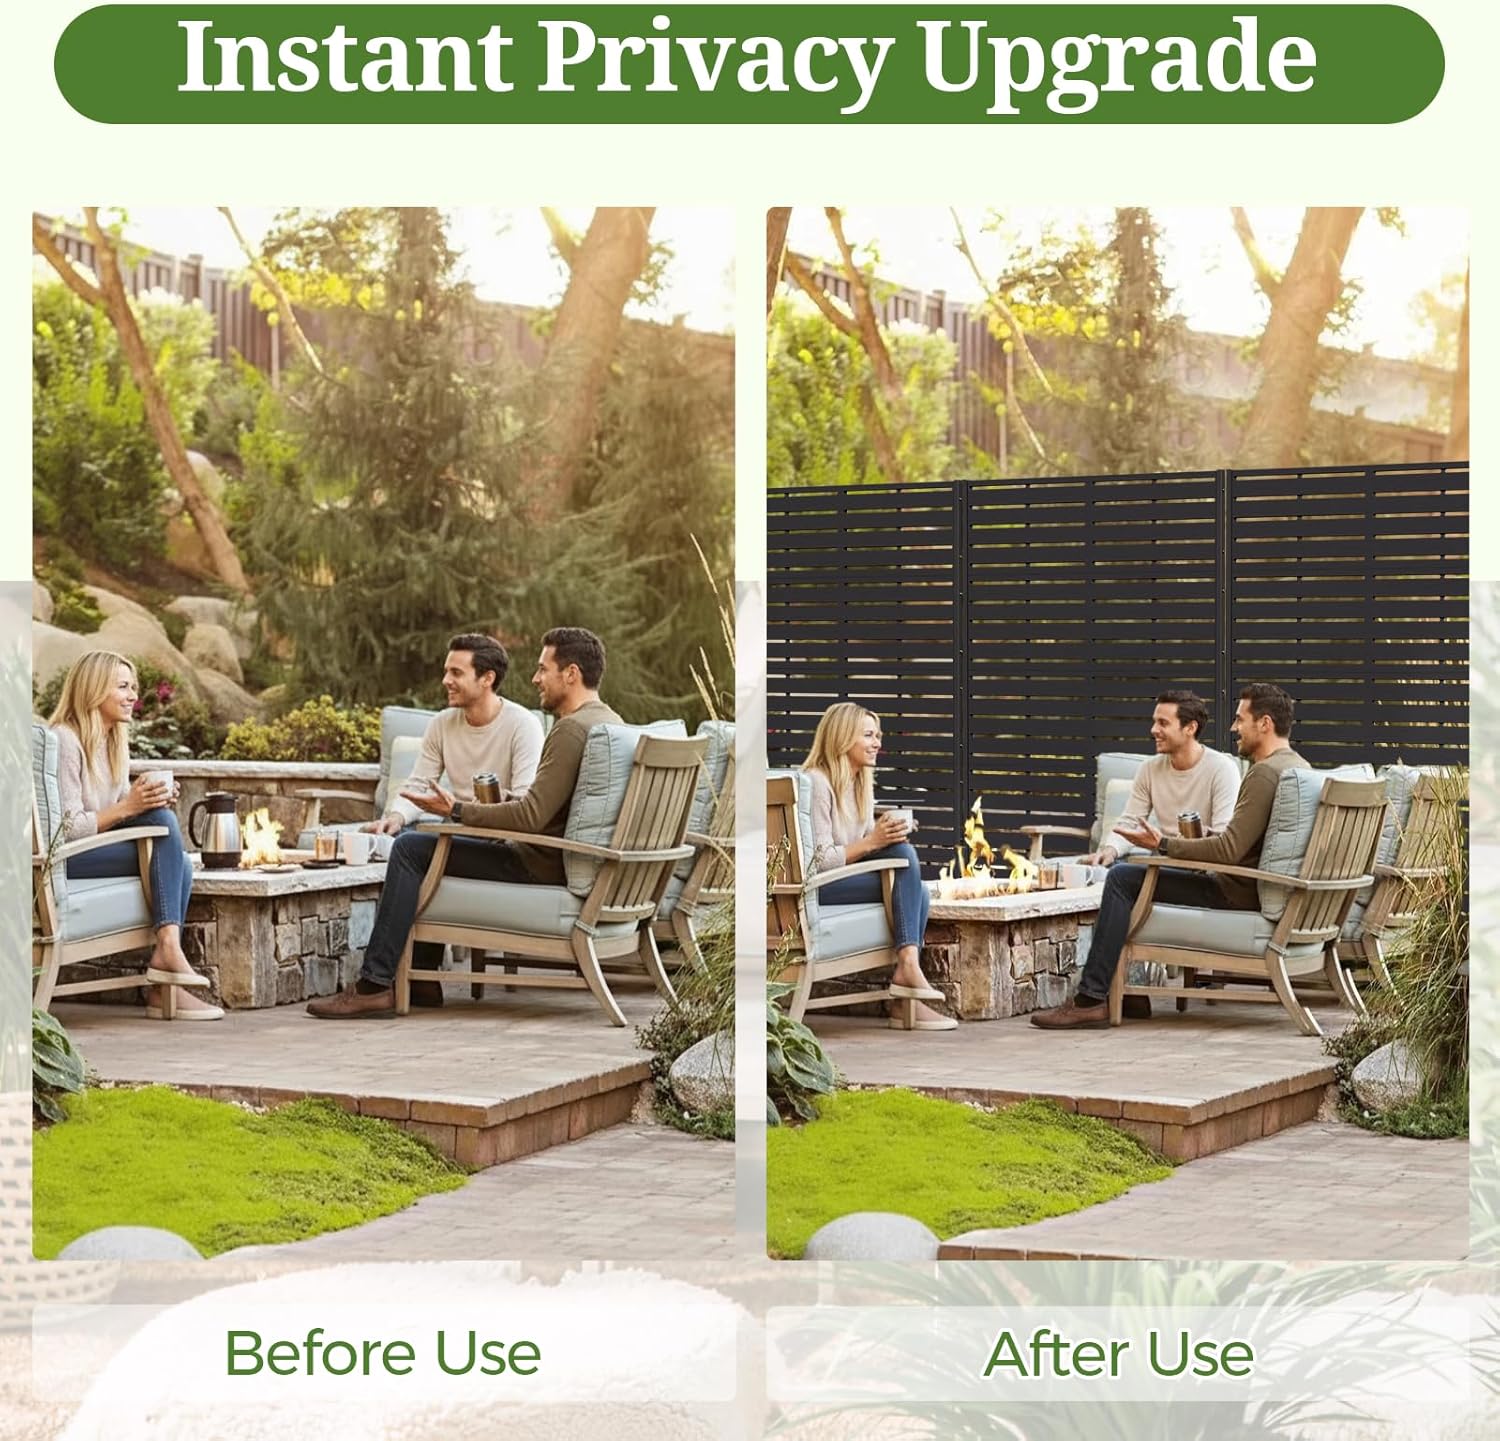
Figure 4: Example of privacy enhancement with the panel.
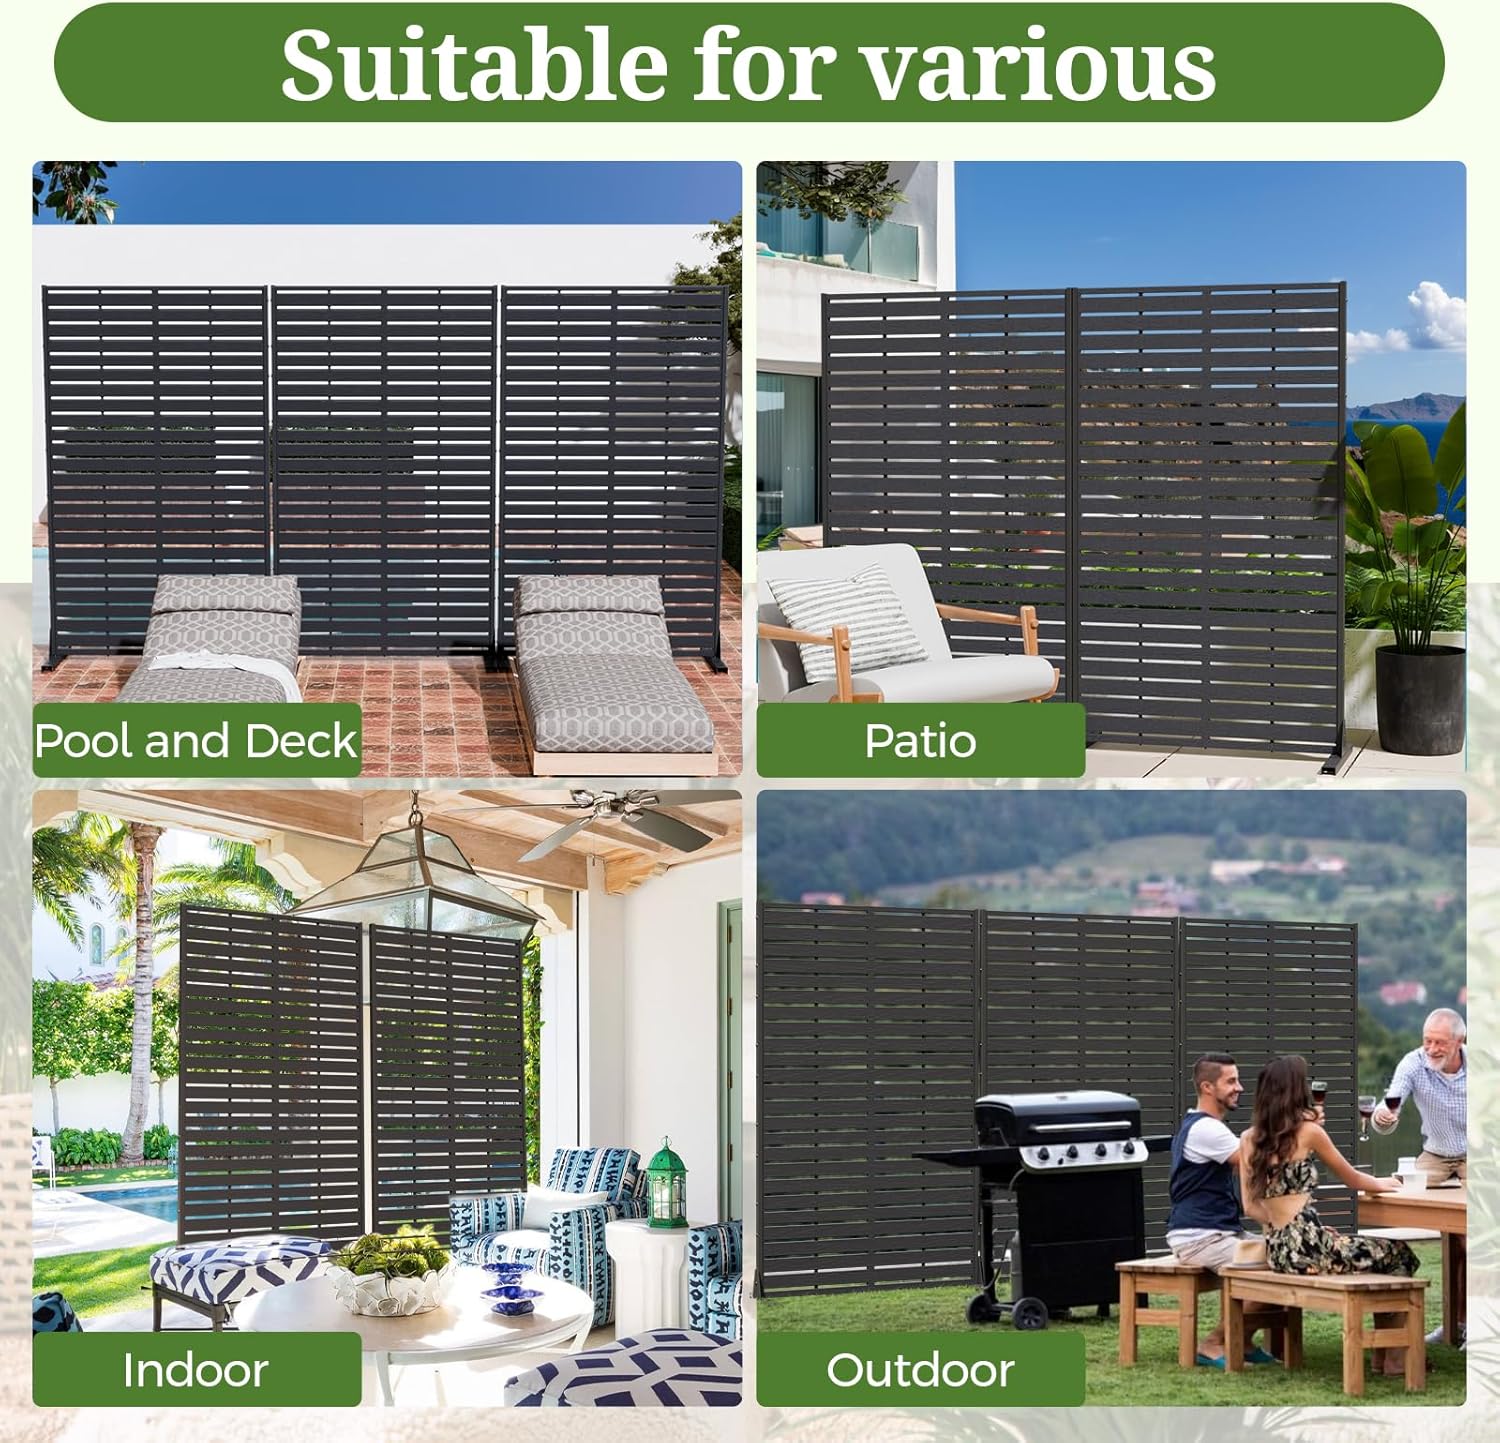
Figure 5: Versatile applications of the privacy screen.
5. Maintenance
Proper maintenance will help extend the life and appearance of your privacy panel.
- Cleaning: Clean the HDPE panels and steel frame with a soft cloth, mild soap, and water. Avoid abrasive cleaners or harsh chemicals that could damage the finish.
- Inspection: Periodically check all screws and connections to ensure they remain tight. Re-tighten if necessary.
- Seasonal Care: While weatherproof, consider storing the panel indoors during extreme weather conditions (e.g., heavy snow, hurricanes) to prevent potential damage.
6. Troubleshooting
| Problem | Possible Cause | Solution |
|---|---|---|
| Panel falls over easily / Instability | Insufficient anchoring; strong winds. | Ensure ground spikes or expansion screws are properly installed and secured. In very windy conditions, consider additional weights on the base or temporary relocation. |
| Plastic panels appear bowed or warped | Exposure to extreme heat; manufacturing defect. | Ensure the panel is not exposed to excessive, direct heat sources. If bowing occurs shortly after purchase and proper installation, contact customer support. |
| Loose connections | Screws have loosened over time. | Periodically check and re-tighten all assembly screws. |
7. Specifications
| Attribute | Detail |
|---|---|
| Brand | Trygoal |
| Model Number | C-Trygoal-PF17SC |
| Material | High Density Polyethylene (HDPE) |
| Color | Black-5 Panel |
| Product Dimensions | 35.4"L x 15.75"W (per panel) |
| Height | 60.24" (approx. 60" H) |
| Number of Panels | 5 |
| Included Components | Privacy fence screen HDPE 5 panels, sturdy steel posts, metal base and ground spike |
| Style | Contemporary |
| UPC | 684514829649 |
8. Warranty and Support
For warranty information, please refer to the terms and conditions provided at the time of purchase. Typically, products purchased through Amazon are eligible for a 30-day return/replacement policy.
If you encounter any issues or have questions regarding your Trygoal Outdoor Privacy Panel, please contact Trygoal customer support through the retailer's platform or the official Trygoal website for assistance.