1. Introduction
This manual provides essential information for the setup, operation, and maintenance of the Heltec WiFi LoRa 32 V4 Expansion Kit. This comprehensive kit is designed for the WiFi LoRa 32 V4 development board, integrating a Quectel L76K GNSS module, expansion carrier boards, and a LoRa 32 V4 Dev-board.
Key features include:
- Enhanced Performance: Features an ESP32-S3R2/S3R8 with 2MB PSRAM + 16MB Flash for complex UI and multitasking.
- Advanced Connectivity: Utilizes an SX1262 chip with optional 28dBm high-power transmission and -137dBm reception sensitivity, supporting 863-928MHz frequency bands.
- Intelligent Power Management: Supports Li-ion battery (3.3-4.2V) and solar charging via SH1.25-2 interface, with automatic USB/battery switching and integrated protection against overcharge, over-discharge, and short-circuits.
- Versatile Interface: Includes an SMA external LoRa antenna for extended signal range and is optimized for Meshtastic and LoRaWAN networks with full Arduino framework support.
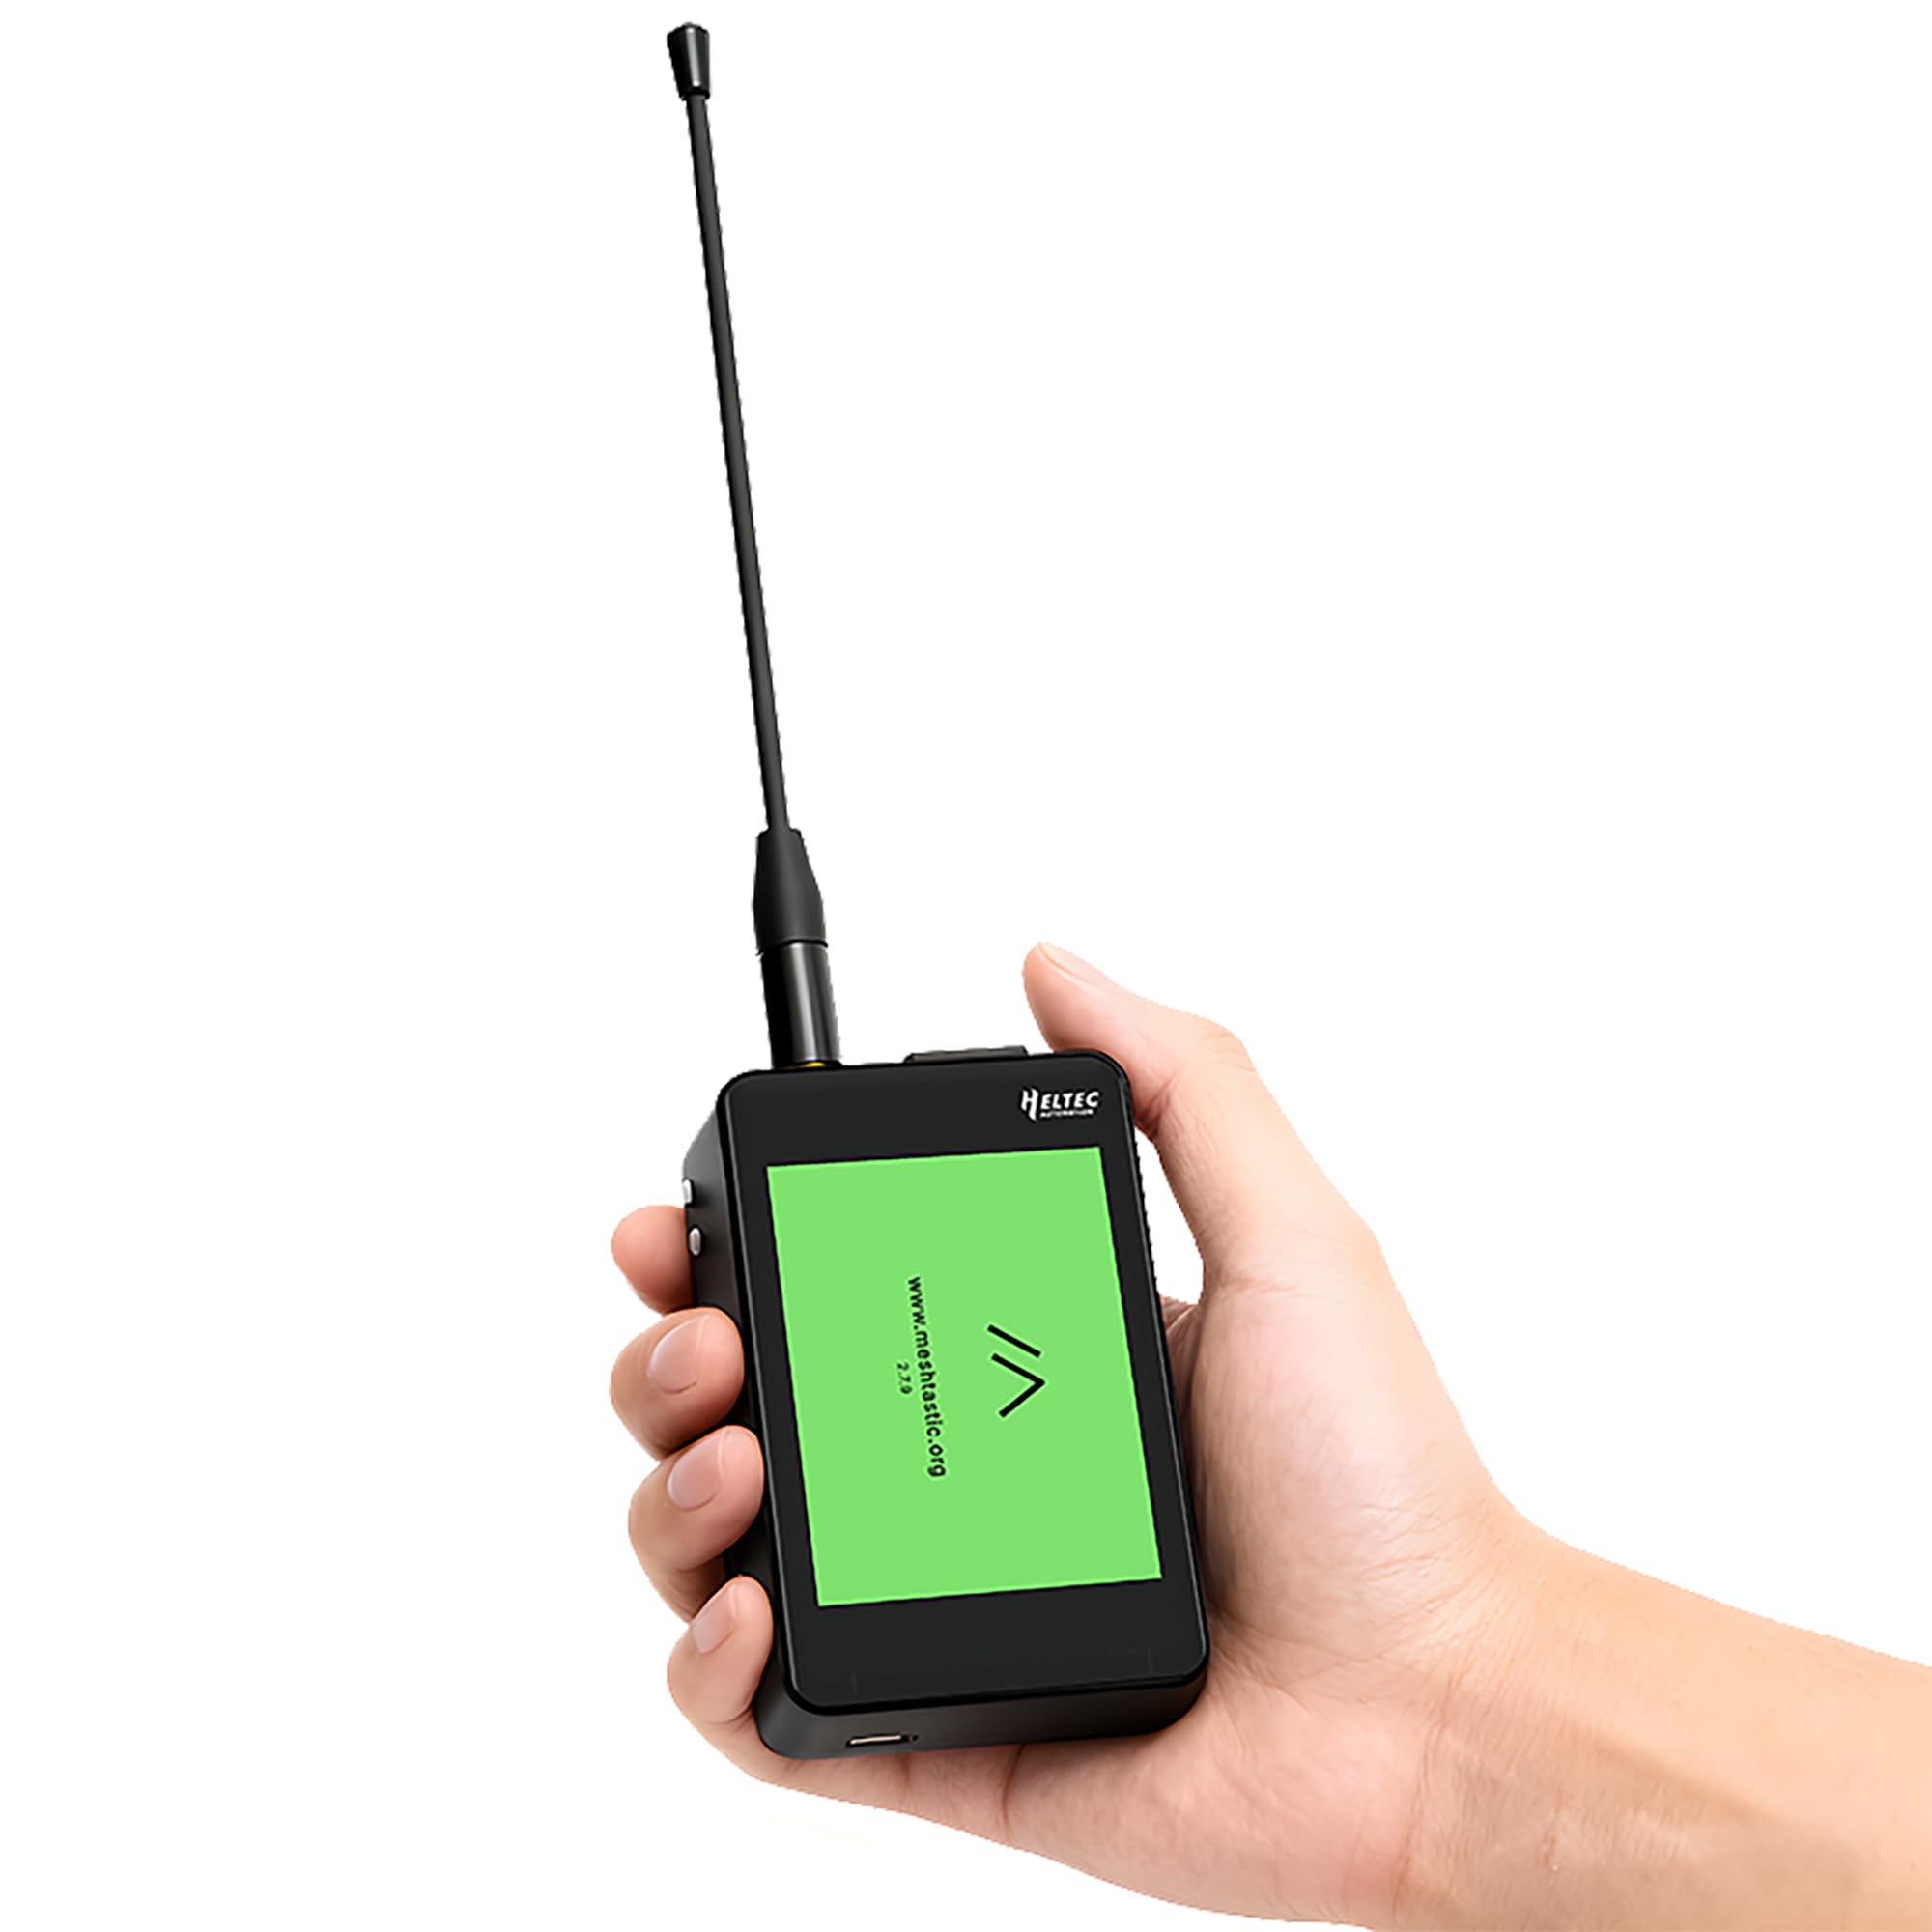
Figure 1.1: Heltec WiFi LoRa 32 V4 Expansion Kit (Touch Screen Kit variant).
2. Setup Instructions
Follow these steps to assemble and prepare your WiFi LoRa 32 V4 Expansion Kit for use.
2.1 Kit Components
The kit includes the WiFi LoRa 32 V4 development board, expansion carrier boards, and a Quectel L76K GNSS module. Please note that batteries are not included with the expansion kit.

Figure 2.1: Exploded view showing the shell, expansion board, back cover, touch screen, WiFi LoRa 32 V4 board, and battery compartment. Note: Batteries are not included.
2.2 Assembly
The expansion kit is designed for plug-and-play connection with the WiFi LoRa 32 V4 development board. Carefully align the pins of the development board with the corresponding sockets on the expansion carrier board and press firmly to connect.

Figure 2.2: Plug and play connection of the WiFi LoRa 32 V4 development board into the expansion kit.
2.3 Antenna Connection
Connect the SMA external LoRa antenna to the designated port on the device. Ensure it is securely fastened for optimal signal transmission.

Figure 2.3: The device in use, demonstrating the external antenna connection.
3. Operating Instructions
This section details the basic operation and key indications of your Heltec WiFi LoRa 32 V4 Expansion Kit.
3.1 Key Indications and Buttons
Familiarize yourself with the device's buttons and indicators for proper operation.

Figure 3.1: Key indications and button layout. 1: Whip Antenna, 2: GPIO35 Button, 3: PRG Button, 4: RST Button, 5: PWR Button, 6: USB Type-C, 7: L76K GNSS Antenna, 8: Touch Screen.
3.2 Powering On/Off
Press the PWR Button (5) to power on or off the device. Ensure a compatible Li-ion battery is installed or the device is connected via USB Type-C for power.
3.3 Using the Touch Screen
The integrated touch screen allows for intuitive interaction with the device's interface, enabling quick navigation and configuration.

Figure 3.2: The touch screen provides a fast and easy way to interact with the device.
3.4 Connectivity and Applications
The device supports WiFi, LoRa, and Bluetooth connectivity. It is optimized for Meshtastic and LoRaWAN networks, making it suitable for various applications such as smart home, smart city, industrial control, and wilderness adventures.

Figure 3.3: Application scenarios including Smart Home, Smart City, Industrial Control, and Wilderness Adventure.
The LoRa module enables long-range transmission, up to 10KM, depending on environmental conditions and antenna configuration.

Figure 3.4: LoRa long-range transmission capability, up to 10KM with 28+1dBm LoRa TX Power.
4. Maintenance
To ensure the longevity and optimal performance of your Heltec WiFi LoRa 32 V4 Expansion Kit, observe the following maintenance guidelines:
- Cleaning: Use a soft, dry cloth to clean the device. Avoid using liquids or abrasive cleaners.
- Storage: Store the device in a cool, dry place away from direct sunlight and extreme temperatures.
- Battery Care: If using a Li-ion battery, ensure it is charged regularly and avoid deep discharge to prolong its lifespan. The integrated battery management system provides protection against overcharge, over-discharge, and short-circuits.
- Antenna: Handle the antenna with care to prevent damage. Ensure it is securely connected during operation.
5. Troubleshooting
If you encounter issues with your Heltec WiFi LoRa 32 V4 Expansion Kit, consider the following common troubleshooting steps:
- Device Not Powering On:
- Check if the battery is properly installed and charged.
- Ensure the USB Type-C cable is securely connected if powering via USB.
- No LoRa Signal:
- Verify that the external LoRa antenna is correctly attached and not damaged.
- Check the LoRa frequency settings in your software configuration to ensure they match local regulations and network requirements.
- GPS Module Not Functioning:
- Ensure the L76K GNSS antenna is properly connected.
- Operate the device in an open area with a clear view of the sky for optimal GPS signal reception.
- Software Upload Issues:
- Confirm that the correct drivers for the ESP32-S3 are installed on your computer.
- Check your development environment (Arduino IDE, PlatformIO, ESP-IDF) settings and board selection.
For more detailed troubleshooting or complex issues, refer to the official Heltec documentation or support resources.
6. Specifications
Below are the technical specifications for the Heltec WiFi LoRa 32 V4 Expansion Kit:
| Feature | Specification |
|---|---|
| Model Name | LoRa 32 V4 Expansion Kit |
| Processor | Espressif ESP32-S3R2/S3R8 |
| Memory | 2MB PSRAM + 16MB Flash |
| LoRa Transceiver | SX1262 (863-928MHz) |
| LoRa TX Power | Optional 28dBm |
| LoRa RX Sensitivity | -137dBm |
| Connectivity | Wi-Fi (802.11bgn), Bluetooth, LoRa |
| GPS Module | Quectel L76K GNSS |
| Power Management | SH1.25-2 interface for Li-ion battery (3.3-4.2V) and solar charging, integrated BMS |
| Operating System Compatibility | Arduino, PlatformIO, ESP-IDF, MicroPython |
| USB Ports | 1 (USB Type-C) |
| Dimensions (L x W x H) | 3.35" x 2.17" x 1.06" (85mm x 55mm x 27mm) |
6.1 Pin Layout
Understanding the pin layout is crucial for advanced development and custom integrations.

Figure 6.1: Detailed pin layout, indicating physical pins, power, GND, GPIO, ADC/DAC, Serial SPI I2C, and other connections.
7. Warranty Information
The Heltec WiFi LoRa 32 V4 Expansion Kit comes with a one-year warranty. This warranty covers manufacturing defects and malfunctions under normal use. Please note that the warranty does not cover damage caused by human error, misuse, or unauthorized modifications.
For warranty claims, please retain your proof of purchase and contact customer support.
8. Support and Resources
For further assistance, detailed documentation, and community support, please visit the official Heltec website. You can find user guides, schematic diagrams, firmware updates, and more.

Figure 8.1: Access additional resources and documentation on the official Heltec website.
Official Documentation Link: https://heltec.org/project/wifi-lora-32-v4-expansion-housing/


