1. Introduction
This manual provides detailed instructions for the safe installation, operation, and maintenance of your Generic Modern LED Ceiling Lamp. Please read this manual thoroughly before installation and retain it for future reference. This fixture is designed for indoor use in living rooms, dining rooms, studies, and bedrooms.
2. Safety Information
- Electrical Safety: Always disconnect the main power supply at the circuit breaker before attempting any installation, maintenance, or cleaning.
- Qualified Electrician: If you are unsure about wiring or electrical connections, consult a qualified electrician.
- Mounting: Ensure the ceiling or mounting surface is structurally sound and capable of supporting the weight of the light fixture.
- Damage: Do not install if the product or any components are damaged. Contact the seller for replacement parts.
- Modifications: Do not modify the fixture in any way. Unauthorized modifications may void the warranty and create safety hazards.
- Indoor Use Only: This fixture is designed for indoor use in dry locations. Do not expose to moisture or direct water.
3. Package Contents
Carefully unpack the box and ensure all items are present and undamaged. If any parts are missing or damaged, do not proceed with installation and contact your retailer.
- LED Ceiling Lamp Fixture (1 unit)
- Mounting Bracket (1 unit)
- Mounting Hardware (screws, anchors, wire connectors)
- Instruction Manual (this document)

Figure 3.1: Overview of LED Ceiling Lamp components, including the main light body and the separate mounting plate.
4. Setup (Installation)
Follow these steps to install your LED ceiling lamp. It is recommended to have two people for installation due to the size of the fixture.
- Prepare for Installation: Turn off the power to the junction box at the circuit breaker. Ensure the power is off by testing the existing light switch.
- Attach Mounting Bracket: Secure the mounting bracket to the ceiling junction box using the provided screws. Ensure it is firmly attached and level.
- Wire Connections: Connect the electrical wires from the ceiling to the lamp's wires. Typically, connect the live (black) wire from the ceiling to the live wire from the lamp, the neutral (white) wire from the ceiling to the neutral wire from the lamp, and the ground (green or bare copper) wire to the ground wire from the lamp/mounting bracket. Use the provided wire connectors and ensure all connections are secure.
- Mount the Lamp Body: Carefully lift the lamp body and align it with the mounting bracket. Secure the lamp body to the bracket using the screws provided. Ensure the lamp is flush against the ceiling and securely fastened.
- Restore Power: Once the lamp is securely installed and all connections are checked, restore power at the circuit breaker.

Figure 4.1: Example of the LED Ceiling Lamp installed in a room, demonstrating its aesthetic and illumination.
5. Operating Instructions
This LED ceiling lamp features a "Three-Color Light" function, allowing you to switch between different color temperatures to suit your mood or activity.
- Power On/Off: Use your standard wall light switch to turn the lamp on or off.
- Change Light Color: To cycle through the three available light colors (Warm Light, Cool Light, and Neutral Light), simply toggle your wall light switch OFF and then ON again within a few seconds. Each toggle will switch to the next color temperature.
- Memory Function: The lamp may have a memory function that remembers the last selected color temperature when turned off for an extended period. If not, it will default to a specific color upon initial power-on.
6. Maintenance
Proper maintenance will ensure the longevity and optimal performance of your LED ceiling lamp.
- Cleaning: Before cleaning, ensure the power supply to the fixture is turned off at the circuit breaker. Use a soft, dry, or slightly damp cloth to wipe the surface of the lamp.
- Avoid Chemicals: Do not use abrasive cleaners, solvents, or harsh chemicals, as these can damage the finish or acrylic diffuser.
- No User-Serviceable Parts: The LED light source is integrated and not designed to be replaced by the user. Do not attempt to disassemble the LED module.
7. Troubleshooting
If you encounter any issues with your LED ceiling lamp, refer to the following common problems and solutions:
| Problem | Possible Cause | Solution |
|---|---|---|
| Lamp does not turn on. |
|
|
| Light flickers or dims. |
|
|
| Cannot change light color. |
|
|
8. Specifications
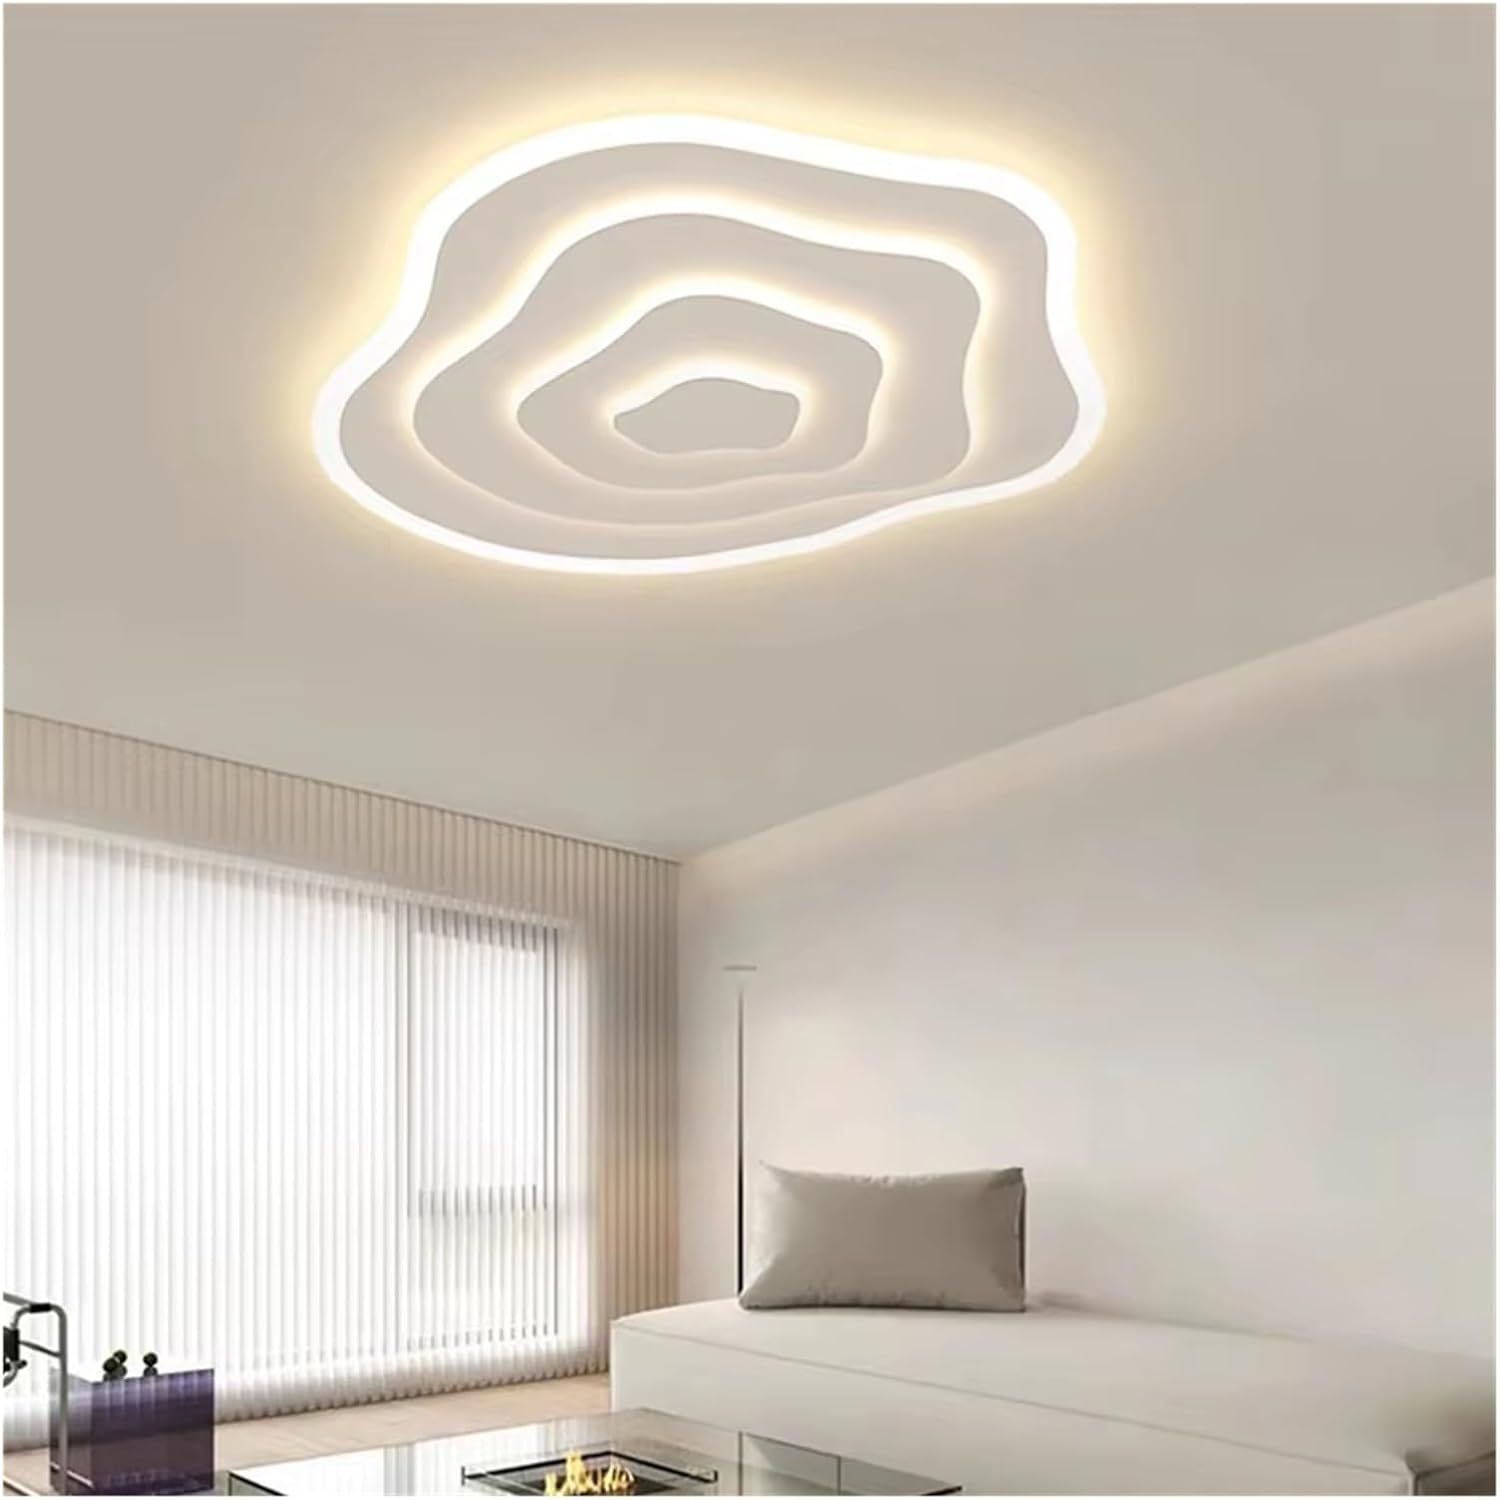
Figure 8.1: Dimensional diagram of the 60cm LED Ceiling Lamp, indicating its diameter, height, and power consumption.
| Brand: | Generic |
| Model Number: | LLHCCAFPM-C4064A13 |
| Dimensions: | Diameter 60cm, Height 8cm |
| Power: | 106W (53W*2) |
| Voltage: | AC 90-260V |
| Light Source: | Integrated LED |
| Light Color: | Three-Color Light (Warm, Cool, Neutral) |
| Material: | Metal (frame), Acrylic (diffuser) |
| Room Type: | Living Room, Dining Room, Study, Bedroom |
| Indoor/Outdoor Usage: | Indoor |
| Assembly Required: | No (Pre-assembled fixture) |
9. Warranty and Support
This product comes with a manufacturer's warranty, the terms of which may vary. For specific warranty details, claims, or technical support, please contact the retailer from whom you purchased the product or the manufacturer directly. Please have your purchase receipt and product model number (LLHCCAFPM-C4064A13) available when contacting support.