1. Important Safety Information
Read all instructions carefully before using this treadmill. Keep this manual for future reference.
- Always place the treadmill on a flat, stable surface.
- Keep children and pets away from the treadmill during operation.
- Ensure adequate clearance around the treadmill (at least 2 meters behind and 0.6 meters on each side).
- Wear appropriate athletic footwear.
- Use the safety key at all times. Attach the clip to your clothing.
- Do not operate the treadmill if it is damaged or malfunctioning.
- Consult a physician before starting any exercise program.
- Unplug the treadmill from the power outlet when not in use or before cleaning/maintenance.
2. Product Overview
The UMAY Fitness L10 Treadmill is designed for home use, offering a compact and foldable design with adjustable incline and speed settings.

Figure 2.1: General view of the UMAY Fitness L10 Treadmill.
Key Features:
- 2%-20% Auto Incline: Provides 20 levels of automatic incline adjustment for varied workout intensity.
- Space-Saving Foldable Design: Folds to a slim 6.5-inch profile for easy storage.
- Quiet 3.5HP Brushless Motor: Operates with low noise levels (40-45 dB).
- Adjustable Height: 3-level adjustable handle height for different users.
- Spacious Running Area: 16.2" x 42.5" running belt.
- Smart Interface: LCD touchscreen and handlebar controls for easy operation.
- High Weight Capacity: Supports users up to 400 lbs.
3. Setup and Assembly
The UMAY L10 Treadmill comes 90% pre-assembled, requiring minimal setup before first use.
3.1 Unpacking
- Carefully remove the treadmill from its packaging. It is recommended to have two people for this step due to the weight.
- Remove all packing materials and inspect the treadmill for any damage.
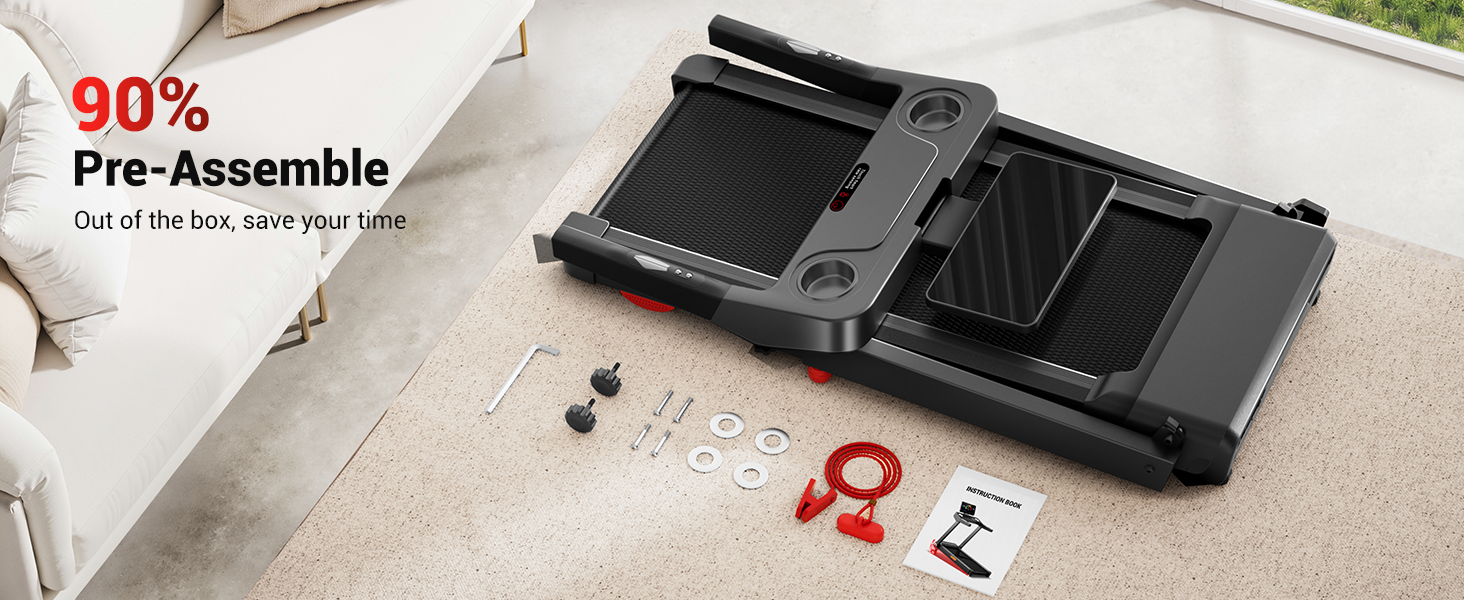
Figure 3.1: The treadmill is 90% pre-assembled, reducing setup time.
3.2 Final Assembly Steps
- Unfold the Treadmill: Carefully lift the console and handlebars into the upright position until they lock into place.
- Secure the Handles: Ensure all locking mechanisms are engaged.
- Adjust Handlebar Height: Loosen the knobs on both sides of the handlebars, pull the handle to snap it into the desired height position, then tighten the knobs. Adjust each side separately. There are 3 adjustable height levels.

Figure 3.2: Adjusting the handlebar height for user comfort.
3.3 Placement and Power Connection
- Place the treadmill on a level surface, ensuring sufficient space around it.
- Plug the power cord into a grounded electrical outlet.
3.4 Folding for Storage
To fold the treadmill for storage, ensure it is powered off and unplugged. Follow the reverse steps of unfolding, carefully lowering the console and handlebars until the unit is flat. The treadmill can then be stored under furniture or vertically.

Figure 3.3: The treadmill features a fully foldable design for compact storage.
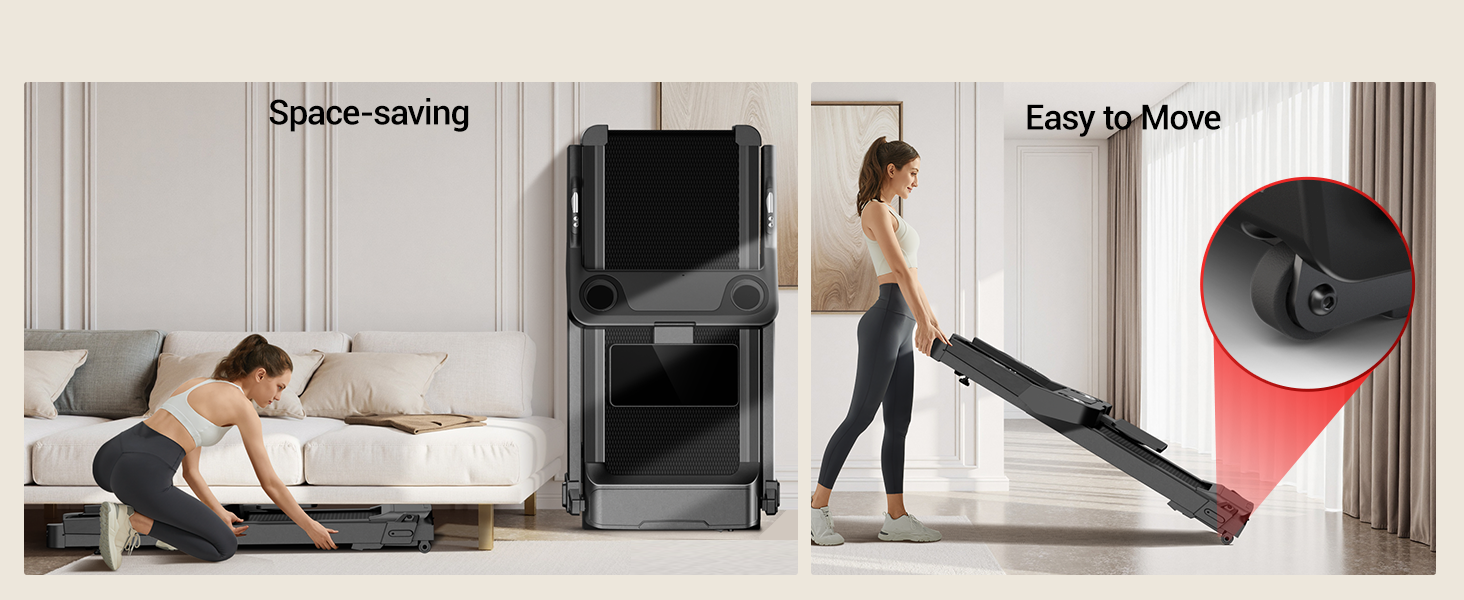
Figure 3.4: The treadmill is designed for space-saving storage and easy movement.
4. Operating Instructions
Familiarize yourself with the control panel and safety features before beginning your workout.
4.1 Control Panel Overview
The treadmill features an LED touchscreen and integrated handlebar controls.
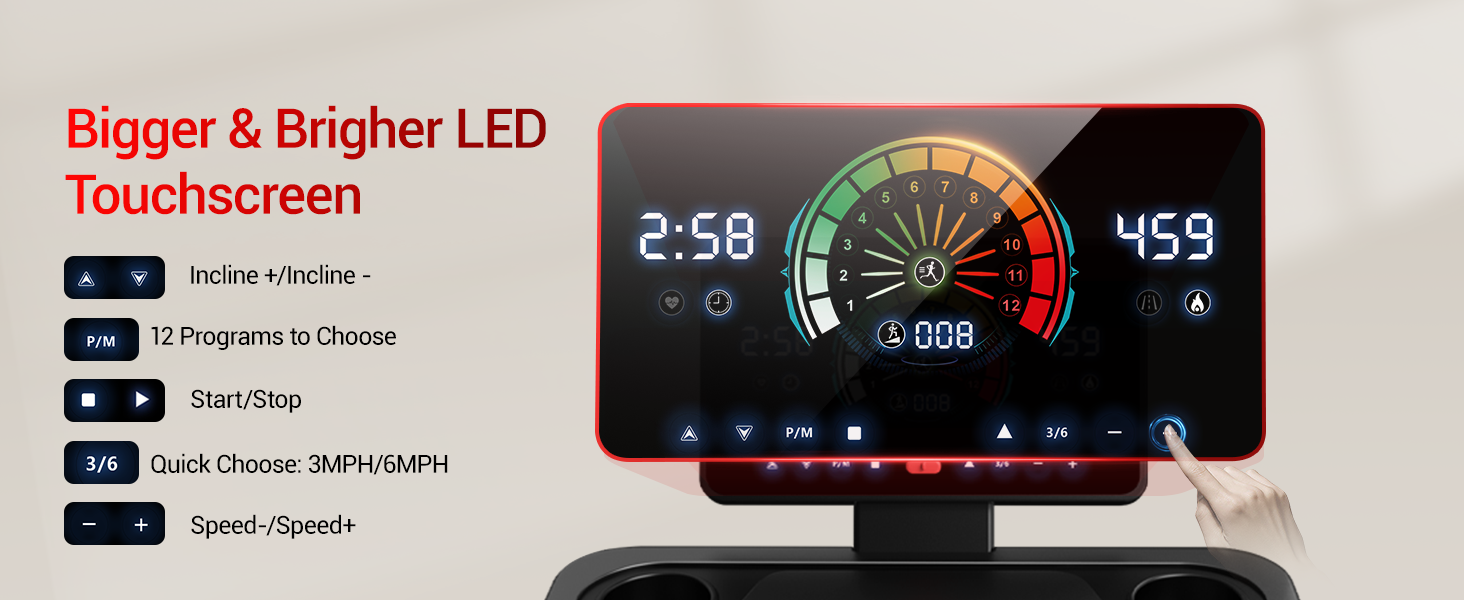
Figure 4.1: The LED touchscreen provides clear workout data and controls.
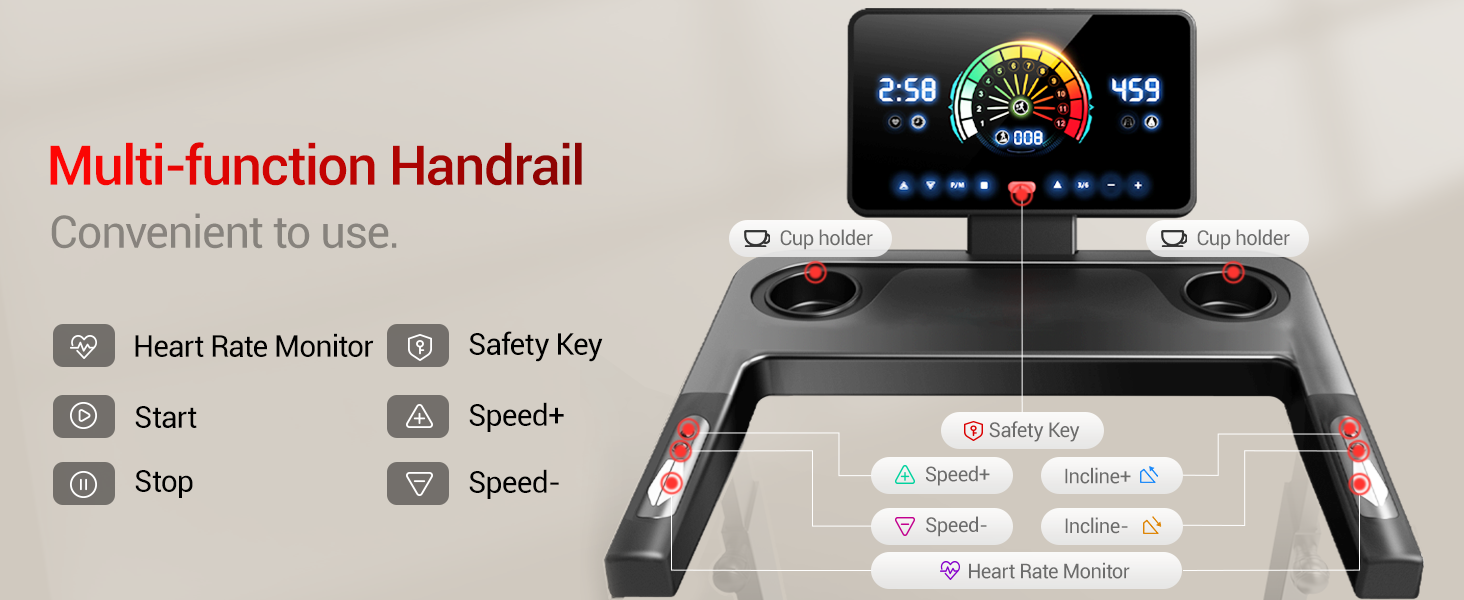
Figure 4.2: Multi-function handrails with integrated controls and safety key slot.
4.2 Starting a Workout
- Power On: Plug in the treadmill and turn on the main power switch, usually located near the front base.
- Attach Safety Key: Clip the safety key to your clothing and insert the other end into the designated slot on the console. The treadmill will not operate without the safety key.
- Start: Press the 'Start' button on the touchscreen or handlebar. The belt will begin moving at a low speed.
4.3 Adjusting Speed and Incline
- Speed Adjustment: Use the 'Speed+' and 'Speed-' buttons on the touchscreen or handlebars to increase or decrease the belt speed. Quick speed buttons (e.g., 3MPH, 6MPH) may also be available. The speed range is 0.6 to 8.7 MPH.
- Incline Adjustment: Use the 'Incline+' and 'Incline-' buttons on the touchscreen or handlebars to adjust the incline level. The treadmill offers 20 levels of auto incline, from 2% to 20%.
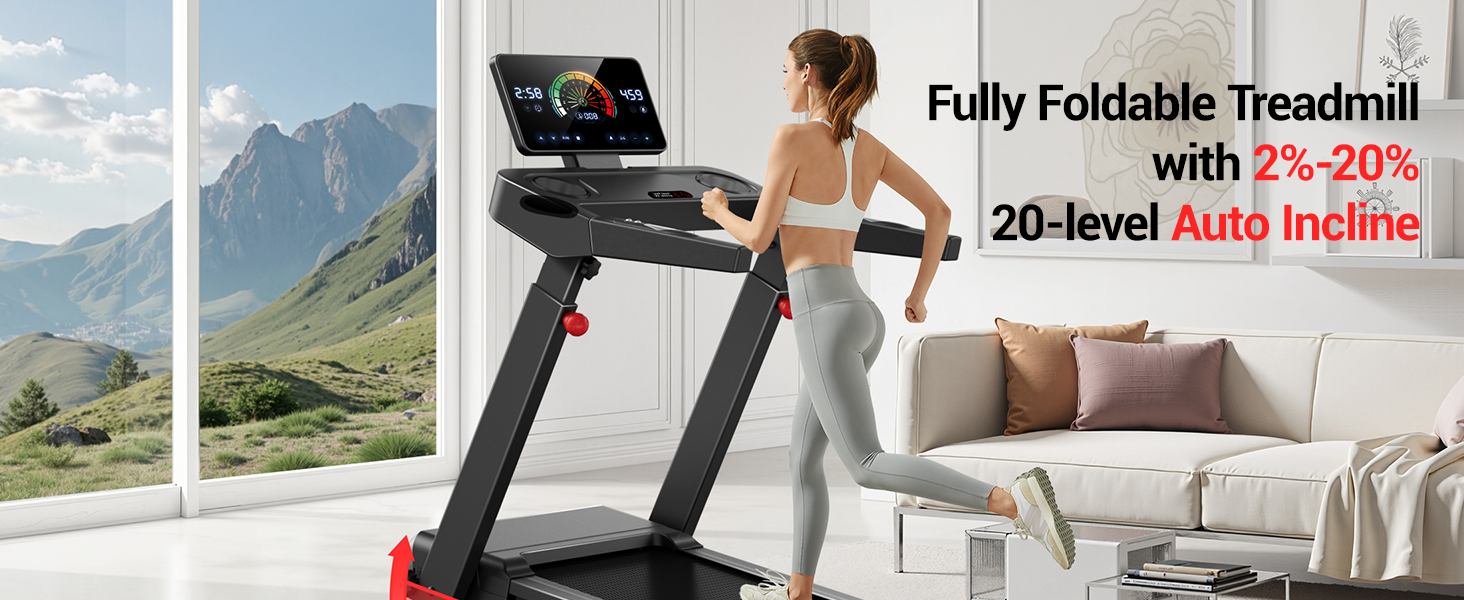
Figure 4.3: The treadmill offers 20 levels of automatic incline from 2% to 20%.
4.4 Workout Programs and Data Tracking
- Pre-set Programs: The treadmill may include 12 pre-set workout programs. Select a program using the 'P/M' button on the touchscreen.
- Real-Time Data: The touchscreen displays real-time data including time, calories burned, speed, and distance.
- Heart Rate Monitoring: Grip the heart rate sensors on the handlebars to monitor your pulse.
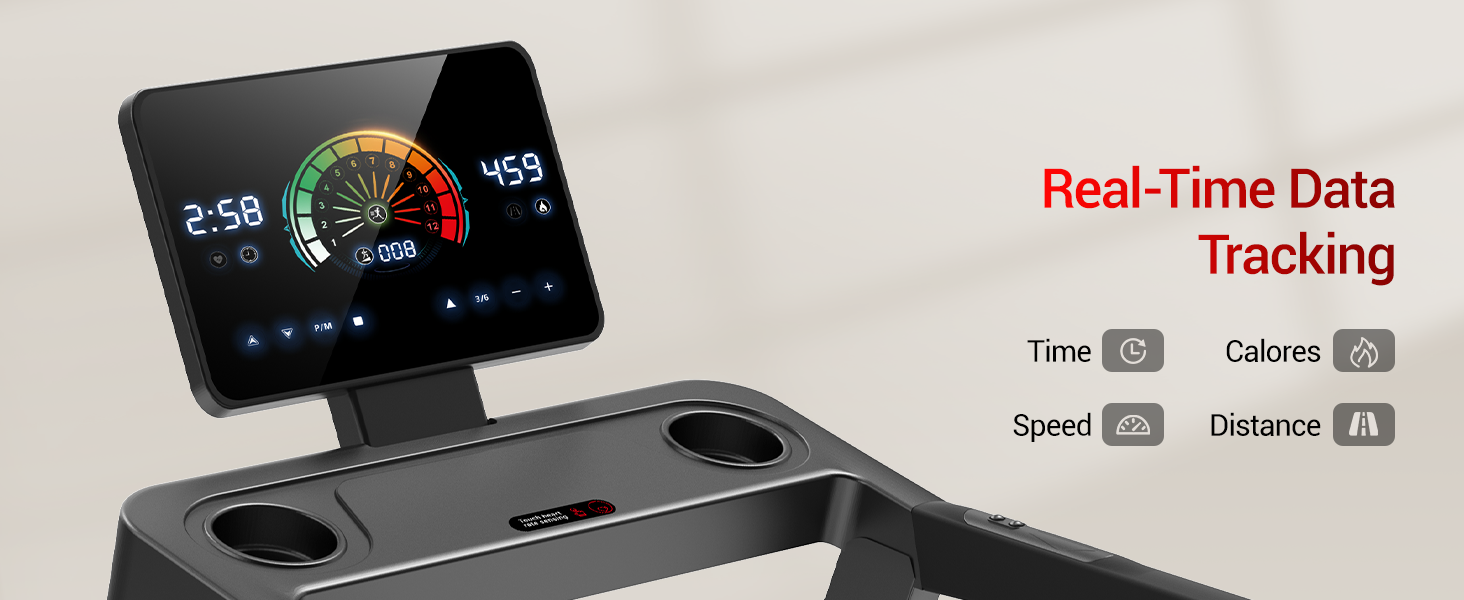
Figure 4.4: Real-time workout data is displayed on the touchscreen.
4.5 Stopping a Workout
- Normal Stop: Press the 'Stop' button on the touchscreen or handlebar. The belt will gradually slow down and stop.
- Emergency Stop: Pull the safety key from its slot. The treadmill will stop immediately.
5. Maintenance
Regular maintenance ensures the longevity and safe operation of your treadmill.
5.1 Cleaning
- Daily: Wipe down the console and handlebars with a soft, damp cloth after each use to remove sweat and dust.
- Weekly: Clean the running belt and deck with a mild detergent and damp cloth. Ensure the treadmill is unplugged.
- Monthly: Vacuum under the treadmill to remove dust and debris that can accumulate and affect motor performance.
5.2 Lubrication
The running belt requires periodic lubrication to reduce friction and extend its lifespan. Refer to the specific instructions provided with your treadmill's lubricant. Typically, this is done every few months depending on usage.
5.3 Belt Adjustment
If the running belt feels loose, slips, or drifts to one side, it may need adjustment. Consult the detailed instructions in the included user manual for proper belt tensioning and centering procedures. Incorrect adjustment can damage the belt or motor.
6. Troubleshooting
This section addresses common issues you might encounter with your treadmill.
| Problem | Possible Cause | Solution |
|---|---|---|
| Treadmill does not power on. | Power cord unplugged, main switch off, safety key not inserted. | Check power connection, ensure main switch is ON, insert safety key. |
| Running belt stops or slips. | Belt too loose, lack of lubrication, motor overload. | Adjust belt tension, lubricate the belt, reduce user weight or speed. |
| Unusual noise during operation. | Loose parts, belt friction, motor issue. | Inspect for loose bolts, lubricate belt, contact customer support if noise persists. |
| Incline not adjusting. | Incline motor issue, obstruction. | Check for obstructions, power cycle the treadmill. If issue persists, contact support. |
For issues not listed here or if solutions do not resolve the problem, please contact UMAY customer support.
7. Specifications
Detailed technical specifications for the UMAY Fitness L10 Treadmill.
| Feature | Specification |
|---|---|
| Brand | UMAY |
| Model Number | L10 |
| Product Dimensions | 55"D x 27"W x 8"H (Folded) |
| Item Weight | 76 Pounds |
| Material | Acrylonitrile Butadiene Styrene (ABS) |
| Maximum Speed | 8.7 Miles per Hour |
| Minimum Speed | 0.6 Miles per Hour |
| Maximum Horsepower | 3.5 HP (Brushless Motor) |
| Maximum Incline Percentage | 20.0% (20 levels auto incline) |
| Maximum Weight Recommendation | 400 Pounds |
| Running Area | 16.2" x 42.5" |
| Noise Level | <45 dB |
| Assembly | 90% Pre-assembled |

Figure 7.1: The treadmill is equipped with a 3.5HP brushless motor.
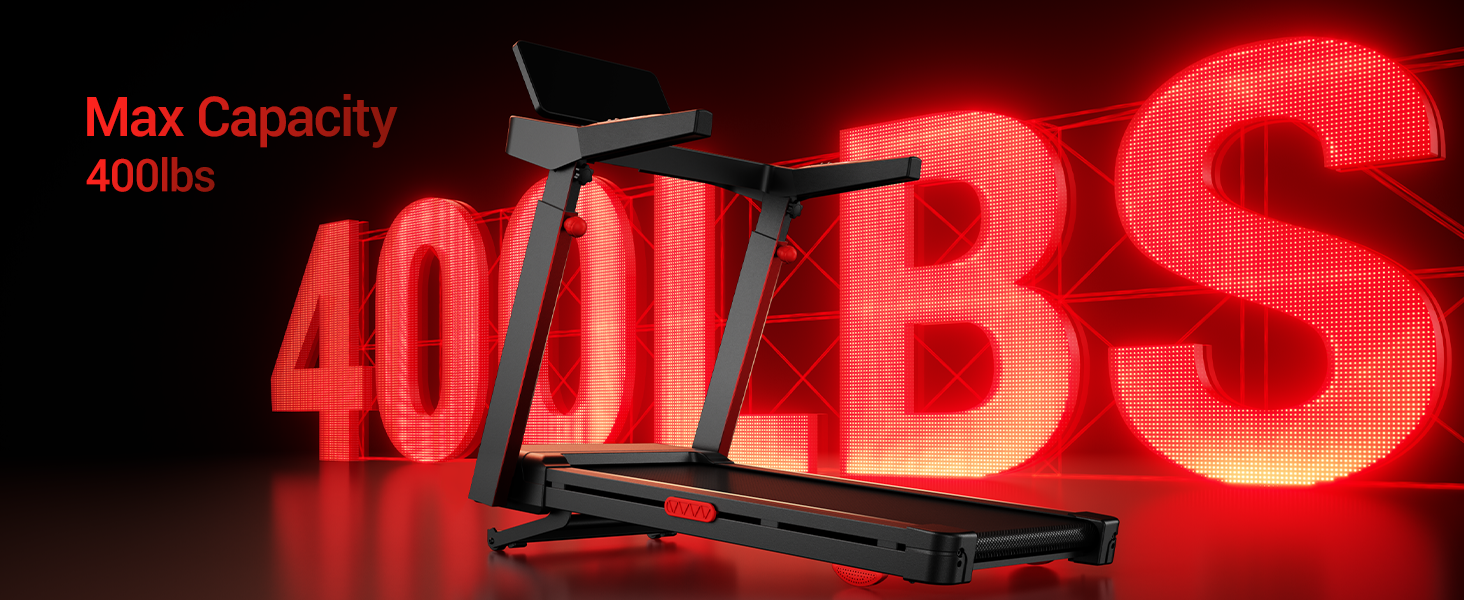
Figure 7.2: The treadmill supports a maximum user weight of 400 lbs.
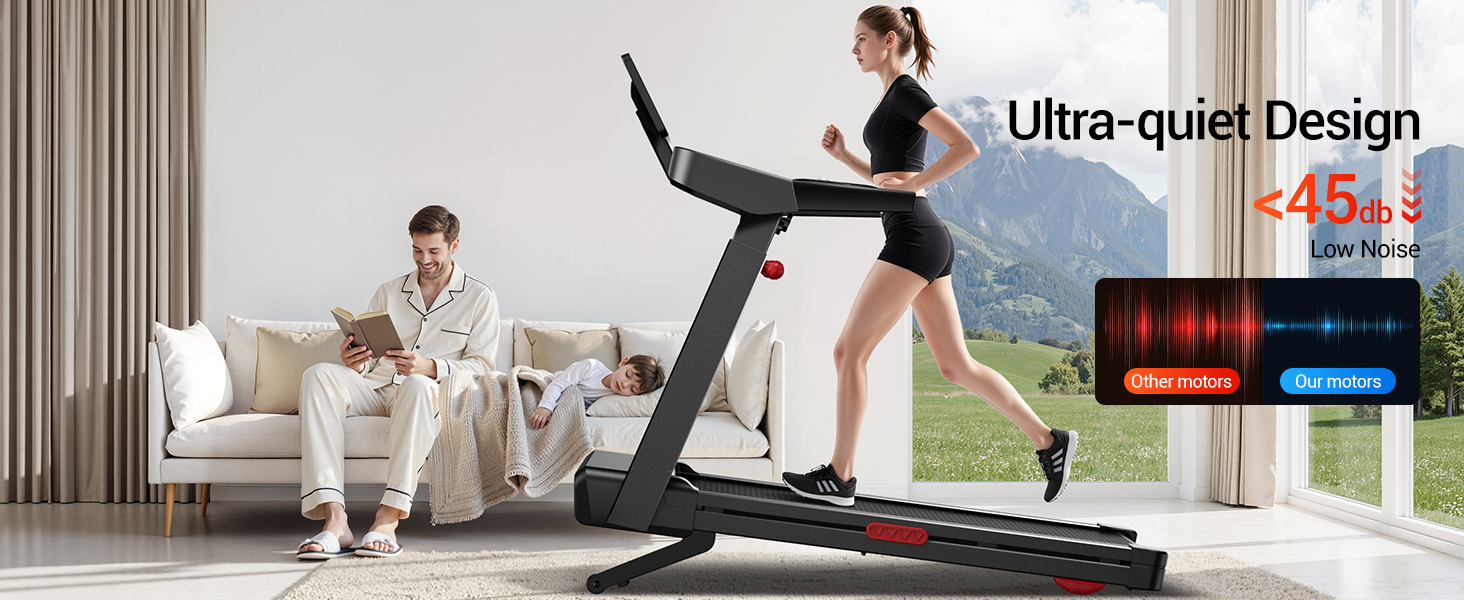
Figure 7.3: The treadmill operates with a low noise level, typically below 45 dB.
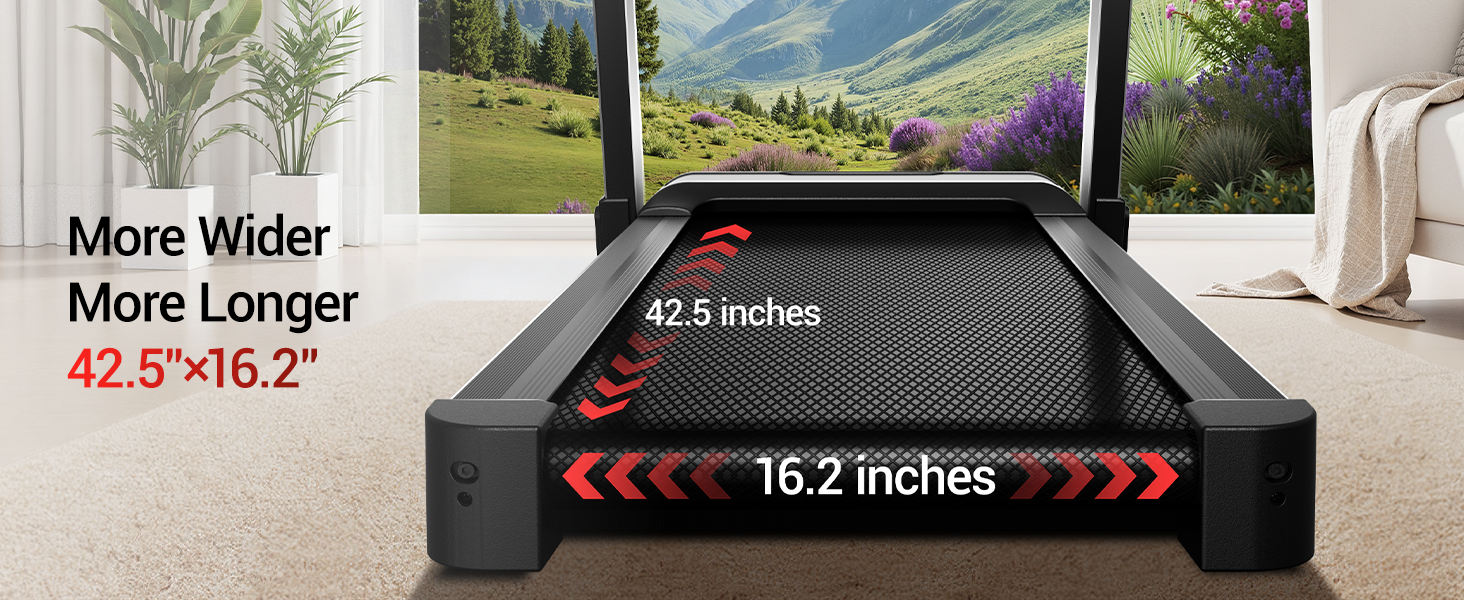
Figure 7.4: The running belt dimensions are 42.5 inches in length and 16.2 inches in width.

Figure 7.5: The treadmill features a durable 7-layer running belt.
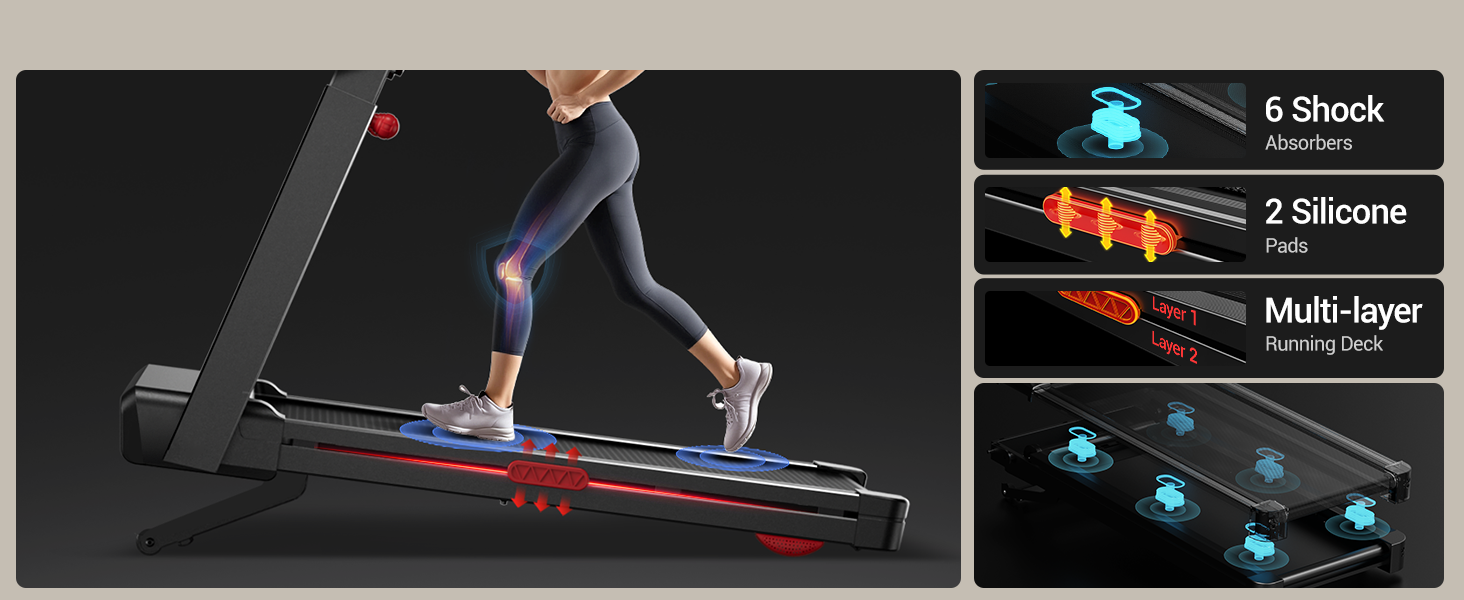
Figure 7.6: The treadmill incorporates a triple shock absorption system for user comfort.
8. Warranty and Support
8.1 Warranty Information
The UMAY Fitness L10 Treadmill comes with a 1-Year Warranty from the date of purchase. This warranty covers manufacturing defects in materials and workmanship under normal use. It does not cover damage caused by misuse, accident, unauthorized modification, or improper maintenance.
8.2 Customer Support
If you have any questions, require assistance with assembly, operation, maintenance, or need to claim warranty service, please contact UMAY customer support. Refer to the contact information provided in your product packaging or on the official UMAY website.