1. Introduction
Thank you for choosing the VASAGLE Custos Collection 6-Drawer Dresser. This manual provides essential information for the safe assembly, operation, and maintenance of your new furniture. Please read these instructions carefully before beginning assembly and retain them for future reference.

Image 1.1: The VASAGLE Custos Collection 6-Drawer Dresser, Cloud White.
2. Important Safety Information
To prevent injury and damage to the product, adhere to the following safety guidelines:
- Adult Assembly Required: This product requires assembly by adults. Keep children away from the assembly area.
- Use Anti-Tip Kit: Always install the included anti-tip kit to secure the dresser to a wall. This prevents accidental tipping, which can cause serious injury or death.
- Weight Limits: Do not exceed the maximum weight capacity for the top surface (165 lbs / 75 kg) or individual drawers (22 lbs / 10 kg). Overloading can compromise stability and cause structural failure.
- Stable Placement: Place the dresser on a flat, level surface. Uneven surfaces can lead to instability.
- Handle with Care: During assembly, handle all parts carefully to avoid scratches or damage.
2.1. Anti-Tip Device Installation
The anti-tip kit is crucial for safety. Follow these steps to install it:
- Locate the anti-tip bracket and screws in the accessory kit.
- Attach one bracket to the back top edge of the dresser using the provided screws.
- Position the dresser against the wall in its final location. Mark the wall through the bracket hole.
- Drill a pilot hole at the marked spot on the wall. Insert a wall anchor if necessary (depending on wall material).
- Secure the second bracket to the wall using the appropriate screw.
- Connect the two brackets with the provided strap or cable, ensuring it is taut.

Image 2.1: Illustration of the anti-tip bracket and front stabilizer plates for enhanced safety.
3. Package Contents
Before assembly, verify that all components listed below are present and undamaged. If any parts are missing or damaged, please contact customer support.
- 1 x Dresser for Bedroom (Main Frame Components)
- 2 x Anti-Tip Kit (Brackets, Screws, Wall Anchors)
- 1 x Accessory Kit (Various Screws, Dowels, Drawer Slides, Handles)
- 1 x Instructions Manual
4. Assembly Instructions
Assembly typically takes approximately 45 minutes with two people. A power drill (not included) can expedite the process, but manual tools are provided.
- Prepare the Area: Clear a spacious, clean, and soft surface (e.g., a carpet) to prevent scratching the furniture during assembly.
- Identify Parts: Lay out all components and hardware. Match them with the labeled diagrams in the included instruction booklet.
- Assemble the Main Frame: Follow the step-by-step diagrams to connect the side panels, back panel, and top/bottom panels using the designated hardware. Ensure all connections are secure.
- Install Drawer Slides: Attach the drawer slides to the inner sides of the dresser frame according to the instructions. Pay attention to the orientation of the slides.
- Assemble Drawers: Construct each of the six drawers. Attach the drawer sides, back, and bottom to the front panel. Install the drawer handles.
- Insert Drawers: Carefully slide each assembled drawer into its corresponding slot in the dresser frame. Ensure they glide smoothly.
- Install Anti-Tip Kit: Refer to Section 2.1 for detailed instructions on installing the anti-tip device. This step is mandatory for safety.

Image 4.1: Initial assembly step, typically involving attaching brackets or connectors to main panels.

Image 4.2: Installation of drawer slides onto the dresser frame.

Image 4.3: Assembling a drawer unit, including attaching the front panel and handle.
5. Operating Instructions
This dresser is designed for organized storage in various rooms, including bedrooms, living rooms, and hallways.
5.1. Drawer Usage
- Opening and Closing: Gently pull the gold-tone handles to open drawers and push to close. Avoid forcing drawers.
- Drawer Stops: The drawers feature a two-position safety stop mechanism. This prevents drawers from being pulled out completely during normal use. To remove a drawer for cleaning or access, lift the front of the drawer slightly while pulling it past the stop.
- Organized Storage: The dresser features six drawers with varied heights. The upper drawers are suitable for smaller items like underwear and socks, while deeper drawers can accommodate thicker garments, sweaters, or light quilts.

Image 5.1: Detail of the two-position drawer stop for enhanced safety and controlled drawer extension.

Image 5.2: Visual guide for sorting and accessing items within the varied-height drawers.
5.2. Weight Capacity
Adhere to the following weight limits to ensure the longevity and safety of your dresser:
- Top Surface: Maximum 165 lbs (75 kg)
- Each Drawer: Maximum 22 lbs (10 kg)
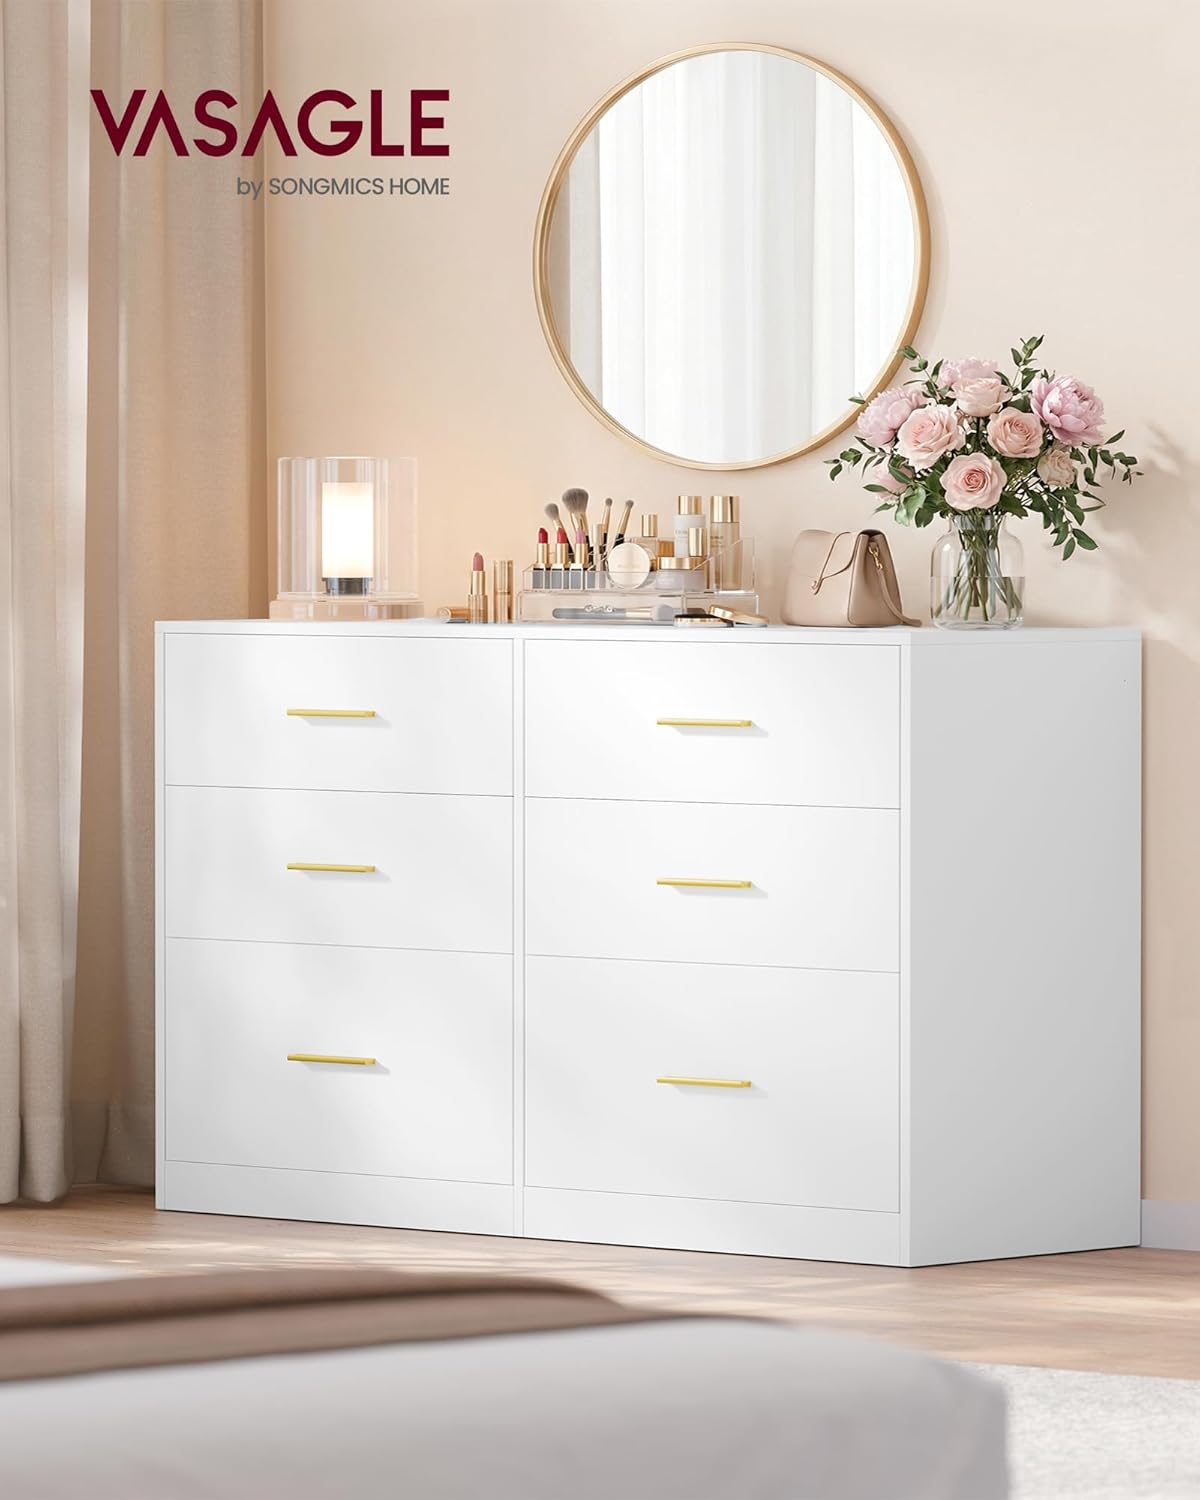
Image 5.3: Product dimensions and weight limits for the dresser and its drawers.
6. Maintenance
Proper care will help maintain the appearance and functionality of your dresser.
- Cleaning: Wipe surfaces with a soft, damp cloth. Avoid abrasive cleaners or harsh chemicals, which can damage the finish.
- Spills: Clean spills immediately to prevent staining or water damage to the engineered wood.
- Hardware Check: Periodically check all screws and fasteners to ensure they remain tight. Tighten as needed to maintain stability.
- Avoid Direct Sunlight: Prolonged exposure to direct sunlight can cause fading or discoloration.
- Humidity Control: Maintain a stable room temperature and humidity level to prevent warping or cracking of the wood material.
7. Troubleshooting
If you encounter issues with your dresser, refer to the following common problems and solutions:
| Problem | Possible Cause | Solution |
|---|---|---|
| Dresser is wobbly or unstable. | Uneven floor; loose fasteners. | Ensure dresser is on a level surface. Tighten all assembly screws. |
| Drawers do not slide smoothly. | Drawer slides misaligned; obstruction. | Check that drawer slides are correctly installed and aligned. Remove any obstructions. |
| Drawer cannot be fully closed. | Obstruction; items inside drawer too large. | Check for items blocking the drawer's path. Ensure contents do not exceed drawer depth. |
| Missing parts during assembly. | Packaging error. | Contact customer support with your product model and a list of missing parts. |
8. Specifications
| Feature | Detail |
|---|---|
| Brand | VASAGLE |
| Model Name | Custos Collection - Dresser for Bedroom |
| Model Number | ULTS416WB01S |
| Material | Engineered Wood (Particleboard, MDF) |
| Color | Cloud White |
| Product Dimensions (D x W x H) | 15.8" x 46.9" x 30.7" (40 cm x 119 cm x 78 cm) |
| Number of Drawers | 6 |
| Item Weight | 81.6 Pounds (37 kg) |
| Required Assembly | Yes |
| UPC | 194343527895 |
9. Warranty and Support
For any questions, missing parts, or assistance with assembly, please contact VASAGLE customer support. Refer to your purchase documentation for specific warranty details and contact information.
Return Policy: This product is eligible for a 30-day return policy. Please consult the retailer's return guidelines for more information.