
Introduction
This manual provides essential information for the safe and effective use of your EliteEdge Hydraulic Motorcycle Lift Jack. Please read all instructions carefully before assembly, operation, or maintenance. This lift jack is designed to safely raise and support motorcycles, ATVs, and UTVs for maintenance and repair tasks.
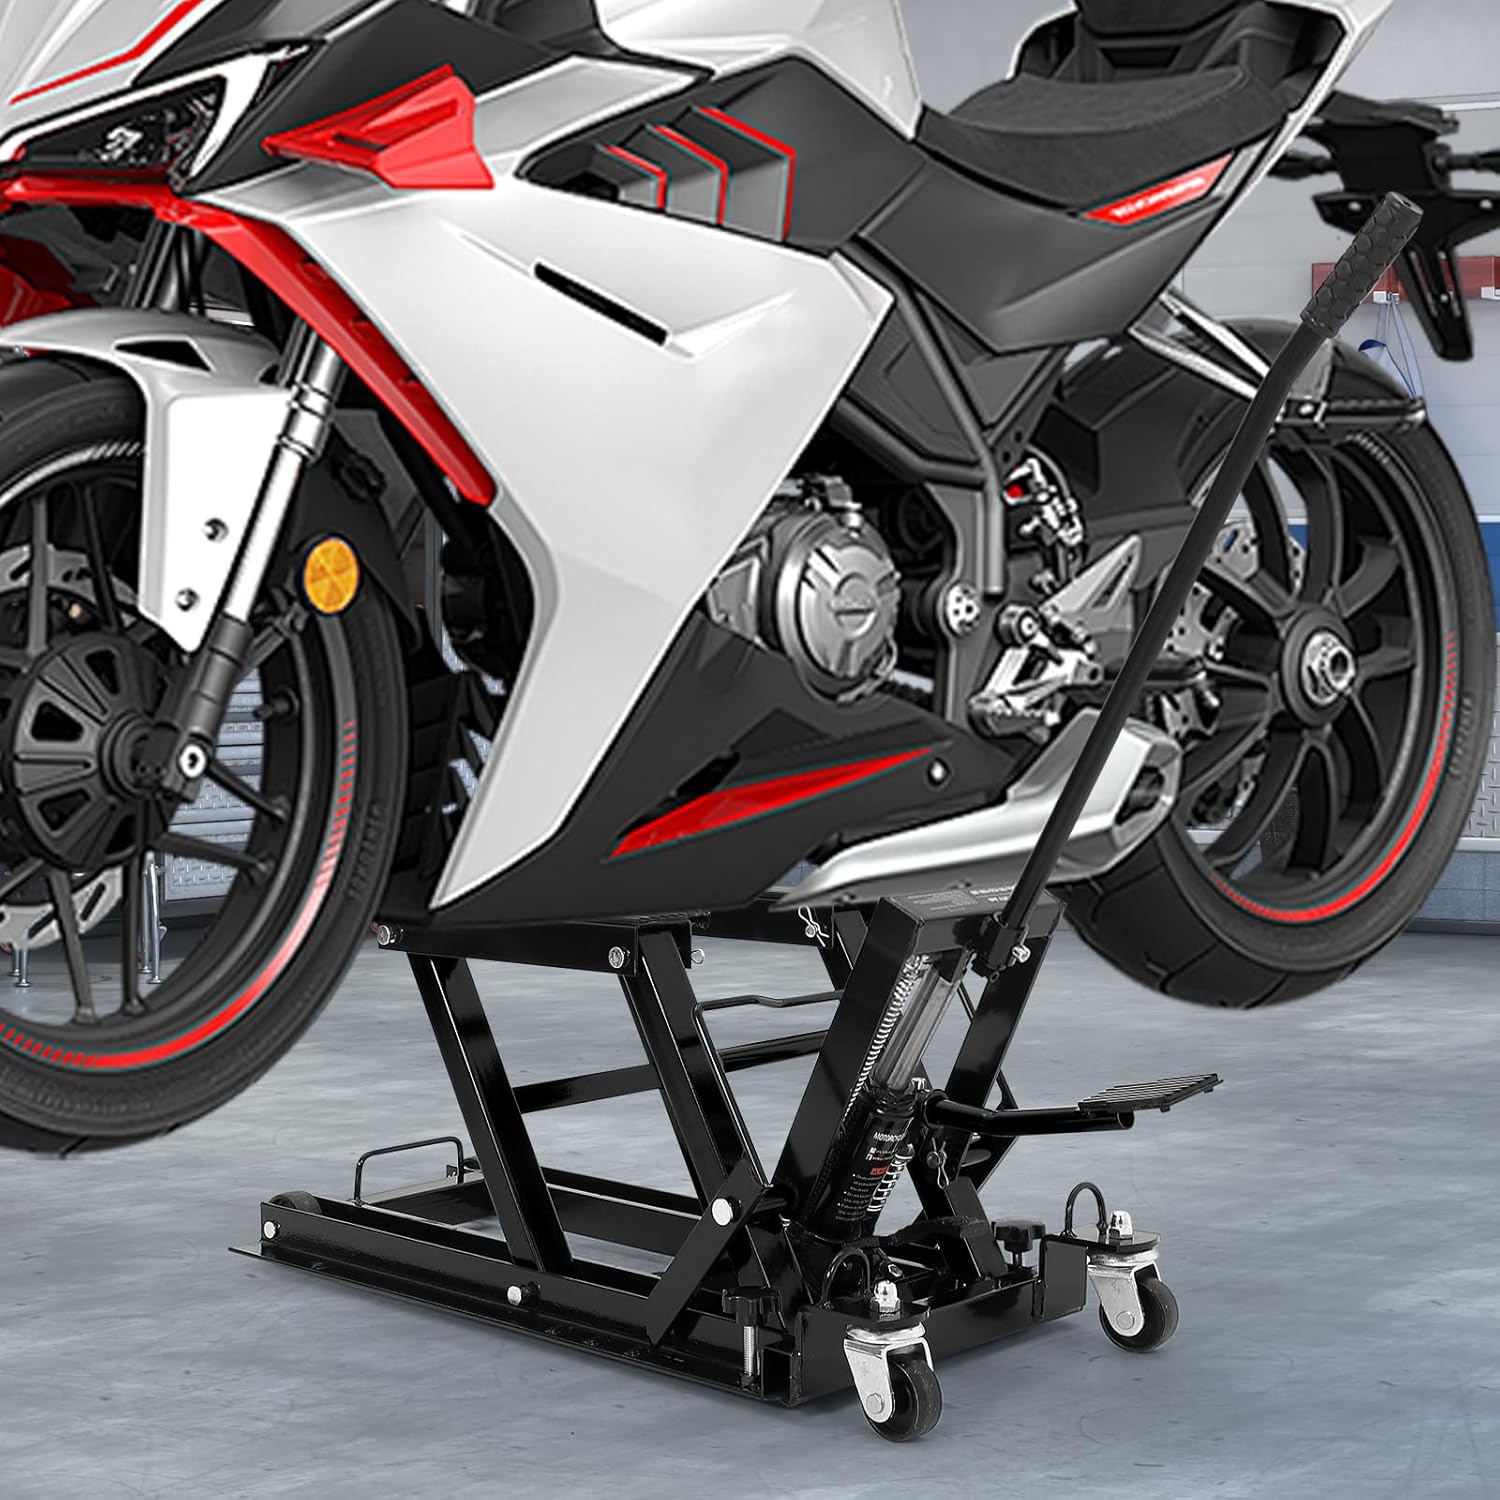
Image: The EliteEdge Hydraulic Motorcycle Lift Jack positioned under a motorcycle, demonstrating its lifting capability.
Safety Information
Always prioritize safety when operating the lift jack. Failure to follow these instructions may result in injury or damage to property.
- Read the Manual: Understand all operating procedures and warnings before use.
- Weight Capacity: Do not exceed the maximum load capacity of 1500 lbs (680 kg).
- Stable Surface: Operate the lift on a flat, level, and solid surface.
- Secure Vehicle: Always ensure the vehicle is centered and stable on the non-slip platform before lifting. Use the 3-position safety pin to secure the lift at the desired height.
- Personal Protective Equipment: Wear appropriate safety gear, including safety glasses and gloves.
- Clear Area: Keep hands, feet, and other body parts clear of moving parts during operation. Ensure the work area is free of obstructions.
- Maintenance: Regularly inspect the lift for damage or wear. Do not use if damaged.
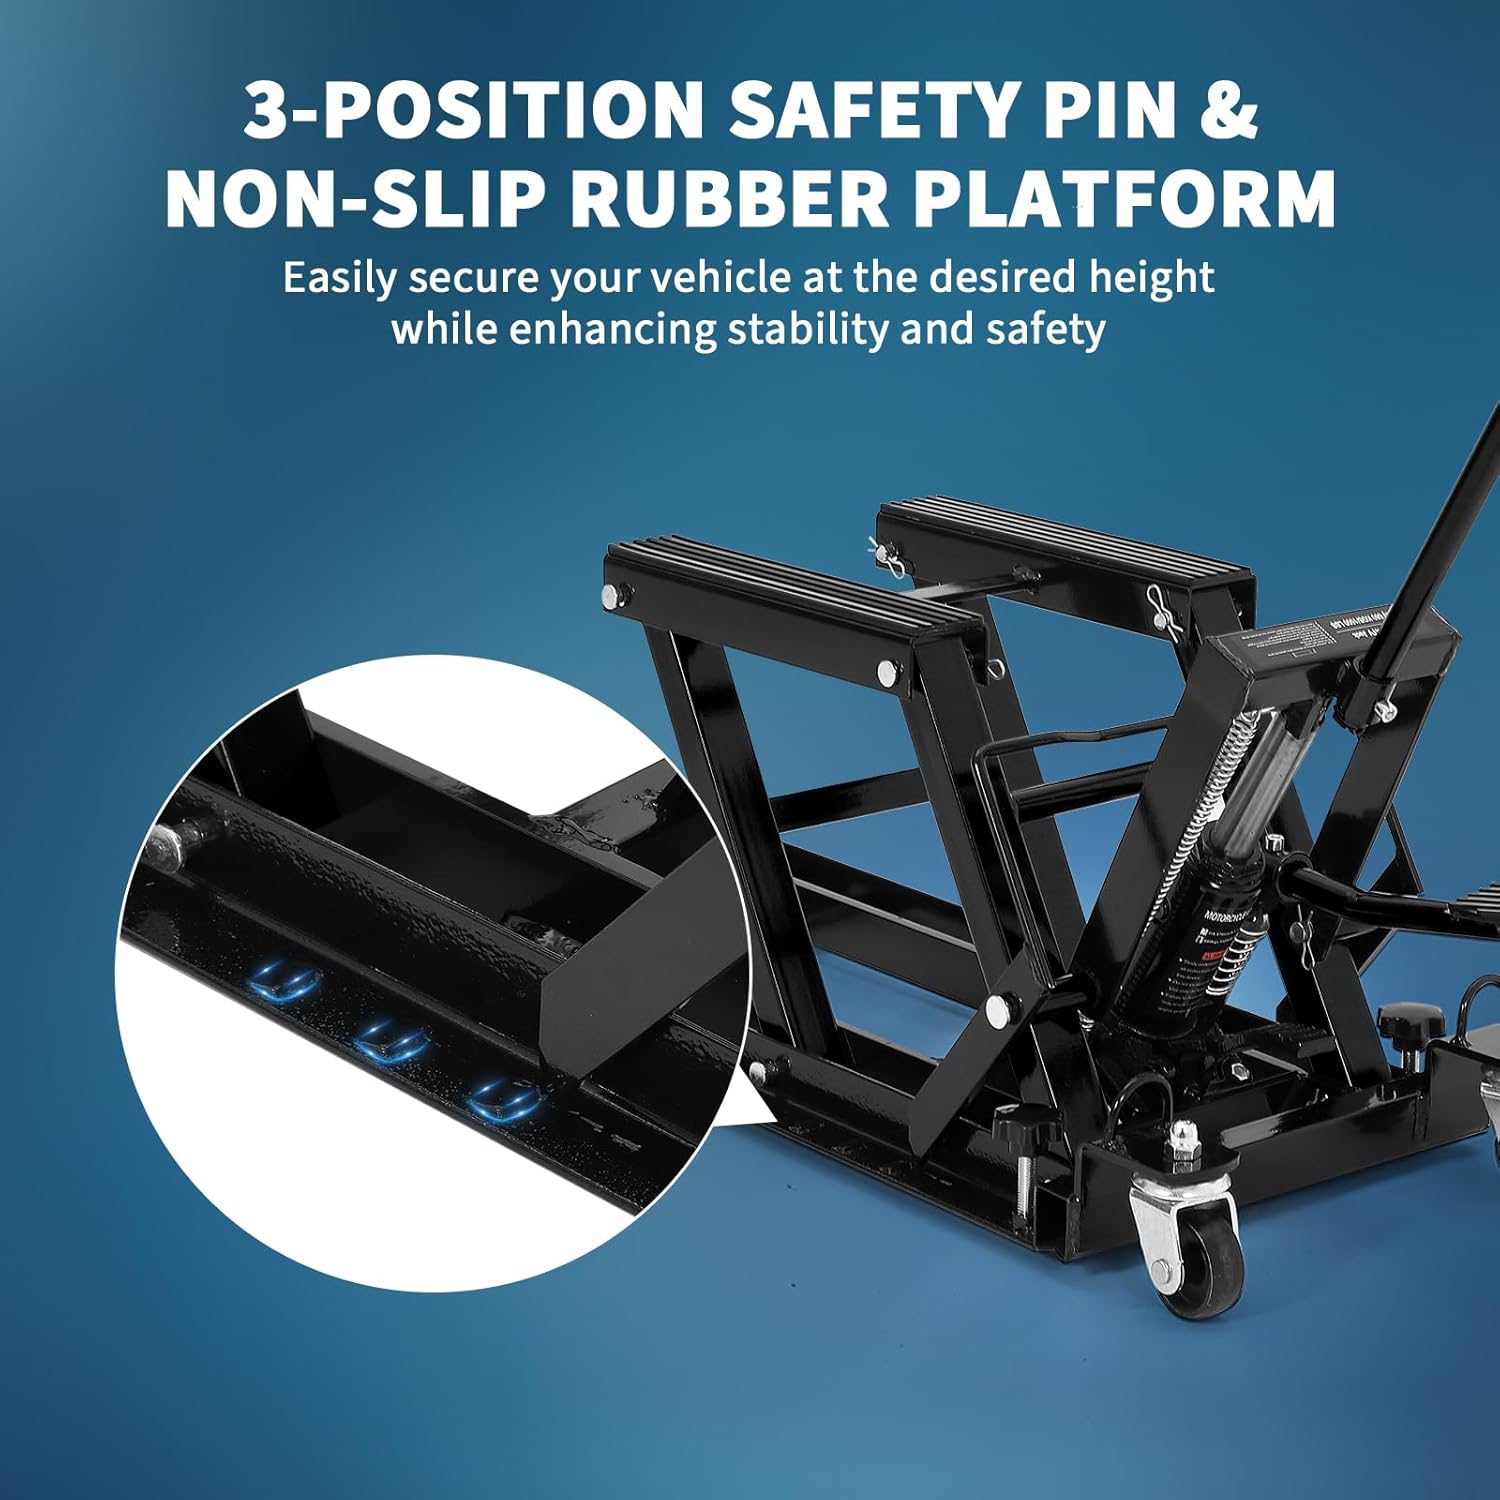
Image: A detailed view of the lift jack's non-slip platform and the mechanism for the 3-position safety pin, highlighting safety features.
Package Contents
Verify that all components are present and undamaged upon unpacking.
- Hydraulic Motorcycle Lift Jack (Main Unit)
- Operating Handle
- Foot Pedal

Image: An overhead view showing the main lift jack unit, the operating handle, and the foot pedal, as received in the package.
Setup
The EliteEdge Hydraulic Motorcycle Lift Jack comes largely pre-assembled. Follow these steps for initial setup:
- Unpack: Carefully remove all components from the packaging.
- Attach Handle: Insert the operating handle into its designated slot on the lift jack. Ensure it is securely seated.
- Attach Foot Pedal: Connect the foot pedal to the hydraulic pump mechanism.
- Position: Place the lift jack on a firm, level surface in your work area.
Operating Instructions
Lifting the Vehicle
- Position Vehicle: Carefully roll or drive your motorcycle, ATV, or UTV onto the lift jack's platform. Ensure the vehicle is centered and balanced.
- Engage Foot Pedal: Repeatedly press the foot pedal to activate the hydraulic pump. The platform will begin to rise smoothly.
- Reach Desired Height: Continue pumping until the vehicle reaches the desired working height, between 4.7 inches (120 mm) and 14.57 inches (370 mm).
- Engage Safety Pin: Once at the desired height, insert the 3-position safety pin into the nearest available hole to secure the lift and prevent accidental lowering.
Lowering the Vehicle
- Remove Safety Pin: Carefully remove the 3-position safety pin.
- Release Valve: Slowly turn the release valve (typically located near the foot pedal or handle base) counter-clockwise to gradually lower the platform.
- Full Lowering: Continue until the platform is fully lowered and the vehicle is resting on the ground.
Maneuvering the Lift
The lift is equipped with two 360° swivel casters and two directional casters for mobility.
- Ensure the lift is in its lowest position or secured with the safety pin before moving.
- Use the non-slip handle to guide the lift to the desired location.
- Avoid moving the lift with a vehicle on it unless absolutely necessary and with extreme caution.

Image: An illustration detailing the minimum and maximum lifting heights (4.7 to 14.57 inches) and highlighting the long handle, foot pedal, and 3-position safety lock for operation.

Image: A close-up view of the lift jack's casters, illustrating the 360-degree flexible movement provided by the swivel wheels.
Maintenance
Regular maintenance ensures the longevity and safe operation of your lift jack.
- Cleaning: Keep the lift jack clean and free of dirt, grease, and debris. Wipe down surfaces with a damp cloth.
- Lubrication: Periodically lubricate pivot points and moving parts with a light machine oil to ensure smooth operation.
- Hydraulic Fluid: Check the hydraulic fluid level periodically. Refer to the hydraulic pump's instructions for specific fluid type and refill procedures if necessary.
- Inspection: Before each use, inspect the lift for any signs of damage, wear, or loose fasteners. Pay close attention to the hydraulic cylinder, hoses, and platform. Do not use if any damage is found.
- Storage: Store the lift jack in a dry, clean area when not in use. Lower the platform completely before storage.
Troubleshooting
If you encounter issues with your lift jack, refer to the following common problems and solutions:
- Lift Does Not Raise:
- Check hydraulic fluid level and refill if low.
- Ensure the release valve is fully closed.
- Inspect for air in the hydraulic system; bleeding may be required (refer to hydraulic pump instructions).
- Lift Lowers Slowly or Unevenly:
- Check for air in the hydraulic system.
- Inspect for hydraulic fluid leaks.
- Ensure the release valve is not partially open.
- Lift is Unstable:
- Verify the lift is on a flat, level, and solid surface.
- Ensure the vehicle is properly centered on the platform.
- Confirm the 3-position safety pin is correctly engaged.
For issues not covered here, contact customer support.
Specifications
Key technical specifications for the EliteEdge Hydraulic Motorcycle Lift Jack:
| Feature | Specification |
|---|---|
| Max Capacity | 1500 lbs (680 kg) |
| Lifting Range | 4.7 - 14.57 inches (120 - 370 mm) |
| Product Dimensions (L x W x H) | 32.68 x 15.75 x 5.51 inches (830 x 400 x 140 mm) |
| Item Weight | 62 Pounds (28.1 kg) |
| Material | Q235 Steel |
| Casters | Two 360° Swivel, Two Directional |

Image: A technical diagram illustrating the key dimensions and specifications of the lift jack, including size, max capacity, lifting range, and weight.
Warranty and Support
Manufacturer's Warranty
This EliteEdge Hydraulic Motorcycle Lift Jack is covered by a 3-month manufacturer's warranty from the date of purchase. This warranty covers defects in materials and workmanship under normal use. It does not cover damage resulting from misuse, abuse, accident, unauthorized repairs, or normal wear and tear.
Customer Support
For technical assistance, warranty claims, or questions regarding your product, please contact EliteEdge customer support through the retailer where the product was purchased. Please have your model number (B0GGZQ6T91) and purchase date available when contacting support.