
1. Introduction
This manual provides essential information for the safe and efficient installation, operation, and maintenance of your TQZYAI NF7-3FX2 R134a Refrigeration Compressor. This compressor is designed for commercial refrigeration applications, offering a reliable replacement solution for various units. Please read this manual thoroughly before attempting any installation or operation.
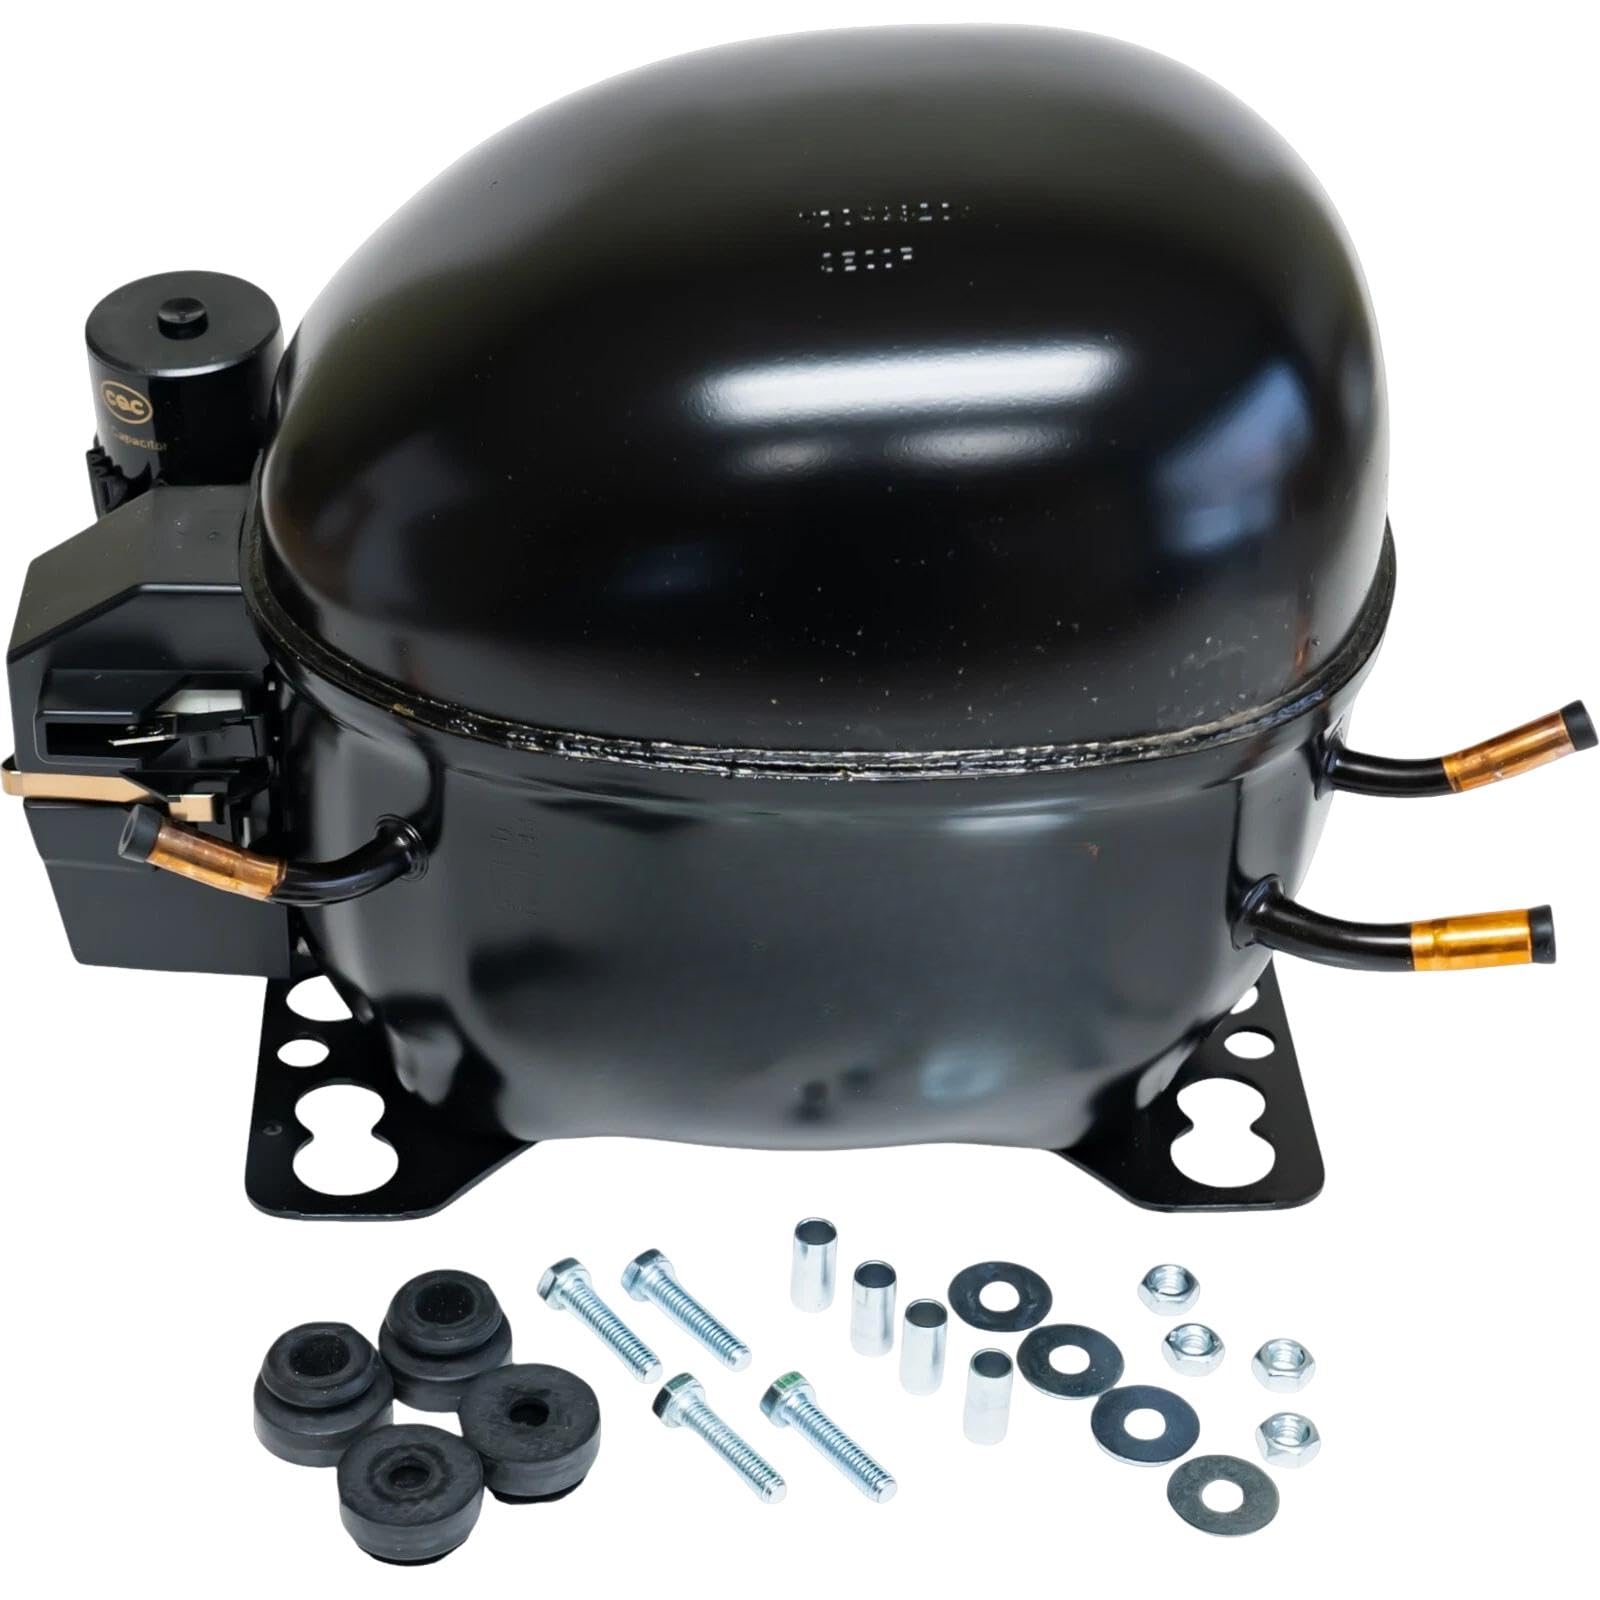
Figure 1: TQZYAI NF7-3FX2 R134a Refrigeration Compressor, showing its general appearance and connections.
2. Safety Information
WARNING: Improper installation, adjustment, alteration, service, or maintenance can cause property damage, injury, or death. Read the installation, operating, and maintenance instructions thoroughly before installing or servicing this equipment.
- Always disconnect power before servicing the compressor or refrigeration system.
- Refrigerant systems operate under pressure. Exercise extreme caution when handling refrigerant lines.
- Only qualified and trained personnel should perform installation and service procedures.
- Wear appropriate personal protective equipment (PPE), including safety glasses and gloves.
- Ensure proper ventilation when working with refrigerants.
- Dispose of refrigerants and components according to local environmental regulations.
3. Package Contents
Verify that all components are present and undamaged upon unpacking:
- NF7-3FX2 R134a Refrigeration Compressor
- Starting Relay with Protector
- Start Capacitor (280 uF)
- Grommets (4 pieces)
- Mounting Bolts and Nuts (4 sets)
- Cord Relief

Figure 2: Included mounting bolts and nuts for securing the compressor.
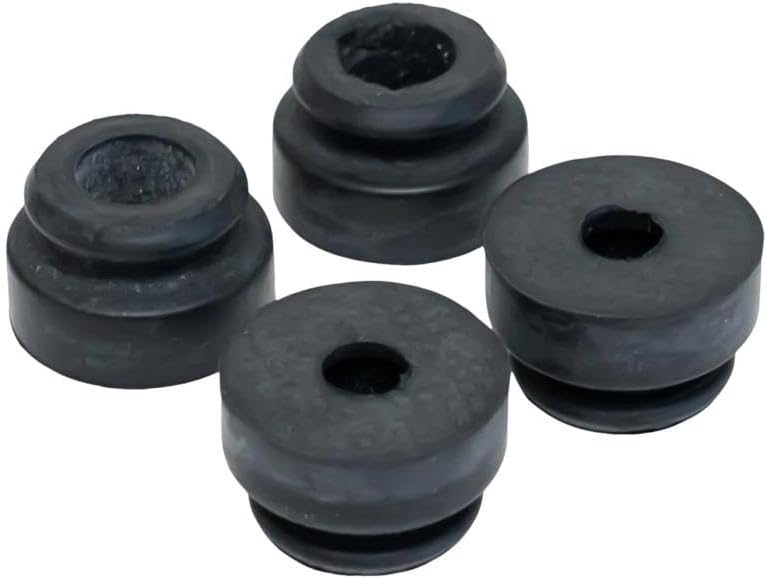
Figure 3: Rubber grommets for vibration dampening during installation.
4. Specifications
| Feature | Specification |
|---|---|
| Model Number | NF7-3FX2 R134a |
| Refrigerant Type | R134a |
| Voltage | 115-127V/60Hz |
| Horsepower (HP) | 1/4 HP |
| Low Back Pressure (LBP) Capacity | 894 BTU/Hr. at -10°F |
| High Back Pressure (HBP) Capacity | 3341 BTU/Hr. at +45°F |
| Height | 7.76 inches |
| Start Capacitor | 280 uF |
| Included Components | Compressor, Starting Relay with Protector, Start Capacitor, Grommets, Cord Relief |
| UPC | 760173683201 |
5. Setup and Installation
Important: Installation should only be performed by a certified refrigeration technician.
5.1 Pre-Installation Checks
- Ensure the power supply to the refrigeration unit is disconnected.
- Verify that the new compressor specifications (voltage, refrigerant type, BTU capacity) match the requirements of your system.
- Inspect the compressor for any shipping damage.
5.2 Mounting the Compressor
- Carefully remove the old compressor from its mounting location.
- Place the provided rubber grommets onto the mounting bolts.
- Position the new NF7-3FX2 compressor onto the mounting plate, aligning the mounting holes.
- Secure the compressor using the provided bolts and nuts, ensuring the grommets are properly seated to reduce vibration. Do not overtighten.

Figure 4: Underside view of the compressor, highlighting the mounting points for secure installation.
5.3 Electrical Connections
- Connect the starting relay and protector to the compressor terminals as per the wiring diagram of your refrigeration unit.
- Attach the start capacitor (280 uF) to the relay as specified.
- Ensure all electrical connections are secure and properly insulated. Use the cord relief to protect the power cord connection.

Figure 5: Side view of the compressor, showing the attached starting relay and capacitor for electrical connection.
5.4 Refrigerant Line Connections
- Connect the suction and discharge lines to the appropriate ports on the compressor.
- Brazing or flaring techniques should be used as required by the system design. Ensure all connections are leak-free.
- Evacuate the refrigeration system to remove all non-condensable gases and moisture.
- Charge the system with the correct amount and type of R134a refrigerant according to the system manufacturer's specifications.
6. Operating Instructions
6.1 Initial Startup
- After completing all installation steps and leak checks, restore power to the refrigeration unit.
- The compressor should start automatically if the thermostat calls for cooling.
- Monitor the system's pressures and temperatures to ensure proper operation and cooling performance.
6.2 Normal Operation
The NF7-3FX2 R134a compressor is designed for continuous operation in commercial settings. It will cycle on and off as dictated by the refrigeration system's thermostat to maintain the desired temperature. Ensure the refrigeration unit's condenser coils are clean and air circulation is unobstructed for optimal compressor performance.
7. Maintenance
Regular maintenance is crucial for the longevity and efficiency of your refrigeration system and compressor.
- Monthly: Inspect the compressor area for any unusual noises or vibrations. Check for refrigerant leaks around connections.
- Quarterly: Clean the condenser coils of the refrigeration unit to ensure proper heat dissipation. Dirty coils can cause the compressor to work harder, reducing its lifespan.
- Annually: Have a qualified technician perform a comprehensive system check, including refrigerant levels, electrical connections, and overall compressor health.
- Ensure the compressor's mounting bolts remain secure and the grommets are in good condition to minimize vibration.
8. Troubleshooting
Before attempting any troubleshooting, ensure the power supply is disconnected. For complex issues, contact a qualified technician.
| Problem | Possible Cause | Solution |
|---|---|---|
| Compressor does not start | No power; Faulty starting relay/capacitor; Overload protector tripped; Faulty thermostat | Check power supply; Inspect/replace relay/capacitor; Reset overload protector; Test/replace thermostat |
| Insufficient cooling | Low refrigerant charge; Dirty condenser coils; Restricted airflow; Faulty fan motor | Check for leaks and recharge; Clean coils; Clear obstructions; Inspect/replace fan motor |
| Compressor runs continuously | Low refrigerant charge; Dirty condenser coils; Door seals leaking; Thermostat setting too low | Check for leaks and recharge; Clean coils; Inspect/replace door seals; Adjust thermostat |
| Unusual noise or vibration | Loose mounting bolts; Worn grommets; Internal compressor issue | Tighten bolts; Replace grommets; Contact technician for internal issues |
9. Warranty and Support
TQZYAI products are manufactured to high-quality standards. For specific warranty details, please refer to the warranty card included with your purchase or contact your retailer. Keep your proof of purchase for warranty claims.
Customer Support
For technical assistance, troubleshooting beyond this manual, or warranty inquiries, please contact your product supplier or the TQZYAI customer service department. Contact information can typically be found on the product packaging or the retailer's website.