1. Important Safety Information
Read and understand all safety warnings and instructions before operating this snow shovel. Failure to follow the warnings and instructions may result in electric shock, fire, and/or serious injury.
General Safety Warnings
- Work Area Safety: Keep the work area clean and well-lit. Cluttered or dark areas invite accidents. Do not operate power tools in explosive atmospheres, such as in the presence of flammable liquids, gases, or dust.
- Electrical Safety: Avoid body contact with earthed or grounded surfaces such as pipes, radiators, ranges, and refrigerators. There is an increased risk of electric shock if your body is earthed or grounded.
- Personal Safety: Always wear appropriate personal protective equipment. This includes safety glasses, non-slip safety footwear, and heavy-duty gloves. Dress properly; do not wear loose clothing or jewelry. Keep hair, clothing, and gloves away from moving parts.
- Machine Operation: Keep all bystanders, children, and pets at least 50 feet (15 meters) away from the operating area. Never direct discharge towards people or property.
- Battery Use and Care: Use only the specified battery packs and charger. Do not modify or attempt to repair the battery pack or the appliance. Do not expose battery packs to fire or excessive temperature.
- Maintenance: Disconnect the battery pack before making any adjustments, changing accessories, or storing the appliance.
2. Product Overview
The POXURIO 40V Cordless Snow Shovel is designed for efficient snow removal from driveways, sidewalks, patios, and steps. It features a brushless motor and is powered by two 40V lithium-ion batteries.
Key Components
- Brushless Motor: Provides consistent power for snow clearing.
- Adjustable Handle: Ergonomically designed for comfortable use and better positioning.
- Snow Guard: Allows for adjustment of the snow throwing angle.
- 40V Lithium-Ion Batteries: Two rechargeable 4.0 Ah batteries provide power and runtime.
Product Video
This video demonstrates the POXURIO Cordless Snow Shovel in operation, showcasing its snow clearing capabilities and ease of use.
3. Setup and Assembly
The POXURIO Cordless Snow Shovel is designed for straightforward assembly. Follow these steps to prepare your snow shovel for use.
Assembly Steps
- Unpack Components: Carefully remove all parts from the packaging. Ensure all components listed in the packing list are present.
- Attach Handle: Connect the upper handle assembly to the main unit. Secure it by turning the connector until it is firmly in place.
- Adjust Handle Angle: The ergonomic handle can be adjusted from 0-180 degrees for optimal comfort and control. Loosen the adjustment knob, set the desired angle, and tighten the knob securely.
- Insert Batteries: Ensure the batteries are fully charged. Insert the two 40V lithium-ion batteries into their designated slots on the snow shovel until they click into place.

Image: Hands inserting a 40V battery into the snow shovel. Ensure batteries are fully charged and click securely into place.

Image: Close-up of the adjustable ergonomic handle. Adjust the handle to a comfortable position for reduced arm and back strain.
4. Operating Instructions
Follow these guidelines for safe and effective operation of your POXURIO Cordless Snow Shovel.
Before Starting
- Ensure the battery packs are fully charged.
- Clear the area of any objects that could be thrown by the snow shovel (rocks, toys, debris).
- Wear appropriate safety gear, including eye protection and sturdy footwear.
Starting and Clearing Snow
- Start the Unit: Press and hold the safety button, then squeeze the trigger switch to start the motor. Release the safety button once the motor starts.
- Clear Snow: Push the snow shovel forward into the snow. The optimal clearing width is 13 inches and depth is 6 inches. For deeper snow, clear in multiple passes.
- Adjust Throwing Angle: Use the 60° rotatable adjustable snow guide plate to control the direction of the snow discharge. This allows you to throw snow up to 25 feet away.
- Stopping the Unit: Release the trigger switch to stop the motor.

Image: Diagram illustrating the 13-inch clearing width and 6-inch clearing depth of the snow shovel for efficient single-pass clearing.

Image: Close-up of the adjustable snow guard, indicating a throwing angle range of -30 to +30 degrees for directional control.

Image: A person operating the snow shovel, demonstrating its capability to throw snow up to 25 feet away from the clearing path.

Image: A woman clearing snow from a pathway, illustrating the snow shovel's effectiveness for various areas around a home.

Image: A man clearing snow with the shovel, highlighting that the tool is ready for immediate use without preheating.

Image: Visual representation of the snow shovel's versatility for clearing snow from driveways, patios, steps, and sidewalks.
5. Maintenance
Proper maintenance ensures the longevity and optimal performance of your snow shovel.
Cleaning and Storage
- Cleaning: After each use, disconnect the battery packs and clean the snow shovel. Remove any snow, ice, or debris from the auger and discharge chute. Use a damp cloth to wipe down exterior surfaces. Do not use harsh chemicals.
- Battery Storage: Store battery packs in a cool, dry place away from direct sunlight and extreme temperatures. Ensure batteries are partially charged (around 50%) for long-term storage.
- Unit Storage: Store the snow shovel in a dry, protected area. The handle can be disassembled by turning the connector for space-saving storage.
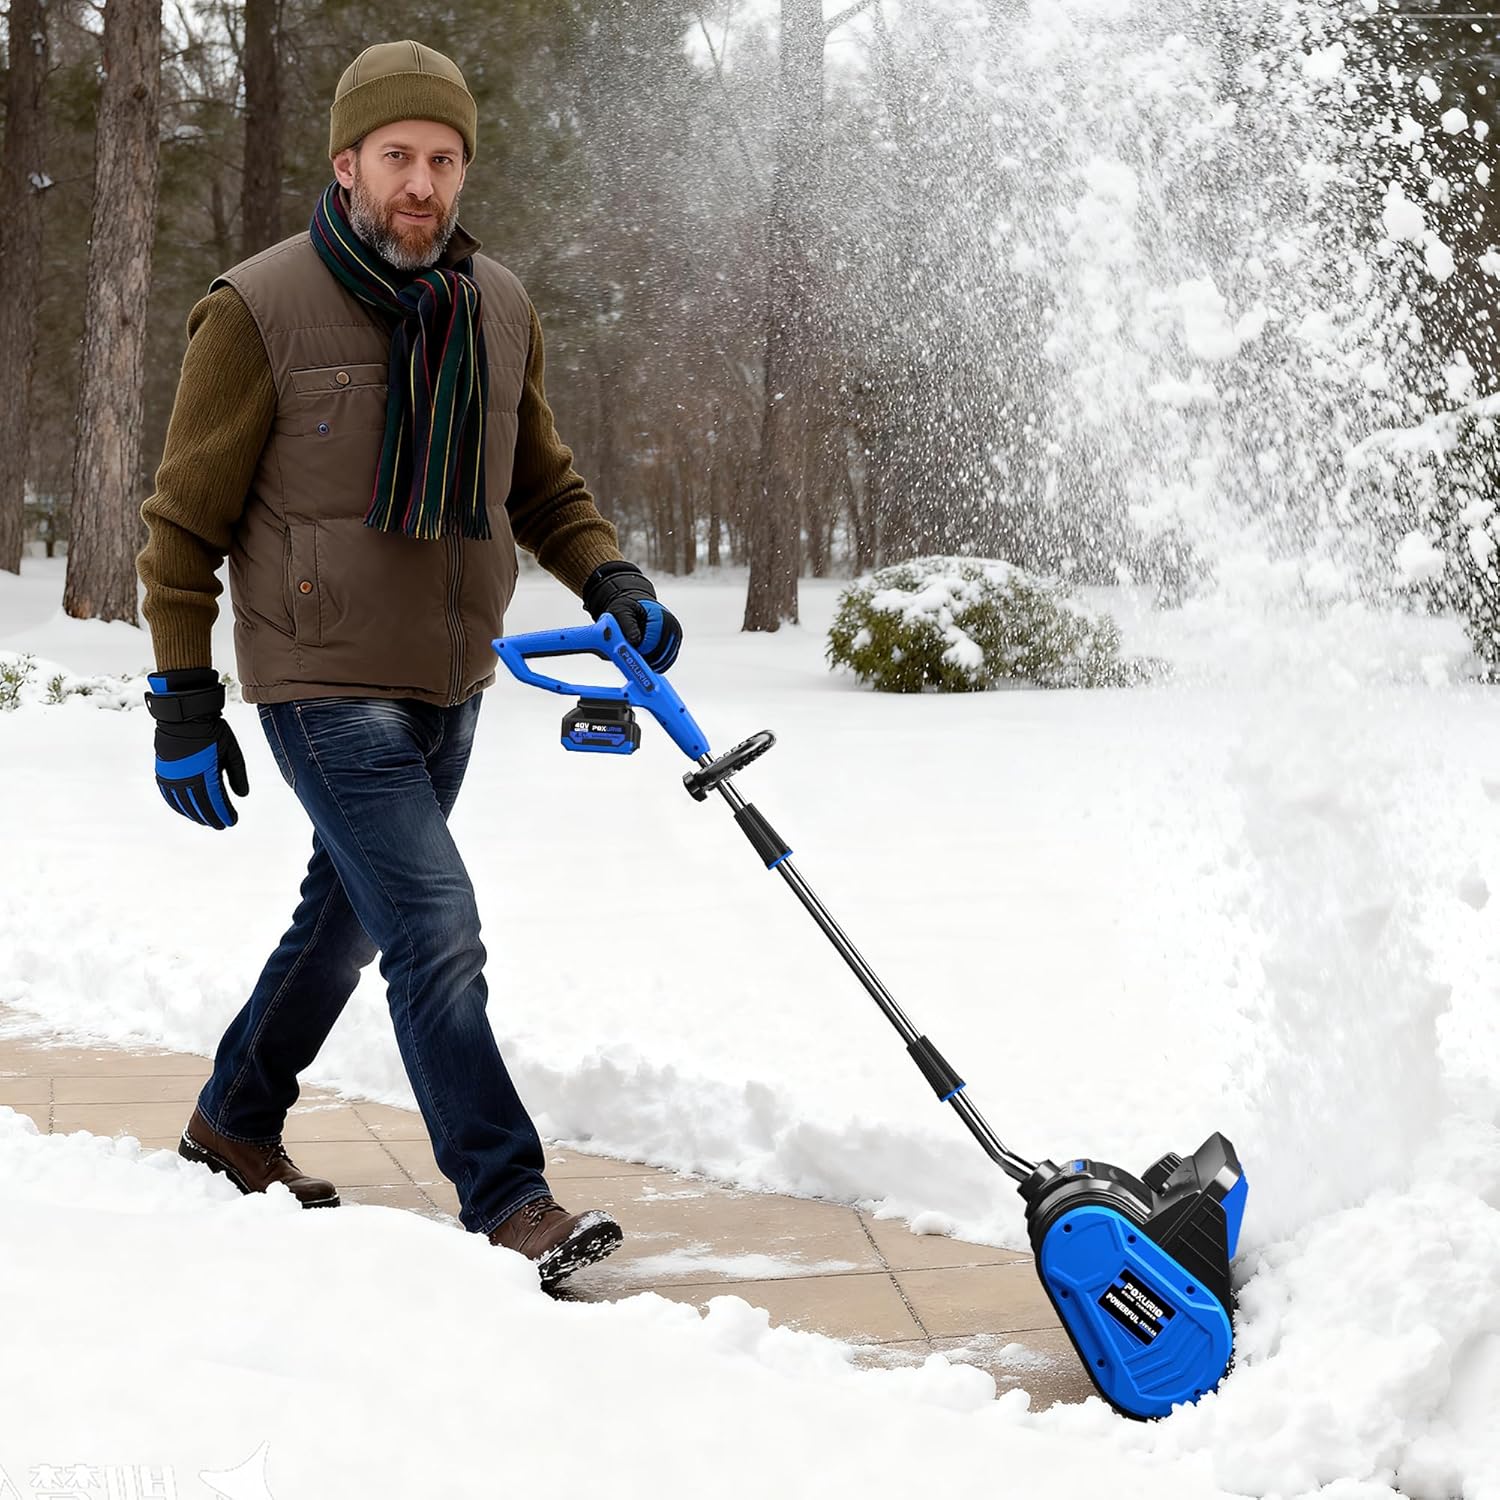
Image: A man operating the snow shovel on a cleared path, illustrating the product in use before storage.

Image: A 40V battery showing its state-of-charge indicator, important for proper battery maintenance and storage.
6. Troubleshooting
Refer to this section for common issues and their solutions.
| Problem | Possible Cause | Solution |
|---|---|---|
| Snow shovel does not start. | Battery not inserted correctly or not charged. Safety button not pressed. | Ensure batteries are fully charged and properly seated. Press the safety button before squeezing the trigger. |
| Reduced snow throwing distance. | Wet, heavy snow. Clogged discharge chute. | Clear snow in smaller passes. Disconnect battery and clear any clogs from the chute using a non-metallic tool. |
| Motor stops during operation. | Overload due to deep/heavy snow. Battery overheating. | Reduce the amount of snow being cleared per pass. Allow batteries to cool down if they are hot. |
7. Specifications
| Feature | Detail |
|---|---|
| Brand | POXURIO |
| Model Number | KF100350US |
| Power Source | Battery Powered (2 x 40V Lithium-Ion) |
| Battery Capacity | 4.0 Ah (each) |
| Clearing Width | 13 Inches |
| Ideal Snow Depth | 6 Inches |
| Throwing Distance | Up to 25 Feet |
| Adjustable Throwing Angle | 60° Rotatable Snow Guide Plate |
| Item Weight | 9.7 Pounds (product description) / 30 Pounds (specifications) - Note: Discrepancy in source data. Please verify. |
| Product Dimensions | 10.16"D x 13.31"W x 20.67"H |
| UPC | 720141078552 |
8. Warranty and Support
POXURIO is committed to product quality. For warranty information, technical support, or replacement parts, please contact our customer service.
Contact Information
- Customer Service: Refer to your purchase documentation or the POXURIO official website for current contact details.
- Online Resources: Visit the POXURIO Store on Amazon for additional product information and support.
Please retain your proof of purchase for warranty claims.