1. Important Safety Instructions
Before operating the UMAY Fitness Treadmill U60 Set, please read and understand all safety instructions. Failure to follow these instructions may result in injury or damage to the product.
- Always consult with a physician before starting any exercise program.
- Keep children and pets away from the treadmill during operation.
- Place the treadmill on a solid, level surface with at least 2 feet of clear space on each side and 6 feet behind it.
- Ensure the safety key is properly attached to your clothing before beginning your workout. In case of emergency, the safety key will stop the treadmill.
- Do not operate the treadmill if it has a damaged cord or plug, or if it is not working properly.
- Wear appropriate exercise clothing and athletic shoes. Avoid loose clothing that could get caught in moving parts.
- Do not step on or off the treadmill while the belt is moving.
- Maximum user weight capacity is 400 lbs. Do not exceed this limit.
2. Setup and Assembly
The UMAY Fitness Treadmill U60 Set arrives 90% pre-assembled, significantly reducing setup time. Follow these steps to complete the assembly and prepare for use.
2.1 Unpacking and Placement
- Carefully remove all packaging materials. Retain packaging for future storage or transport.
- Place the treadmill on a flat, stable surface.
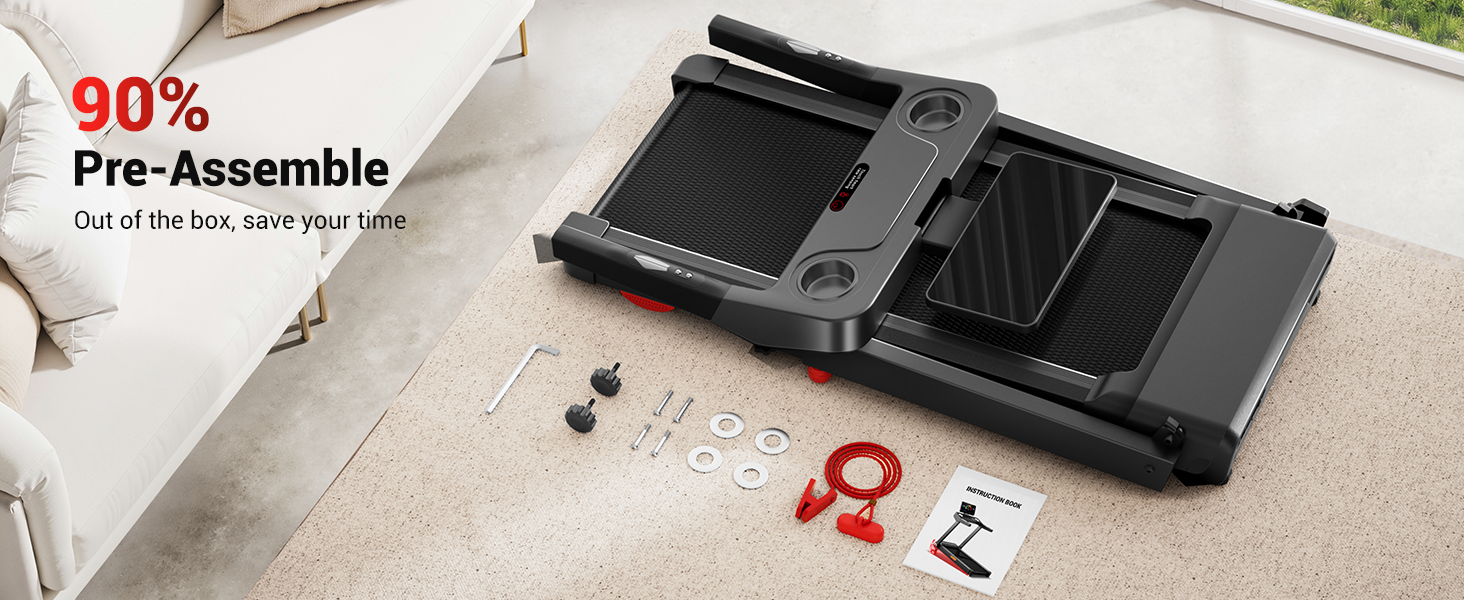
Figure 1: The treadmill comes 90% pre-assembled, requiring minimal setup.
2.2 Unfolding the Treadmill
- Gently lift the console and running deck until they lock into the upright position.
- Ensure all locking mechanisms are securely engaged before use.
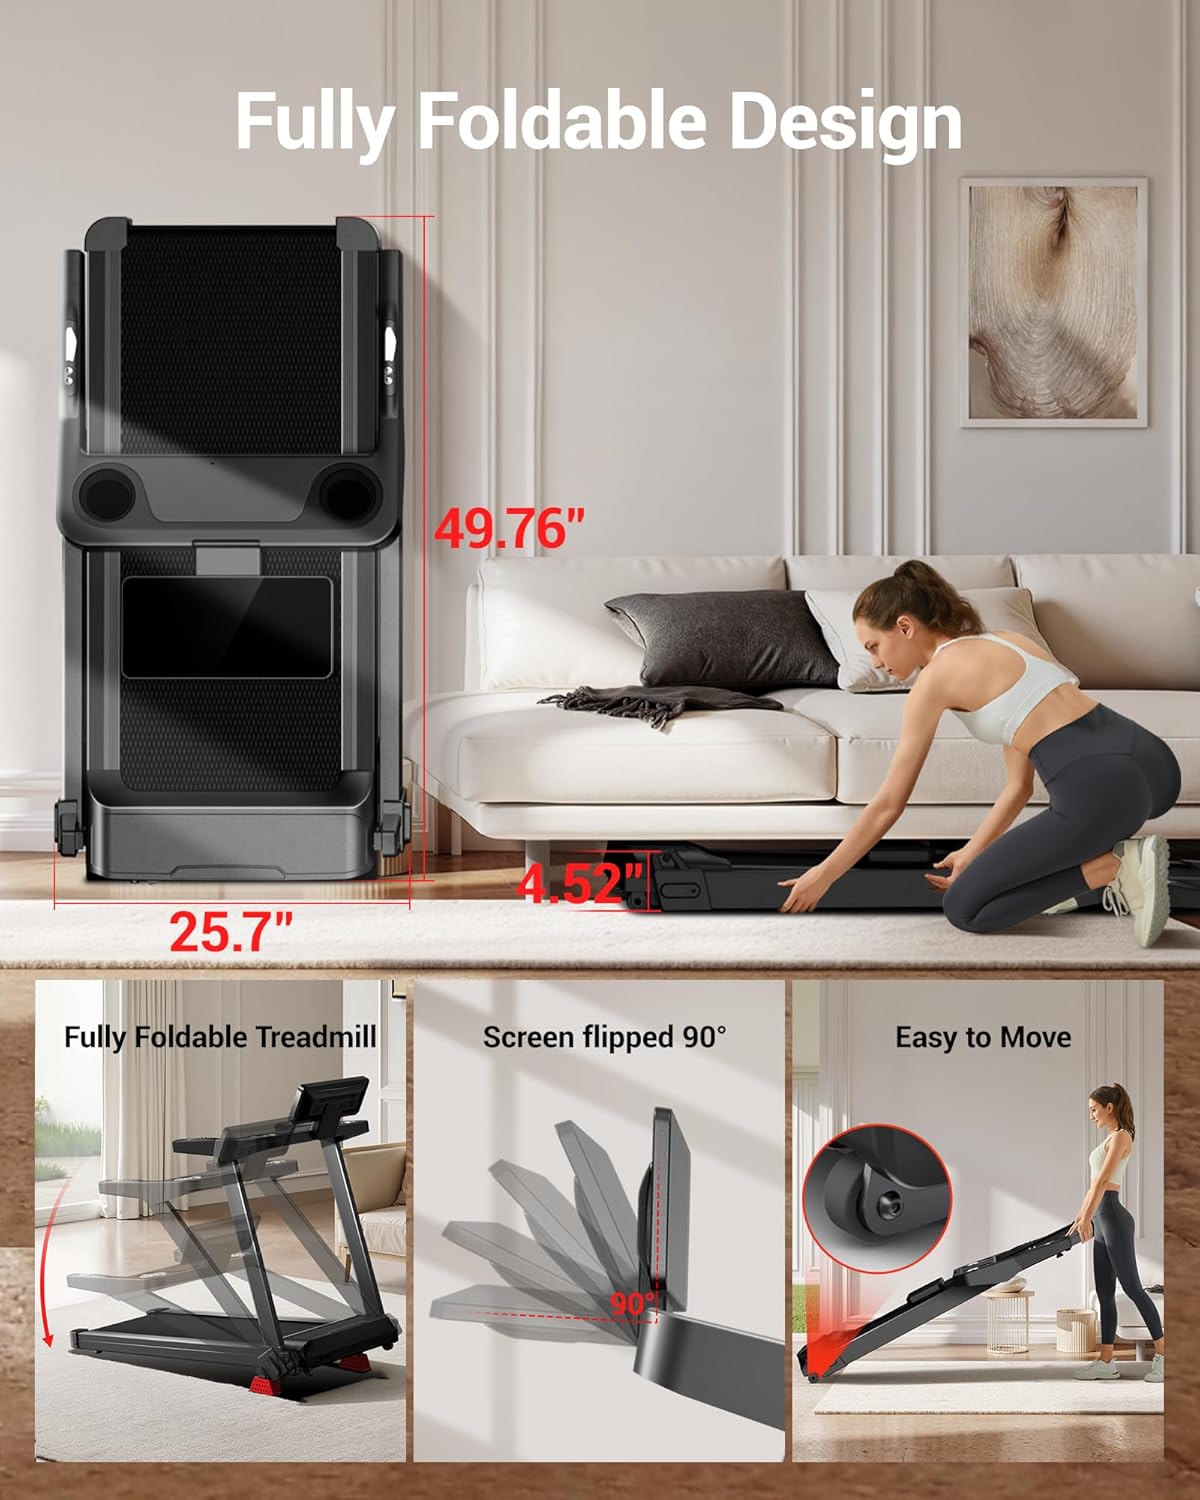
Figure 2: The treadmill features a fully foldable design for easy storage. Dimensions shown for folded and unfolded states.
2.3 Adjusting Console Height
The console offers 3 levels of adjustable height to accommodate various user preferences.
- Locate the adjustment knobs on the side of the console support arms.
- Loosen both knobs, pull the handle to snap into the desired position, then tighten the knobs securely. Adjust each side separately.

Figure 3: The console can be adjusted to three different height levels for user comfort.
2.4 Power Connection
- Plug the power cord into a grounded electrical outlet.
- Ensure the power switch is in the 'ON' position.
3. Operating Instructions
Familiarize yourself with the control panel and basic operations before starting your workout.
3.1 Control Panel Overview
The treadmill features an LED touchscreen and handlebar controls for easy operation.
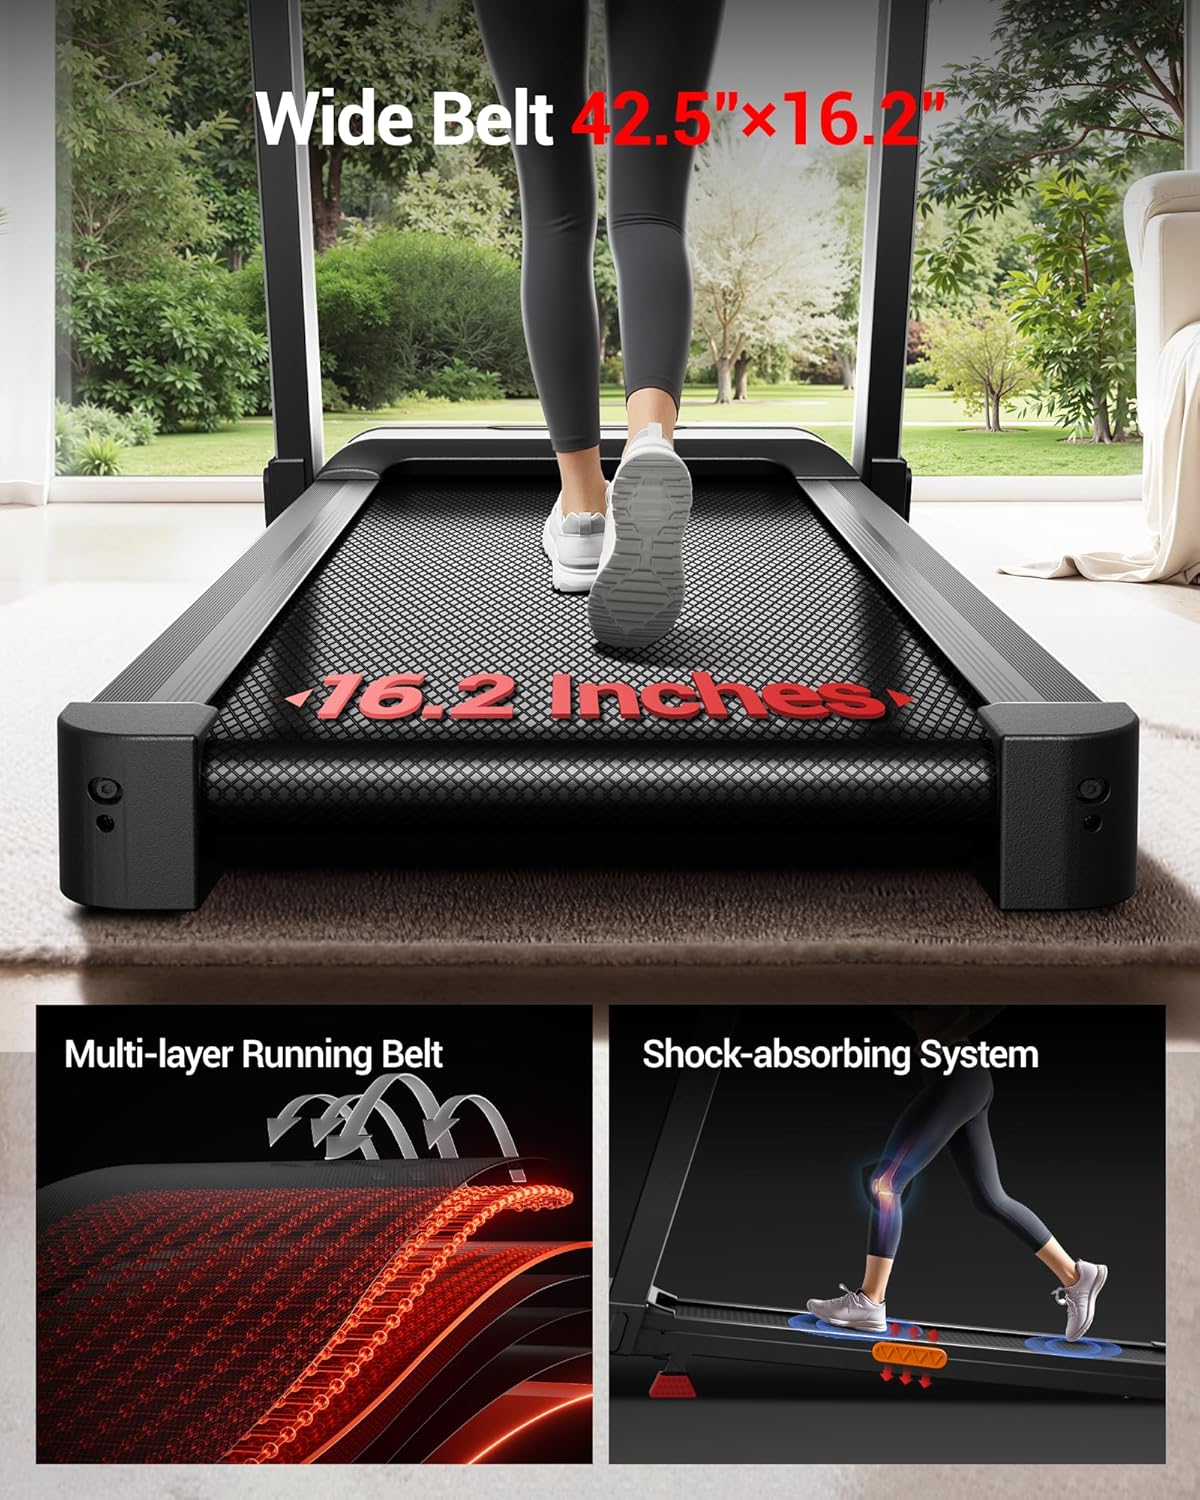
Figure 4: The control panel includes a touchscreen display, cup holders, safety key slot, speed and incline controls, and heart rate sensors.
3.2 Starting a Workout
- Attach the safety key to the designated slot on the console and clip the other end to your clothing.
- Press the Start button on the touchscreen or handlebar. The treadmill will begin at a low speed.
- Adjust speed using the Speed+ and Speed- buttons on the handlebars or touchscreen. Quick speed buttons (3 MPH, 6 MPH) are also available.
3.3 Adjusting Incline
The treadmill offers an auto-incline feature from 2% to 20% to simulate varied terrains.
- Use the Incline+ and Incline- buttons on the handlebars or touchscreen to adjust the incline level.
- The incline will adjust automatically to the selected level.

Figure 5: The treadmill offers 2% to 20% auto incline, allowing for varied workout intensity.
3.4 Using Pre-set Programs
The console includes 12 pre-set programs to diversify your workouts.
- Press the P/M button on the touchscreen to cycle through available programs.
- Select your desired program and press Start to begin.
3.5 Monitoring Workout Data
The touchscreen displays real-time workout data.
- View metrics such as Time, Calories, Speed, and Distance.
- Grip the heart rate sensors on the handlebars to monitor your pulse.
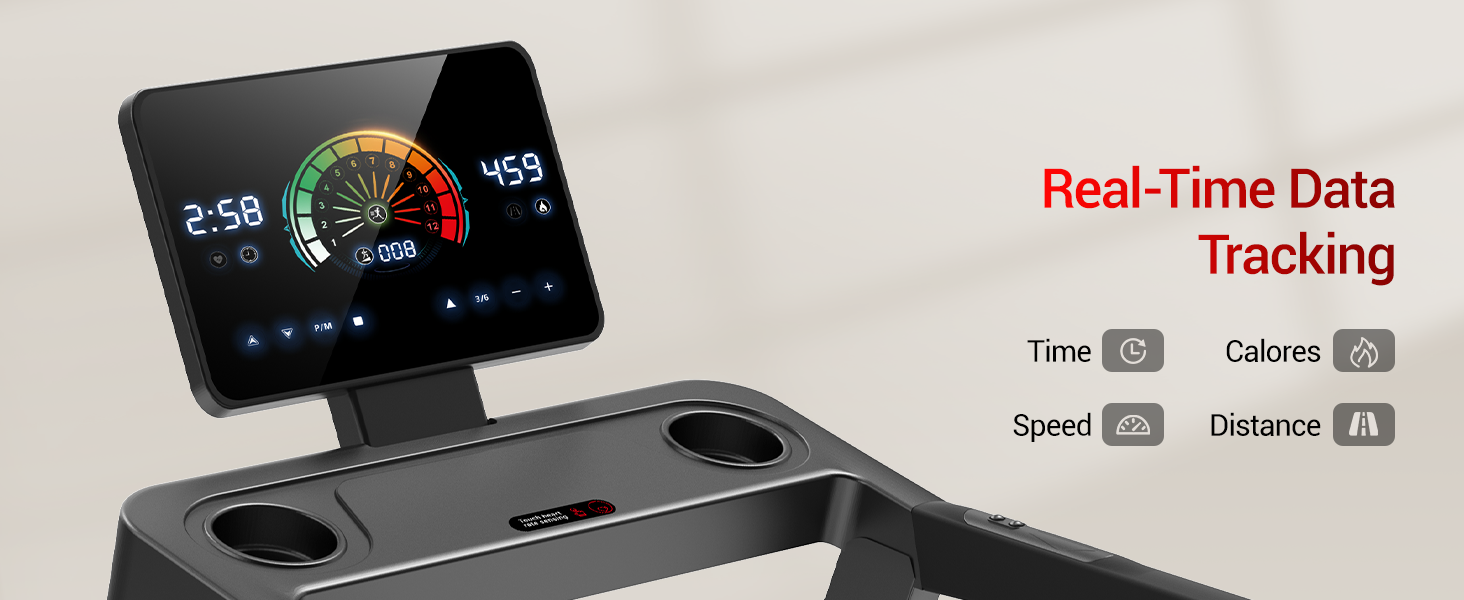
Figure 6: The LED touchscreen provides real-time tracking of your workout data.
3.6 Stopping a Workout
- Press the Stop button on the touchscreen or handlebar. The treadmill will gradually slow down and stop.
- Alternatively, pull the safety key to immediately stop the treadmill.
4. Maintenance
Regular maintenance ensures the longevity and optimal performance of your treadmill.
4.1 Cleaning
- After each use, wipe down the console and other surfaces with a damp cloth. Avoid abrasive cleaners.
- Periodically vacuum underneath the treadmill to prevent dust buildup.
4.2 Running Belt Care
The treadmill features a 7-layer running belt with a shock-absorbing system.
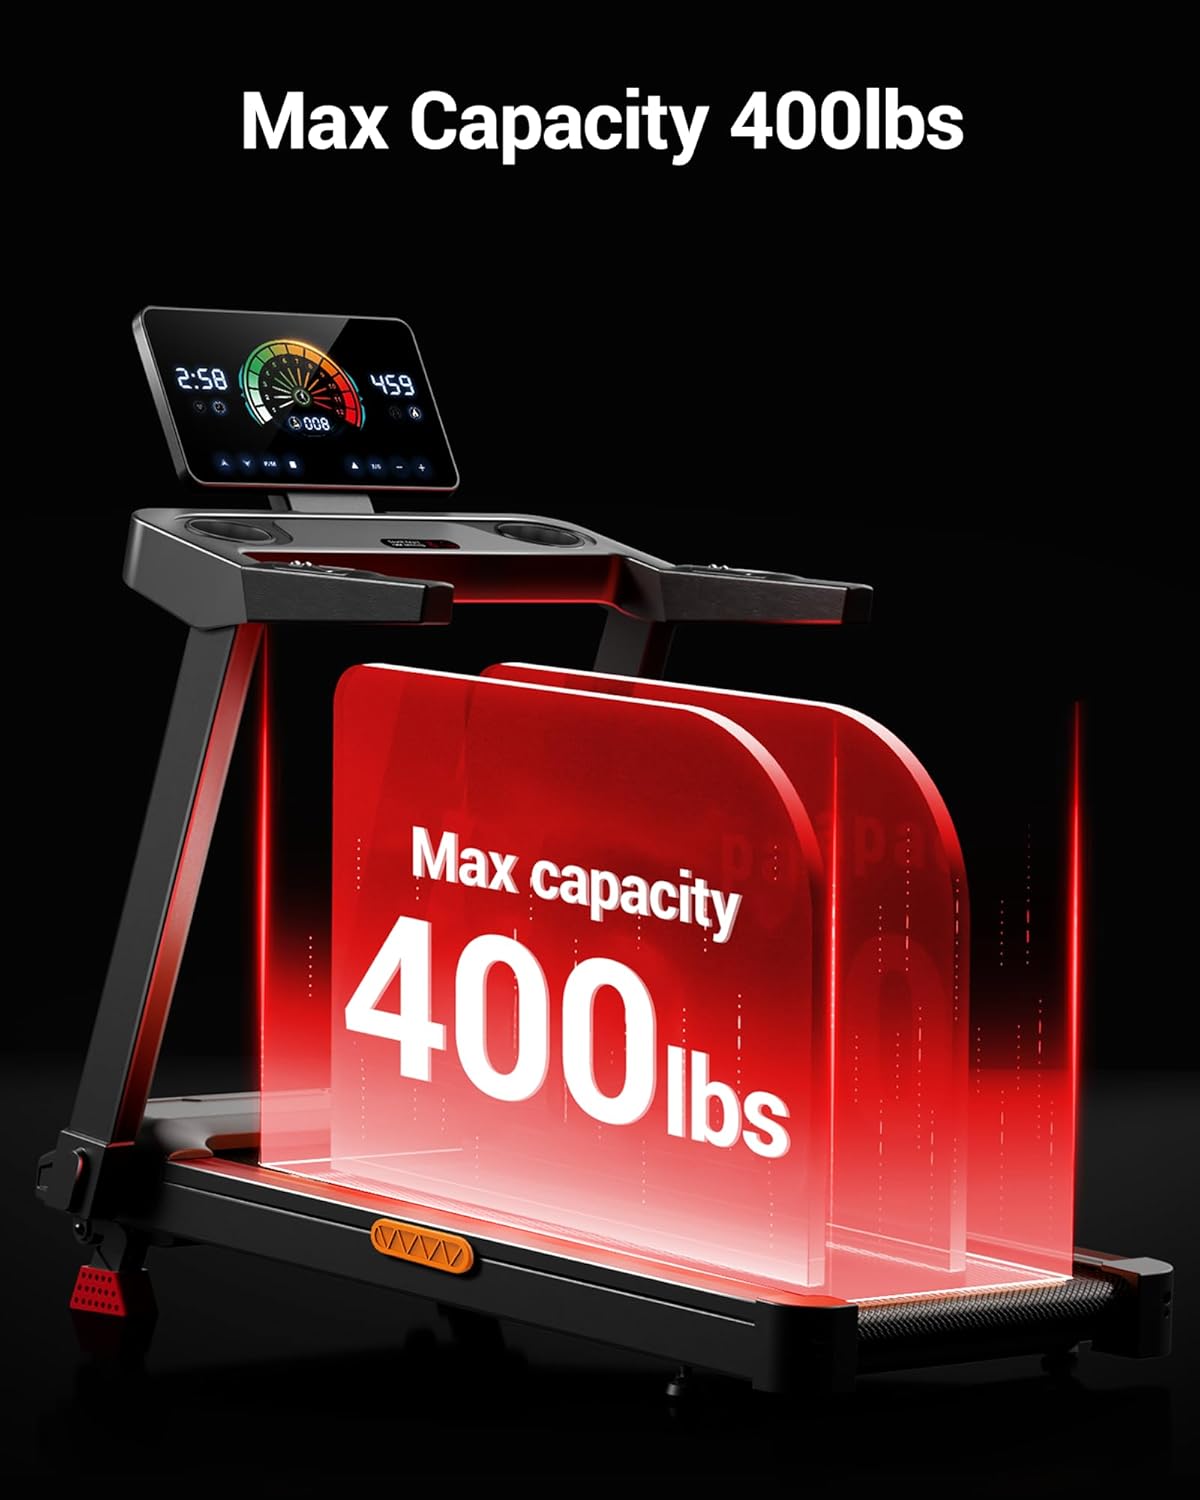
Figure 7: The running belt is constructed with multiple layers and a shock-absorbing system for comfort and durability.
- Inspect the running belt for wear and tear regularly.
- Ensure the belt is centered and properly tensioned. Refer to the full user manual for detailed belt adjustment instructions if needed.
- Lubricate the running deck as recommended in the full user manual (typically every few months depending on usage).
4.3 Motor Maintenance
The 3.5HP brushless motor is designed for quiet and efficient operation.
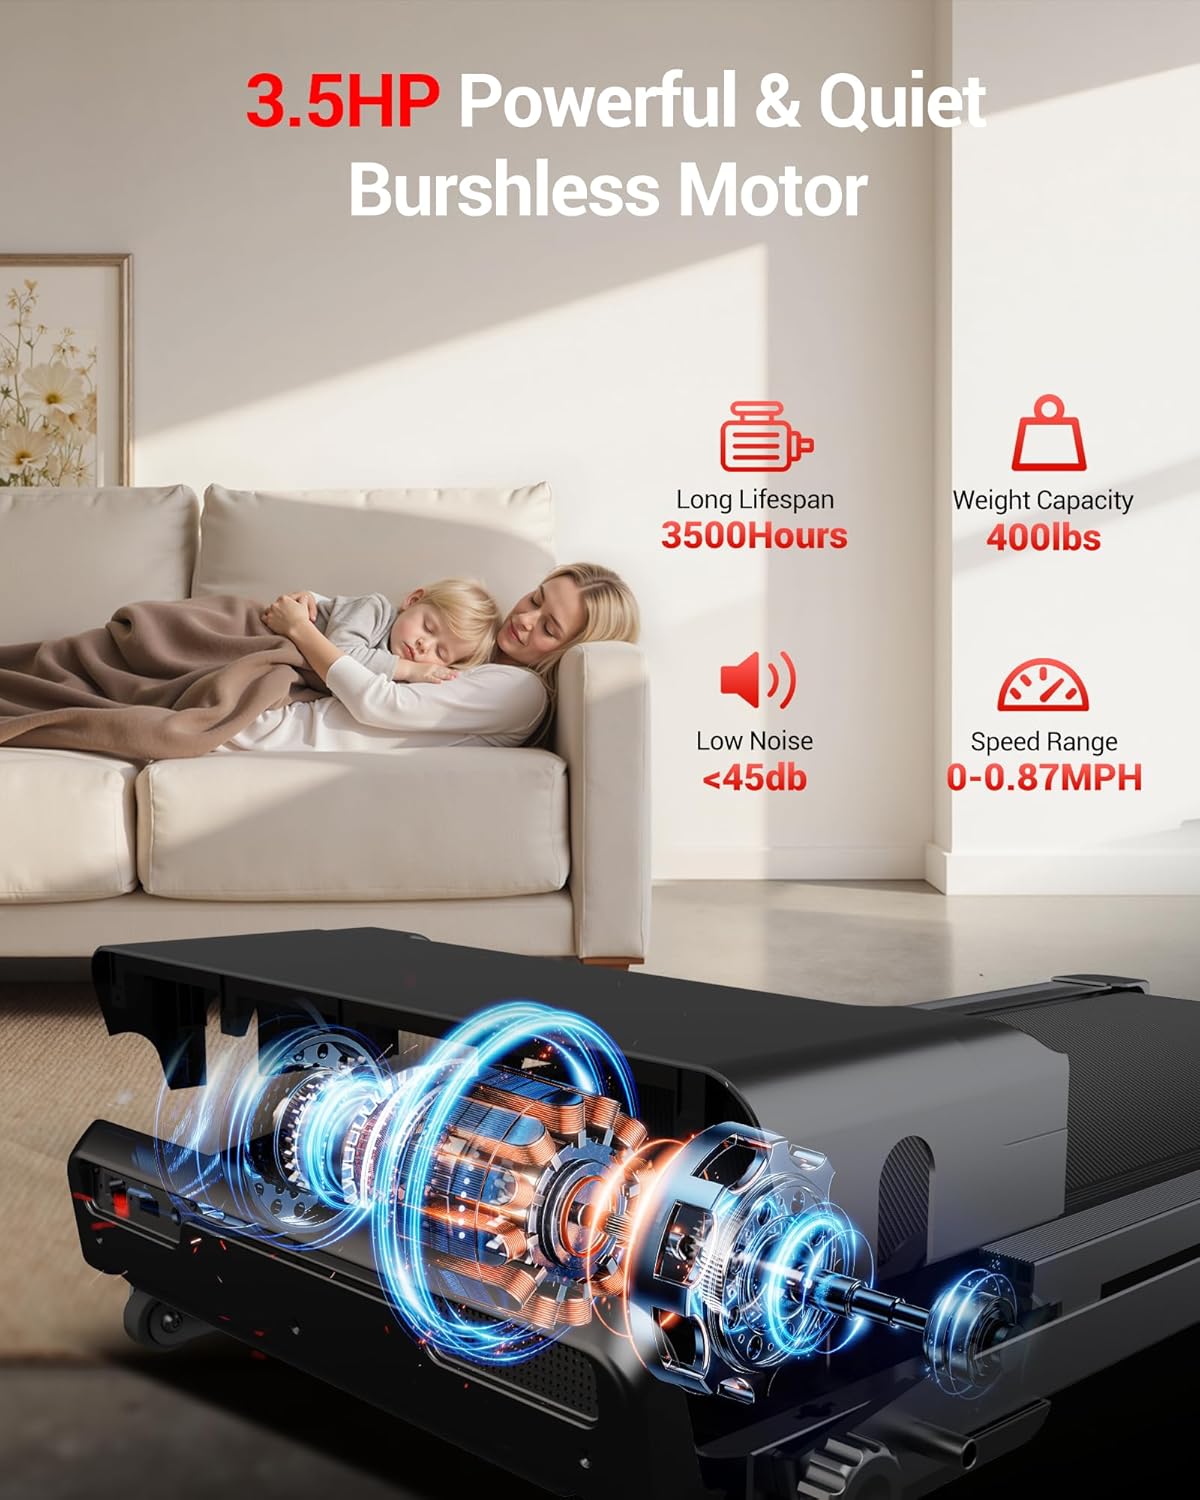
Figure 8: The treadmill is equipped with a 3.5HP brushless motor, known for its quiet operation and long lifespan.
- Keep the motor area free from dust and debris.
- No user-serviceable parts inside the motor housing. Contact customer support for any motor-related issues.
5. Troubleshooting
This section addresses common issues you might encounter with your treadmill.
5.1 Treadmill Does Not Power On
- Check Power Cord: Ensure the power cord is securely plugged into a grounded outlet and the treadmill.
- Power Switch: Verify the main power switch (usually located near the power cord inlet) is in the 'ON' position.
- Circuit Breaker: Check your home's circuit breaker.
5.2 Running Belt Stops or Slips
- Safety Key: Ensure the safety key is properly inserted into the console.
- Belt Tension: The running belt may be too loose. Refer to the full user manual for instructions on how to adjust belt tension.
- Lubrication: Insufficient lubrication can cause friction. Lubricate the running deck as per maintenance guidelines.
5.3 Unusual Noises
- Loose Parts: Check for any loose bolts or screws and tighten them.
- Belt Alignment: A misaligned belt can cause rubbing noises. Adjust the belt according to the full user manual.
- Foreign Objects: Inspect underneath the treadmill for any foreign objects.
If you encounter issues not listed here or if troubleshooting steps do not resolve the problem, please contact UMAY customer support.
6. Specifications
| Feature | Specification |
|---|---|
| Brand | UMAY |
| Model Name | U60 Set |
| Product Dimensions (LxWxH) | 52" x 26" x 6" (folded) |
| Item Weight | 33 Pounds |
| Maximum Weight Recommendation | 400 Pounds |
| Maximum Speed | 8.7 Miles per Hour |
| Motor Horsepower | 3.5 HP (Brushless) |
| Incline Range | 2% - 20% (Auto Incline) |
| Running Area (LxW) | 42.5" x 16.1" |
| Material | Acrylonitrile Butadiene Styrene (ABS) |
| Noise Level | <45 dB |
| Special Features | Adjustable Height, Foldable Design, LED Touchscreen, Heart Rate Monitor |
7. Warranty and Support
7.1 Warranty Information
The UMAY Fitness Treadmill U60 Set comes with a 1-year warranty from the date of purchase. This warranty covers manufacturing defects in materials and workmanship under normal use.
The warranty does not cover:
- Damage caused by improper assembly or installation.
- Damage resulting from misuse, abuse, neglect, or accident.
- Normal wear and tear.
- Damage caused by unauthorized repairs or modifications.
Please retain your proof of purchase for warranty claims.
7.2 Customer Support
For any questions, technical assistance, or warranty claims, please contact UMAY customer support. Refer to the contact information provided with your purchase or visit the official UMAY website for support details.